

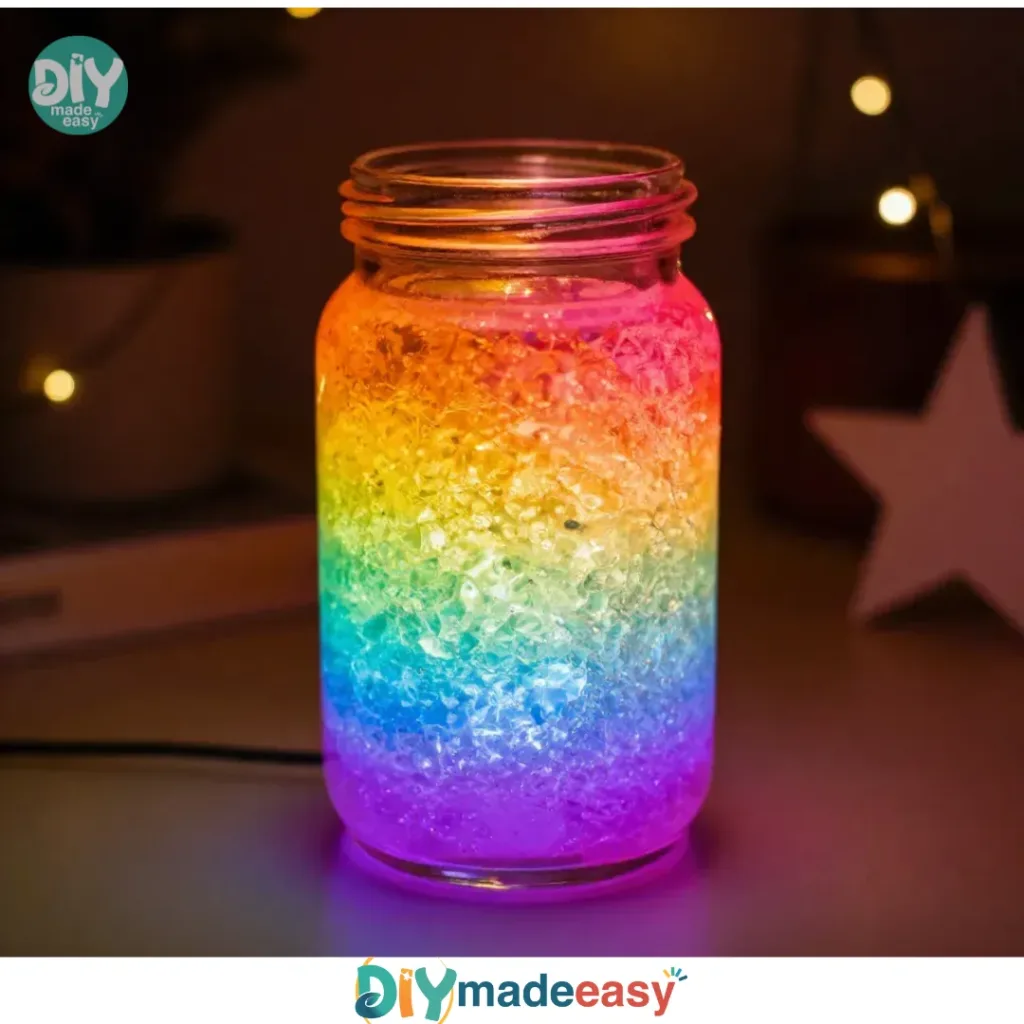
When the sun begins to set and the kids start to wiggle with post-school energy, finding a quick, engaging activity can feel like a race against time. Imagine those moments when they’re looking for something fun to create at home, and you want to dive into a project that’s easy to pull together, sparks joy, and fosters learning. Enter the Light-Up Lava Lamp Bottle. This hands-on craft transforms simple household ingredients into a mesmerizing display that bubbles and glows, captivating kids and adults alike. It’s a perfect blend of creativity and science that can keep little hands busy while you enjoy a moment of peace.
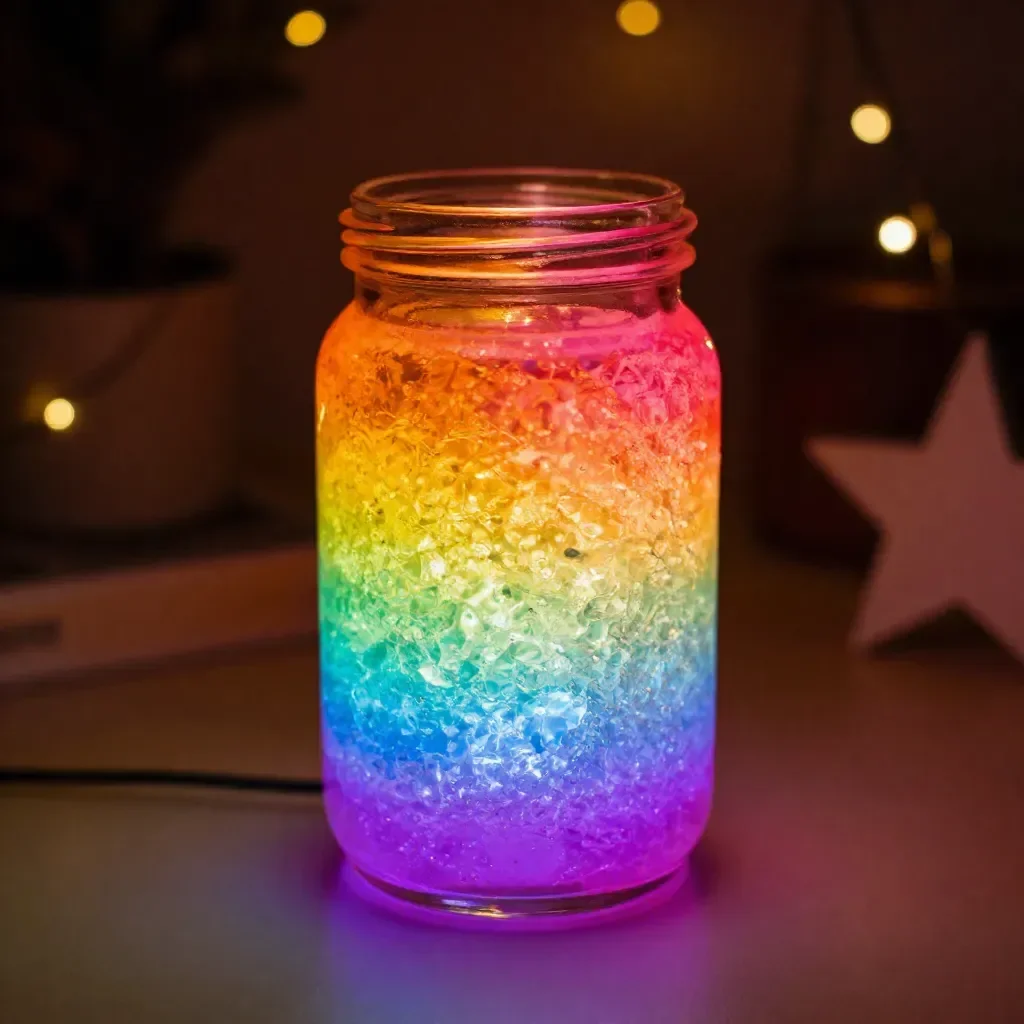
Why This Light-Up Lava Lamp Bottle Works So Well
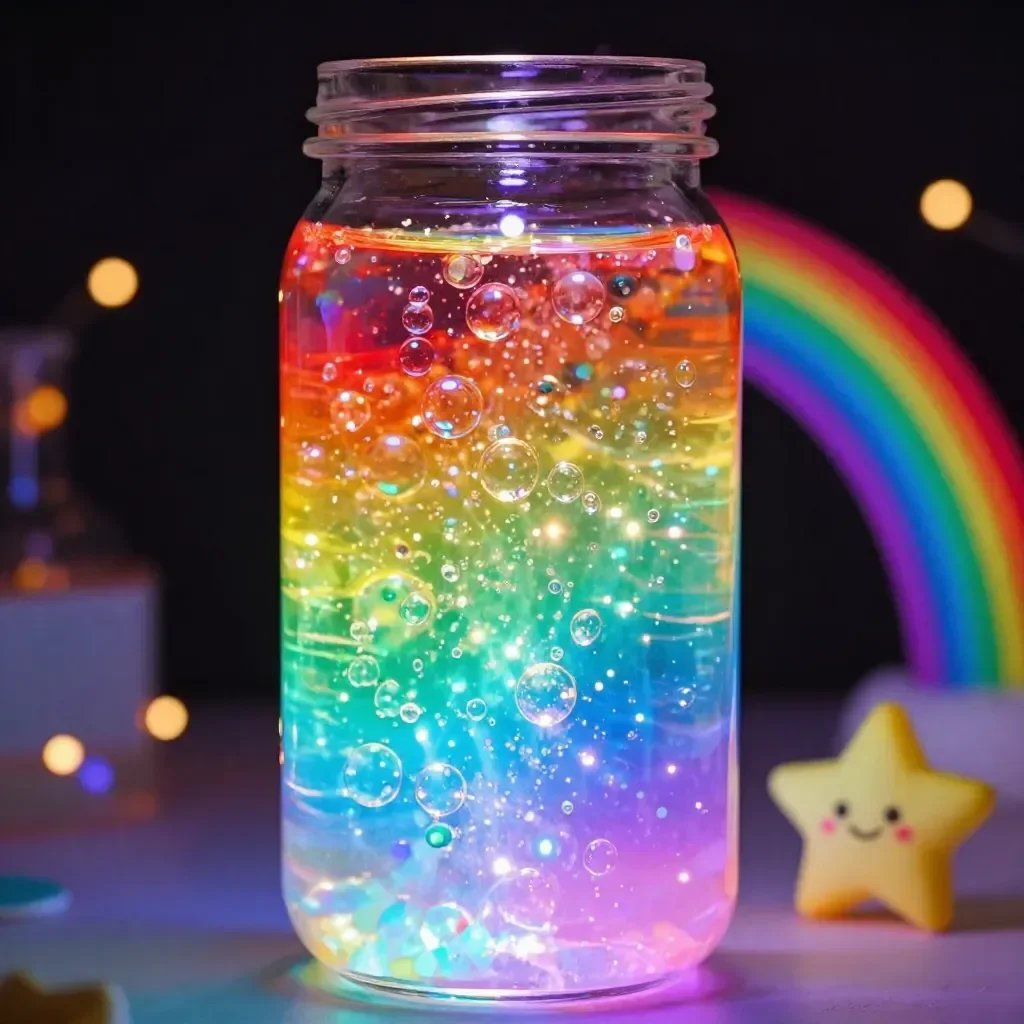
This project stands out because it’s truly low-prep and approachable. You gather a few materials that likely already sit in your pantry or cabinet, and you can create something that feels magical without the fuss. The reaction of the baking soda and vinegar creates vibrant bubbles that rise and fall, mimicking the classic lava lamp experience.
What makes this project great for families is how reliable it is. Follow the straightforward steps, and you will get a lovely result every time. Real-life schedules can be hectic, and kids rarely give a heads-up when they need a fun activity. This project fits effortlessly into those busy afternoons, providing a satisfying outcome in a short time.
A Quick Look Before You Begin
Unlike many crafts that require extensive prep or multiple steps, this Light-Up Lava Lamp Bottle is simple and swift. The whole process takes about thirty minutes, including setup, making it perfect for those brief windows of free time.
The mess level is low; you’re primarily working with liquids and powders that can be easily contained. An adult’s involvement means you’re there to supervise while also enjoying the fun. This hands-on activity allows kids to engage with the process, giving them a sense of ownership over their creation.
Materials You’ll Need
- Oil: Common household item that creates the classic lava effect.
- Water: Essential for the initial fill of your bottle.
- Food coloring: Adds that vibrant touch; you can choose whatever color sparks joy.
- Glitter: Just a sprinkle for that magical look; optional but fun.
- Dish soap: A tiny drop helps with the mixing and bubbling effect.
- Baking soda: Creates the fizzing magic; you won’t need much.
- Vinegar: This is where the action happens, so keeping it handy is key.
- Clear bottle or jar: The vessel for your creation; any clear container works.
- Small LED light or flashlight: Place it under the bottle for the final glow.
These materials are all about simplicity. You probably have them at home already, which makes this a stress-free activity.
Discover Easy Kids Activities
Looking for simple, fun ideas for kids? Explore our Low Prep Kids Activities and find quick projects that spark creativity without long prep time.
Step-by-Step Directions
- Fill the bottle halfway with water. Start by pouring water into your clear bottle. This will form the base for your lava lamp effect. Aim for about half of the bottle, leaving room for the other ingredients.
- Add oil, food coloring, glitter, and a tiny drop of dish soap. After you’ve got your water in place, it’s time to add the oil. This will float on top of the water. Then, drop in a few drops of food coloring for that splash of color. Now, sprinkle in some glitter to give it that extra magic. To help the colors mix, add just a small drop of dish soap; this will aid in the bubbling effect later on.
- Sprinkle in a little baking soda, then pour in a small splash of vinegar. The baking soda is your next ingredient. A light sprinkle will do it will create the fizz. Immediately after, carefully pour in a small amount of vinegar. This is where the real fun begins. Watch as bubbles start to form and rise through your colorful mixture.
- Place a light under the bottle and watch it glow and bubble. The grand finale involves placing a small LED light or flashlight beneath your bottle. As the light shines up through your mixture, it creates a glowing effect that mimics the look of a lava lamp. Sit back and enjoy the show!
The Learning Behind This DIY
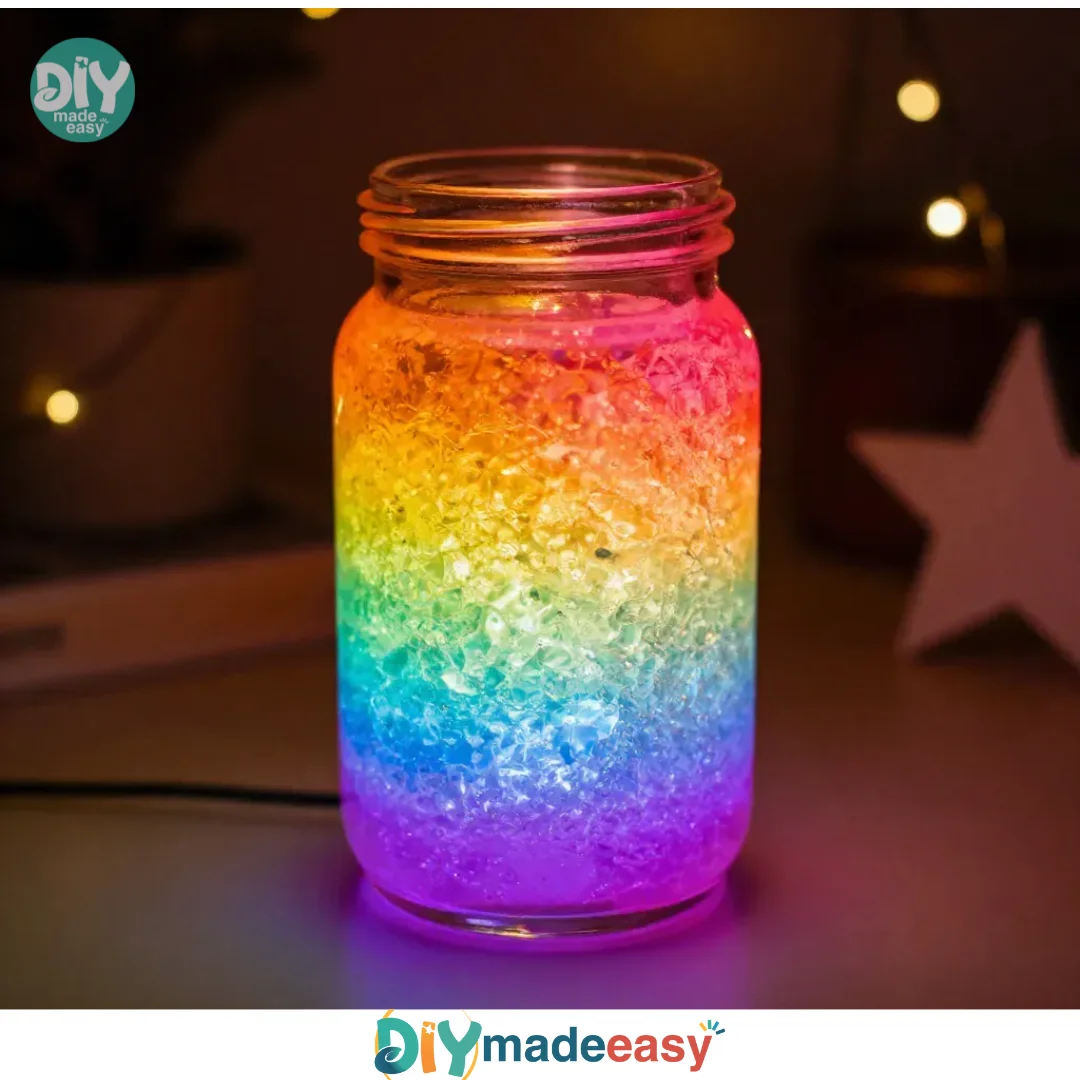
While you’re having fun, there’s a lot happening that kids can learn from this project. It introduces basic science concepts like density and chemical reactions. The oil and water don’t mix, which demonstrates how different substances interact. When the vinegar meets the baking soda, they react to create carbon dioxide bubbles, illustrating cause and effect in a visual way.
This project also promotes fine motor skills. Pouring ingredients, measuring, and managing small amounts of powders help develop dexterity. Plus, it encourages coordination between the different substances, allowing kids to see their choices come together in real-time.
Troubleshooting Common Issues
Sometimes things might not go as planned, and that’s perfectly okay! If you notice that your bubbles aren’t rising well, you may have added too much dish soap. Try using less next time. If your lava lamp seems too calm, increase the amount of baking soda or vinegar, as this can give your reaction a nice boost.
If the colors aren’t vibrant enough, consider adding more food coloring. A good rule of thumb is that you can always add more but can’t take it away, especially with color. And remember, spills happen! Have paper towels handy for quick cleanups without stress.
Easy Variations to Try
Spice up your Light-Up Lava Lamp Bottle with a few creative twists!
- Themed colors: Use colors that align with holidays or seasons. Red and green for Christmas or pastels for spring can add to the fun!
- Sparkly additions: Experiment with sequins, beads, or even small foam shapes for extra flair.
- Layering: Try to create layers by carefully pouring liquids at different rates; this can create a stunning, multi-colored lava lamp.
- Different container shapes: Change up the bottle type for different effects and aesthetics. A tall, narrow bottle will give you a different look than a wide jar.
- Ambient additions: Add scents using essential oils to enhance the sensory experience along with the visuals.
Storing or Reusing This Project
Once you’re done with your Light-Up Lava Lamp, you might wonder what to do with it. You can keep it as a decorative piece, or if you want to reuse the materials, gently layer them out. The oil and water can be separated out as they don’t mix. You can make a fresh batch for another day or even reuse some ingredients for other fun science experiments.
Cleaning up involves pouring the contents carefully into the sink. The visual mat on a surface can help minimize spills. Simply rinse your bottle out with warm water, and it’s ready for the next fun activity.
FAQs About Light-Up Lava Lamp Bottle
Will this make a big mess?
It shouldn’t be too messy, but there can be some splashes when pouring the vinegar in. It’s a good idea to prepare a workspace that can be easily cleaned. Using a tray or tablecloth can help contain anything that spills.
Is this safe for my kids to do alone?
While most of the materials are safe, it’s always a good idea to supervise young children, especially when vinegar and baking soda are involved. If your kids are under 6, you may want to do the pouring steps for them.
What if I don’t have glitter?
No problem! Glitter is optional. You can still create a bubbly, colorful reaction without it, or you could use small beads or colorful paper bits instead.
How long does it last?
The reaction will last a little while, but once the fizzing stops, it won’t have the same effect. If you want to reuse the materials, it’s best to clear it out and start fresh.
Can we store this if we like it?
Once the reaction has stopped, the mixture will settle over time. It’s not advisable to store it for long. Instead, enjoy it for a bit and then create a new batch when you’re ready for more fun.
A Final Helpful Note
Creating a Light-Up Lava Lamp Bottle can be a wonderful shared experience for the whole family. Remember to enjoy the process, be flexible with the steps, and embrace the little surprises along the way. The goal is not perfection but rather the joy of constructing something together. Celebrate the excitement of bubbles and colors, and enjoy the moment it’s all part of the fun!
PrintLight-Up Lava Lamp Bottle
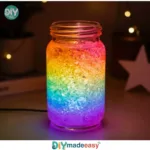
A fun hands-on craft that transforms simple household ingredients into a mesmerizing light-up lava lamp.
- Prep Time: 10 minutes
- Cook Time: 20 minutes
- Total Time: 30 minutes
- Yield: 1 Light-Up Lava Lamp 1x
- Category: Craft
- Method: DIY
- Cuisine: N/A
- Diet: N/A
Ingredients
- 1/2 cup Water
- 1/4 cup Oil
- Food coloring
- Glitter (optional)
- 1 drop Dish soap
- 1 tsp Baking soda
- 1/4 cup Vinegar
- 1 Clear bottle or jar
- 1 Small LED light or flashlight
Instructions
- Fill the bottle halfway with water.
- Add oil, food coloring, glitter, and a tiny drop of dish soap.
- Sprinkle in a little baking soda, then pour in a small splash of vinegar.
- Place a light under the bottle and watch it glow and bubble.
Notes
Have paper towels handy for quick cleanups. Supervise young children, especially when using vinegar and baking soda.
Nutrition
- Serving Size: 1 lamp
- Calories: 0
- Sugar: 0g
- Sodium: 0mg
- Fat: 0g
- Saturated Fat: 0g
- Unsaturated Fat: 0g
- Trans Fat: 0g
- Carbohydrates: 0g
- Fiber: 0g
- Protein: 0g
- Cholesterol: 0mg