

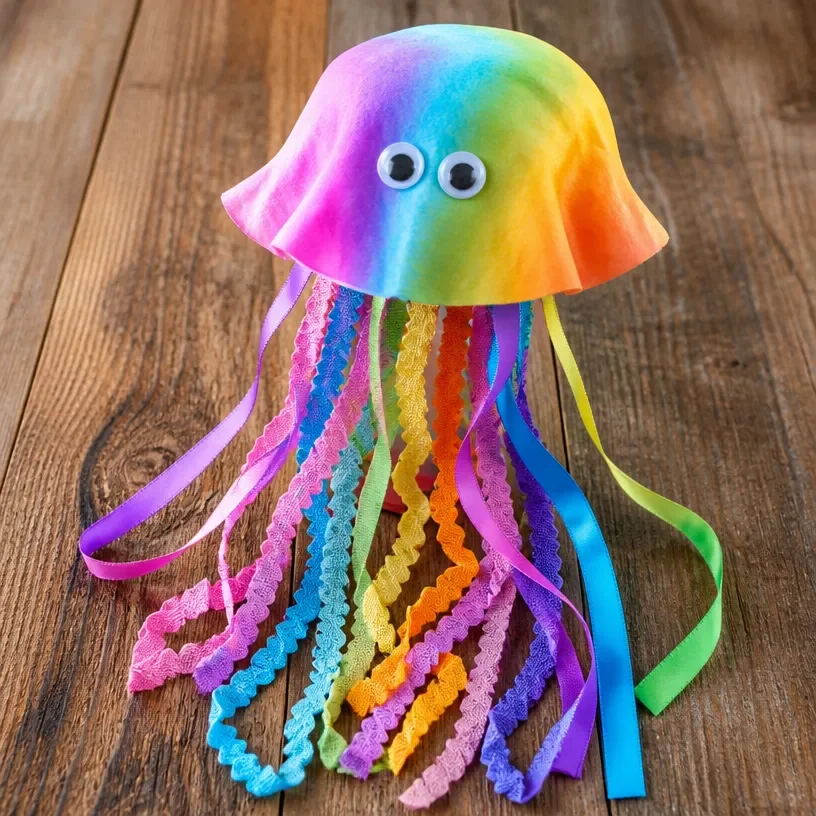
When the afternoon rolls in and kids start seeking something creative to do, a quick and engaging craft project can be a lifesaver. One charming option is the DIY Coffee Filter Jellyfish Craft. This project not only entertains but also provides a wonderful opportunity for kids to express their creativity. By following this step-by-step tutorial, you can create vibrant, whimsical jellyfish that will make a delightful addition to any space or serve as a fun gift for friends and family. Let’s explore what makes this activity so appealing and how to get started. You may also find Diy Coffee Filter Jellyfish Craft Tutorial useful.
Why This DIY Coffee Filter Jellyfish Craft: Step-by-Step Tutorial Works So Well
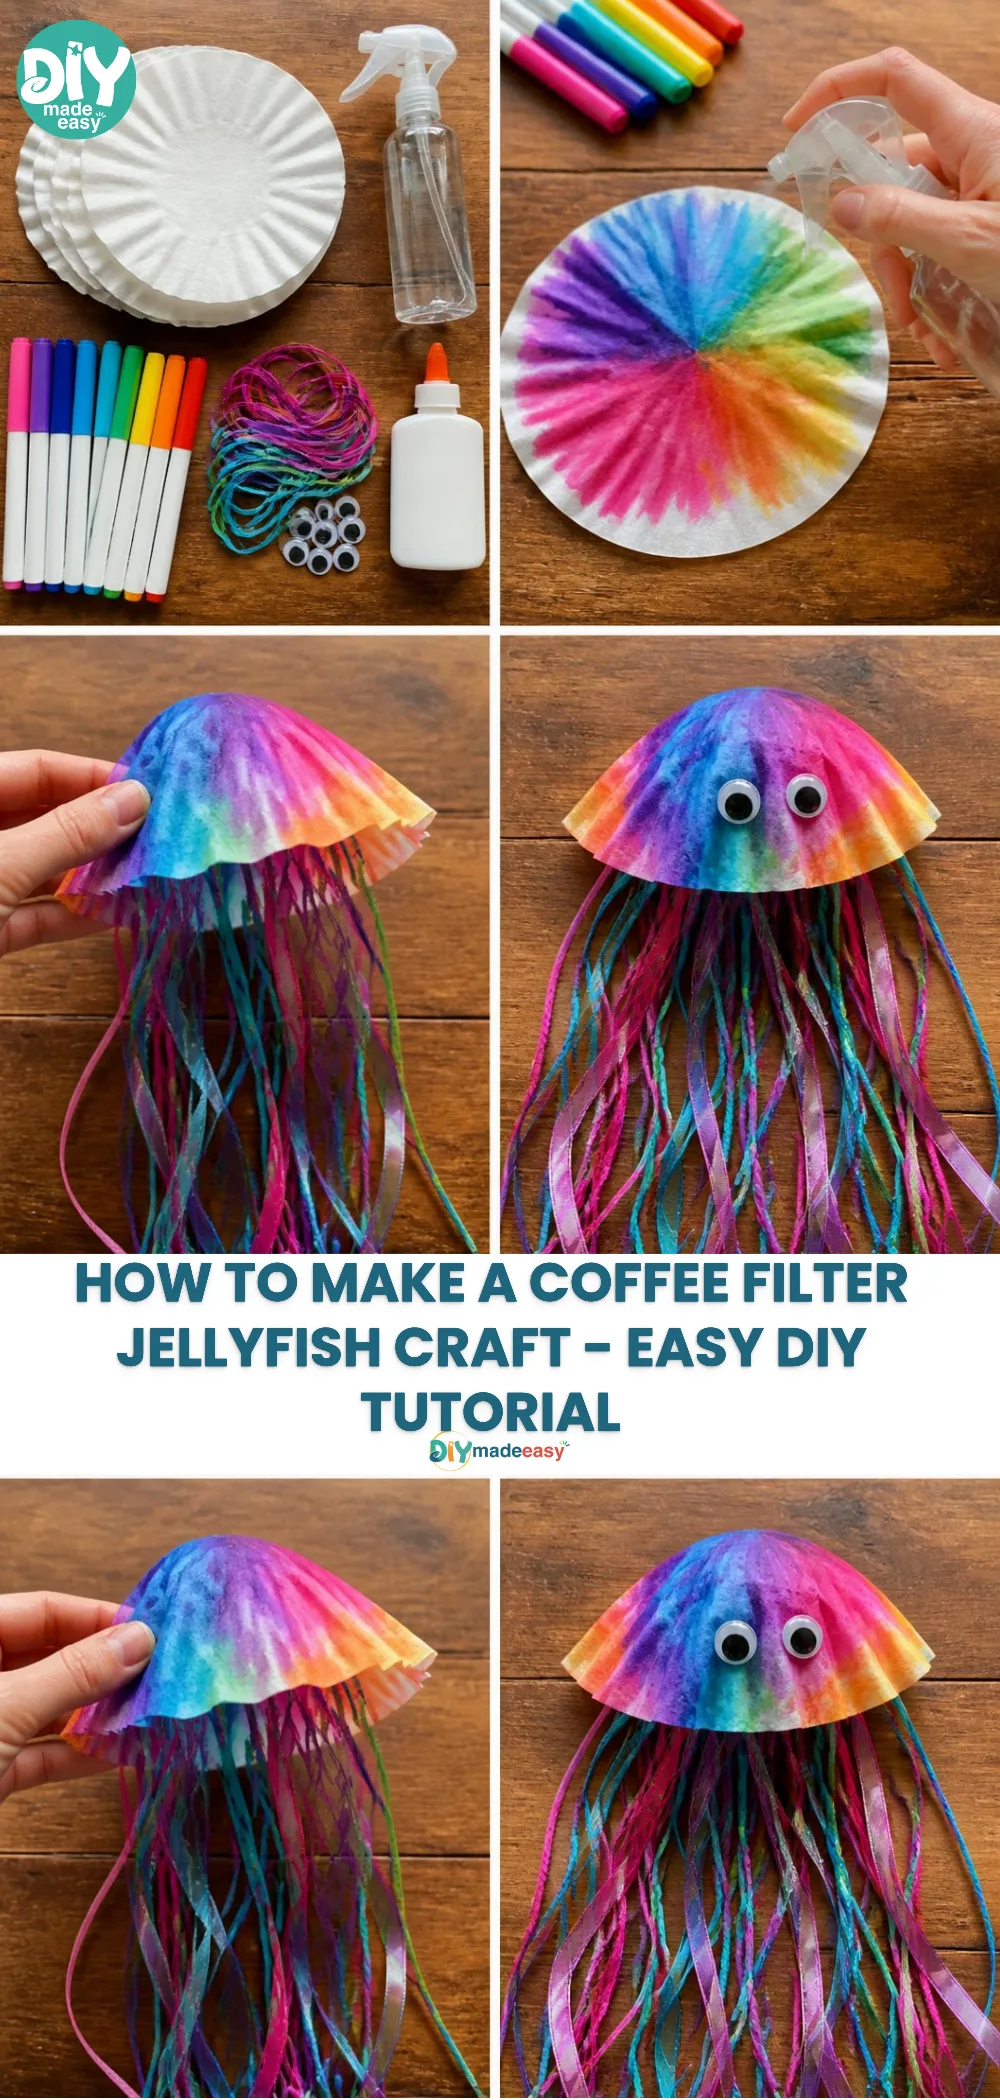
You may also find Diy Bat Garland Tie Dye Coffee Filters useful.
This DIY Coffee Filter Jellyfish Craft is perfect for a busy afternoon. It’s low-prep and approachable, requiring just a few household items that you likely already have on hand. You won’t have to spend hours preparing or gathering supplies, making it an excellent choice for last-minute crafting needs. Many parents appreciate how simple and reliable this tutorial is, allowing kids to engage in a fun activity without feeling overwhelmed. It’s also great for various age groups, meaning siblings can craft together or parents can join in for added interaction. You may also find Diy Rainbow Coffee Filter Bouquet useful.
A Quick Look Before You Begin
Embarking on this craft can be a joyful experience when you know what to expect. The entire project takes about 30 minutes, including preparation and cleanup time. Set aside a small crafting space maybe the kitchen table or a corner of the living room. You might find a few splashes of paint or glue as kids get excited and creative, but nothing too messy! This project is extremely forgiving, and any little spills can be easily wiped away. You can feel confident in your ability to guide your children through the process while having a little fun of your own. You may also find Diy Rainbow Coffee Filter Dahlia Garland useful.
Materials You’ll Need
To create your jellyfish, gather the following materials:
- Coffee filters (common household item)
- Markers (washable for easy cleanup)
- Scissors (adult supervision recommended)
- Pipe cleaners (budget-friendly and fun)
- Googly eyes (optional addition for character)
- Glue (school glue works well; optional)
- Water (for blending colors, optional)
These materials are straightforward to find, making them perfect for a spontaneous crafting session. Getting creative with colors allows children to practice their artistic skills while enjoying this activity.
Step-By-Step Directions
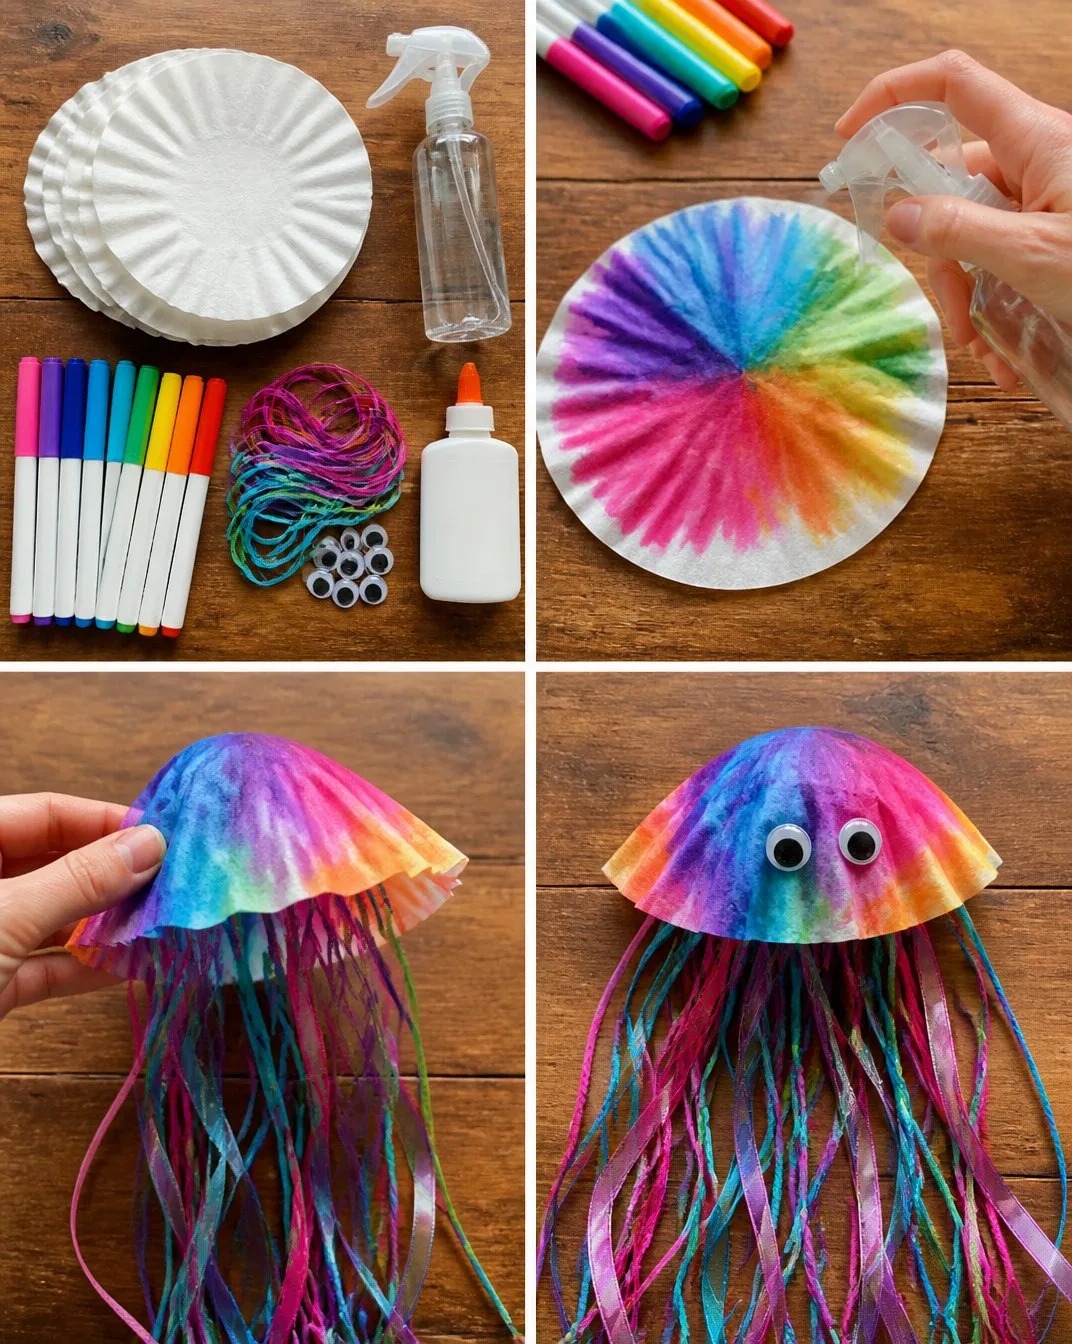
Start by taking several coffee filters and placing them on a flat surface. It’s best to use about three to add depth to your jellyfish.
Using washable markers, let children color the filters as they like. Encourage them to blend colors for a vibrant effect. Use water or a spray bottle lightly to blend colors if desired.
Once the colors are set, allow the filters to dry fully before moving on. This is crucial to prevent smudging during the next steps.
While waiting, cut the pipe cleaners into desired lengths, around 12-18 inches each depending on how long you want the jellyfish tentacles.
After the filters are dry, stack them together and pinch the center tightly. Secure them with a pipe cleaner, twisting it at the base.
Cut slits around the edges of the coffee filters to create tentacles, being careful not to cut too close to the center.
Attach googly eyes to the top of the jellyfish with glue to give it personality.
Finally, gently bend the pipe cleaner tentacles into wavy shapes to mimic the movement of jellyfish in the water.
As you go through the steps, remind kids to express themselves and make each jellyfish unique.
The Learning Behind This DIY
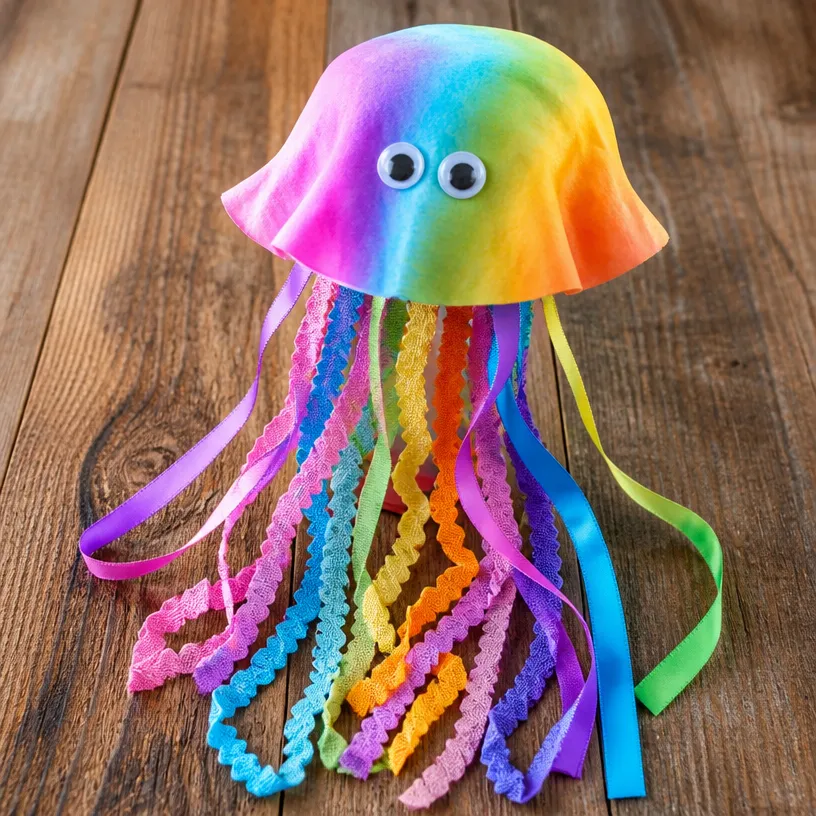
This DIY project not only results in a fun craft but also fosters several learning opportunities for kids. While coloring, children practice fine motor skills, enhancing their grip and control. As they manipulate pipe cleaners and cut filters, they’re improving their coordination. Additionally, this project introduces them to basic concepts of color mixing and cause-and-effect relationships as they see how colors change when combined. The ability to visualize their progress and make adjustments encourages creativity and critical thinking.
Troubleshooting Common Issues
If the coffee filters become too soggy during coloring, they may tear. In that case, remind children to use water sparingly. If the jellyfish looks uneven, cutting more tentacles and adjusting their shape can easily rectify it. Encouraging kids to experiment and adapt will help them see mistakes as part of the creative process rather than setbacks.
Easy Variations to Try
For those looking to add a unique twist, consider these fun variations:
- Add glitter to the coffee filters once they are dry for some sparkle.
- Hang them from the ceiling or make a mobile by adding more jellyfish for a themed room decor.
- Create a full underwater scene where jellyfish mingle with other crafts like DIY rainbow coffee filter bouquet flowers or colorful fish.
Kids can let their imaginations run wild while trying these variations, making the project even more versatile.
Storing or Reusing This Project
After completing your jellyfish, you can store them safely in a box or hang them up for display. If an art space is used, set reminders about cleaning up and putting supplies back in their rightful place. This teaches kids about responsibility while maintaining a clutter-free environment. Moreover, if any jellyfish get damaged, the materials are readily available to make more without hassle.
FAQs About DIY Coffee Filter Jellyfish Craft: Step-by-Step Tutorial
One common concern parents might have is the potential mess involved in this craft. Don’t worry too much; most spills can be cleaned up easily with a damp cloth. It’s advisable to cover the working surface with newspaper or a table cover to minimize cleanup afterward.
Another question may involve age appropriateness. Kids around preschool age can participate, but adult supervision is recommended during cutting and handling scissors. While many children will be fine doing most of the steps independently, it’s certainly a fun time when adults join in on the fun!
Some parents might wonder about how the results will turn out. While each jellyfish will be unique, reminding kids that it’s the process, not perfection, that matters can ease any worries.
If you find you have leftover materials, storing the extra coffee filters and pipe cleaners will allow your family to revisit this activity and keep the creative juices flowing without the need for new supplies.
A Final Helpful Note
When it comes to this DIY Coffee Filter Jellyfish Craft, remember to embrace the simplicity and fun of the process. Allow your kids to explore their creativity without the pressure of making everything perfect. So, gather those materials and enjoy the time spent crafting together; it’s all about the experience!
Conclusion
Crafting can be a delightful and engaging family activity. To expand your creativity even further, explore more about making jellyfish with easy methods by visiting Easy Coffee Filter Jellyfish Craft (Simple for Kids!) and discover other exciting projects like the Jellyfish Craft Made from Coffee Filters. Enjoy the journey of crafting together, and let those vibrant jellyfish swim into your home décor or gift-giving occasions!