

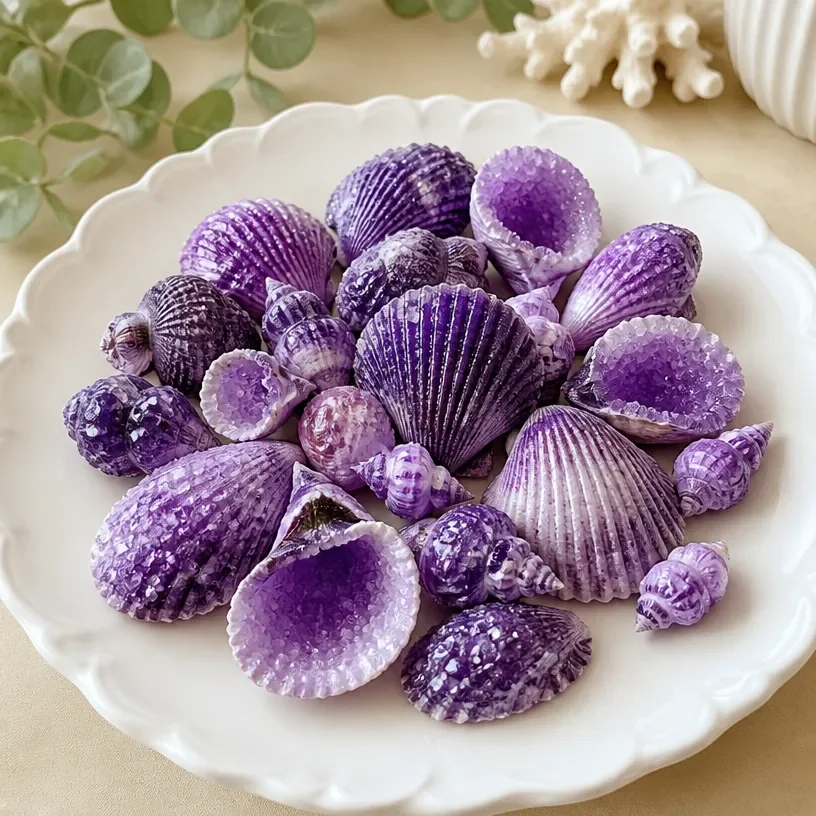
Creating DIY Crystal Seashells into Ocean Treasures can be a fantastic way to entertain kids during a busy afternoon. The other day, while searching for something creative to fill our time, my little ones expressed a sudden urge to make something that reminded them of the beach. That’s when I stumbled upon the idea of transforming simple shells into colorful treasures, combining flexibility with fun. This project is not only engaging but also brings a touch of nature indoors, resulting in beautiful, decorative pieces that can be kept as mementos or gifted to family and friends. To kick things off, let’s dive deeper into why making DIY Crystal Seashells is an enjoyable experience for all. You may also find Crystal Seashells Transform Into Ocean useful.
Why This DIY Crystal Seashells Into Ocean Treasures Works So Well
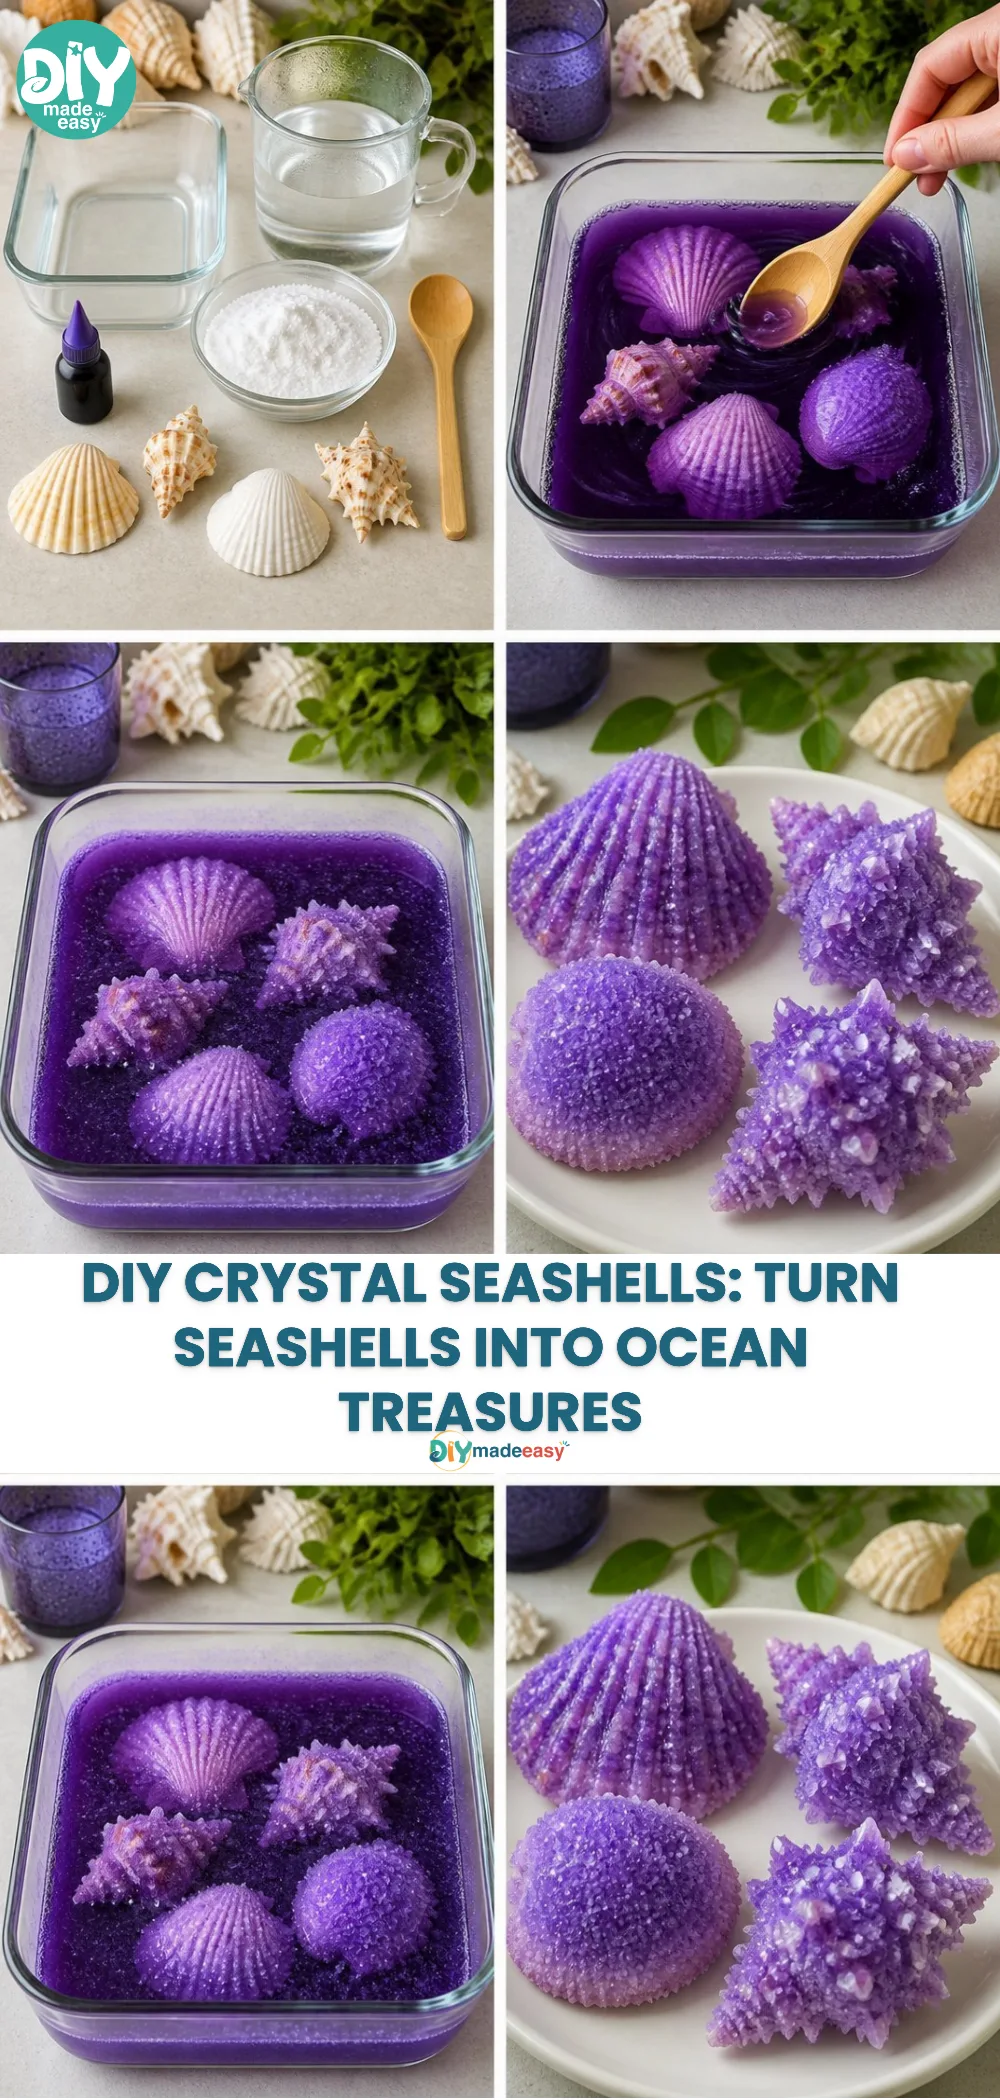
You may also find Diy Crystal Seashells Step By Step Guide useful.
There are many reasons this DIY project is an excellent choice for families. First and foremost, creating DIY Crystal Seashells is a low-prep activity. All you really need are some shells and basic ingredients. Plus, it provides an opportunity to connect with nature while engaging in a fun craft.
This project is approachable, too. It doesn’t require special skills or previous experience; anyone can participate and have a great time. It’s also reliable most families will find that they can create lovely results with minimal effort. Furthermore, the fact that it’s suitable for real-life schedules means you can start this project any time you have a free afternoon.
A Quick Look Before You Begin
Before diving into this crafting adventure, let’s take a moment to consider what you’ll encounter. The total time for making DIY Crystal Seashells generally takes about an hour, allowing room for chatting, sharing ideas, and some trial and error. The setup is straightforward, with materials commonly found around the home, making it easy to jump right in.
You might encounter a few spills or splatters during the crafting process, so laying down some newspaper or a plastic tablecloth could help with cleanup. Rest assured, adult involvement can be kept at a minimum, as kids can manage most of the steps with just a little guidance.
Materials You’ll Need
Here’s a simple list of materials you’ll want to have on hand, taken directly from this recipe:
- Natural seashells (your kids might love choosing their favorites)
- Plastic container or large bowl for mixing
- Water (easy to access)
- Sugar (performs an essential role in crystallization)
- Food coloring (optional for adding color)
- Baking sheet (for drying)
Each of these items is either a common household item or easily obtainable at local stores, ensuring no extensive shopping trips are necessary.
Step-by-Step Directions
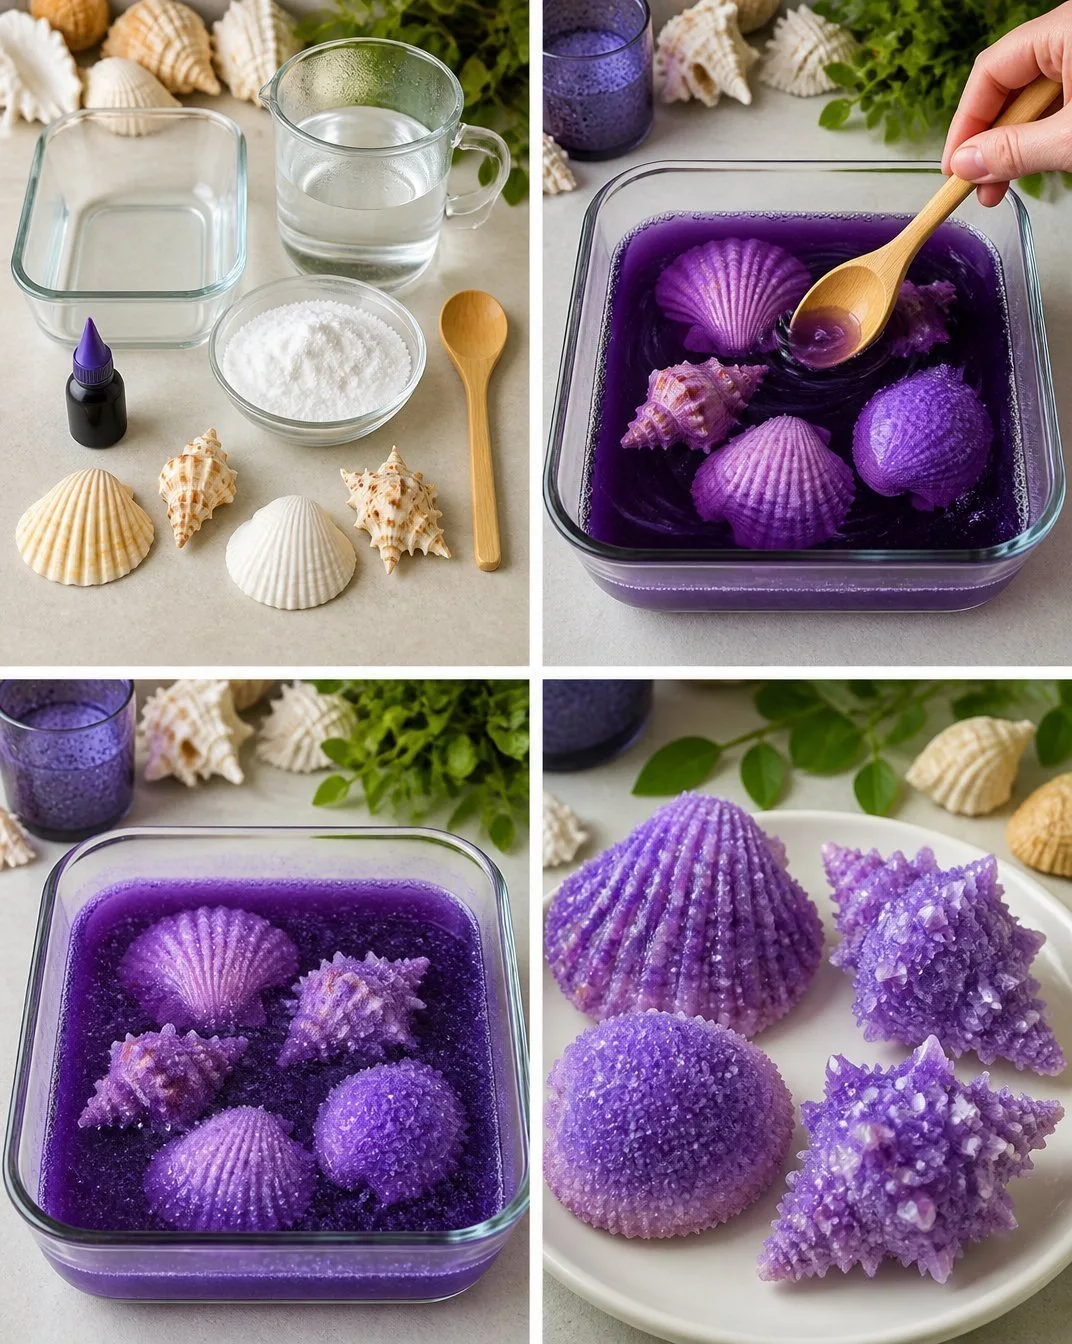
Let’s walk through the steps needed to bring your DIY Crystal Seashells to life:
Prepare the shells: Begin by rinsing natural seashells thoroughly to remove any sand or debris. This will ensure the sugar solution sticks well.
Mix your solution: In a plastic container, combine 1 cup of water with 2 cups of sugar. Stir until the sugar fully dissolves. This step may take a bit of time but ensures that the crystals form properly later on.
Add color: If you’re using food coloring, add a few drops into the solution and mix until you achieve your desired color. This is where your creativity shines!
Soak the shells: Submerge the clean shells into the solution for about an hour. This allows them to absorb the mixture, which later dries and forms the crystal effect.
Prepare for drying: Once soaked, carefully remove the shells from the solution, shaking off excess liquid. Place them on a baking sheet lined with parchment paper, ensuring they are spaced out to avoid sticking together during the drying process.
Dry the shells: Allow the shells to dry completely for 24-48 hours. The longer they dry, the more beautiful crystals will form, creating that oceanic treasure feel.
Final touches: Once the shells are dry, consider adding more decorative elements if desired. Kids can sprinkle extra sugar on the surface for added texture or even paint designs on the shells.
Display your treasures: Encourage kids to find special spots to showcase their creations, whether on a shelf, in a shadow box, or as part of a larger nature display.
The Learning Behind This DIY
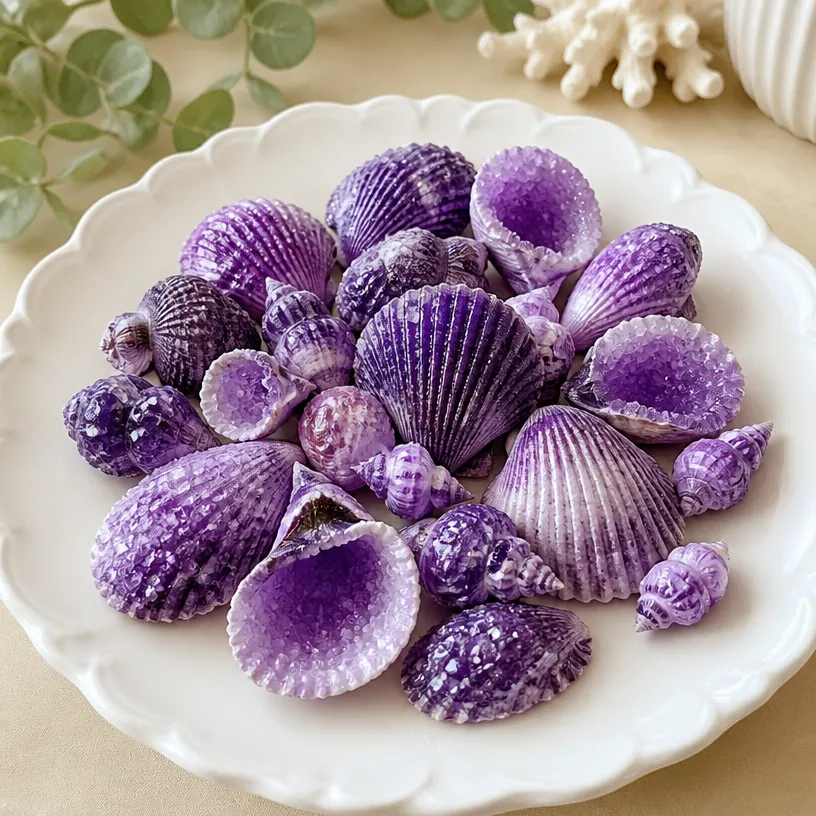
While making DIY Crystal Seashells, kids engage in learning without even realizing it. They practice science concepts such as solubility and crystallization. Mixing sugar and water provides a hands-on look at how solutions work and react with each other. The physical act of pouring and stirring also helps improve fine motor skills and hand-eye coordination.
Furthermore, the concept of waiting for the shells to dry introduces patience, teaching kids about time management and anticipation. These subtle lessons in cause and effect and measurement not only make crafting fun but also educational.
Troubleshooting Common Issues
If something doesn’t go as planned, don’t worry; it happens to everyone. Here are some quick fixes that really help:
If the shells don’t look sparkly: This can happen if the sugar didn’t fully dissolve before the shells were soaked. Make sure the solution is well stirred until all sugar is dissolved next time.
Excess liquid on shells: If too much liquid remains on the shells before drying, it might dilute the crystal effect. Shake off the excess thoroughly before placing them on the baking sheet.
Crystals aren’t forming well: Ensure the shells are in a warm, dry area while drying. A cool environment may affect the crystallization process, leading to less impressive results.
Easy Variations to Try
Consider these simple suggestions to change up your DIY Crystal Seashells project:
Seasonal themes: You could use different colors for various holidays like green for St. Patrick’s Day or orange for Halloween.
Add glitter: For a dazzling effect, sprinkle some edible glitter on the shells before they dry, giving them an enchanting look.
Incorporate other shells: Try using different types of seashells or incorporating other natural items like pebbles or small stones.
Create ocean scenes: Have children create a small diorama with the shells, sand, and other decorations to complement their newfound treasures.
Gift ideas: Turn this craft into personalized gifts for friends or family by nicely packaging the shells in small gift boxes or jars.
Storing or Reusing This Project
After completing the project, consider how to maintain your DIY Crystal Seashells. If you choose to keep them, find a safe spot where they won’t get knocked over. Using a decorative bowl can keep them organized and visible.
If you’re worried about cleanup, most materials are easily washed away. Just be sure to rinse the container and any utensils quickly to avoid sticky residue.
FAQs About DIY Crystal Seashells Into Ocean Treasures
How messy is this project?
This DIY can get a little sticky, mainly during the mixing phase. Using a designated workspace and covering it with newspaper can help minimize any mess.
Is this safe for younger children?
Yes! Most of the materials used, like sugar and shells, are safe. Always supervise younger children, especially when working with small items.
Can I substitute sugar?
While sugar is essential for crystallization, you can experiment with alternative sweeteners, though results may vary.
How do I store these shells after making them?
Store dry shells in a container away from direct sunlight to prevent fading. They can stay beautiful for a long time!
Do crystals always form perfectly?
Not always, and that’s okay! Each project may yield different results. The focus should be less on perfection and more on enjoying the process.
Conclusion
Creating DIY Crystal Seashells into Ocean Treasures can lead to a delightful crafting experience that not only entertains but educates as well. If you’re looking for additional fun projects, consider exploring the Ocean Treasures Bead Kit for more crafting possibilities. For even more ideas on similar DIY creations, you can check out Crystal Seashells for Beginners. By engaging with these fun, hands-on projects, you’ll not only create beautiful keepsakes but also foster creativity and learning in a memorable way.
PrintDIY Crystal Seashells into Ocean Treasures
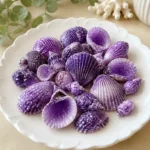
Transform simple seashells into colorful, crystal treasures with this fun DIY project, perfect for kids and families.
- Prep Time: 15 minutes
- Cook Time: 0 minutes
- Total Time: 60 minutes
- Yield: Varies based on number of shells used
- Category: Crafts
- Method: Crafting
- Cuisine: N/A
- Diet: N/A
Ingredients
- Natural seashells
- Plastic container or large bowl
- 1 cup water
- 2 cups sugar
- Food coloring (optional)
- Baking sheet
Instructions
- Prepare the shells: Rinse the natural seashells thoroughly to remove any sand or debris.
- Mix your solution: In a plastic container, combine water and sugar, stirring until fully dissolved.
- Add color: If using food coloring, mix in a few drops to achieve desired color.
- Soak the shells: Submerge the shells in the solution for about an hour.
- Prepare for drying: Remove shells from the solution, shaking off excess liquid, and place on a baking sheet.
- Dry the shells: Allow to dry completely for 24-48 hours.
- Final touches: Add decorative elements if desired, such as extra sugar or paint.
- Display your treasures: Showcase shells in special spots or create a nature display.
Notes
Ensure you supervise younger children during the project and keep a designated workspace for minimal mess.
Nutrition
- Serving Size: 1 collection of seashells
- Calories: 0
- Sugar: 0g
- Sodium: 0mg
- Fat: 0g
- Saturated Fat: 0g
- Unsaturated Fat: 0g
- Trans Fat: 0g
- Carbohydrates: 0g
- Fiber: 0g
- Protein: 0g
- Cholesterol: 0mg