

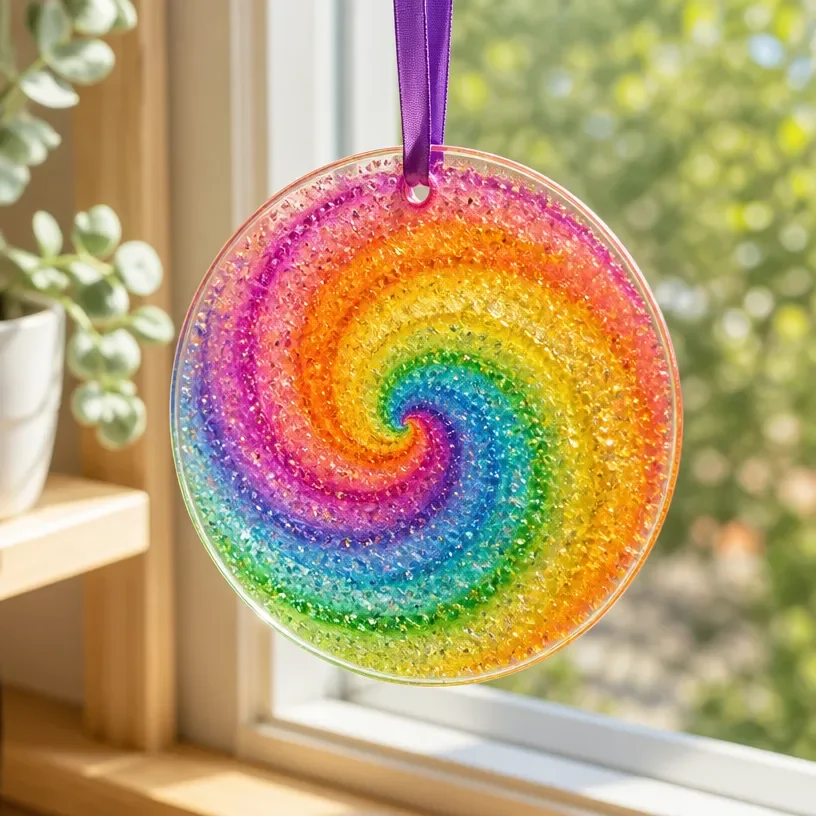
DIY Swirled Glue Suncatchers for Window Decor You may also find Diy Glue Suncatchers Easy Window Decor useful.
On a busy afternoon, when kids start looking for something creative to do, DIY Swirled Glue Suncatchers for Window Decor can be the perfect solution. This simple craft project uses basic materials you probably already have at home, turning an ordinary afternoon into a colorful art experience. With just a bit of time and effort, you can engage your little ones in a fun activity that results in vibrant, shimmering decorations. It’s a wonderful way to bring some handmade cheer to your windows, making the world outside feel a bit more magical. You may also find Diy Glue Suncatchers useful.
Why This DIY Swirled Glue Suncatchers for Window Decor Works So Well
You may also find Diy Pressed Flower Rainbow Window Medallions Home Decor useful.
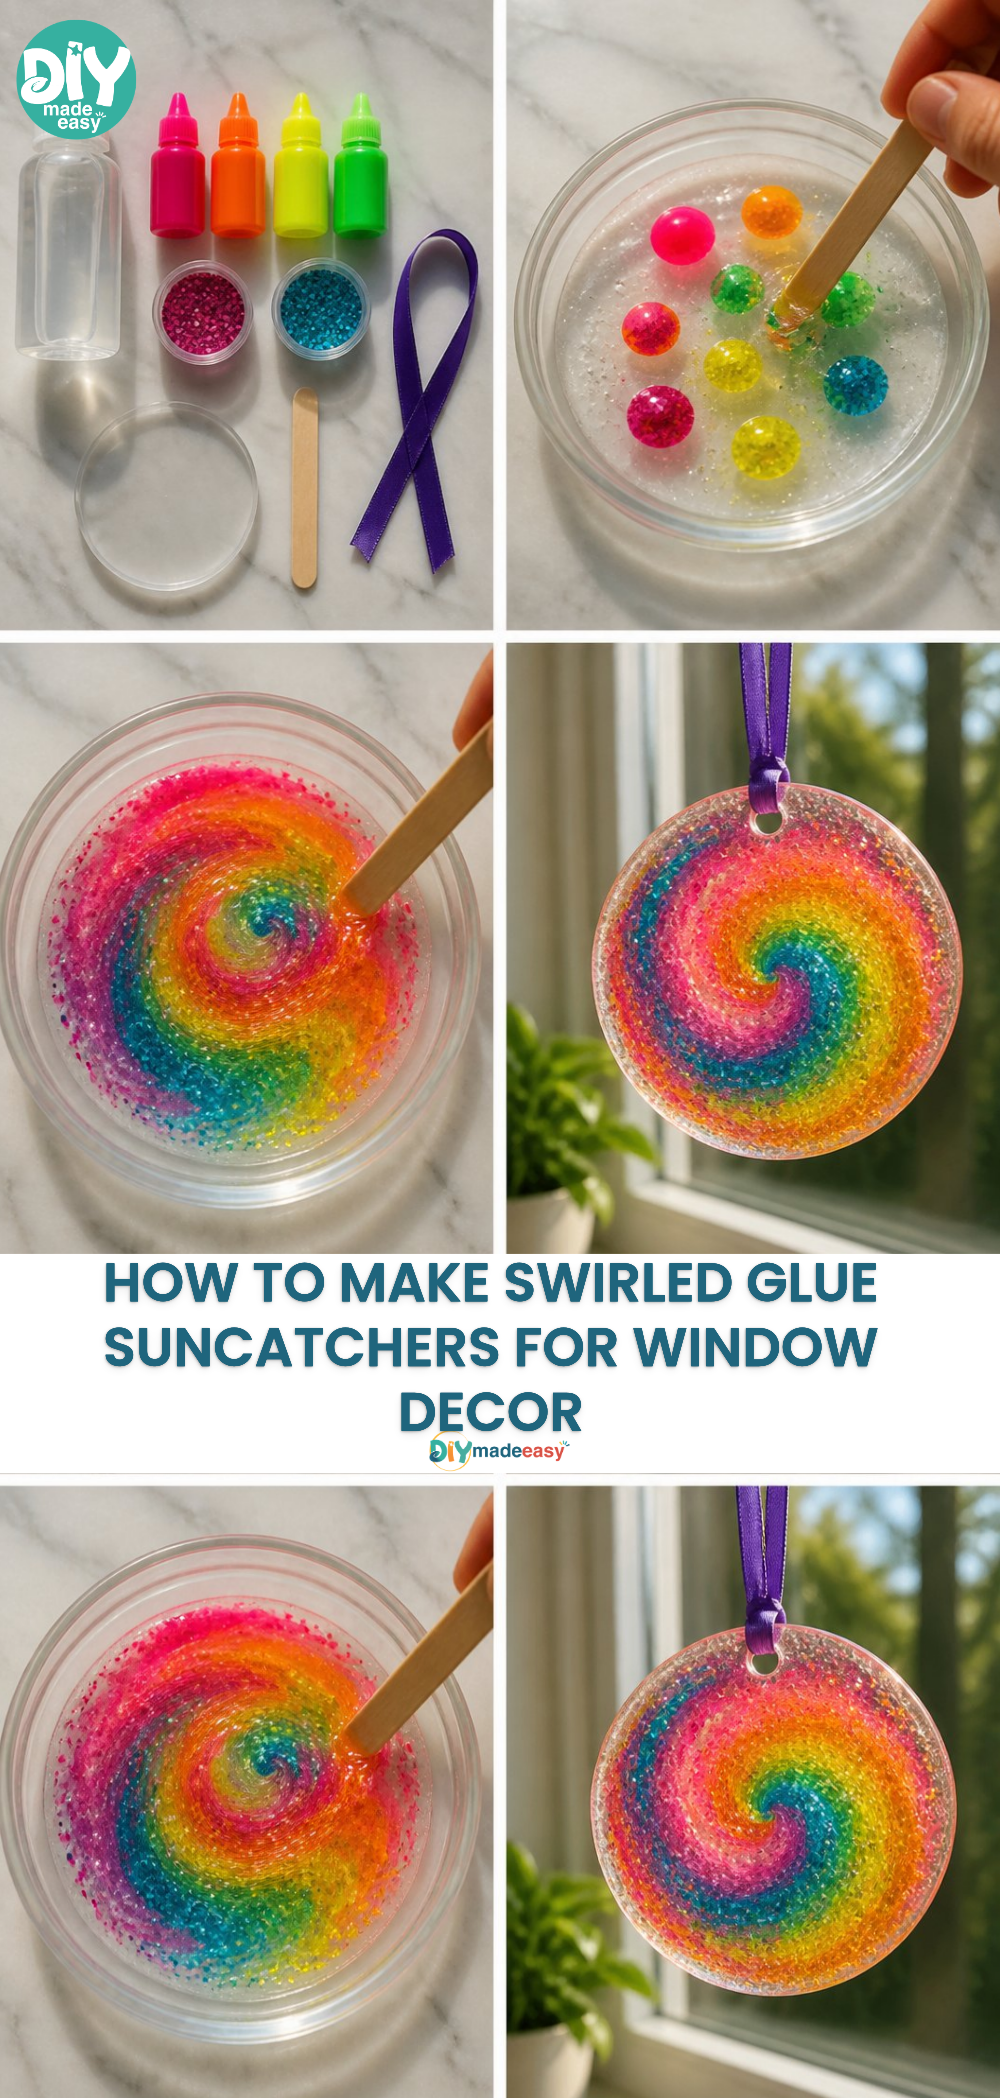
This project is an excellent choice for families for several reasons. First, it’s remarkably low-prep, which means you won’t spend hours gathering materials or setting up. All you need are common supplies, making it approachable for any child and adult team. The process is reliable, too; with straightforward steps, you can count on getting pleasing results. Most importantly, it fits well into real-life schedules. Whether you’re tackling the project on a rainy day or need a last-minute activity, it’s flexible enough to accommodate both planned craft sessions and spontaneous creativity. You may also find Swirled Glue Suncatchers Glow Softly useful.
A Quick Look Before You Begin
Before diving into the crafting process, take a moment to understand how this DIY comes together. The entire project can generally be completed within an hour, including drying time. The setup is simple, often entailing just a single table space or even using the kitchen counter. While some glue and color might lead to a bit of mess, encouraging your kids to be mindful during the activity can help keep cleanup manageable. Adults might want to supervise the initial steps, especially when handling the glue, but the actual creative expression will largely come from the kids.
Materials You’ll Need
To create your DIY Swirled Glue Suncatchers, gather the following materials:
- White school glue (common household item)
- Liquid food coloring (easy substitute for other colorants)
- Wax paper (budget-friendly and readily available)
- Plastic squeeze bottles or pastry bags (optional for more control)
- Paper towels (for cleanup)
These supplies will give you a solid foundation for making beautiful, colorful window decorations.
Step-by-Step Directions
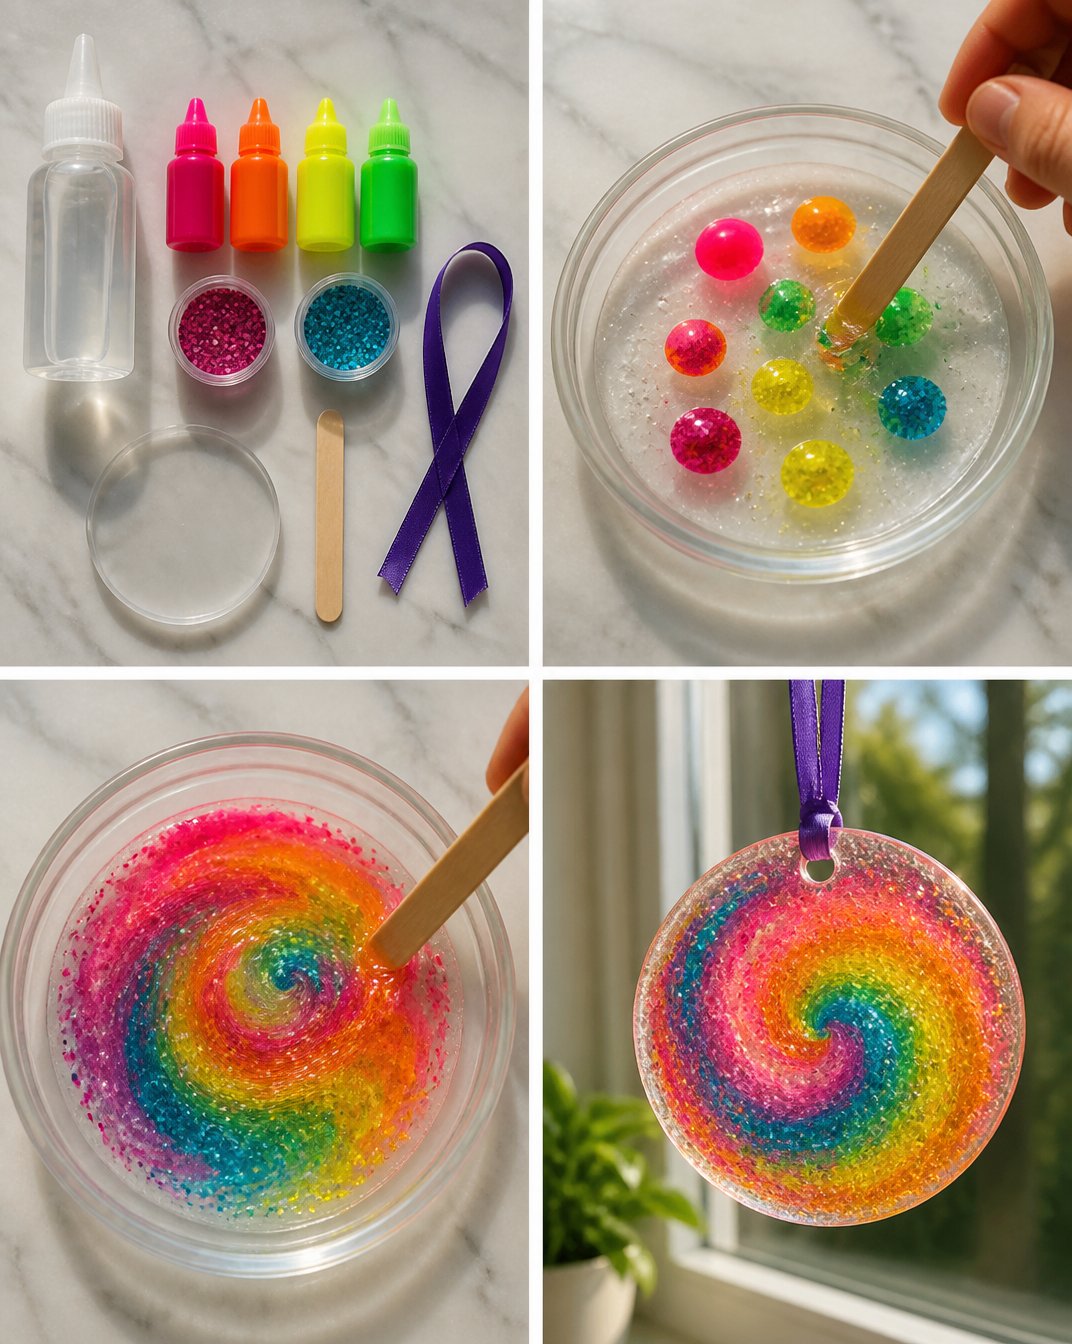
Prepare your workspace. Choose a flat surface that’s easy to clean. Lay down a few sheets of wax paper to catch any drips or spills.
Mix the colors. In small bowls, combine white glue with a few drops of liquid food coloring. Encourage your child to create different shades by mixing colors together.
Fill the squeeze bottles. If you have plastic squeeze bottles, have your child carefully pour the colored glue mixtures into the bottles for easier application. If not, you can also use pastry bags.
Create your design. Let your child draw their desired shapes or patterns directly onto the wax paper using the colored glue. They can swirl colors together for an eye-catching effect.
Let it dry. Allow your creations to dry completely, which may take about 24 hours depending on the thickness of the glue.
Peel and stick. Once dry, gently peel the suncatchers off the wax paper. You can use clear tape to adhere them to your windows, ensuring the sunlight can shine through beautifully.
Admire your work. Step back and enjoy the vibrant changes in your space, especially as sunlight passes through the colorful glue.
The Learning Behind This DIY
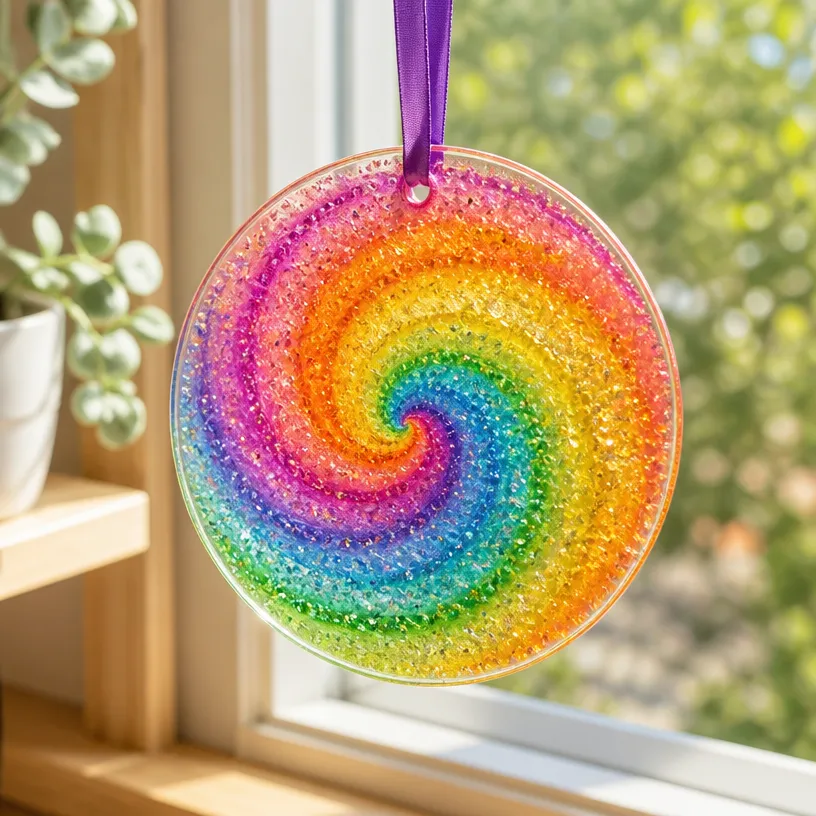
While creating these suncatchers, kids practice various skills. The act of mixing colors fosters creativity and artistic expression. They also refine fine motor skills as they squeeze glue and manipulate patterns. This project can serve as a simple introduction to basic color theory, helping children understand how colors blend. Watching their creations transform as they dry is a delightful cause-and-effect lesson, reinforcing their understanding of patience and anticipation.
Troubleshooting Common Issues
If something doesn’t go as planned while making your DIY Swirled Glue Suncatchers, don’t worry! Here are a few common problems and their easy fixes:
- The glue doesn’t spread well. If the glue is too thick, consider adding a tiny bit of water to the mixture.
- Colors become muddy. If blending colors results in browns or dull shades, encourage kids to use cleaner colors or limit the number of colors mixed together.
- Suncatchers are hard to remove from wax paper. Make sure the glue is completely dry before peeling it off gently; otherwise, you can use a thin plastic spatula to help lift them off.
Easy Variations to Try
For those looking to add a personal twist, here are several variations you might enjoy trying:
- Patterned shapes. Instead of freehand designs, use cookie cutters as outlines for creating different shapes.
- Seasonal themes. Match the colors and shapes to the current season, like autumn leaves or spring flowers.
- Layered suncatchers. Encourage kids to create multiple layers of colors for a more textured look.
- Using glitter. Mix in some glitter for added sparkle, dazzling when the sun hits them.
Storing or Reusing This Project
After all your crafting, think about storage and cleanup. If you have left-over colored glue, you can save it in sealed containers for later use, simply ensuring they are airtight to prevent drying. The completed suncatchers can be reused or stored flat. To keep your space tidy, always have a few paper towels handy
for any spills or glue drips during the crafting session.
FAQs About DIY Swirled Glue Suncatchers for Window Decor
What if my kids make a mess? It’s totally normal for glue projects to get a little messy! Just set up your workspace with some paper towels or old newspapers to catch spills. Most of the time, a damp cloth will ease the cleanup.
Are these safe for younger kids? Yes! Using white school glue is generally safe for kids, but adult supervision is always a smart idea, especially for younger children to ensure they don’t ingest any materials.
Can we change the colors? Absolutely! Kids can make their suncatchers unique by mixing various colors of food dye to see what fun shades they can create.
How long should we let them dry? For best results, allow the suncatchers to dry completely, typically 24 hours, to become sturdy and ready for attaching to windows.
Can we save them for next year? Yes! If stored properly, these suncatchers can last through the seasons and be reused year after year.
Conclusion
Creating DIY Swirled Glue Suncatchers offers a wonderful blend of creativity and learning for children. You can further explore playful suncatcher projects with additional resources, such as this guide on a colorful DIY glue suncatcher craft or delve into the fun world of cosmic suncatchers with this article on how to make cosmic suncatchers. Whichever direction you choose, embrace the messy, fun, and colorful journey along the way.
PrintDIY Swirled Glue Suncatchers for Window Decor
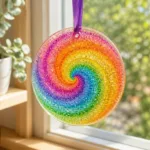
A fun and creative way for kids to make colorful window decorations using simple materials.
- Prep Time: 15 minutes
- Cook Time: 0 minutes
- Total Time: 60 minutes
- Yield: Creating multiple suncatchers
- Category: Crafts
- Method: Crafting
- Cuisine: N/A
- Diet: N/A
Ingredients
- White school glue
- Liquid food coloring
- Wax paper
- Plastic squeeze bottles or pastry bags (optional)
- Paper towels
Instructions
- Prepare your workspace. Choose a flat surface that’s easy to clean and lay down wax paper.
- Mix the colors in small bowls by combining white glue with a few drops of liquid food coloring.
- Fill the squeeze bottles with the colored glue mixtures for easier application.
- Create your design by letting your child draw shapes onto the wax paper using the colored glue.
- Let it dry completely, which may take about 24 hours depending on the thickness of the glue.
- Peel the suncatchers off the wax paper and use clear tape to adhere them to your windows.
- Admire your work after the sunlight shines through, bringing vibrant colors to your space.
Notes
Use cookie cutters for shapes, try seasonal colors, or add glitter for extra sparkle!
Nutrition
- Serving Size: 1 suncatcher
- Calories: 0
- Sugar: 0g
- Sodium: 0mg
- Fat: 0g
- Saturated Fat: 0g
- Unsaturated Fat: 0g
- Trans Fat: 0g
- Carbohydrates: 0g
- Fiber: 0g
- Protein: 0g
- Cholesterol: 0mg