

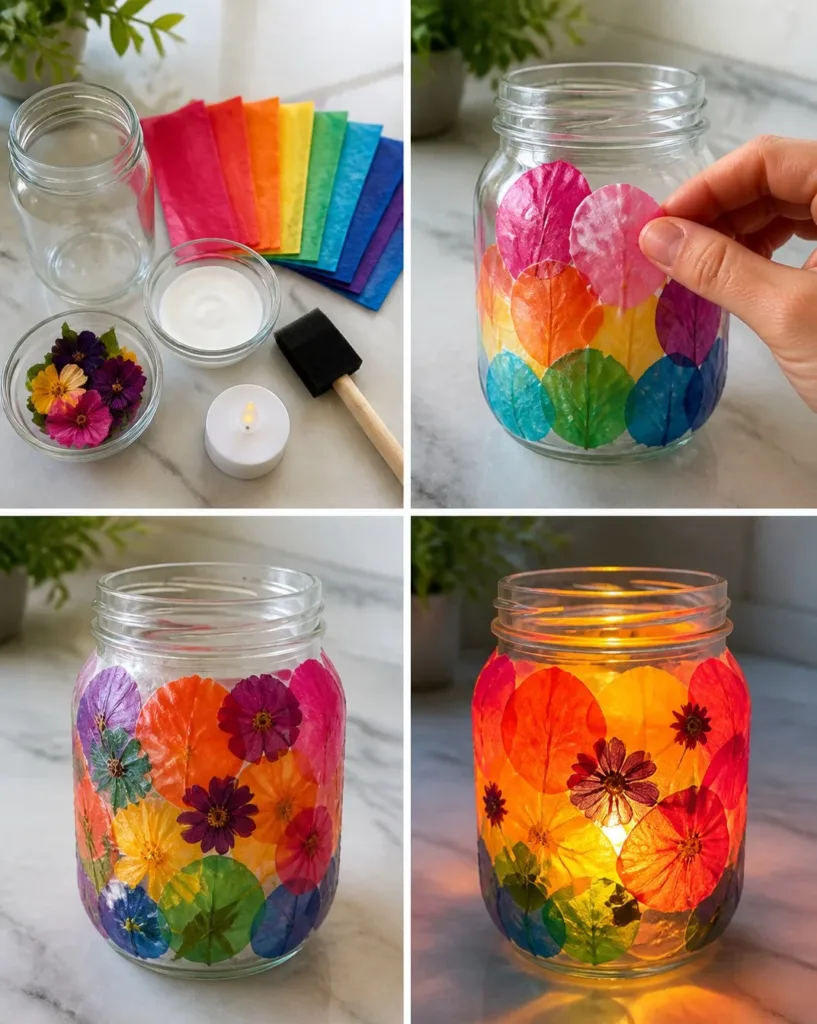
The sun was shining brightly on a busy afternoon when the kids rushed into the kitchen, eager to create something beautiful. With a last-minute activity need, I suggested we make a Rainbow Tissue-Paper Flower Lantern. This project is not just a fun way to spend time together, but it also adds a lovely touch of color to our home. Gathering simple materials like a clear plastic jar and vibrant tissue paper, we prepared to embark on this straightforward yet rewarding craft. You may also find Diy Rainbow Tissue Paper Hot Air Balloon Craft useful.
Why This Rainbow Tissue-Paper Flower Lantern Works So Well
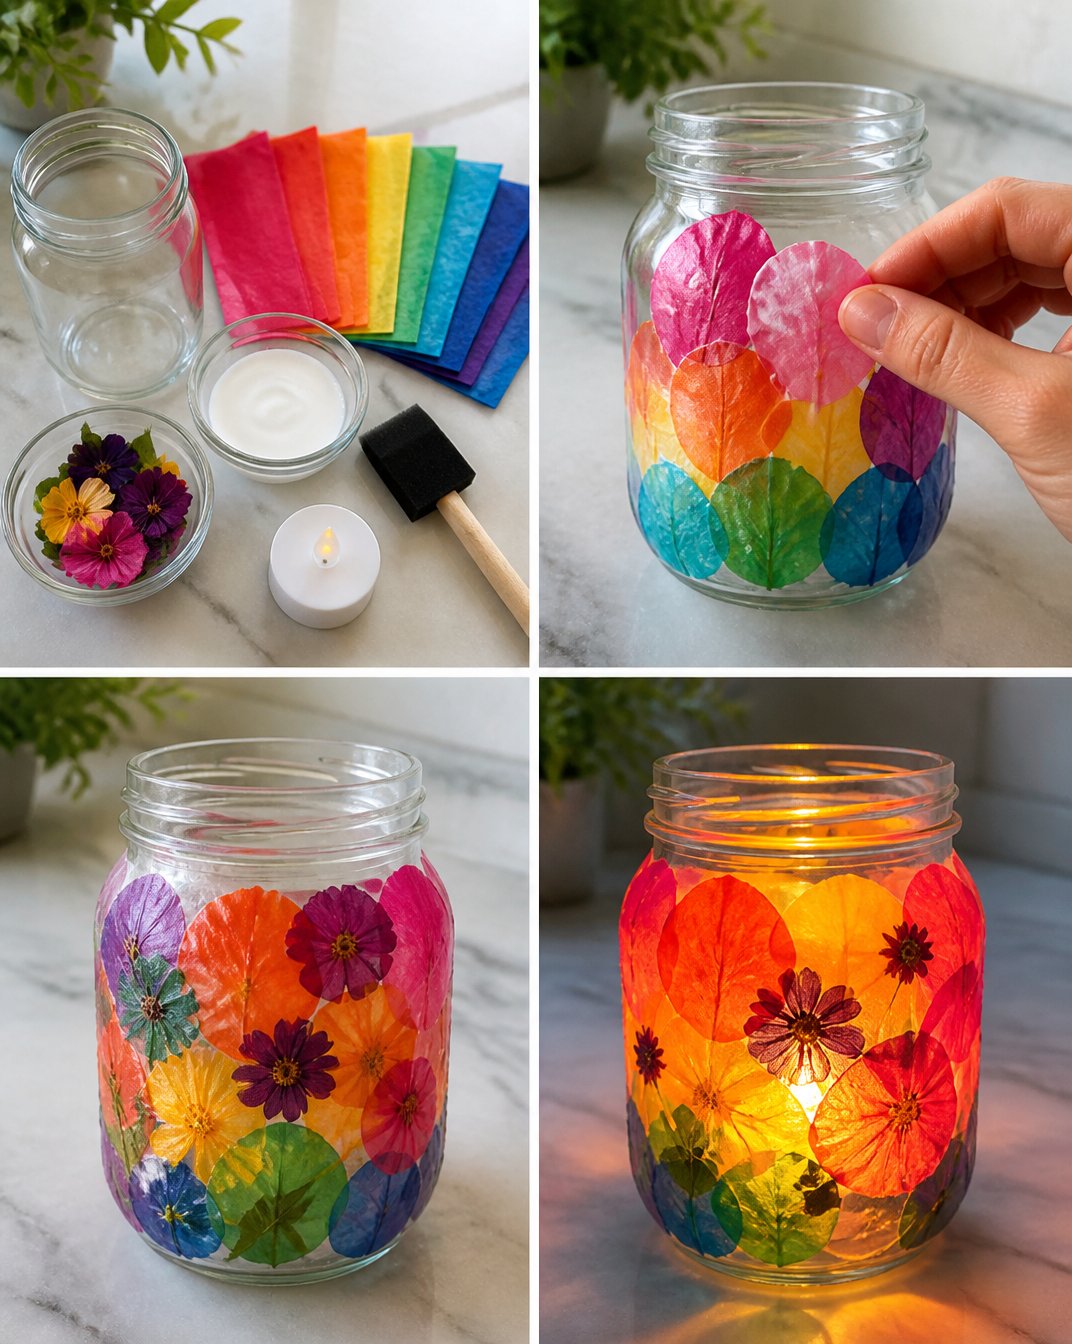
Creating a Rainbow Tissue-Paper Flower Lantern is an ideal DIY project because it requires minimal preparation while offering maximum satisfaction. The materials are easily accessible, often found around the house. Plus, children of various ages can participate with just a bit of adult supervision. This project is reliable; the steps are simple enough for even the youngest hands to manage, making it achievable for everyone involved. You may also find Diy Tropical Flower Bouquet Rainbow Cupcake Liners useful.
A Quick Look Before You Begin
Before diving into this delightful craft, it helps to understand what to expect. You’ll need some time set aside, ideally around 45 minutes to an hour, including drying time. The setup is easy and doesn’t require extensive cleanup—just a small workspace and maybe some newspaper or a drop cloth to protect your surfaces. With adult involvement mainly focused on supervision and helping with the glue, kids can explore their creativity safely. You may also find Pressed Flower Lantern useful.
Materials You’ll Need
Gathering the right materials is straightforward and budget-friendly. Here’s what you’ll need for your Rainbow Tissue-Paper Flower Lantern: You may also find Rainbow Heart Wall Art Pressed Flowers useful.
- 1 clear plastic jar: A common household item that forms the base of your lantern.
- Rainbow tissue paper: Bright colors add a cheerful touch.
- 2 tbsp decoupage glue: This is essential for adhering the tissue paper and pressed petals.
- Pressed petals: These can be made from flowers you collect or purchased from a craft store.
- Foam brush: Perfect for applying glue smoothly.
- LED tea light: A safe way to bring your lantern to life without the worry of fire.
Step-by-Step Directions
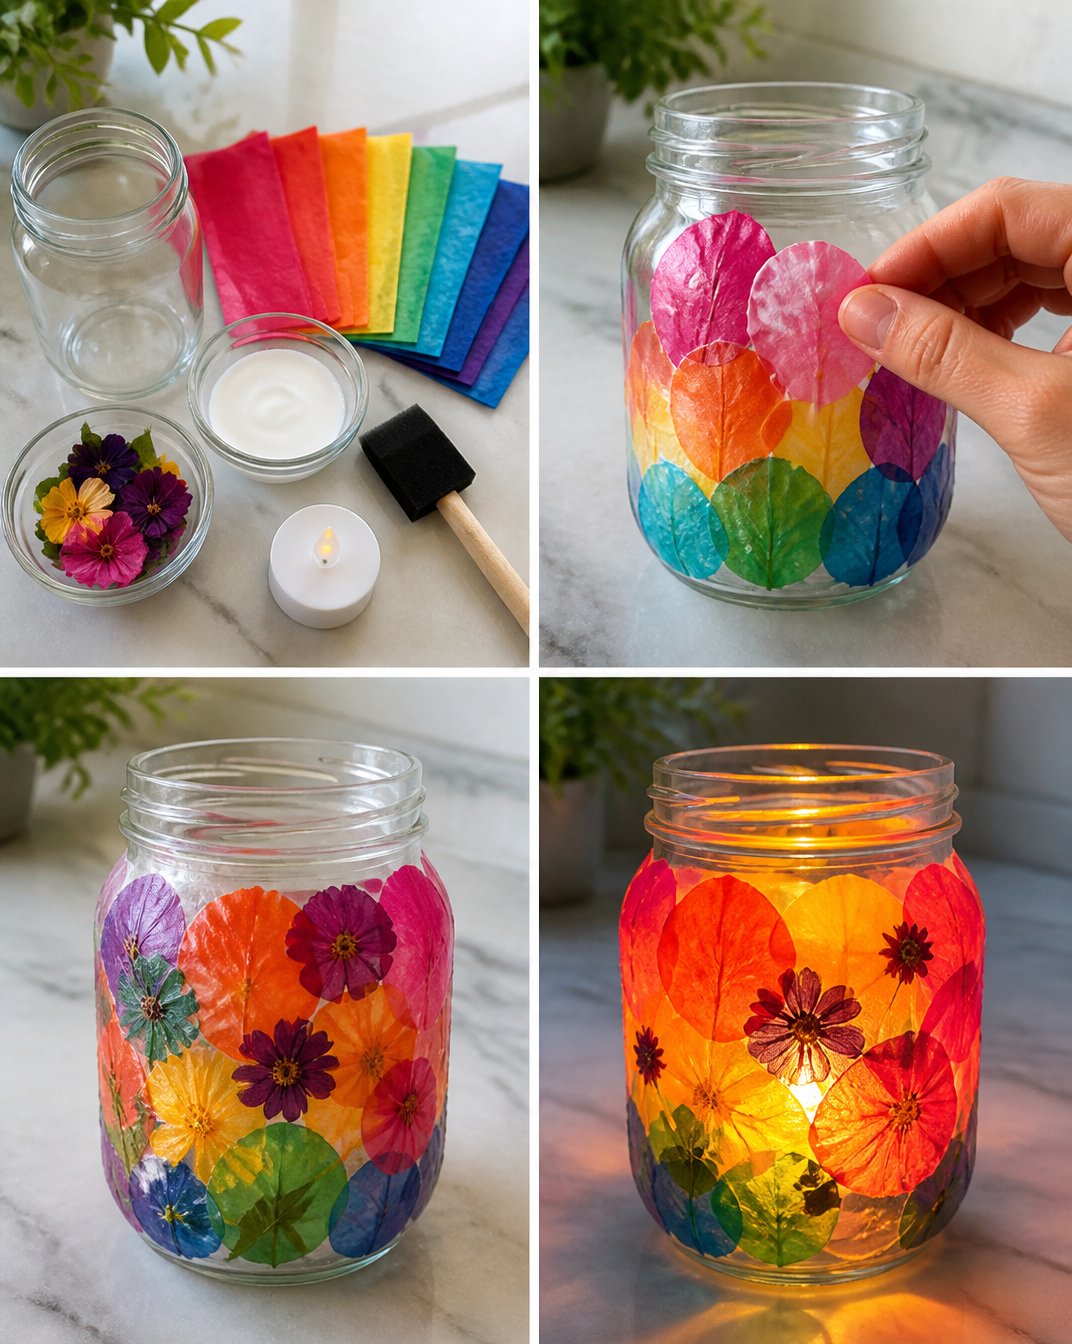
Creating your lantern is a fun process that just requires a few simple steps:
Start by tearing the tissue paper into petal shapes. Don’t worry about perfection; overlapping the pieces around the jar will create a beautiful, organic look.
Once your first layer is in place, gently add the pressed petals. Make sure to seal everything with another thin layer of glue to secure them in place.
Let your lantern dry completely before placing the LED tea light inside. This step is crucial as it ensures everything holds together well.
The Learning Behind This DIY
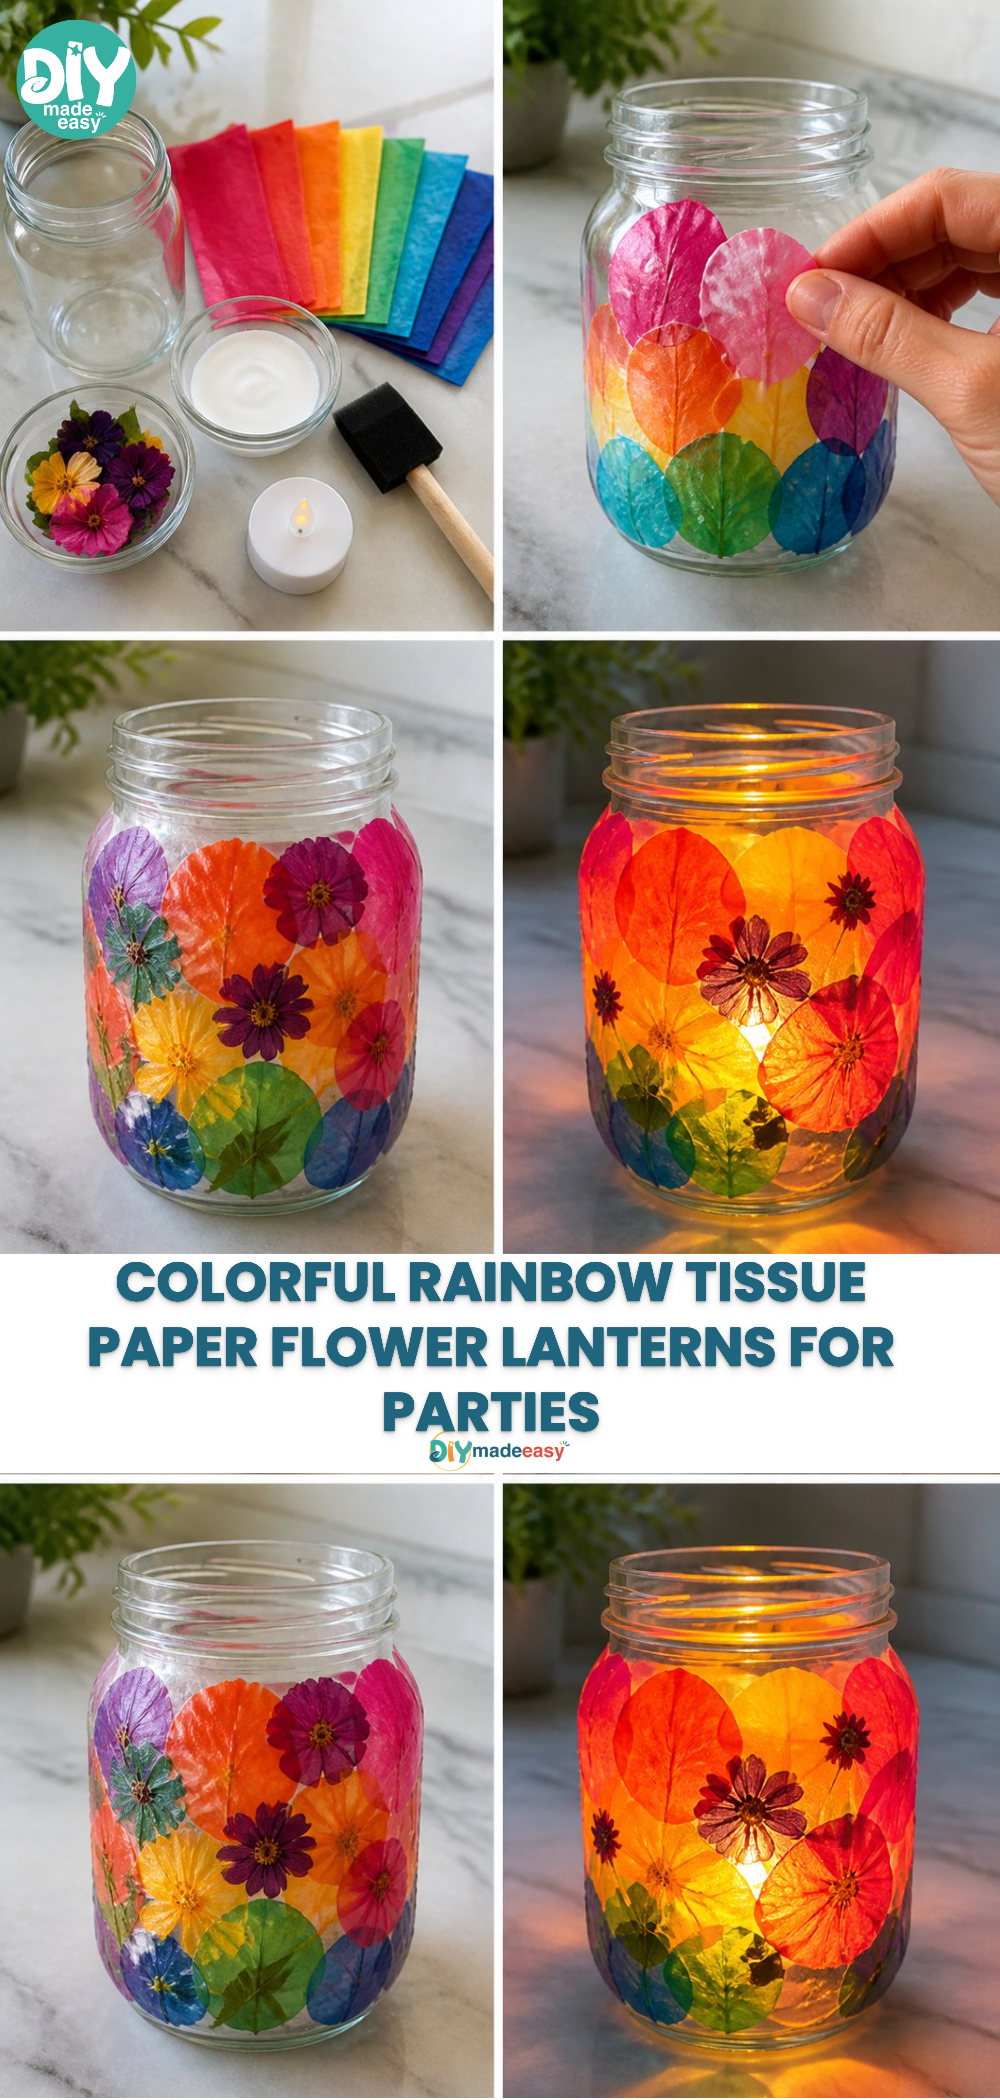
Making a Rainbow Tissue-Paper Flower Lantern isn’t just a creative outlet; it also supports important skills for children. The process enhances fine motor skills as they tear the tissue paper and apply glue. Additionally, children practice their coordination as they navigate working with delicate materials. They learn about cause and effect when they see how the layers come together to form a cohesive decoration, reinforcing their understanding of layering and design.
Troubleshooting Common Issues
Every DIY project has its quirks, and it’s normal for things not to go perfectly. If the tissue paper tears too easily, consider using slightly thicker paper or handling it more gently as you work. If the glue doesn’t seem to hold, thorough coverage and allowing enough drying time can usually remedy the situation. Remember, the beauty of a DIY craft is in its imperfections—each lantern will have a character of its own!
Easy Variations to Try
Consider introducing some fun twists to your project. For instance, you can experiment with different shapes and sizes of the jar or even use various colors of tissue paper to suit the season. Try adding embellishments like glitter or beads for an extra sparkle, especially if the lantern is for a special event. These variations allow you to tailor the project to your family’s style.
Storing or Reusing This Project
Once your Rainbow Tissue-Paper Flower Lantern is complete, you might wonder what to do with it afterward. These lanterns can brighten up your home, especially during celebrations or cozy evenings. If you decide to store it, place it in a safe spot where it won’t get crushed. Alternatively, consider reusing the materials or creating a new lantern with them seasonally, encouraging sustainability and creativity.
FAQs About Rainbow Tissue-Paper Flower Lantern
- Will this project make a mess? It’s natural to be concerned about the cleanup! The use of glue and tissue paper can create some residue, but keeping a damp cloth nearby helps manage spills easily.
- What age range is this project suitable for? This project is approachable for young children with adult assistance, so it can be a fun family activity.
- Can I substitute ingredients? Yes! If you don’t have decoupage glue, a watered-down white school glue works well as an alternative.
- What if I want to store my lantern? You can keep it safe with careful handling, and it can be reused for festive occasions or simply as home decor.
- What if my lantern isn’t perfect? Embrace the uniqueness of your creation! Every lantern will have its charm, and that’s what makes your craft special.
Conclusion
Making a Rainbow Tissue-Paper Flower Lantern is a delightful way to unleash creativity and bring color into your home. Not only do you create a lovely decoration, but you also engage in meaningful crafting time with loved ones. For those looking to expand their crafting repertoire, consider exploring pastel rainbow colorful party decorations to complement your new lantern. Also, check out DIY lantern projects for more crafting inspiration. Enjoy your crafting adventure!
PrintRainbow Tissue-Paper Flower Lantern
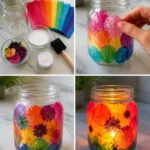
A creative and colorful DIY project perfect for children and families, making a delightful lantern using simple materials.
- Prep Time: 15 minutes
- Cook Time: 30 minutes
- Total Time: 45 minutes
- Yield: 1 lantern 1x
- Category: Craft
- Method: Crafting
- Cuisine: N/A
- Diet: N/A
Ingredients
- 1 clear plastic jar
- Rainbow tissue paper
- 2 tbsp decoupage glue
- Pressed petals
- Foam brush
- LED tea light
Instructions
- Start by tearing the tissue paper into petal shapes.
- Once your first layer is in place, gently add the pressed petals.
- Let your lantern dry completely before placing the LED tea light inside.
Notes
Encourage children to express their creativity and try different shapes, colors, and embellishments for variation.
Nutrition
- Serving Size: 1 lantern
- Calories: 0
- Sugar: 0g
- Sodium: 0mg
- Fat: 0g
- Saturated Fat: 0g
- Unsaturated Fat: 0g
- Trans Fat: 0g
- Carbohydrates: 0g
- Fiber: 0g
- Protein: 0g
- Cholesterol: 0mg