

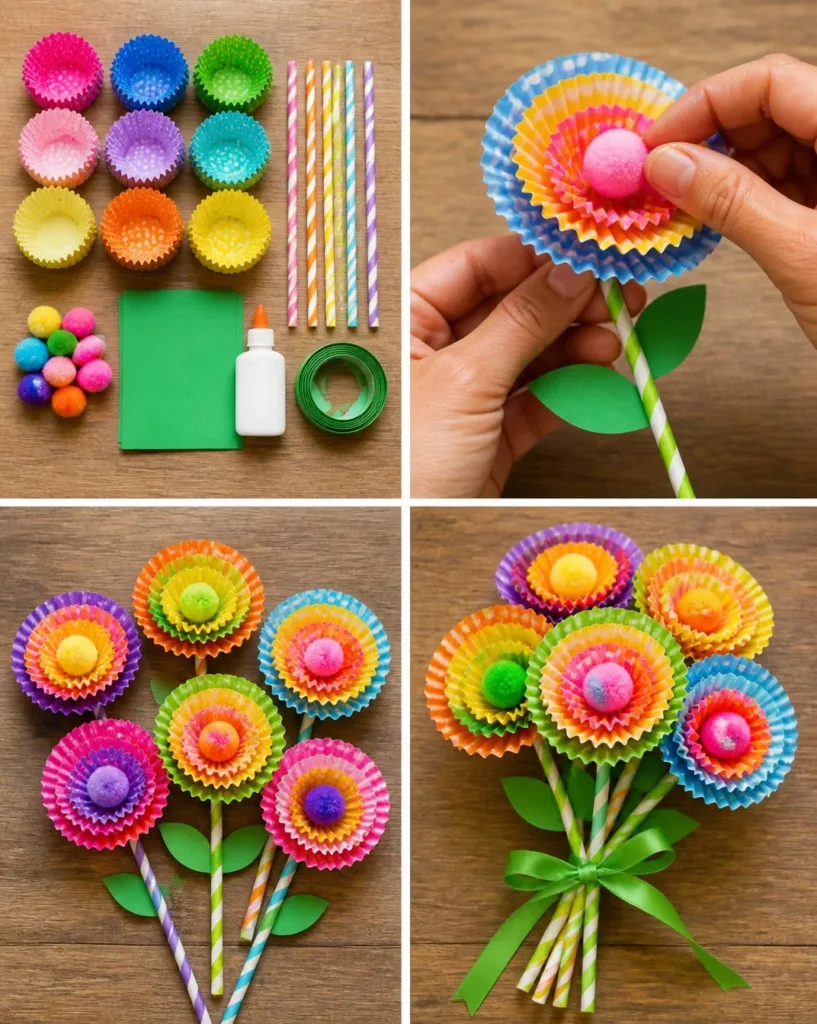
The sun streamed through the window, illuminating the kitchen where a couple of children were bustling about, looking for something fun to do. Their energy was infectious, and I could see they were longing to create something beautiful without much fuss. It was the perfect moment for a Colorful Cupcake-Liner Flower Bouquet project. This delightful craft captures the joy of flowers with the added bonus of being quick to assemble, making it ideal for busy afternoons like ours. You may also find Diy Tropical Flower Bouquet Rainbow Cupcake Liners useful.
Why You’ll Love Making Colorful Cupcake-Liner Flower Bouquet
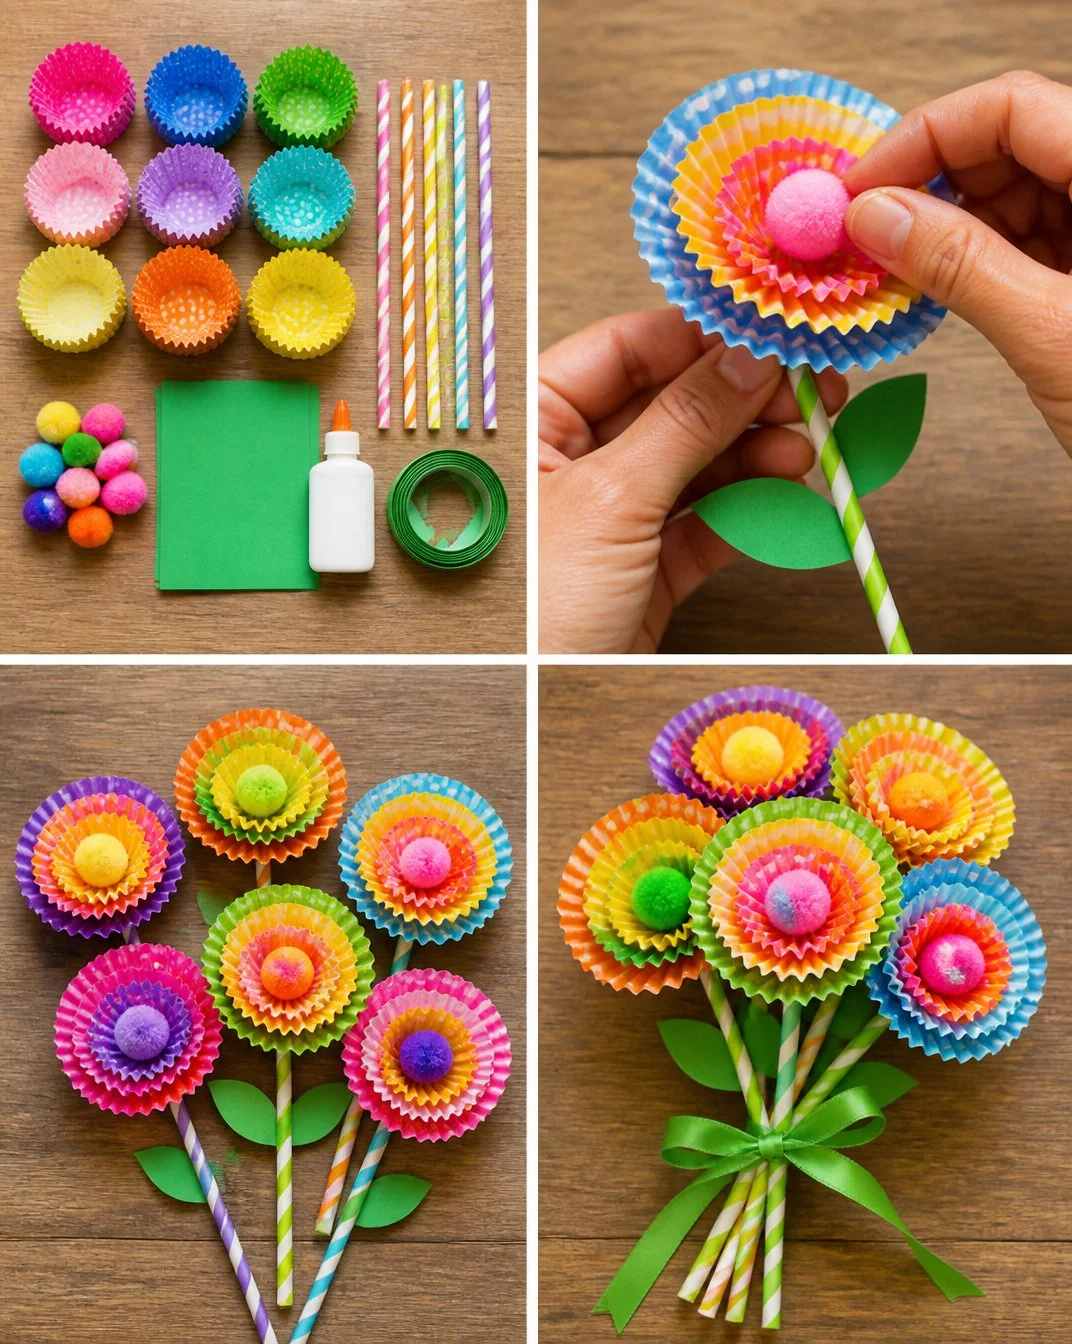
Creating a Colorful Cupcake-Liner Flower Bouquet is both engaging and rewarding. The process takes minimal preparation, requiring only a few materials you likely already have at home. Since children can complete most steps themselves, it provides a sense of accomplishment that builds confidence. Plus, the flowers are versatile; they can brighten up any room or be given as heartfelt gifts, adding a personal touch to any occasion. You may also find Fork Pom Pom Flower Bouquet At Home useful.
A Quick Look Before You Begin
The setup for this DIY project is straightforward and can be completed in under an hour. Depending on your children’s ages, you might need to assist with the cutting and gluing. The mess level is quite manageable—just be sure to have some paper towels handy for any glue spills. With a quick clean-up, you can enjoy the finished flower bouquet without the stress of extensive cleanup afterwards. You may also find Fork Pom Pom Flower Bouquet Garden useful.
Materials You’ll Need
To get started, gather the following materials: You may also find Beautiful Bioplastic Suncatchers Flowers useful.
- 18 colorful cupcake liners
- 6 paper straws
- 6 pom-poms
- Green cardstock
- Glue (a craft glue stick works well)
- Ribbon
These items are common household materials, making it easy to dive right into the creative process.
Step-By-Step Directions
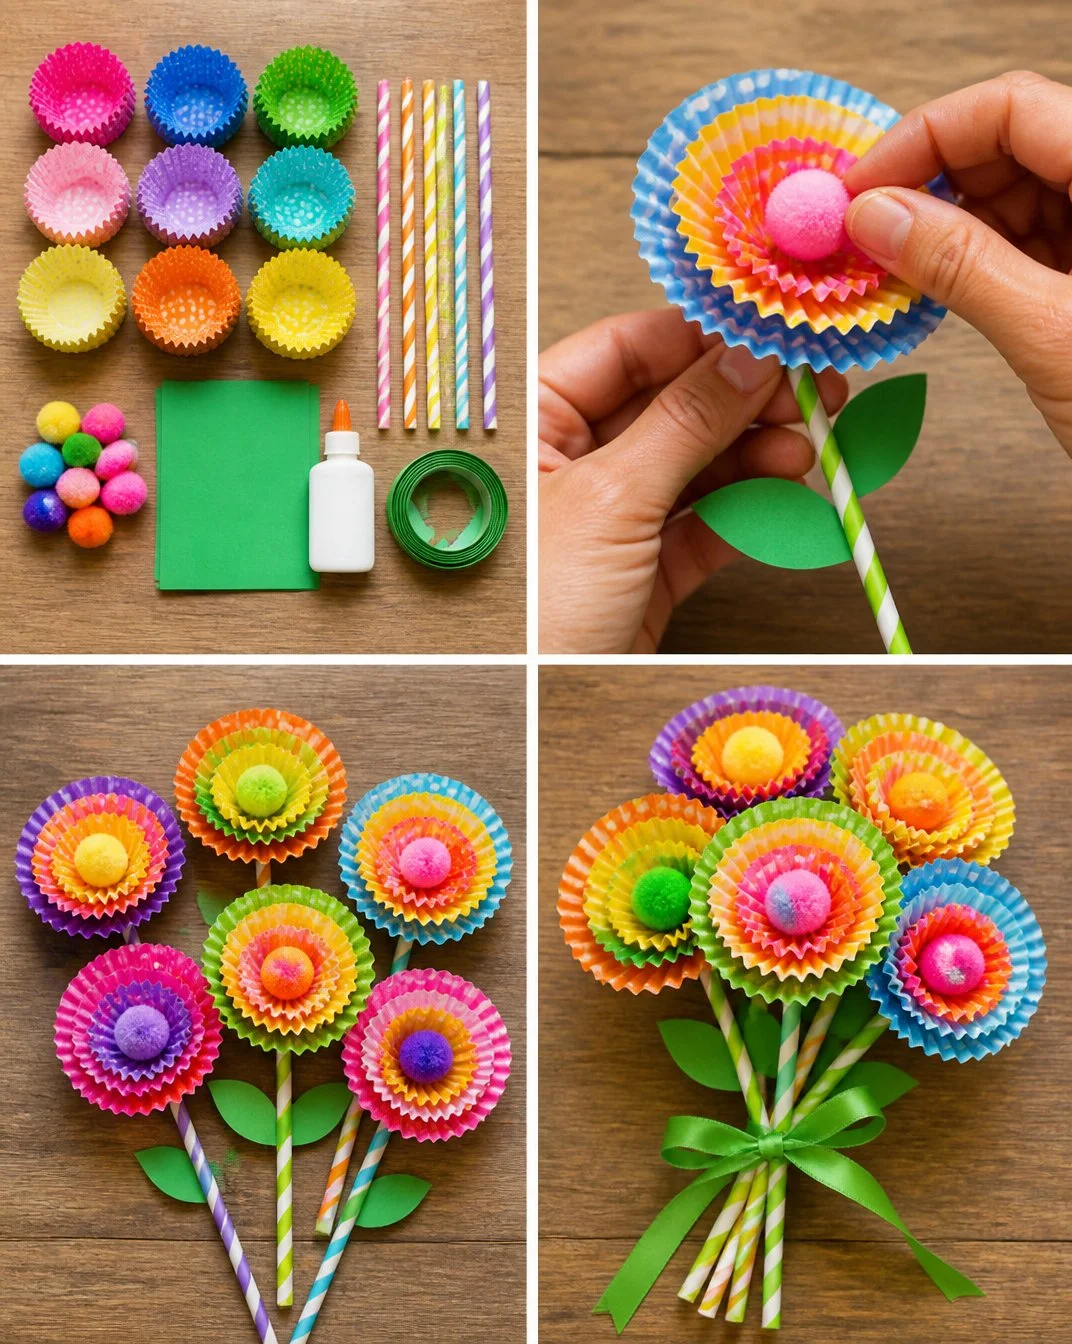
Layer three differently colored cupcake liners for each flower. Choose a combination of colors that you find pleasing together. The brighter, the better!
Glue the layers together securely in the center. Ensure that you use enough glue to keep the layers firmly connected, but not so much that it spills over the edges.
Add a pom-pom in the center of each layered cupcake liner. This element adds a playful touch and serves as the flower’s stamen.
Attach each flower to a paper straw, using glue to hold it in place. Make sure the flower is well-fixed so it stands upright.
Cut leaves from the green cardstock and glue them to the stems. These leaves will bring your bouquet to life, giving it a natural feel.
Gather the six finished flowers and tie them together with ribbon. This final step transforms your individual creations into a beautiful bouquet that can be displayed proudly.
The Learning Behind This DIY
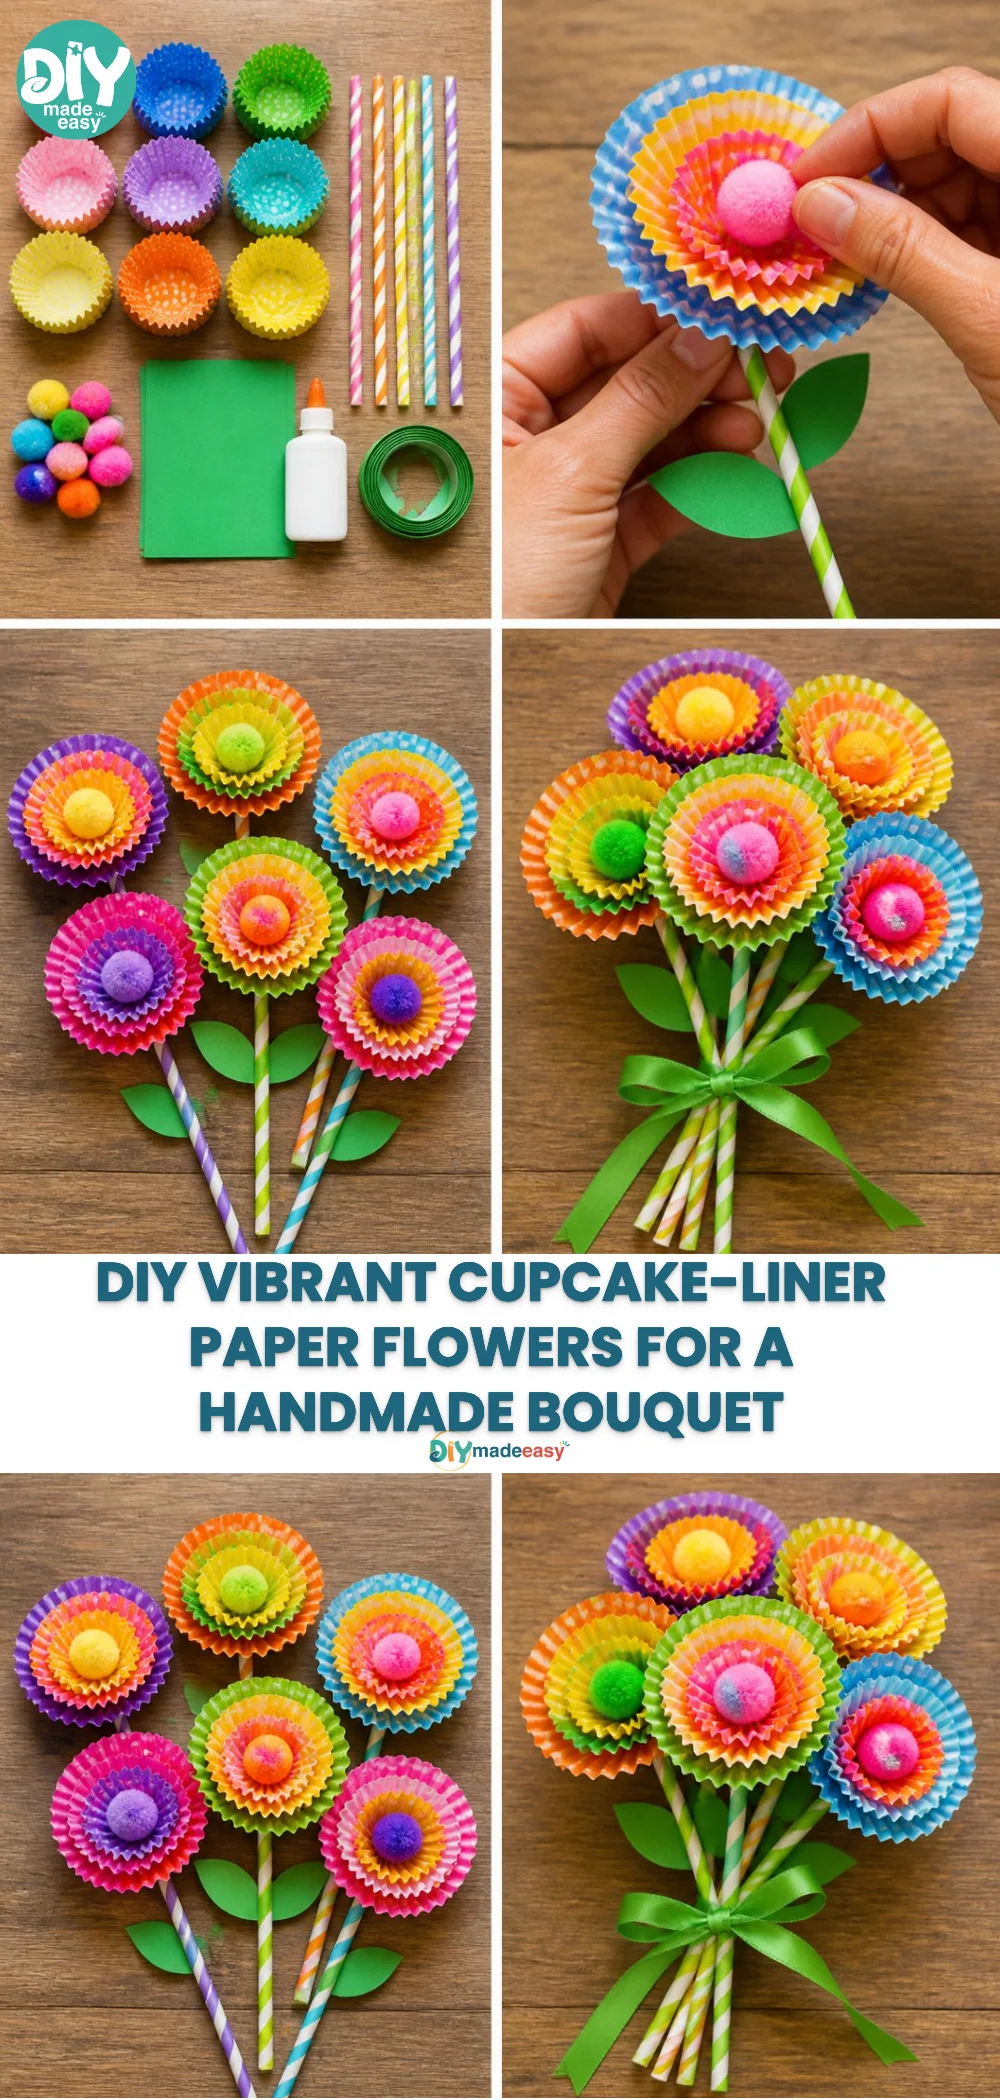
This activity is not just about creating a fun bouquet; it’s also an excellent opportunity for kids to practice various skills. As they layer the cupcake liners and glue the flowers together, they engage their fine motor skills and hand-eye coordination. Cutting out leaves from cardstock introduces basic scissor skills, allowing them to develop confidence with these tools. Plus, the project supports creativity and promotes an understanding of colors and shapes.
Troubleshooting Common Issues
It’s normal for things not to go as planned sometimes. If the layers of cupcake liners slip apart, make sure you are using sufficient glue and letting it dry properly before moving on to the next steps. If the pom-poms don’t stick as expected, try applying the glue directly to the pom-pom rather than the liner, as this might give you better control. If your flowers look uneven, don’t be afraid to trim them to a more appealing shape.
Easy Variations to Try
There are endless creative possibilities to explore with this project! You could:
- Use seasonal cupcake liners, like Halloween or Christmas, to customize bouquets for different holidays.
- Add beads or sequins to the center of the flowers for extra sparkle.
- Make larger flowers by layering more liners.
- Experiment with different shapes and sizes of cardstock leaves.
These variations can keep the activity fresh and allow for new creative explorations.
Storing or Reusing This Project
After creating your gorgeous bouquet, think about how they can be preserved or reused. You can place them in a small vase to give them a longer life on display. When the flowers start to look worn, consider taking apart the components and using the materials for another craft project. This not only saves resources but also encourages a mindset of reusing in creative ways.
FAQs About Colorful Cupcake-Liner Flower Bouquet
What if my kids make a mess while crafting?
It’s entirely possible that there will be spills and scraps; kids can be enthusiastic crafters! Lay down some newspaper or a plastic tablecloth before you start. This makes cleanup a breeze, allowing your focus to remain on the fun.
Is this activity safe for younger kids?
Yes, this DIY project is safe for younger children, especially if supervised. Be sure to monitor when they are cutting and using glue to avoid any accidents.
Can I use different materials instead of cupcake liners?
Absolutely! If you don’t have cupcake liners on hand, try using colored paper or fabric scraps. Each alternative will offer a unique twist on the flower’s appearance.
How can I store my finished bouquet?
Store your bouquet in a cool, dry place to maintain its appearance, or you may choose to gift them to friends and family. It’s a great way to share your creativity!
What are some good substitutions if I run out of supplies?
If you find yourself short on materials, you can use cardboard for the flowers or substitute the pom-poms with small balls of paper. Get creative with what you have!
Conclusion
Conclusion
Crafting a Colorful Cupcake-Liner Flower Bouquet is not only a fun and creative outlet but also an excellent way for kids to express themselves. Enjoy the process of making with your children, knowing they can embrace their creativity without pressure. For more ideas on whimsical flower crafts, check out Cupcake paper flowers – Laughing Kids Learn and Super Easy Cupcake Liner Flowers – Fireflies and Mud Pies. Happy crafting!
PrintColorful Cupcake-Liner Flower Bouquet
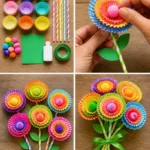
A fun and engaging DIY project to create a vibrant flower bouquet using cupcake liners, perfect for kids and easy to assemble.
- Prep Time: 10 minutes
- Cook Time: 30 minutes
- Total Time: 40 minutes
- Yield: 1 bouquet 1x
- Category: Craft
- Method: Crafting
- Cuisine: N/A
- Diet: N/A
Ingredients
- 18 colorful cupcake liners
- 6 paper straws
- 6 pom-poms
- Green cardstock
- Glue (a craft glue stick works well)
- Ribbon
Instructions
- Layer three differently colored cupcake liners for each flower.
- Glue the layers together securely in the center.
- Add a pom-pom in the center of each layered cupcake liner.
- Attach each flower to a paper straw using glue.
- Cut leaves from the green cardstock and glue them to the stems.
- Gather the six finished flowers and tie them together with ribbon.
Notes
For variations, try using seasonal cupcake liners or adding beads for extra sparkle.
Nutrition
- Serving Size: 1 bouquet
- Calories: 0
- Sugar: 0g
- Sodium: 0mg
- Fat: 0g
- Saturated Fat: 0g
- Unsaturated Fat: 0g
- Trans Fat: 0g
- Carbohydrates: 0g
- Fiber: 0g
- Protein: 0g
- Cholesterol: 0mg