

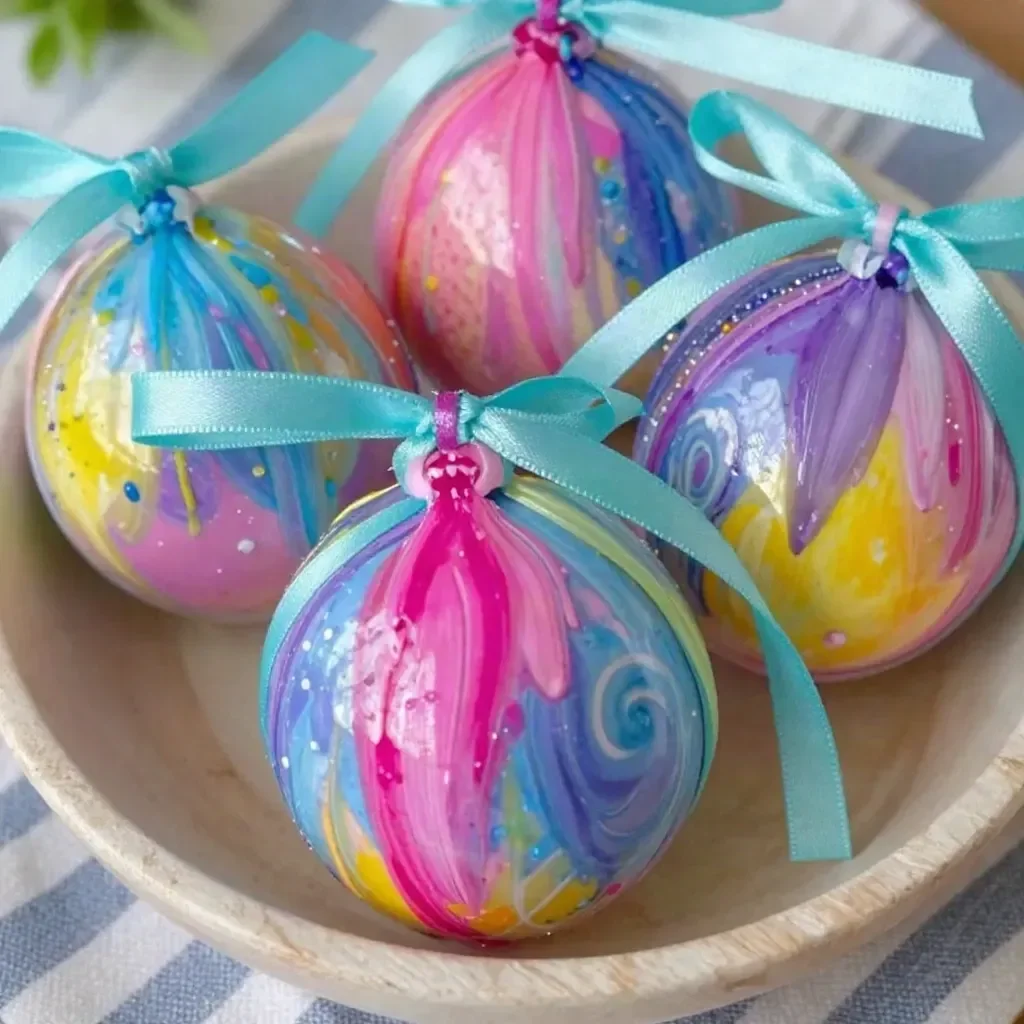
Marbled Summer Ornaments are a delightful way to keep the creativity flowing, especially during a busy afternoon when the kids are clamoring for an activity. Picture this: you’re trying to manage a hectic household, yet your children want to create something special right now. With just a few supplies, you can engage their imagination and craft beautiful decorations. Utilizing simple materials such as clear plastic ornaments and acrylic paints, this project becomes a fun, low-prep activity. Not only do these ornaments provide a great opportunity for artistic expression, but they also turn into lovely keepsakes that can brighten up your home. You may also find Baking Soda Galaxy Ornaments useful.
Why This Marbled Summer Ornaments Works So Well
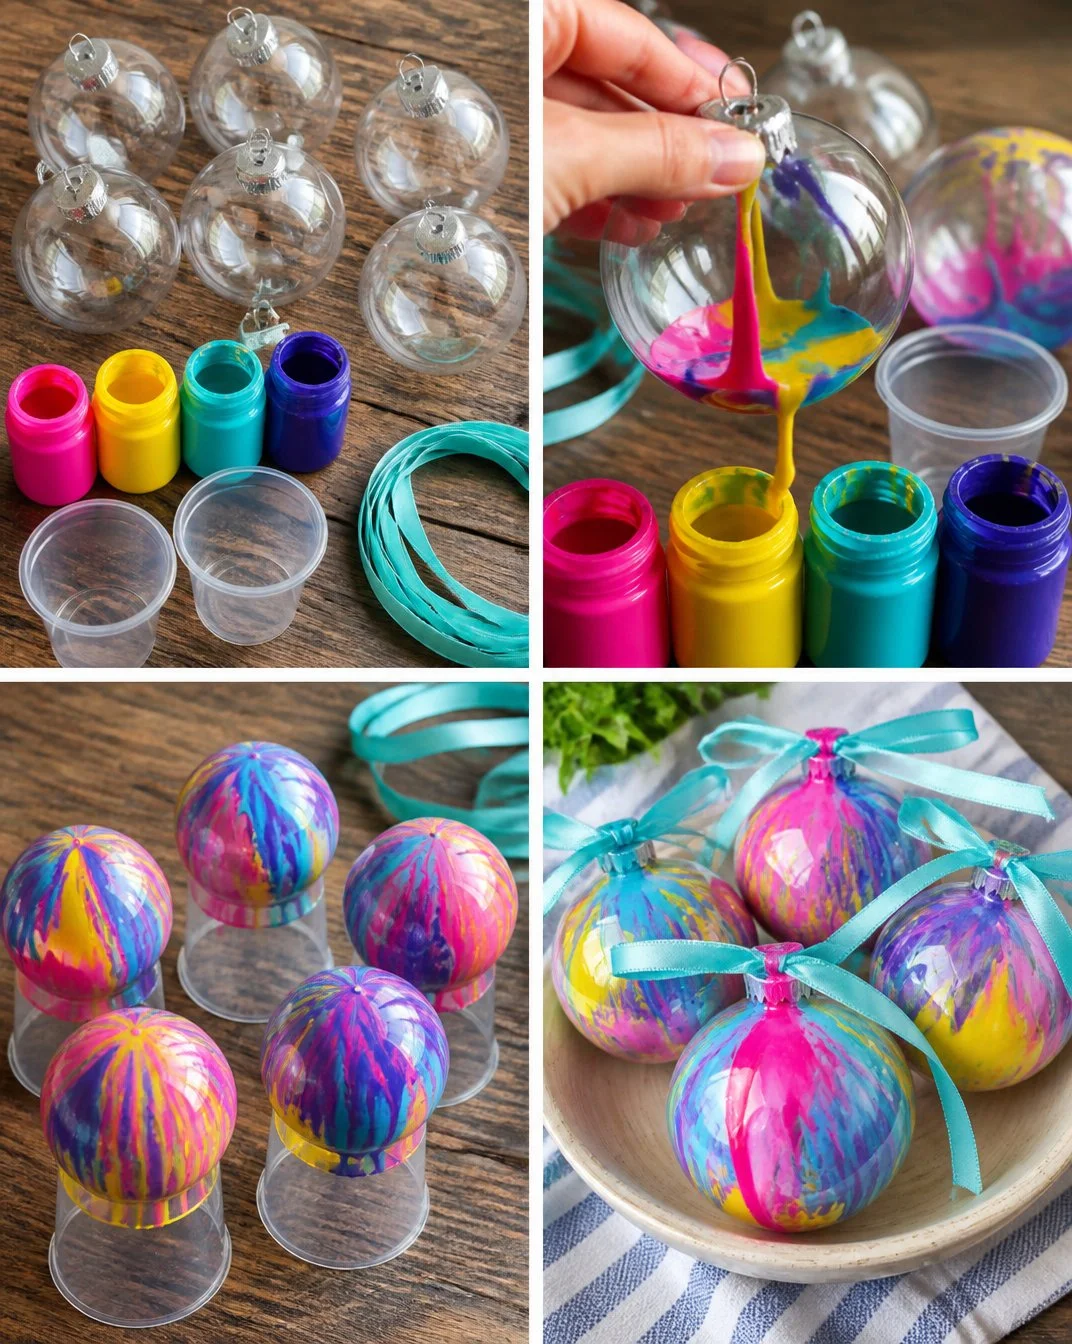
The appeal of Marbled Summer Ornaments lies in their simplicity and the joy of watching the colors blend together. This project requires minimal preparation, making it an accessible choice for families. With just a few clear plastic ornaments and some acrylic paints, your setup can be as quick as gathering the supplies from your craft drawer. Plus, there’s no complicated instructional manual—just pour, swirl, and hang. You may also find Birdseed Ornaments useful.
Kids love getting their hands a bit messy while creating beautiful artworks, and this project is incredibly forgiving. The unpredictability of how the paint swirls means that there’s no right or wrong way to get unique results. You can rest assured that this DIY will fit perfectly into the busy schedules of modern family life. You may also find Diy Rainbow Pineapple Garland Summer Party Decor useful.
A Quick Look Before You Begin
Making Marbled Summer Ornaments can take as little as 30 minutes, depending on how many you decide to create. Preparing your workspace is a breeze; just lay down some newspaper or a plastic tablecloth to catch any spills. The mess level is relatively low, and with a few simple cups to hold the paint, your floor will stay clean. This project allows for adult involvement to be flexible—whether it’s guiding the kids through the process or simply letting them explore their creative side.
Materials You’ll Need
To get started on your Marbled Summer Ornaments, gather the following materials:
- 6 clear plastic ornaments
- Acrylic paint in 4 colors
- Cups for pouring paint
- Ribbon for hanging
These items are typically easy to find at your local craft store or even in your home. If you don’t have ribbon, consider using string or twine as a budget-friendly alternative.
Step-by-Step Directions
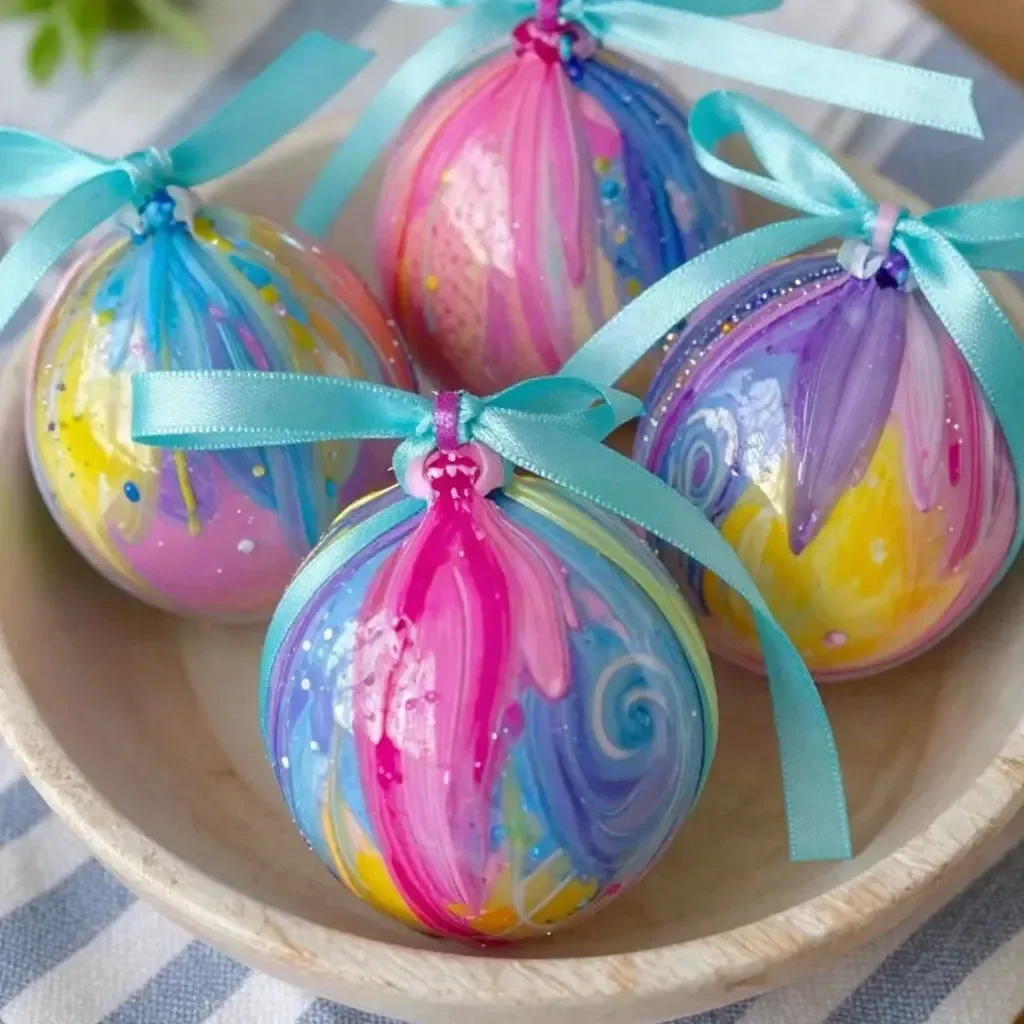
Now, let’s dive into the fun part! Here’s how to create your Marbled Summer Ornaments, step by step:
Pour small amounts of paint inside each ornament. Choose two or three colors to keep the design vibrant but not overly complicated. Start with a dollop of each color in the bottom of the ornament.
Gently rotate the ornament to let the paint swirl around. Be careful not to spill, but don’t worry if some paints blend unexpectedly. It’s all part of the art!
Carefully drain any excess paint back into the cups. This helps prevent overly thick layers of paint and ensures you can reuse leftover paint for more projects.
Let the ornaments dry upside down. This allows any remaining paint to drip out and helps create a smooth finish inside the ornament. You may wish to place them on a paper towel to catch drips.
Once dry, add a ribbon for hanging! Choose a ribbon that complements your colors. You could even coordinate it with other decorations in your home.
The Learning Behind This DIY
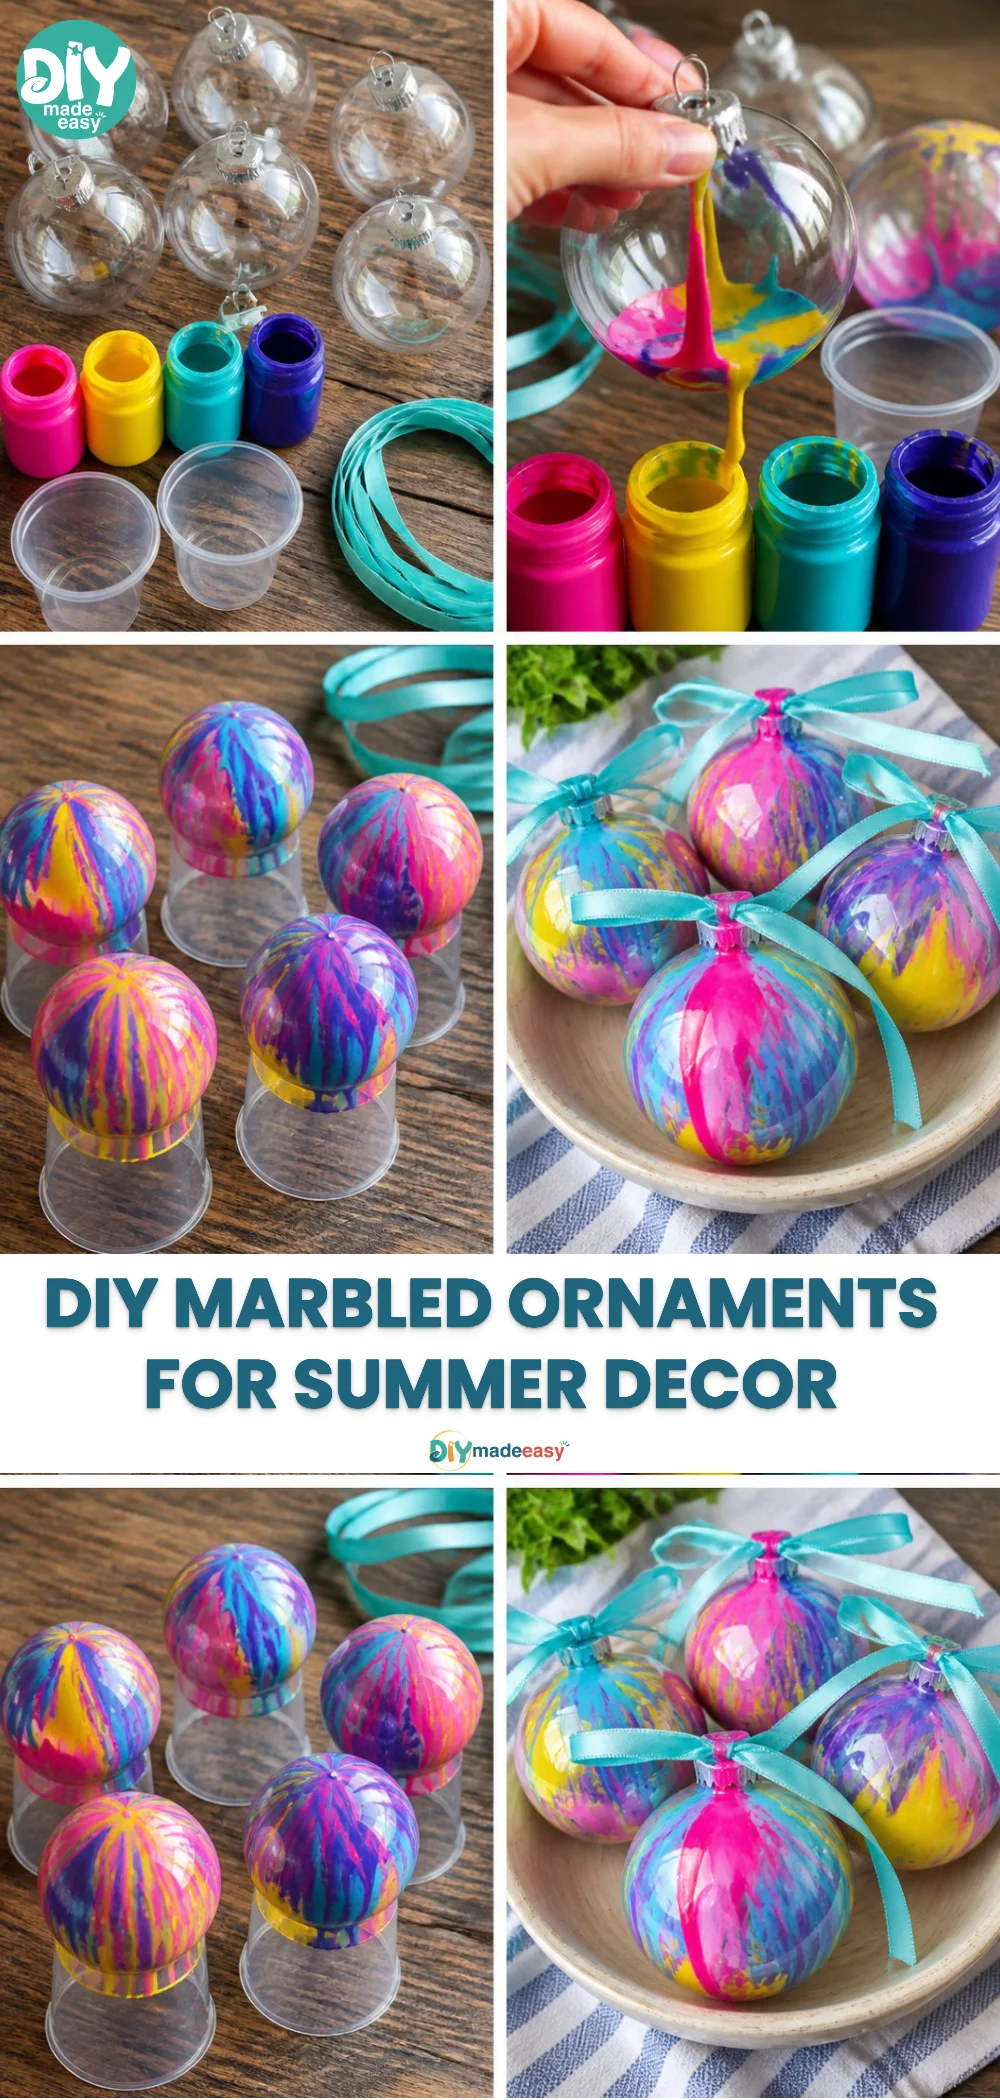
Engaging in activities like making Marbled Summer Ornaments fosters essential skills in children. This project encourages fine motor skills as kids manipulate the ornaments and control the amount of paint they pour. Additionally, it introduces basic concepts of color blending and design principles. Understanding how the colors interact gives children a tangible sense of cause and effect, reinforcing their creative decisions.
Troubleshooting Common Issues
If something doesn’t go as planned, don’t fret. Here are a few common issues and easy fixes:
Too much paint inside the ornament: If you’ve added too much paint, simply drain some excess back into the cups. A thin layer will allow for better swirling and drying.
Colors muddling together: If the colors have blended too much for your liking, remember that every piece is unique. Consider it a new design instead of a mistake.
Easy Variations to Try
For those looking to switch things up, consider these variations:
Seasonal Themes: Change the color palette based on holidays, like using red and green for Christmas or pastels for Easter.
Glitter Add-ins: Mix a little glitter into the paint for a sparkly effect that catches the eye.
Nature-inspired colors: Create earthy tones using browns and greens for a rustic look.
Storing or Reusing This Project
After you’re done creating and displaying your Marbled Summer Ornaments, you might wonder what to do with the materials. Consider reusing leftover paint in future projects like colorful summer fruit cocktails or other ornament crafts. You can cleanly stack the ornaments in a box, ensuring they don’t break, or hang them up to enjoy their beauty. Cleanup can be simple; just wipe down any surfaces and wash the cups used.
FAQs About Marbled Summer Ornaments
What if my kids are really young—can they still participate?
Absolutely! This project can be adjusted based on age. For younger kids, they might enjoy the swirling action with adult assistance. Just supervise closely to avoid messes.
Will this project make a mess?
Every craft has a potential for mess, but by preparing your workspace in advance, you can minimize this. Lay down newspapers or a plastic tablecloth for easy cleanup.
Can I use other types of paint?
While acrylic paint works best for this project, feel free to experiment with other types of paint you have at home. Just keep an eye on the drying times and mixing qualities.
What if my ornaments don’t look as expected?
Remember that every ornament is unique! This is part of the fun. If something doesn’t go as planned, embrace it and consider it an added charm of your creation.
A Final Helpful Note
Crafting Marbled Summer Ornaments should feel like a breeze, offering both creativity and joy in the process. Don’t stress about perfection; focus on enjoying the experience with your loved ones. It’s all about the fun you’ll have, so relax, get messy, and let your creativity shine.
Conclusion
To wrap up, making Marbled Summer Ornaments is a wonderful way to spend quality time with your family while creating memorable decorations for your home. Consider visiting the Marble House | Newport Mansions for inspiration on designs when planning your ornament colors. If you’re looking for a more festive twist, check out this guide on how to make DIY marbled Christmas ornaments for ideas to bring the holiday spirit into your crafting sessions.
PrintMarbled Summer Ornaments
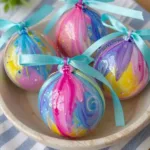
Engage your children’s creativity with these fun and easy Marbled Summer Ornaments, perfect for a busy afternoon crafting session.
- Prep Time: 10 minutes
- Cook Time: 20 minutes
- Total Time: 30 minutes
- Yield: 6 ornaments 1x
- Category: Craft
- Method: Crafting
- Cuisine: N/A
- Diet: N/A
Ingredients
- 6 clear plastic ornaments
- Acrylic paint in 4 colors
- Cups for pouring paint
- Ribbon for hanging
Instructions
- Pour small amounts of paint inside each ornament. Choose two or three colors to keep the design vibrant.
- Gently rotate the ornament to let the paint swirl around.
- Carefully drain any excess paint back into the cups.
- Let the ornaments dry upside down on a paper towel.
- Once dry, add a ribbon for hanging that complements your colors.
Notes
This project fosters fine motor skills and encourages creativity in children. Prepare a workspace to minimize mess.
Nutrition
- Serving Size: 1 ornament
- Calories: 0
- Sugar: 0g
- Sodium: 0mg
- Fat: 0g
- Saturated Fat: 0g
- Unsaturated Fat: 0g
- Trans Fat: 0g
- Carbohydrates: 0g
- Fiber: 0g
- Protein: 0g
- Cholesterol: 0mg