

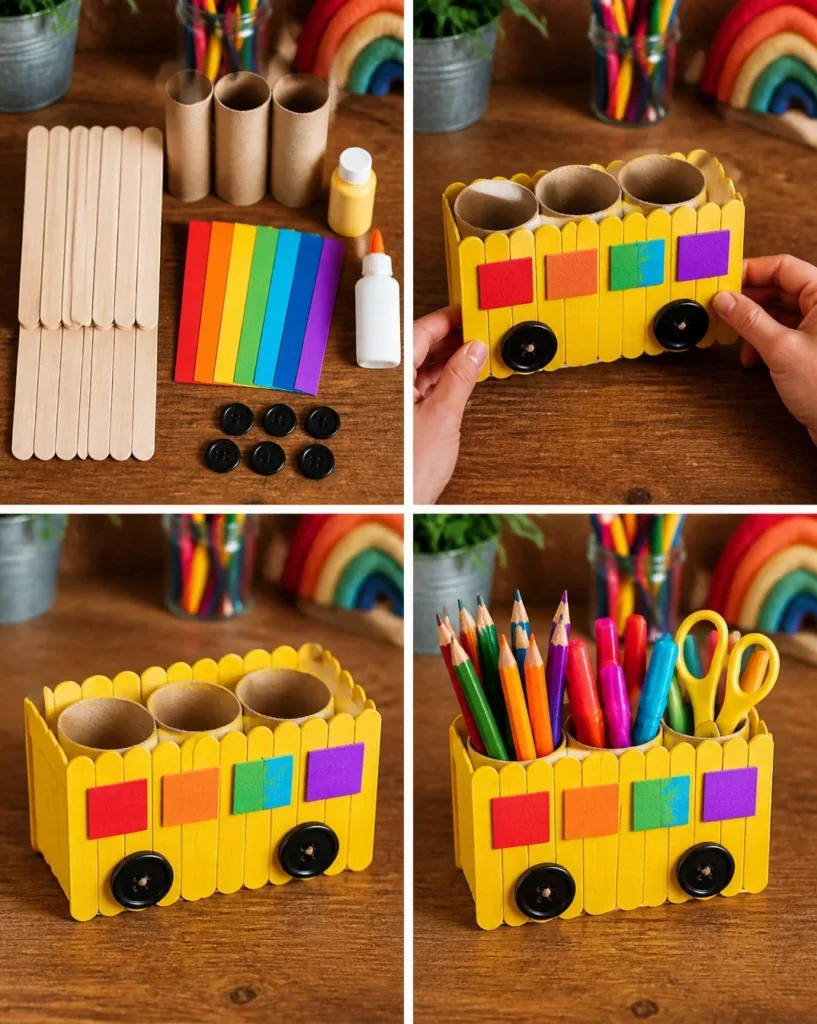
When the afternoon wanes and the kids are buzzing with energy, it can be a challenge to come up with something fun and engaging to keep them occupied. If you’re scrambling to find a creative outlet for their wild imaginations, the Rainbow School Bus Popsicle Stick Organizer might just be the perfect solution. This craft not only provides a fun activity, but it also creates a charming way to organize school supplies. By painting popsicle sticks in vibrant rainbow colors and combining them on a sturdy cardboard base, children will enjoy both the creative process and its practical results. You may also find Back To School Activity Binder Preschool useful.
Why This Rainbow School Bus Popsicle Stick Organizer Works So Well
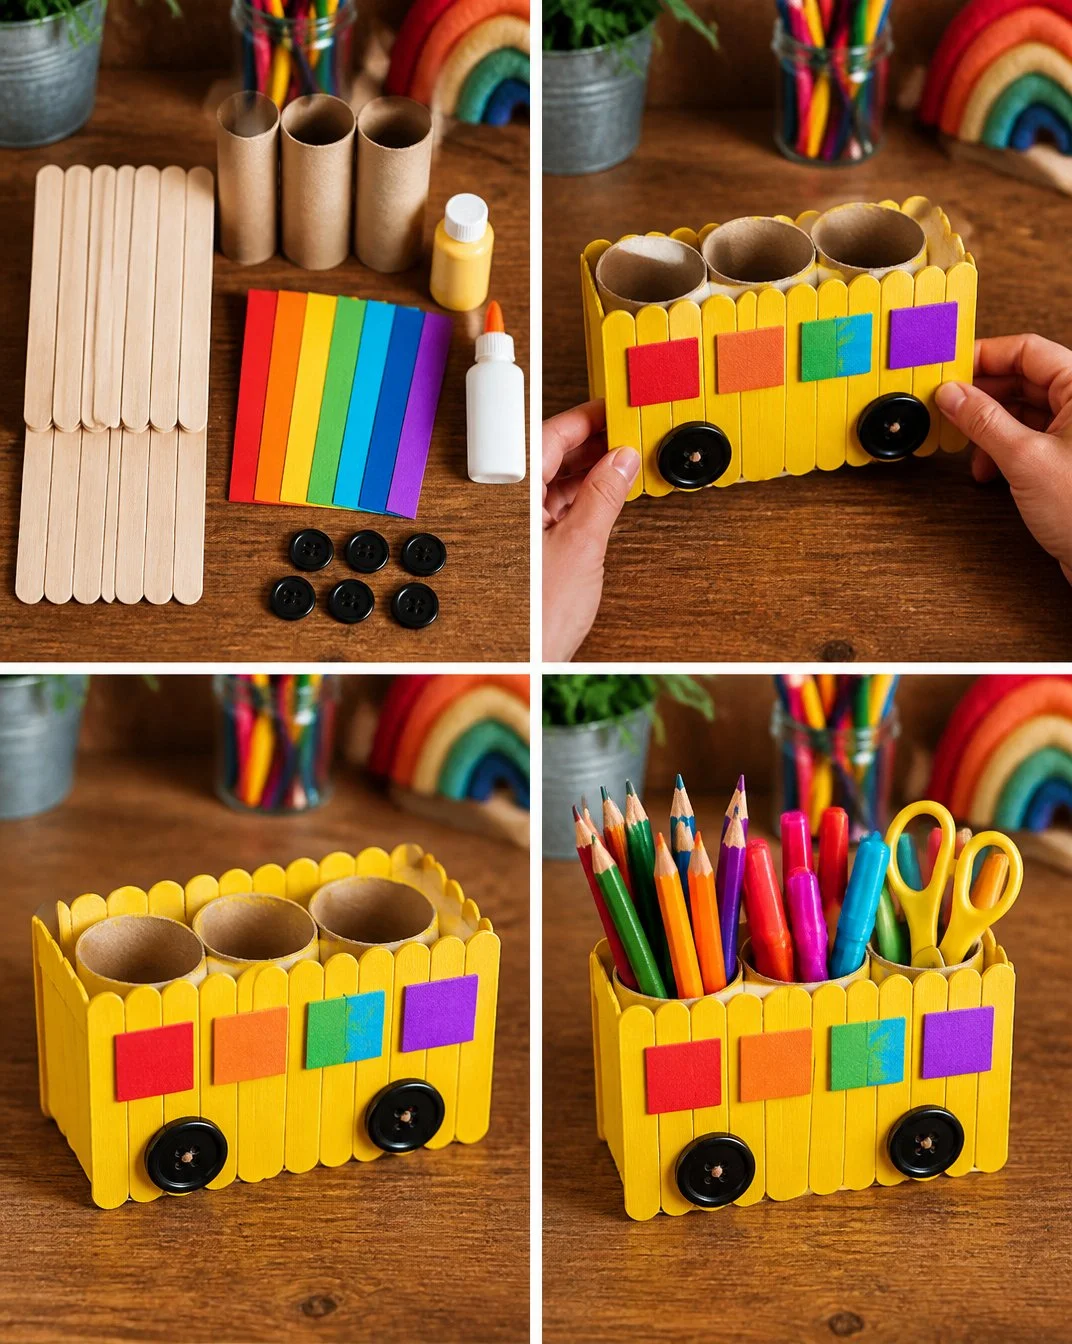
Creating the Rainbow School Bus Popsicle Stick Organizer is an excellent choice for busy families. This project requires minimal preparation, making it accessible even on a hectic day. The use of simple supplies you probably already have at home, such as ice cream sticks and craft paint, means you won’t need to make a special trip to the store. Additionally, the step-by-step process is straightforward, which helps to keep frustration at bay. You may also find Baking Soda Rainbow Crystal Forest useful.
The beauty of this craft lies in its reliability. The materials work well together, ensuring that even small hands can achieve great results. Children will feel a sense of accomplishment after completing their colorful organizer, making it a worthwhile way to spend some creative time together. You may also find Colorful Rainbow Crystal Leaf Sun Catcher useful.
A Quick Look Before You Begin
Creating this organizer takes around 30 to 45 minutes, depending on drying time and how detailed your designs are. Prepare for a bit of mess, as paint can easily splatter, but with a simple setup, cleanup is a breeze. For young children, it’s beneficial to have an adult nearby to supervise, especially during the gluing process, ensuring safety and assistance when needed. You may also find Cornstarch Rainbow Suncatchers useful.
Materials You’ll Need
- Standard popsicle sticks
- Craft paint (in rainbow colors)
- Glue (white craft glue or glue gun)
- Paintbrushes (one for each color)
- A cardboard base (like a flat piece of thick cardboard)
- Scissors
- Ruler (for measuring)
- Pencil (for marking)
All of these materials are common household items, so you likely won’t need to buy anything new. The project is budget-friendly, too, as it allows for creativity with what’s available to you.
Step-by-Step Directions
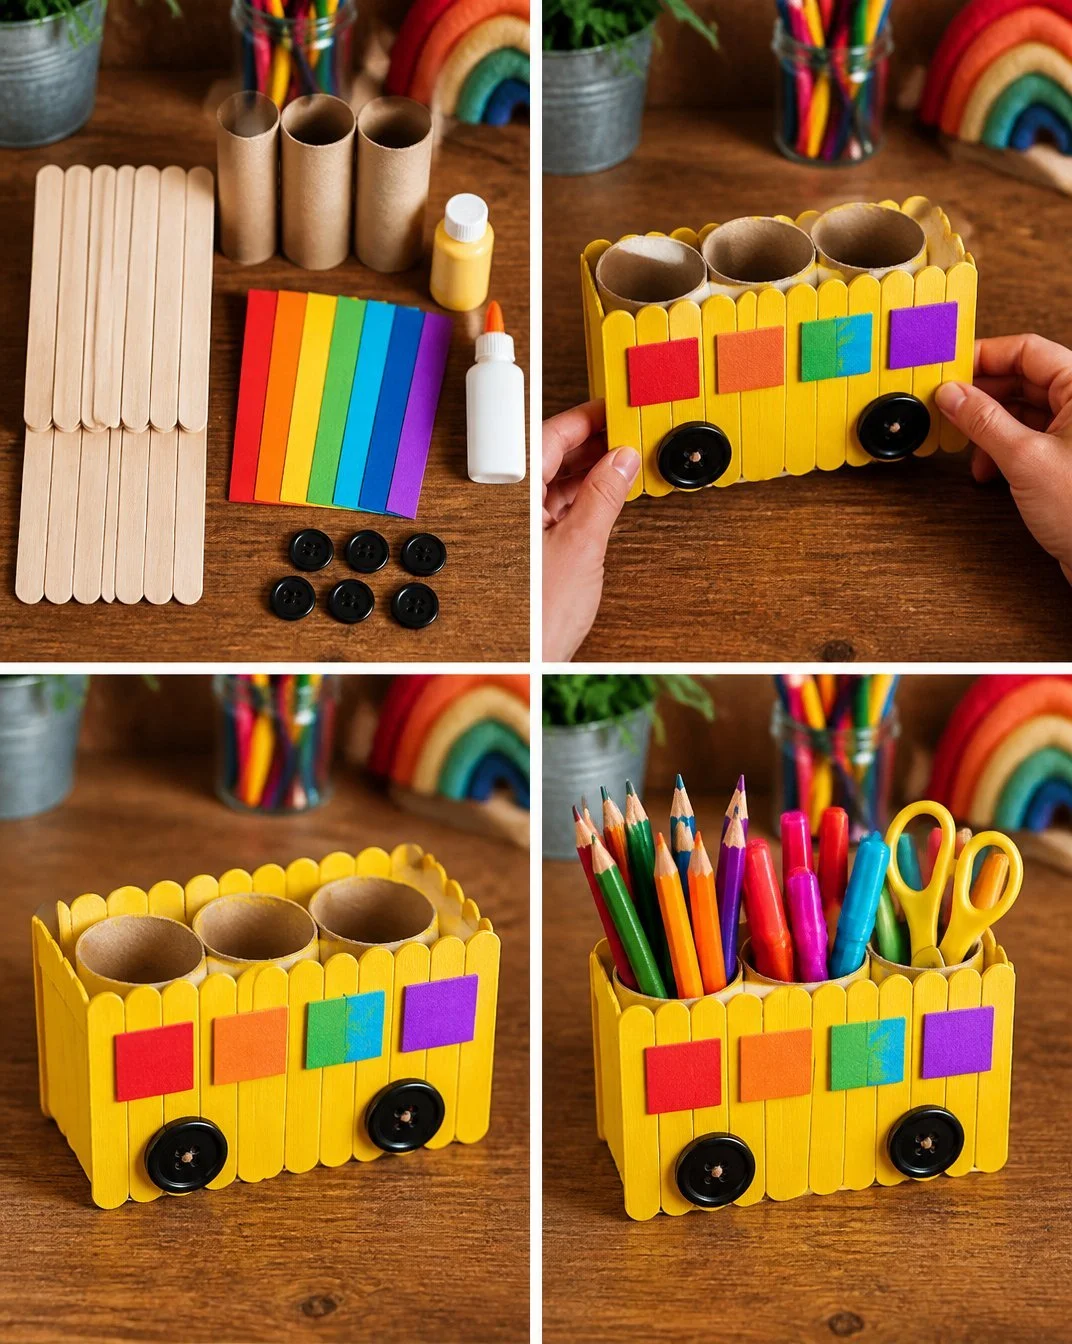
- Begin by painting your popsicle sticks in different colors of the rainbow. Set them aside to dry completely.
- While the sticks dry, measure and cut your cardboard base to a suitable size.
- Once the sticks are dry, lay them out on the cardboard to decide your final arrangement.
- Begin gluing the sticks onto the cardboard, starting from one edge and working across.
- Allow the glue to set fully, ensuring everything is securely attached.
- Once everything is dry, you can add labels or decorations to personalize your school bus organizer.
These steps allow plenty of room for creative expression. Kids can experiment with arrangements and choose colors that resonate with their style.
The Learning Behind This DIY
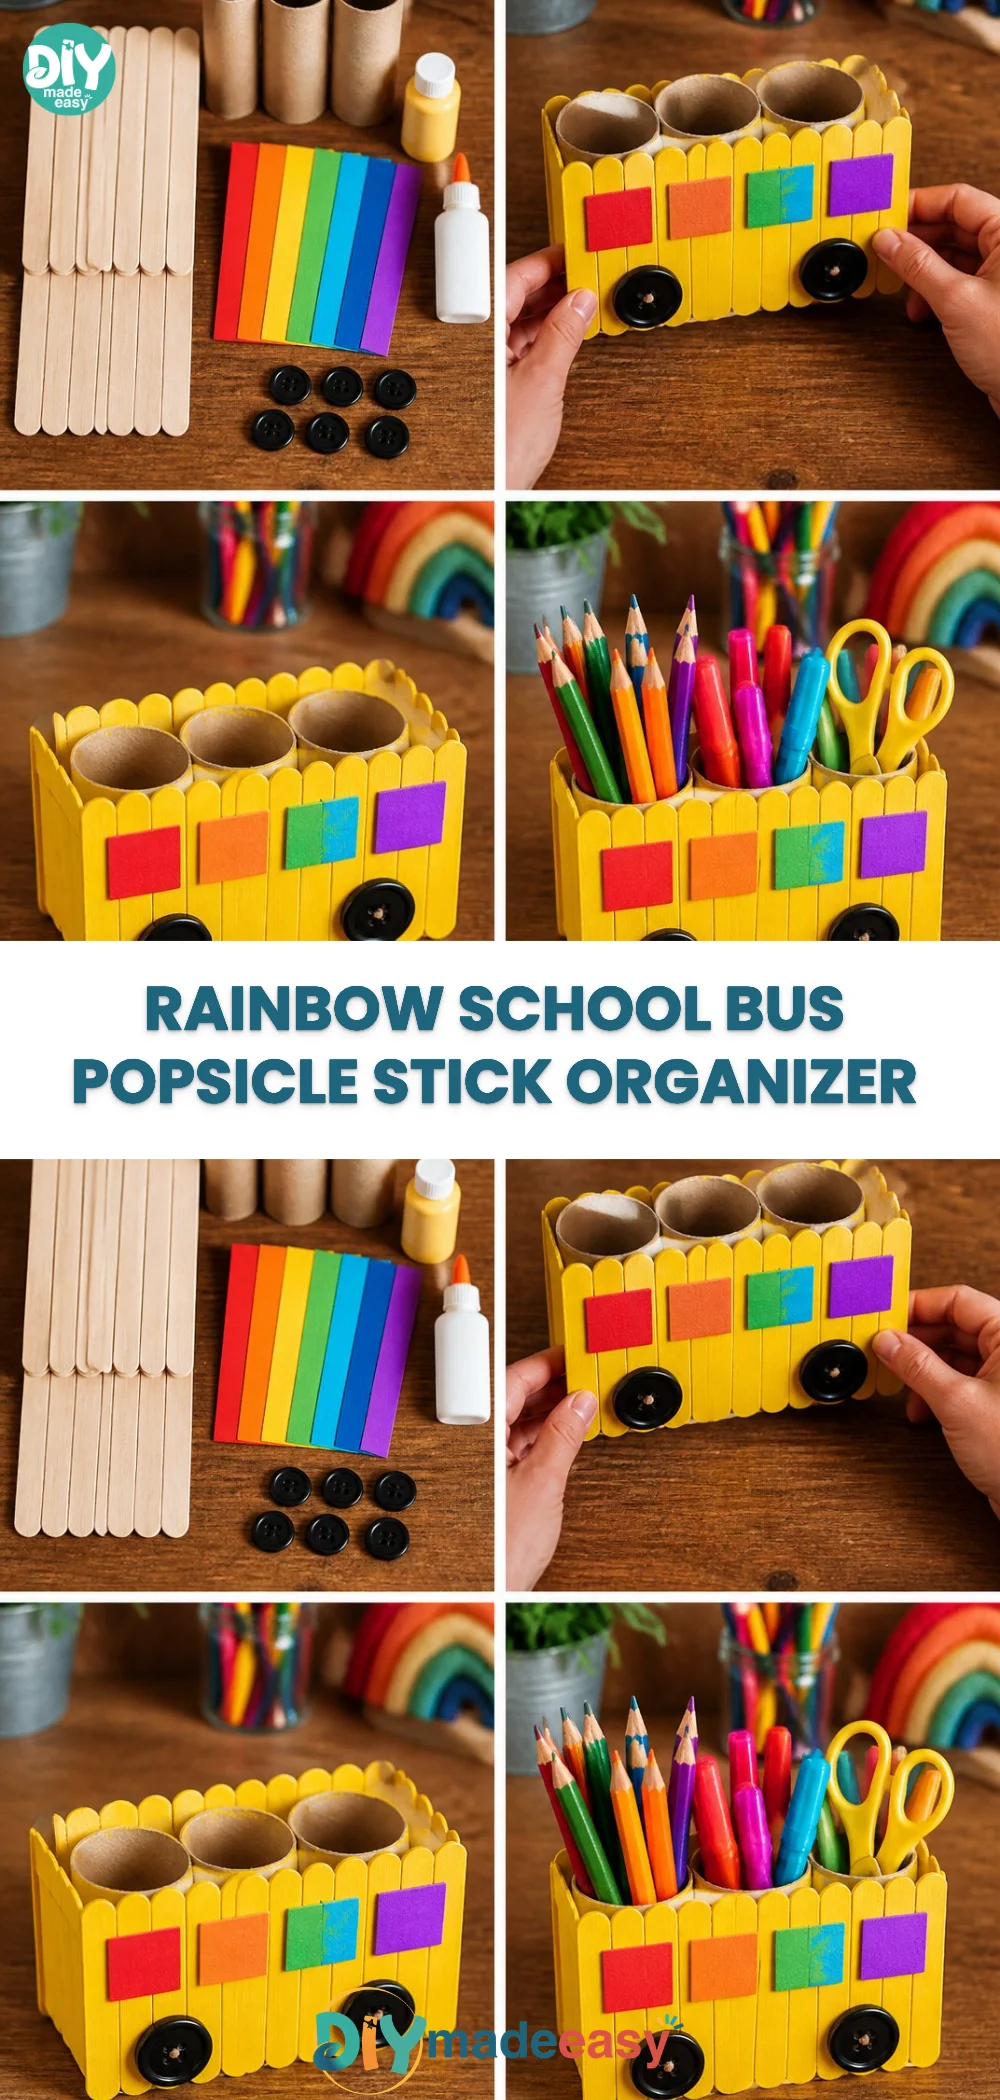
This project is not just a craft; it provides kids with valuable opportunities to practice various skills. Firstly, painting the sticks enhances their fine motor skills as they grip the brushes and paint. They’ll also exercise planning and spatial reasoning when laying out the sticks on the cardboard, thinking about how best to organize their supplies.
Moreover, crafting with bright colors introduces them to concepts of color mixing and aesthetics. Kids will gain a sense of accomplishment with each step, which can enhance their self-esteem and encourage future creativity.
Troubleshooting Common Issues
If your popsicle sticks aren’t sticking properly, it might be due to insufficient glue application or damp paint. Encourage kids to heavy-handedly apply glue, making sure they cover the entire edge before pressing it against the cardboard. Let everything dry undisturbed, and if needed, use weight like books to keep everything flat while it sets.
Another common issue may arise if the colors start mixing unintentionally. If this happens, avoid cleaning brushes in between colors, and consider laying them out so they can dry in a neat row, preventing awkward paint blend accidents.
Easy Variations to Try
There are many ways to personalize the Rainbow School Bus Popsicle Stick Organizer. Here are a few ideas for variations:
- Use glitter paints or metallic colors for a shimmering effect.
- Add stickers or decorative labels to the popsicle sticks for extra charm.
- Experiment with different shapes and sizes of the cardboard base to give it a unique look.
- Instead of a classic school bus, try creating different themed designs, such as a train or a house.
These variations allow for seasonal touches and can accommodate different creative moods or themes.
Storing or Reusing This Project
After you’re done using the Rainbow School Bus Popsicle Stick Organizer, consider its storage and reusability. If the organizer is made with durable materials, it can last for many school years or even a lifetime as a cherished craft. Encourage kids to clean up after finishing, reinforcing the habit of maintaining their creative environments. With proper care, the project can be reused to hold various supplies like pencils, crayons, and even small toys, thus reducing waste and keeping the creative energy flowing.
FAQs About Rainbow School Bus Popsicle Stick Organizer
Q: Can this project get messy? How can I manage the cleanup?
A: Yes, it’s likely that paint will end up on surfaces or little hands! To manage this, lay down newspapers or a plastic sheet on the table for easy cleanup. Have wet wipes handy for quick clean-ups of little hands as the project progresses.
Q: What ages is this project suitable for?
A: This project is great for kids ages 4 and up, as younger children may need more assistance with painting and gluing. Always supervise younger kids when using scissors or a glue gun.
Q: Can I substitute materials if I don’t have everything listed?
A: Absolutely! Crafting is about flexibility. You can use colored markers instead of paint or even cardboard pieces instead of a flat base if that’s what you have on hand.
Q: What should I do if my popsicle sticks don’t stay glued down?
A: If the sticks aren’t adhering well, it’s often due to the glue being insufficient. Be sure to coat the edges of the sticks more thoroughly, and give a little extra drying time, especially if you’re working in a humid environment.
Q: Can we use this organizer for different purposes throughout the year?
A: Yes! This versatile organizer can hold school supplies, craft materials, or even snacks for road trips. Encourage kids to change the contents and even the design as the seasons change.
Conclusion
Creating a Rainbow School Bus Popsicle Stick Organizer not only offers enjoyment for children but also teaches valuable lessons while encouraging creativity. For more inspiration on organizing craft supplies, check out this Craft Room Paint Organizer. Another fun idea is the Rainbow craft stick stationery holder, which adds even more colorful organization to your child’s workspace. With a little creativity and fun, you’ll find that crafting can bring out the best moments for you and your little ones.
PrintRainbow School Bus Popsicle Stick Organizer
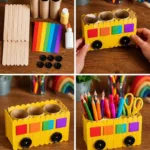
A fun and engaging craft project for kids to create a colorful organizer using popsicle sticks and cardboard.
- Prep Time: 15 minutes
- Cook Time: 30 minutes
- Total Time: 45 minutes
- Yield: 1 organizer
- Category: Craft
- Method: Crafting
- Cuisine: N/A
- Diet: N/A
Ingredients
- Standard popsicle sticks
- Craft paint (in rainbow colors)
- Glue (white craft glue or glue gun)
- Paintbrushes (one for each color)
- A cardboard base (like a flat piece of thick cardboard)
- Scissors
- Ruler (for measuring)
- Pencil (for marking)
Instructions
- Begin by painting your popsicle sticks in different colors of the rainbow. Set them aside to dry completely.
- While the sticks dry, measure and cut your cardboard base to a suitable size.
- Once the sticks are dry, lay them out on the cardboard to decide your final arrangement.
- Begin gluing the sticks onto the cardboard, starting from one edge and working across.
- Allow the glue to set fully, ensuring everything is securely attached.
- Once everything is dry, you can add labels or decorations to personalize your school bus organizer.
Notes
Encourage kids to experiment with colors and arrangements. Supervision is recommended for younger children during gluing.
Nutrition
- Serving Size: 1 organizer
- Calories: 0
- Sugar: 0g
- Sodium: 0mg
- Fat: 0g
- Saturated Fat: 0g
- Unsaturated Fat: 0g
- Trans Fat: 0g
- Carbohydrates: 0g
- Fiber: 0g
- Protein: 0g
- Cholesterol: 0mg