

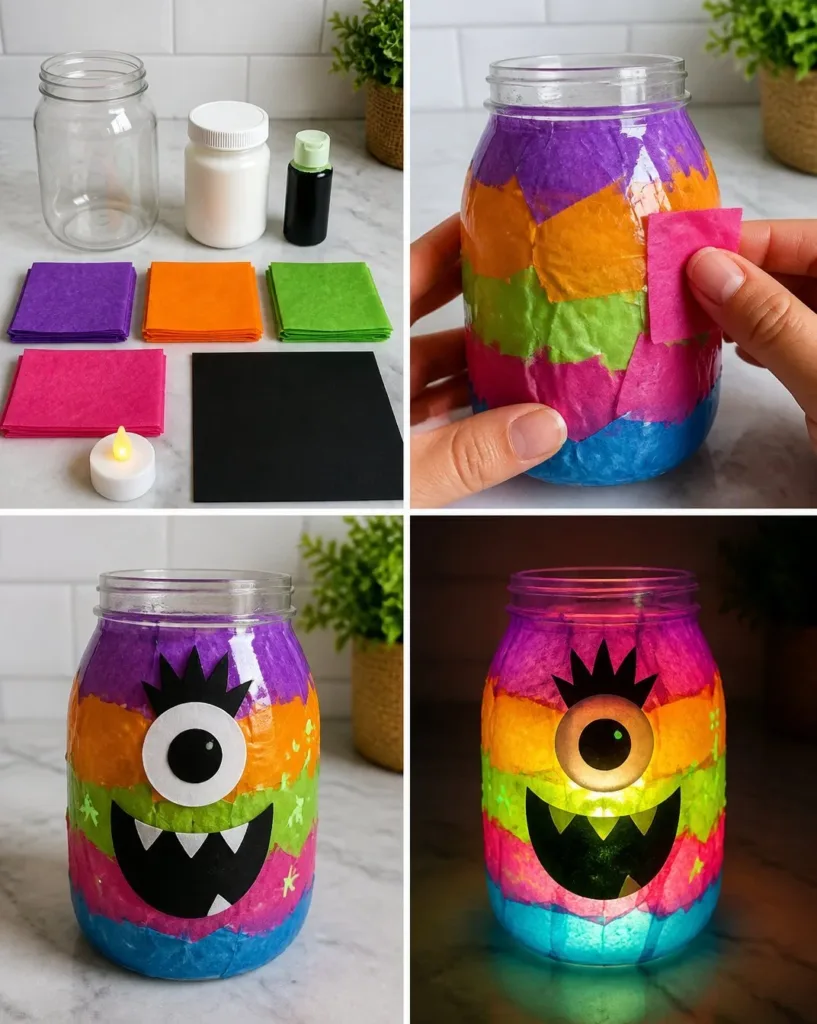
Glow-in-the-dark crafts can add a fun twist to DIY projects, especially on a last-minute afternoon when kids are eager to unleash their creativity. One exciting idea is the Glow-in-the-Dark Rainbow Monster Lantern. This project is not only visually appealing but also incredibly straightforward, making it perfect for a spontaneous crafting session. By using materials typically found around the house, like a medium-sized jar and colorful tissue paper, you can create a whimsical lantern that will dazzle in the dark. Whether for a foundation for a party decoration or a calming nightlight, this lantern encapsulates fun and creativity. You may also find Baking Soda Rainbow Crystal Forest useful.
Why This Glow-in-the-Dark Rainbow Monster Lantern Works So Well
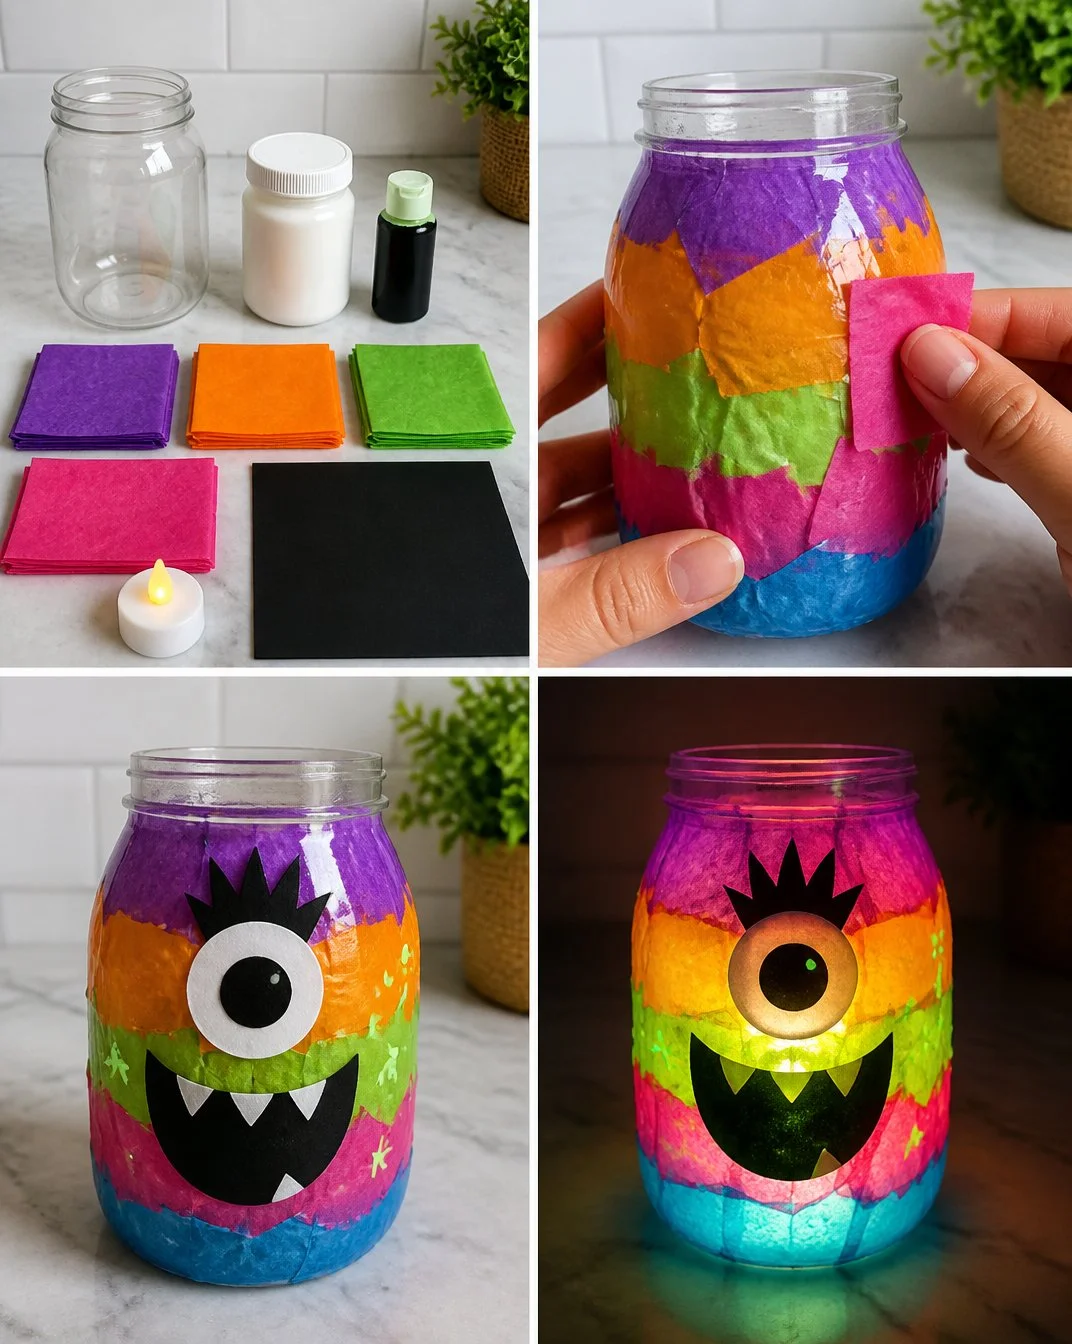
The Glow-in-the-Dark Rainbow Monster Lantern is a great project because it requires minimal preparation and the supplies are simple. Best of all, it doesn’t take long to complete—perfect for busy schedules. Kids will love the hands-on experience of brushing on glow-in-the-dark paint and arranging colorful tissue paper. The end result is both aesthetically pleasing and practical, as you get to enjoy a glowing ambiance once the lights go out. If you’re looking for more glowing ideas, check out this butterfly glow lantern project.
A Quick Look Before You Begin
Before starting the Glow-in-the-Dark Rainbow Monster Lantern, it’s important to be prepared. The entire project usually takes about one to two hours, and most of that time is just waiting for paint and glue to dry. Setting up a craft space before beginning will help keep things organized. Expect a little mess, as tissue paper can get a bit sticky when working with Mod Podge. Having some wet wipes or a damp cloth handy will make cleanup easier. Parents may want to supervise younger kids during the actual paint application for safety reasons. You may also find Colorful Rainbow Crystal Leaf Sun Catcher useful.
Materials You’ll Need
Gathering your supplies is the first step to a successful project. Here’s what you’ll need: You may also find Cornstarch Rainbow Suncatchers useful.
- Medium-sized jar
- Glow-in-the-dark paint
- Colorful tissue paper
- Mod Podge or white school glue
- Paintbrush or sponge applicator
- Scissors
- LED tealight candle
Most of these materials are common household items, and the materials can often be found in craft stores or online. If you don’t have Mod Podge, white school glue is a great substitute that will work just as well.
Step-by-Step Directions
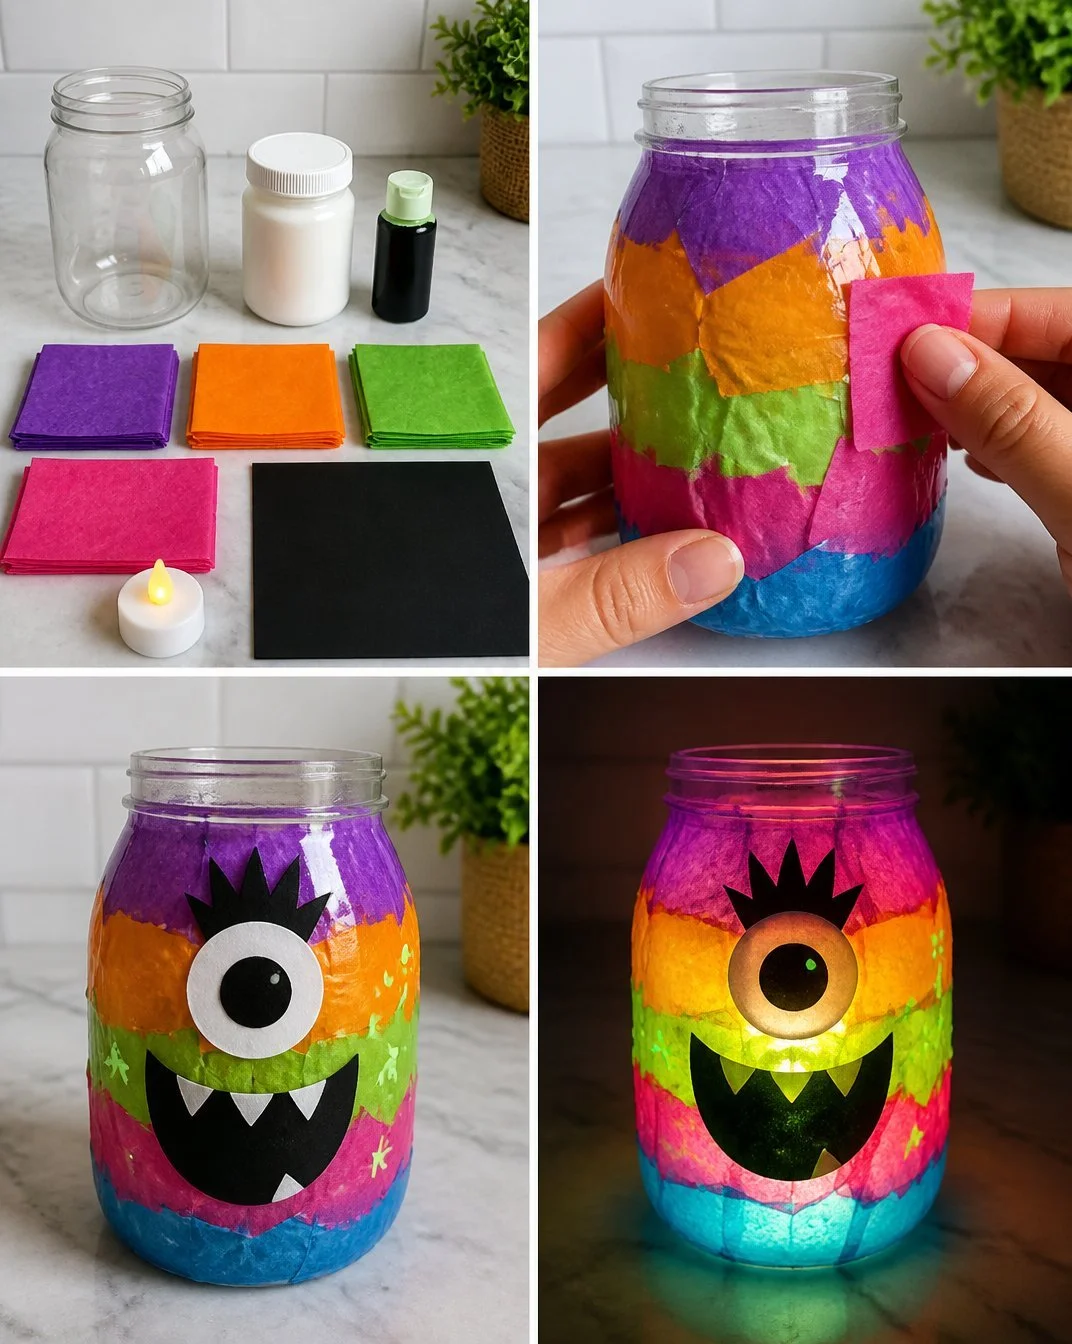
Now that you’ve gathered your supplies, it’s time to create your stunning Glow-in-the-Dark Rainbow Monster Lantern. Follow these steps for a delightful crafting experience:
Clean the jar thoroughly, ensuring it’s dry for painting. Removing any stickers or residue helps the paint adhere better.
Apply a thin layer of glow-in-the-dark paint around the inside of the jar and let it dry completely. This can take an hour or so, so be patient.
Cut colorful tissue paper into various shapes and sizes. Encourage kids to be creative and explore different patterns!
Apply a layer of Mod Podge to the outside of the jar, making sure to cover all areas where you’ll place tissue paper.
Layer the colorful tissue paper onto the jar, smoothing out bubbles. This is where the fun begins! Mixing and matching colors can create a vibrant look.
Finish with a final layer of Mod Podge over the top to seal the design. This will help protect the tissue paper and ensure everything stays in place.
Let the jar dry completely. Depending on humidity, this could take a couple of hours.
When the jar is dry, place an LED tealight inside.
Turn off the lights to watch your lantern glow beautifully. It’s a magical moment!
The Learning Behind This DIY
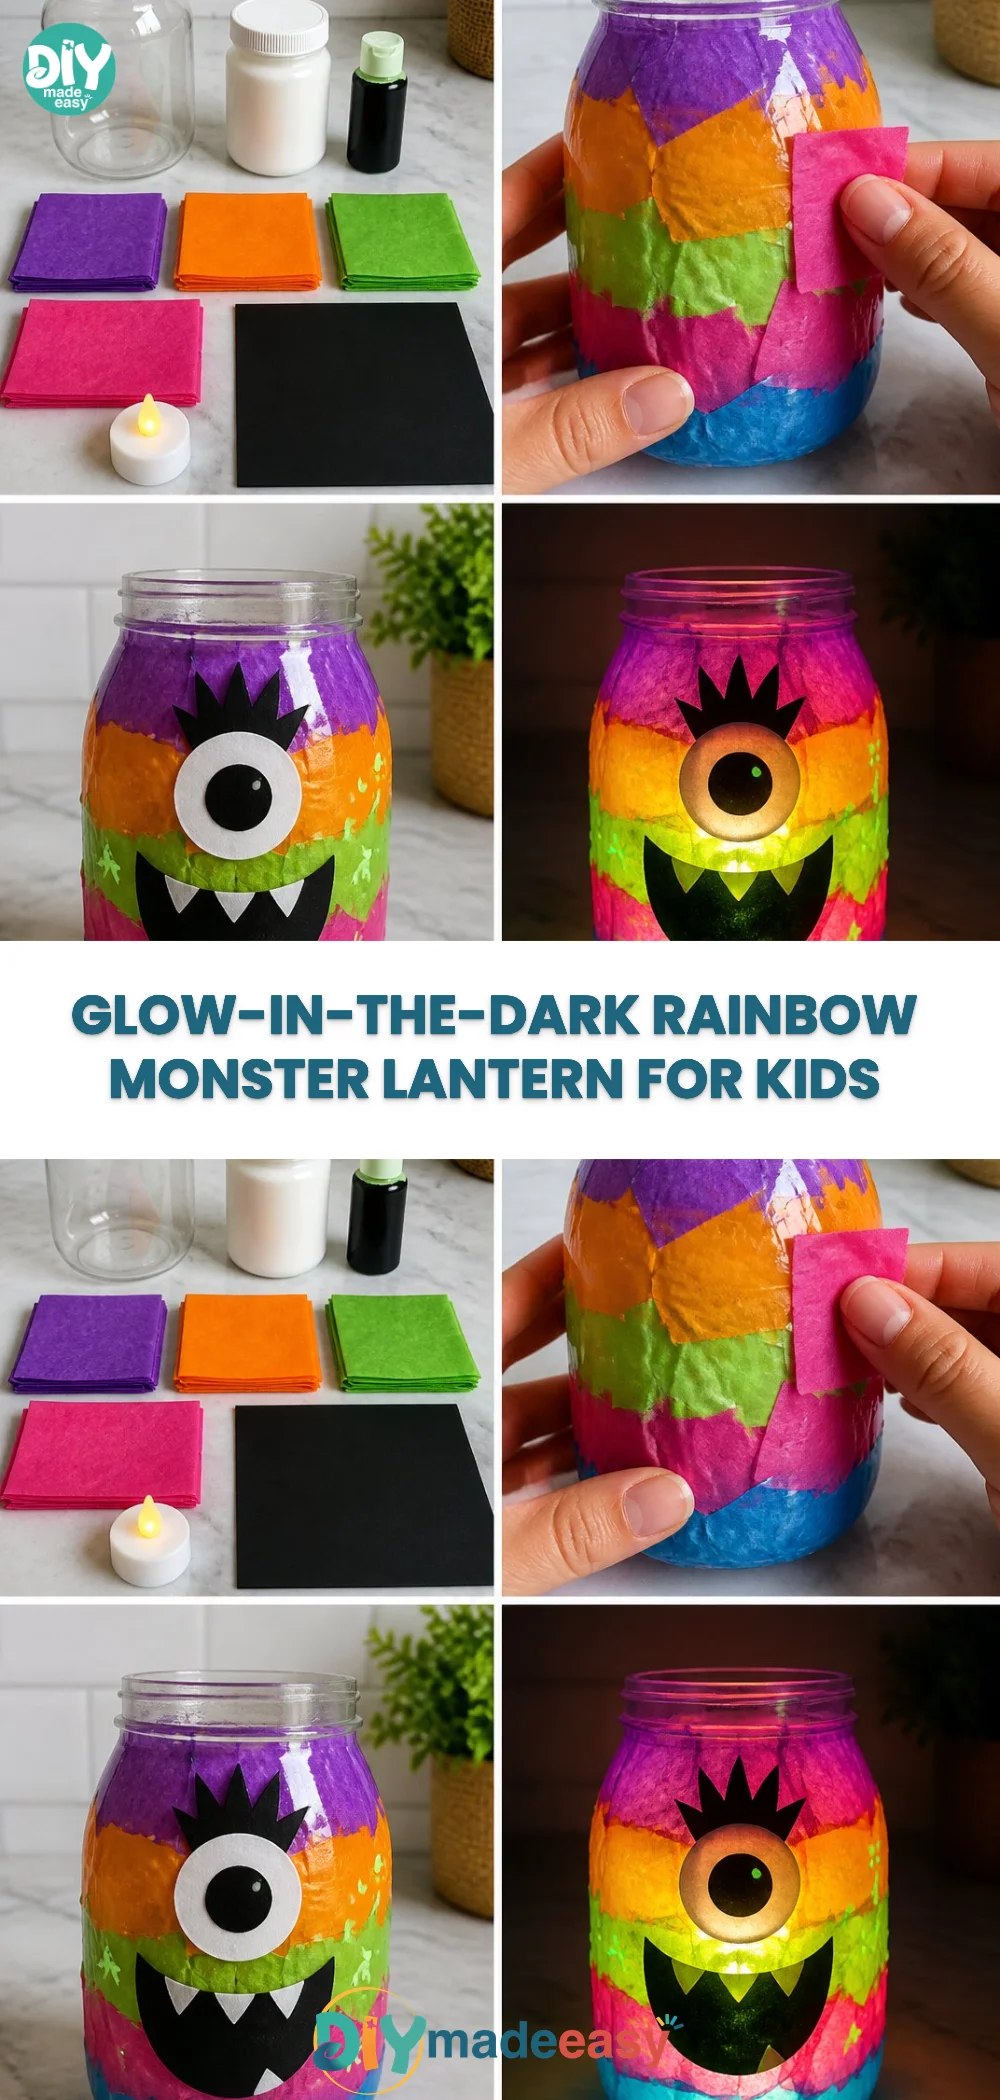
Making this Glow-in-the-Dark Rainbow Monster Lantern isn’t just about creating a fun decoration—it’s also educational! Children will practice fine motor skills as they cut and apply tissue paper. Additionally, they will learn about cause and effect through the layering of materials and how light interacts with color. As they handle paint, they’ll experiment with texture and see firsthand how different colors react to light. This project encourages creativity while reinforcing these fundamental skills.
Troubleshooting Common Issues
If something doesn’t go as planned during your lantern-making session, don’t worry! Here are a few common problems and solutions:
If the glow-in-the-dark paint isn’t showing up, make sure the paint was applied evenly and let it dry fully before adding layers. If it looks too thin, apply another coat of paint.
When the tissue paper bubbles up, you may need to smooth it out with your fingers or a sponge applicator. If it tears, just add a little Mod Podge on top to secure the piece.
If the lantern doesn’t glow as brightly, check that you’ve exposed it to light before turning off the room lights. The glow-in-the-dark paint needs to charge!
Easy Variations to Try
Looking for ways to switch things up? Here are some fun variations to try:
Experiment with a variety of jar sizes. Use smaller jars for a group of mini lanterns to hang or display together.
Rather than just colorful tissue paper, consider using patterned paper or even hand-painted designs. Incorporating different textures can add depth.
For seasonal themes, use colors that represent holidays or special occasions. A spooky version for Halloween or pastel colors for Easter can be delightful.
You can replace the LED tealight with string lights for a more whimsical look.
Storing or Reusing This Project
Once you’ve finished your Glow-in-the-Dark Rainbow Monster Lantern, you might wonder what to do with it. These lanterns are easy to store. Keep them in a cool, dry place, away from direct sunlight. If you want to reuse the same jar for a different project, the Mod Podge and paint can usually be removed with warm water and a little scrubbing. Reducing waste is always a good practice, and repurposing these jars can lead to creative new projects.
FAQs About Glow-in-the-Dark Rainbow Monster Lantern
What if the paint makes a mess?
It’s normal to feel a bit anxious about paint spills, but the best part is that glow-in-the-dark paint cleans up easily with soap and water when wet. Keep some paper towels handy for quick fixes!
Is this project safe for younger kids?
Absolutely! Supervise younger kids while using scissors, and ensure they understand that the LED tealight is safe to touch.
Can I use different types of glue?
Yes, if you don’t have Mod Podge, white school glue works just as well for sticking down the tissue paper without compromising the final design.
How long will the glow last?
The longevity of the glow will depend on the quality of the glow paint used, but it typically lasts a few hours after exposure to light.
Can I reuse these materials for other projects?
Yes! The jar, paint, and Mod Podge can all be used for numerous other crafts. Tidying up the supplies after your project means you can try new ideas later.
Conclusion
Conclusion
Creating a Glow-in-the-Dark Rainbow Monster Lantern can be a rewarding experience for both kids and adults. Not only does it foster creativity, but it also provides an opportunity to bond over a shared project. If you’re looking to explore more glowing ideas, consider the Rainbow Loom® Glow in The Dark Collection or dive into the fascinating discussions in The Glowing Muse – Orion Magazine. Enjoy your crafting!
PrintGlow-in-the-Dark Rainbow Monster Lantern
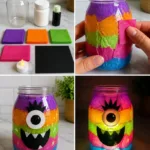
Create a fun and whimsical Glow-in-the-Dark Rainbow Monster Lantern using simple materials found around the house.
- Prep Time: 20 minutes
- Cook Time: 60 minutes
- Total Time: 80 minutes
- Yield: 1 lantern
- Category: Craft
- Method: Crafting
- Cuisine: DIY
- Diet: N/A
Ingredients
- Medium-sized jar
- Glow-in-the-dark paint
- Colorful tissue paper
- Mod Podge or white school glue
- Paintbrush or sponge applicator
- Scissors
- LED tealight candle
Instructions
- Clean the jar thoroughly, ensuring it’s dry for painting.
- Apply a thin layer of glow-in-the-dark paint around the inside of the jar and let it dry completely.
- Cut colorful tissue paper into various shapes and sizes.
- Apply a layer of Mod Podge to the outside of the jar.
- Layer the colorful tissue paper onto the jar, smoothing out bubbles.
- Finish with a final layer of Mod Podge over the top to seal the design.
- Let the jar dry completely.
- When the jar is dry, place an LED tealight inside.
- Turn off the lights to watch your lantern glow beautifully.
Notes
Ensure to supervise younger kids during the actual paint application for safety reasons.
Nutrition
- Serving Size: 1 lantern
- Calories: N/A
- Sugar: N/A
- Sodium: N/A
- Fat: N/A
- Saturated Fat: N/A
- Unsaturated Fat: N/A
- Trans Fat: N/A
- Carbohydrates: N/A
- Fiber: N/A
- Protein: N/A
- Cholesterol: N/A