

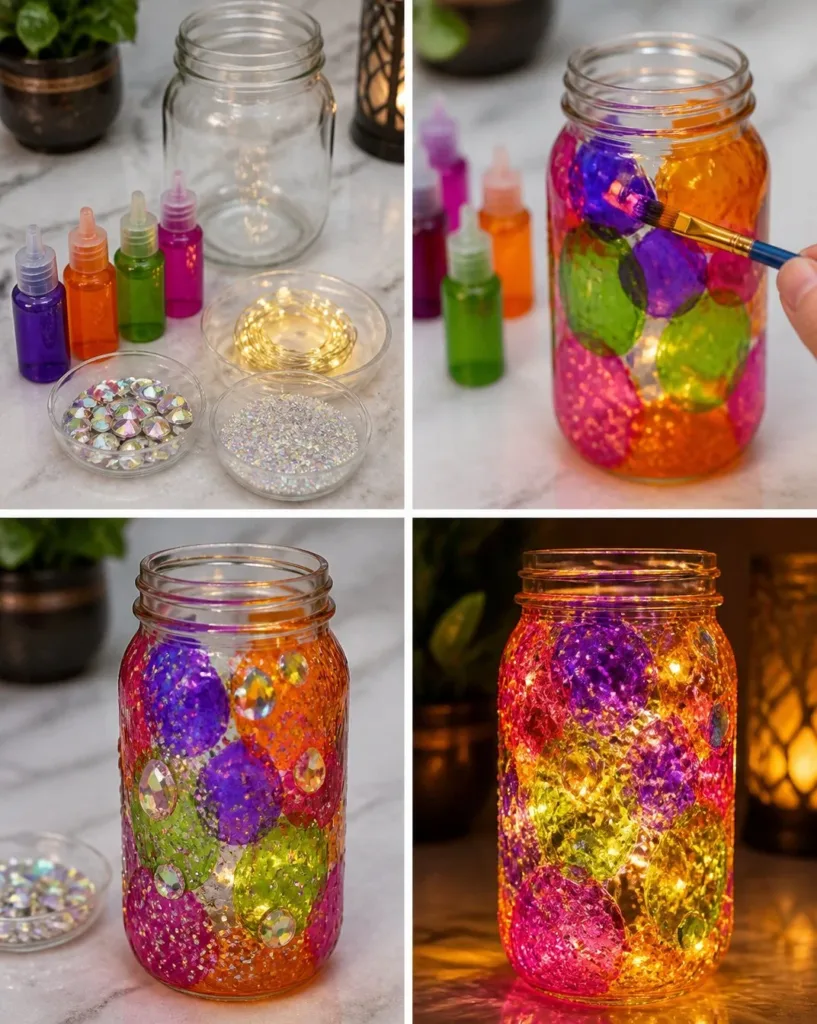
A busy afternoon spent with the kids can often lead to a moment where you need a quick, engaging activity to keep everyone entertained. If your little ones are craving a hands-on project right now, then creating a Glowing Rainbow Potion Crystal Jar is the perfect choice. This colorful and captivating DIY activity is not only fun to make but also results in a beautiful jar that glows mysteriously when the lights go out. It’s a delightful project that captures the imagination, and it’s surprisingly simple to put together with just a few everyday materials at home. You may also find Baking Soda Rainbow Crystal Forest useful.
Why This Glowing Rainbow Potion Crystal Jar Works So Well
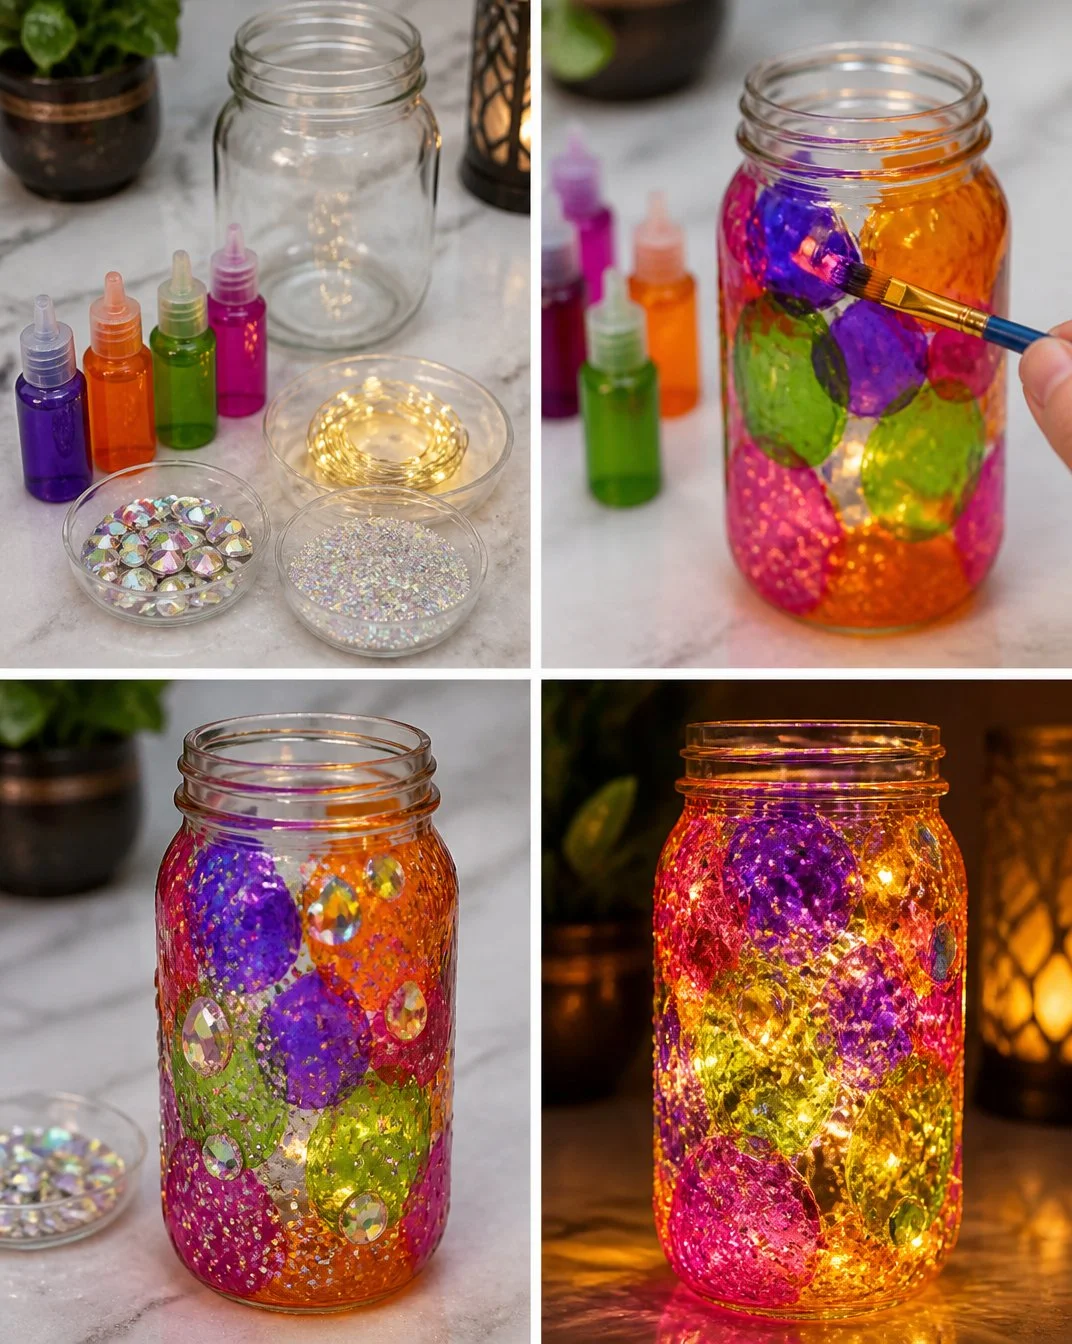
The Glowing Rainbow Potion Crystal Jar is excellent for a variety of reasons. For starters, it requires minimal preparation, making it suitable for even the busiest schedules. With just a glass jar and some basic craft supplies, you can create something wonderful without a lot of fuss or clean-up afterward. Furthermore, the layering of components in this project is straightforward, allowing children to visualize their creativity and see their efforts come to life. Kids can have a hands-on experience while learning about layering and mixing, all while having a blast. You may also find Colorful Rainbow Crystal Leaf Sun Catcher useful.
A Quick Look Before You Begin
Before you dive into making your glowing potion jar, take a moment to gather all your materials and set up your workspace. This DIY project can comfortably take around 30 to 45 minutes, depending on how elaborate your jar turns out to be. It’s an ideal setup for kids aged four and up, assuming adult supervision for handling the materials. This DIY is relatively tidy, though it’s still wise to lay down some newspaper or an old tablecloth to catch any spills. You may also find Crystal Pinecones Frozen Rainbows useful.
Materials You’ll Need
To create your mesmerizing Glowing Rainbow Potion Crystal Jar, you’ll need the following materials: You may also find Glowing Glitter Jar useful.
- Clear glass jar with a lid
- Food-safe glowing glitter or glow powder
- Rainbow-colored beads or crystals
- Light corn syrup or clear gel
- Water
- Layering tools (small spoon or funnel)
Most of these items can be found around the house. The glowing glitter or powder adds that magical touch, so make sure it’s food-safe to ensure a fun and safe experience for everyone.
Step-by-Step Directions
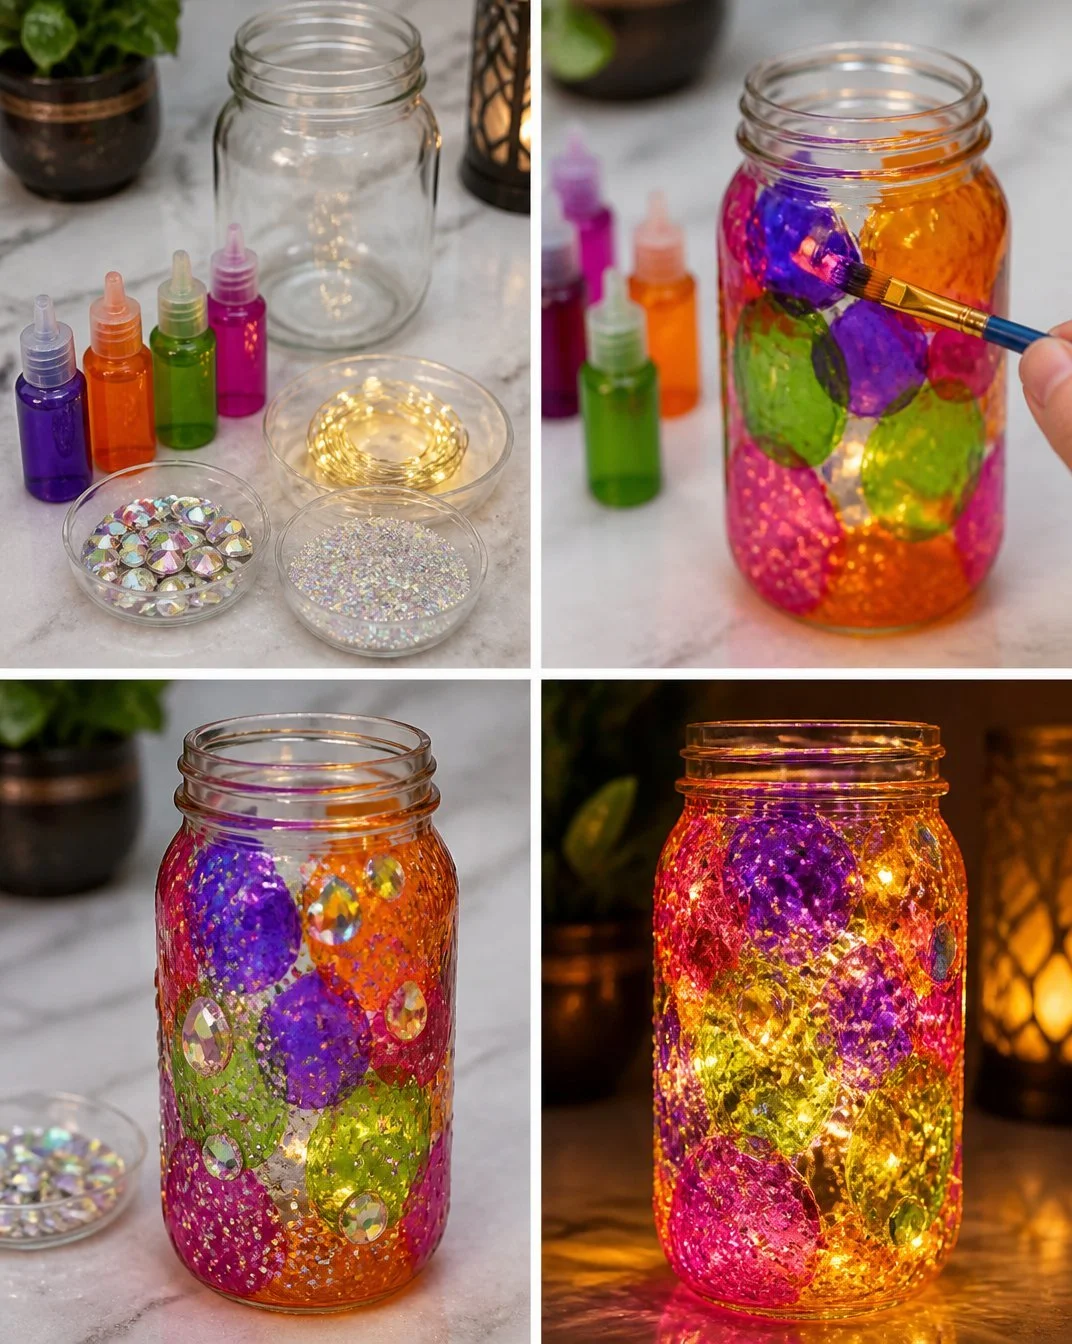
Prepare your clean glass jar, ensuring it’s dry. This is essential for the layers to remain distinct and beautifully visible.
Pour a layer of water into the jar, filling it just below halfway. This initial layer sets the foundation for your potion.
Add drops of light corn syrup or clear gel into the water for a swirling effect. This element adds movement and gives an enchanting vibe to your jar.
Sprinkle in food-safe glowing glitter or glow powder. The glitter will not only add sparkle but will also be the key to your jar glowing in the dark.
Carefully add rainbow-colored beads or crystals, creating patterns as desired. This step allows for creativity—make it as colorful and abstract as you like!
Repeat layering with more water, corn syrup, and glitter as desired. Each layer will contribute to the beauty of the finished product.
Seal the jar with the lid tightly to preserve your work. Your Glowing Rainbow Potion Crystal Jar is now ready to impress!
The Learning Behind This DIY
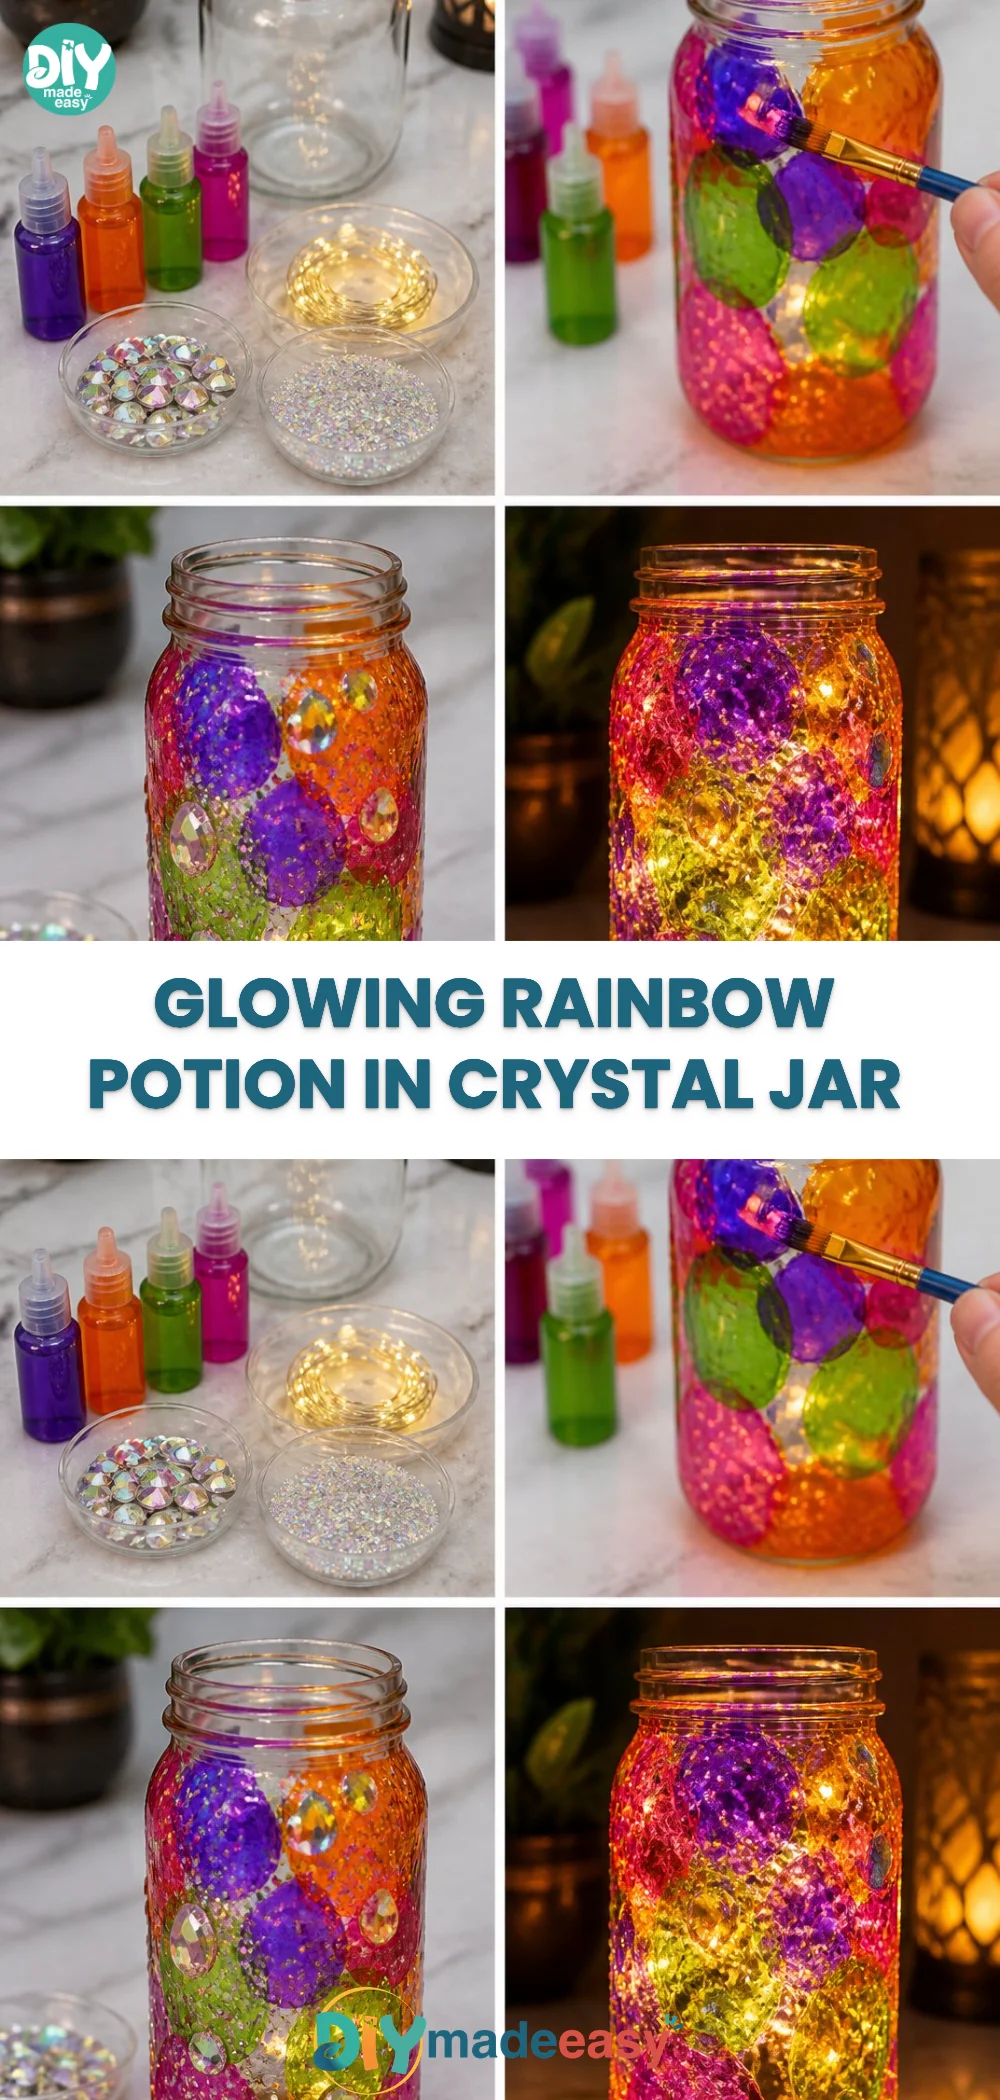
While making this project, kids practice a variety of skills, from fine motor skills when handling small items to visual skills while translating their artistic ideas into reality. Moreover, the layering process introduces basic scientific concepts such as density and light diffusion. Children learn how different materials interact and how light can transform the look of their creation, making this DIY both educational and fun.
Troubleshooting Common Issues
If something doesn’t go as planned, don’t fret! One common issue is the layers mixing too much. If this happens, adjust the amount of corn syrup or try letting it settle before adding more layers. If the glowing powder isn’t bright enough, check the quality of the glitter—some formulations just don’t glow well under normal light conditions.
Easy Variations to Try
This project can adapt to suit various themes or events. For example, for a Halloween twist, consider using black glitter and orange beads. For a spring theme, pastel colors would wear beautifully. You might also try different shapes of jars or adding themed decorations, like small figurines or seasonal items.
Storing or Reusing This Project
After the fun, it’s important to think about what to do with your potion jar. You can keep it as a nightlight on a shelf, or if you ever want a refreshing change, simply dump the contents out and start anew. This project promotes reuse and reduces waste by allowing kids to reimagine their creations over time.
FAQs About Glowing Rainbow Potion Crystal Jar
What if I don’t have glowing glitter?
If glowing glitter isn’t available, you can substitute it with regular glitter. The effect won’t be the same in the dark, but it’ll still look beautiful in natural light!
Is this project messy?
It’s relatively tidy, but glitter can get everywhere. Have a damp cloth handy for spills, and consider working on a surface that’s easy to clean.
At what age can my child do this?
This activity is great for ages four and up, but younger children may need a bit more help and supervision, especially with the pouring.
Can I use different types of jars?
Absolutely! The jar type can vary based on what you have at home. Different shapes and sizes can create unique and interesting designs.
How long will the glow last?
The glow depends on the type of glitter or powder you use. Most will persist for a while, but exposure to light helps recharge the glow.
A Final Helpful Note
Creating the Glowing Rainbow Potion Crystal Jar is meant to be a joyful, creative experience. Encourage your kids to play with colors, shapes, and layers in a way that feels right to them. While strict guidelines can be helpful, the best part of DIY is the freedom to explore and express oneself. Have fun, and let each project be a personal masterpiece!
Conclusion
Engaging in the Glowing Rainbow Potion Crystal Jar activity can be particularly satisfying, as it merges creativity with playful learning. If you’re seeking further inspiring projects, you might find ideas like these Steampunk Potion Bottles an excellent complement to your DIY adventures. Plus, for those looking to add some flair to their outfits, consider exploring the Glow Dark Snake Venom Bottle Necklace. Enjoy exploring and creating together!
PrintGlowing Rainbow Potion Crystal Jar
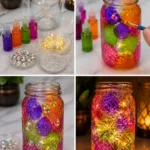
Create a colorful and magical Glowing Rainbow Potion Crystal Jar with simple ingredients for a hands-on activity that captivates children.
- Prep Time: 15 minutes
- Cook Time: 30 minutes
- Total Time: 45 minutes
- Yield: 1 jar
- Category: Craft
- Method: Crafting
- Cuisine: N/A
- Diet: N/A
Ingredients
- Clear glass jar with a lid
- Food-safe glowing glitter or glow powder
- Rainbow-colored beads or crystals
- Light corn syrup or clear gel
- Water
- Layering tools (small spoon or funnel)
Instructions
- Prepare your clean glass jar, ensuring it’s dry.
- Pour a layer of water into the jar, filling it just below halfway.
- Add drops of light corn syrup or clear gel into the water.
- Sprinkle in food-safe glowing glitter or glow powder.
- Carefully add rainbow-colored beads or crystals, creating patterns.
- Repeat layering with more water, corn syrup, and glitter as desired.
- Seal the jar with the lid tightly to preserve your work.
Notes
This activity is great for ages four and up with adult supervision. Prepare for a moderately tidy environment and have a damp cloth ready for spills.
Nutrition
- Serving Size: 1 jar
- Calories: 0
- Sugar: 0g
- Sodium: 0mg
- Fat: 0g
- Saturated Fat: 0g
- Unsaturated Fat: 0g
- Trans Fat: 0g
- Carbohydrates: 0g
- Fiber: 0g
- Protein: 0g
- Cholesterol: 0mg