

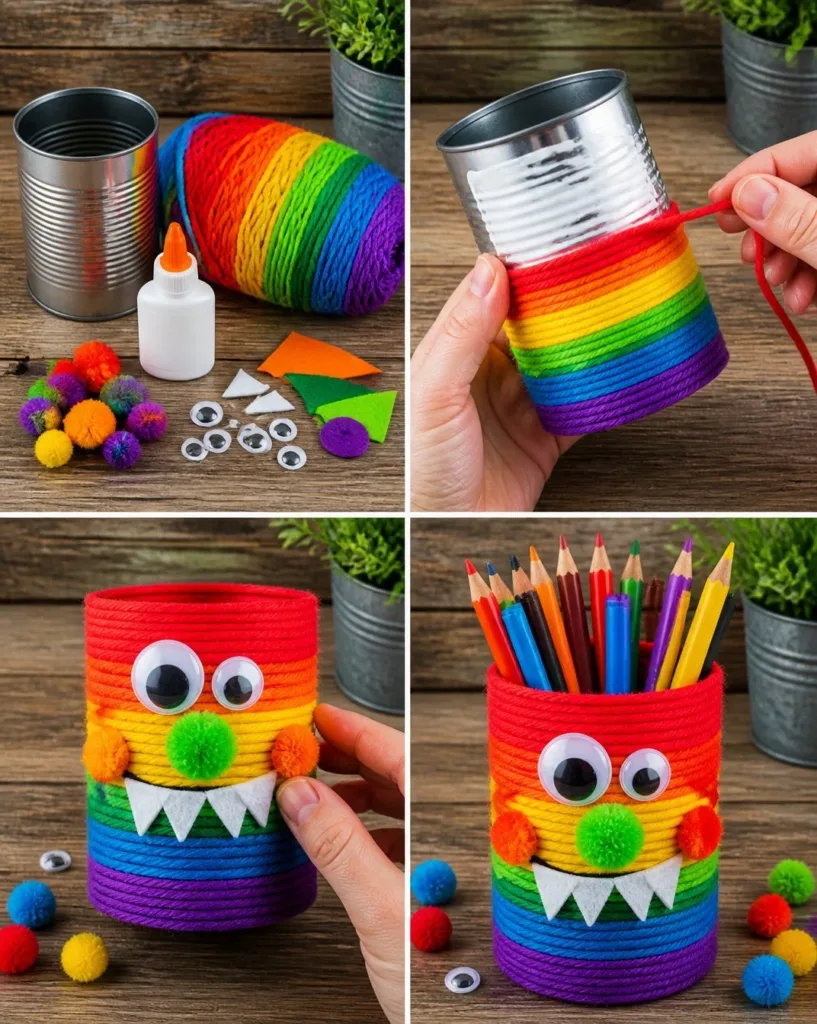
When a busy afternoon rolls around, finding an engaging craft activity can be a real challenge. Kids may suddenly want to create something fun and vibrant with the supplies you already have on hand. That’s where the Colorful Monster Pencil Holder from a Tin Can comes in. This delightful project combines creativity and practicality, giving children the perfect spot to store their pens and pencils while expressing their artistic flair. All you need are a few everyday materials and a little time, making this an ideal last-minute activity. You may also find Floating Flower Candle Bowl useful.
Why This Colorful Monster Pencil Holder from a Tin Can Works So Well
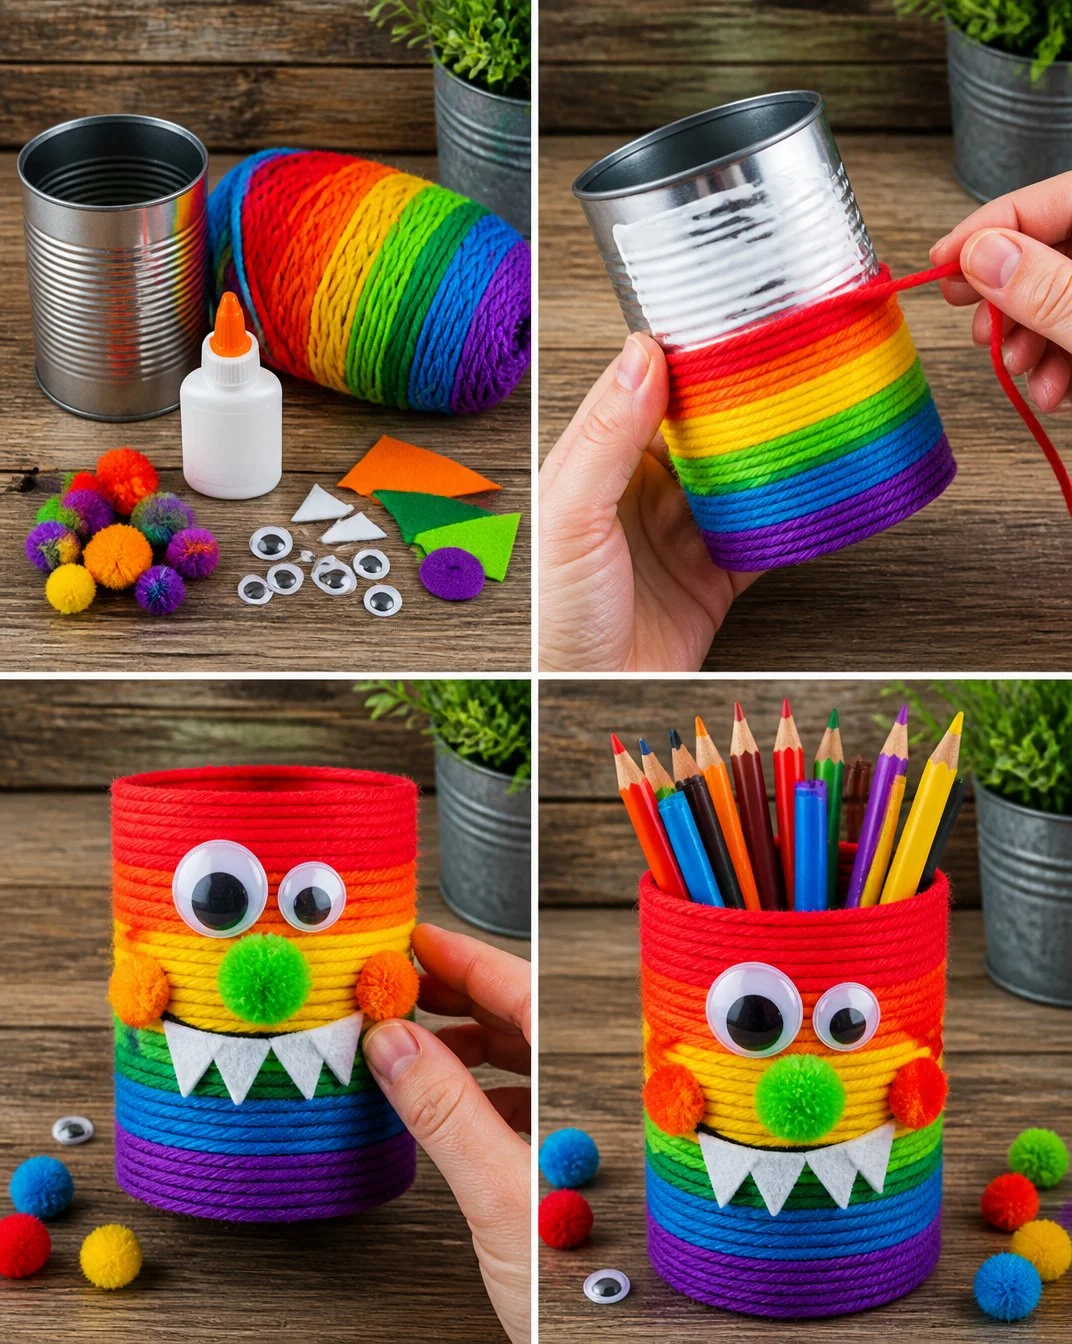
This project is great for several reasons that make it approachable for families or classrooms. First, it uses low-prep materials—an empty tin can, some paint, and colored paper. These are items that are often found in most homes, reducing the need to rush out to a store. Additionally, the Colorful Monster Pencil Holder is designed to be simple enough that children can take the lead with minimal supervision. You can easily adapt the steps to fit your child’s age or skill level, making it a truly versatile craft. Plus, the results are a sturdy and useful item that kids will be proud to display on their desks. You may also find Gold Leaf Candle Holder useful.
A Quick Look Before You Begin
Creating a Colorful Monster Pencil Holder from a Tin Can provides a lovely opportunity to enjoy crafting without requiring extensive setup or clean-up. Expect to spend around an hour on the entire project, from start to finish. You’ll want to protect your workspace with newspaper or old cloth to catch any paint spills or drips, allowing the experience to be stress-free. Engaging children in the preparation can also serve as a good introduction to organization and cleanliness. You may also find Pressed Flower Candle Holder useful.
Materials You’ll Need
- An empty tin can (cleaned and dried)
- Colorful acrylic or washable paints
- Paintbrushes (various sizes for detail)
- Colored paper or cardstock
- Scissors (child-safe if younger makers are involved)
- Glue or adhesive
- Googly eyes (optional for character)
- Markers or crayons for decoration
- Optional: decorative items like glitter or stickers
Collecting the necessary materials should be quite simple, as many of these items are common office or craft supplies. Be sure to choose washable paints if you’re concerned about messes, as they clean up easily. You may also find Baking Soda Fizzy Painting useful.
Step-by-Step Directions
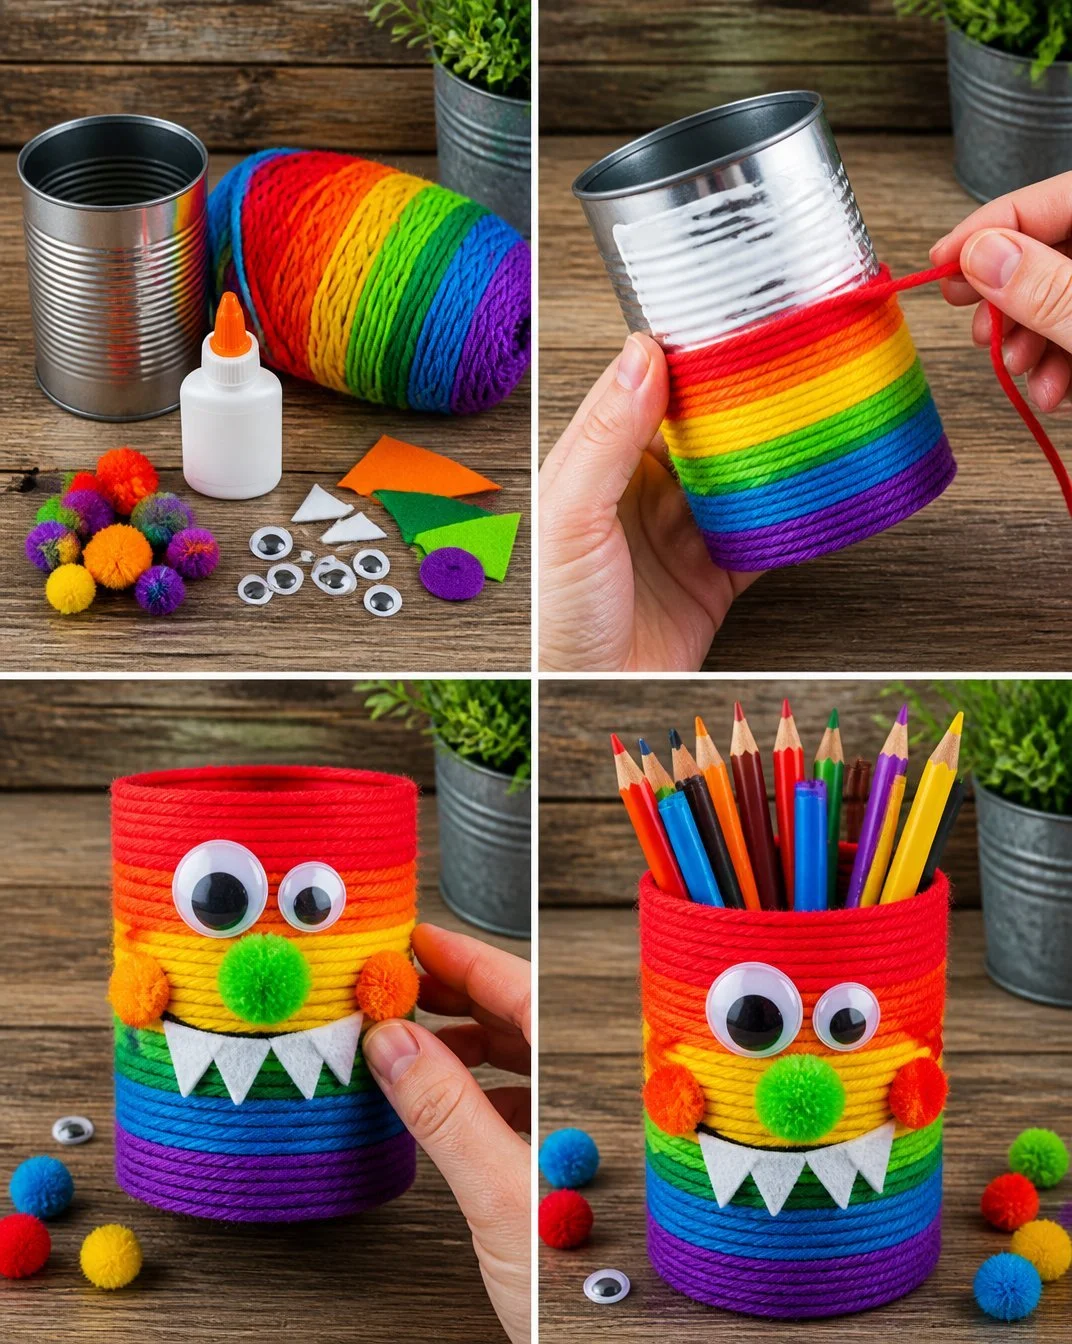
Begin by preparing your tin can. Ensure it’s clean and that any sharp edges are safely smoothed down. A simple method for this is to run the edge with fine sandpaper if necessary.
Paint the entire can with a base coat of your chosen color. This will act as the background for your monster’s design. Choose bright, lively colors to capture a playful spirit.
Allow the first layer of paint to dry completely before adding a second coat for depth and vibrancy. Patience is key here—it will be worth it!
While the paint dries, cut out shapes from the colored paper. Think about creating your monster’s features like ears, teeth, and limbs. Let your child’s imagination lead the way!
Once the can is ready, and the paper pieces are cut, attach them to the can using glue. Allow the glue to dry properly for the best results.
Add googly eyes for an animated effect, positioning them near the top. This addition will give your monster character and personality.
Use markers or crayons to draw additional details such as facial expressions and whimsical decorations. Let the children explore their creativity by adding their thoughts to the design.
Finally, let everything dry before filling your colorful monster with pens, pencils, or markers!
The Learning Behind This DIY
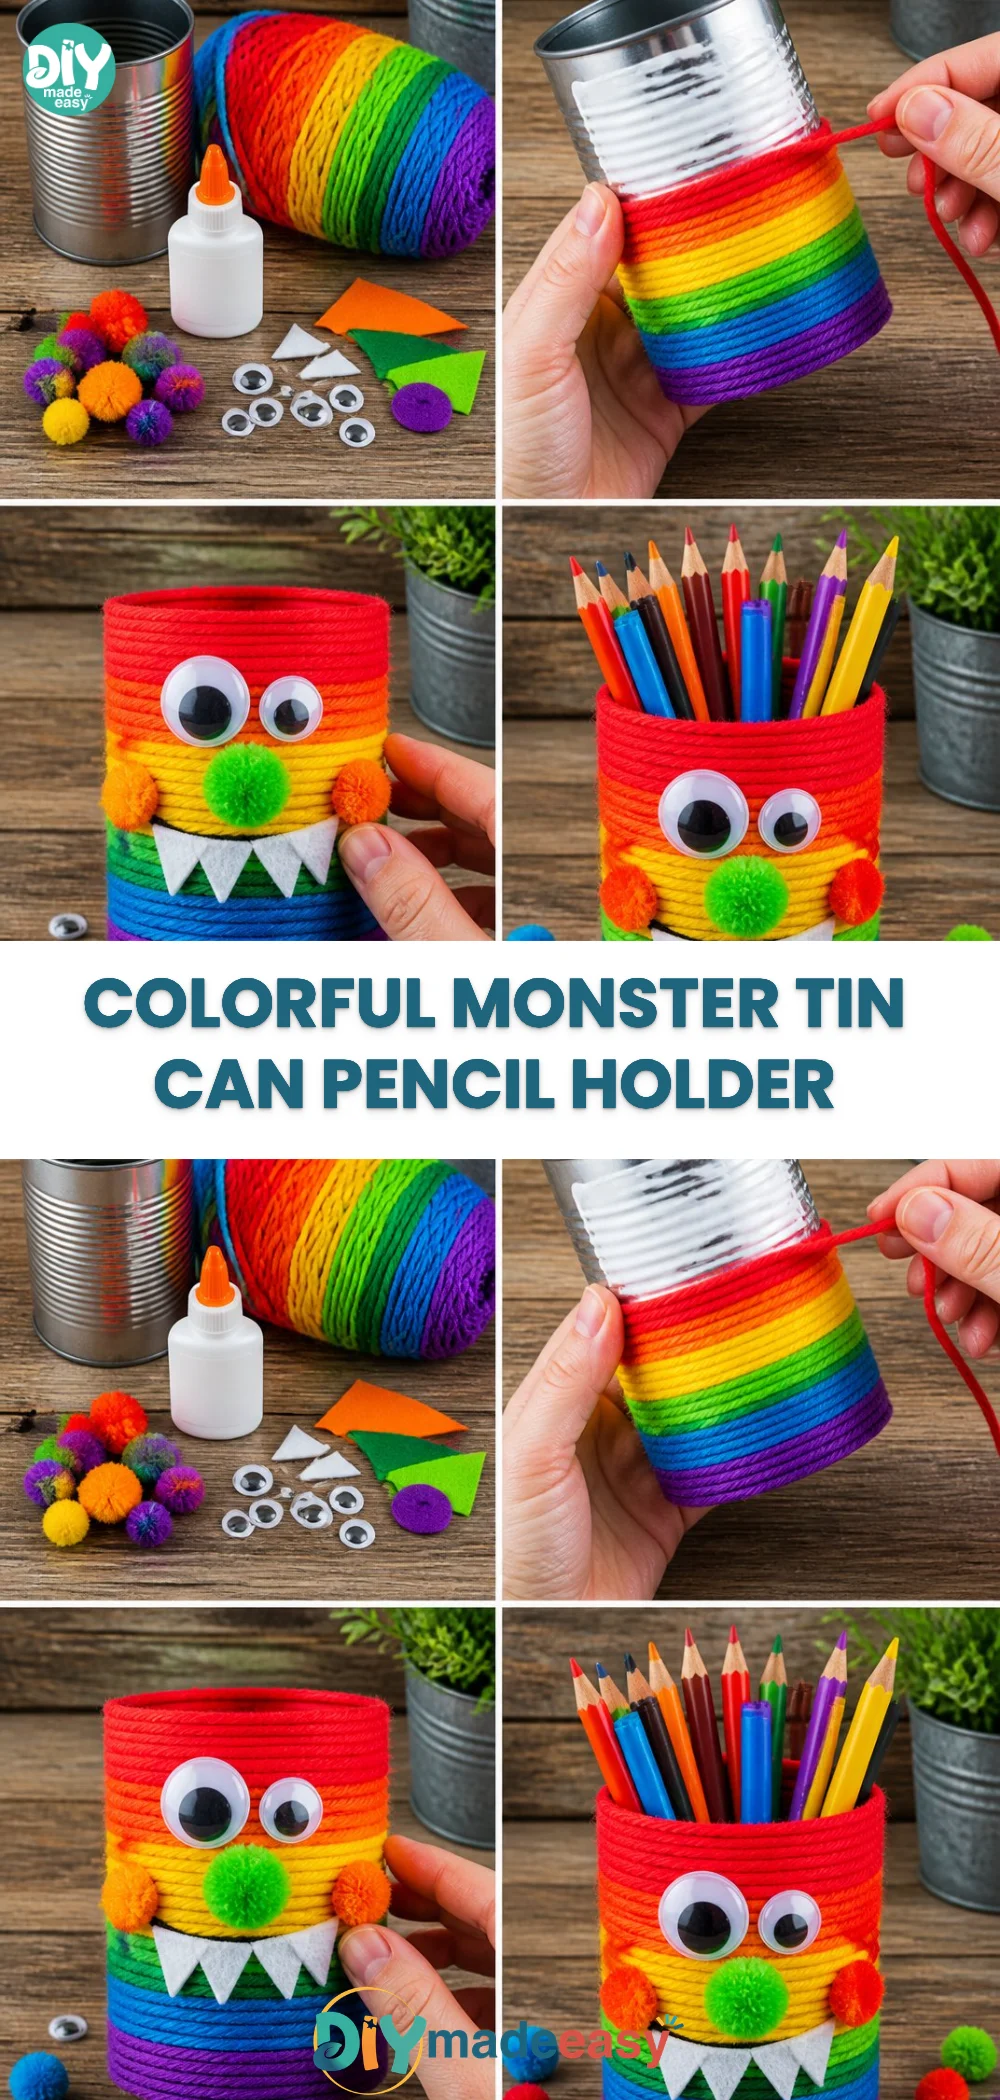
Making the Colorful Monster Pencil Holder from a Tin Can is more than just a craft—it’s an opportunity for kids to practice several valuable skills. For instance, while painting and gluing, children enhance their fine motor skills through steady hand movements. This project can also encourage creativity and problem-solving as they decide how to design their monsters. Additionally, discussing color mixing and layouts introduces basic science and art concepts in a fun and engaging way.
Troubleshooting Common Issues
If Something Doesn’t Go as Planned
Sometimes, the paint may not adhere well or may smudge before it dries. If this happens, it’s often due to applying too much paint or not letting layers dry sufficiently. To fix this, try using thinner layers next time, allowing ample drying time between coats. In other cases, crafty little hands might find it tempting to touch or move glued pieces before they are set. Having patience and reinforcing the drying times can help manage expectations.
Easy Variations to Try
Simple Ways to Change It Up
Here are a few fun twists you can consider:
- Create seasonal designs, like spooky monsters for Halloween or festive ones for the holidays.
- Let children use different materials like fabric scraps or old magazines for a mixed-media approach.
- Add themes, like animals or favorite characters, instead of monsters—this can align with what kids are currently interested in!
- Encourage collaborative projects where siblings or friends create a themed collection of holders together.
Storing or Reusing This Project
What to Do With It After
Once the Colorful Monster Pencil Holder is complete, it might just become a treasured addition to your child’s desk! If you need to clean up or store materials, encourage children to treat their craft with care. If spills happen, a damp cloth usually works well to clean paint off surfaces as long as you catch it early. When it’s time to switch projects, consider repurposing the tin can for a new holder design—the creative potential is endless!
FAQs About Colorful Monster Pencil Holder from a Tin Can
Will this craft make a mess?
While paint can always be a little messy, preparing your workspace with newspaper will help contain spills. Use washable paint if you’re worried about clean-up; it comes off surfaces easily.
What age group is this project suitable for?
This DIY is great for various age ranges. Younger kids may need more assistance with cutting and gluing, while older children can manage most tasks independently.
Can I substitute materials?
Absolutely! If you don’t have acrylic paints, washable tempura paints are an excellent alternative. You can also use buttons or small fabric pieces instead of colored paper for the monster’s features.
How long will the holder last?
With proper drying and curing time, these pencil holders can last quite a while. Encourage gentle handling to maintain their colorful appearance.
What do I do if the paint doesn’t stick?
If you find the paint isn’t adhering well, allow it to dry and try applying a clear sealing coat once everything is finished. This will protect the colors and enhance durability.
Conclusion
Conclusion
The Colorful Monster Pencil Holder from a Tin Can is not only a fun and creative project but also a great way to repurpose items you already have at home. If you’re looking for even more crafty ideas, you might enjoy checking out this metal tin pencil case available online or explore some wonderful DIY pencil holders that can inspire further creativity. This project guarantees a cheerful addition to your home or workspace while giving kids an engaging activity to enjoy.
PrintColorful Monster Pencil Holder from a Tin Can
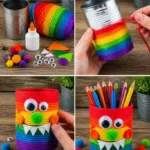
Create a fun and vibrant pencil holder using a tin can, perfect for kids to express their creativity while keeping their desk organized.
- Prep Time: 15 minutes
- Cook Time: 45 minutes
- Total Time: 60 minutes
- Yield: 1 pencil holder 1x
- Category: Crafts
- Method: Crafting
- Cuisine: N/A
- Diet: N/A
Ingredients
- 1 empty tin can (cleaned and dried)
- Colorful acrylic or washable paints
- Paintbrushes (various sizes for detail)
- Colored paper or cardstock
- Child-safe scissors
- Glue or adhesive
- Googly eyes (optional for character)
- Markers or crayons for decoration
- Optional: decorative items like glitter or stickers
Instructions
- Begin by preparing your tin can. Ensure it’s clean and that any sharp edges are smoothed down.
- Paint the entire can with a base coat of your chosen color.
- Allow the first layer of paint to dry completely before adding a second coat.
- While the paint dries, cut out shapes from the colored paper for your monster’s features.
- Once the can is ready, attach the paper pieces using glue.
- Add googly eyes to give the monster character.
- Use markers or crayons to draw additional details on your design.
- Finally, let everything dry before filling your colorful monster with pens or pencils!
Notes
Use washable paints for easier cleanup and encourage creativity by letting children choose their designs.
Nutrition
- Serving Size: 1 holder
- Calories: 0
- Sugar: 0g
- Sodium: 0mg
- Fat: 0g
- Saturated Fat: 0g
- Unsaturated Fat: 0g
- Trans Fat: 0g
- Carbohydrates: 0g
- Fiber: 0g
- Protein: 0g
- Cholesterol: 0mg