

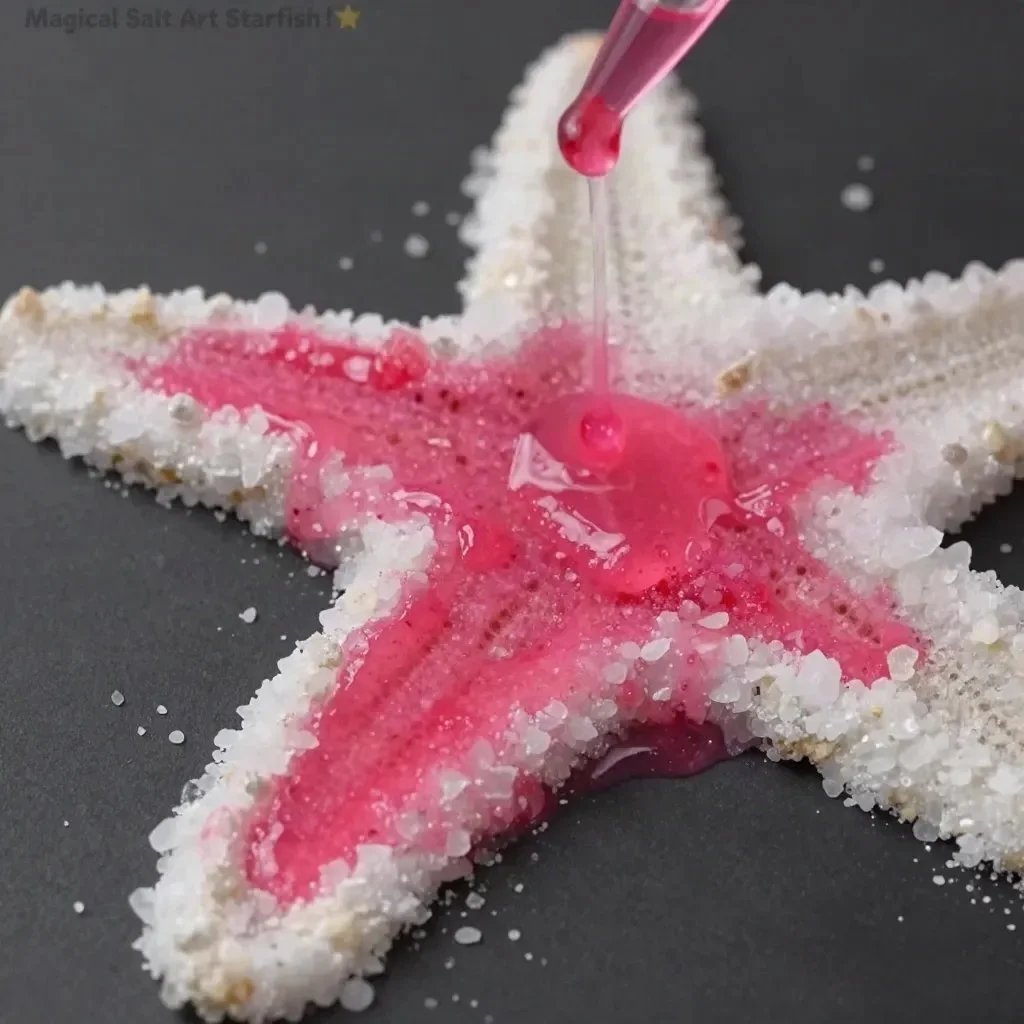
Rainbow Salt Painting Jellyfish makes for an exciting, colorful afternoon activity that captures the attention of children. Imagine the kids gathering around a table, eager to create something beautiful while learning about colors and textures. This simple project not only allows for creativity but also teaches kids about the science behind how colors can interact and spread. With just a few household items, you can create stunning jellyfish art that is both visually appealing and fun to make. If you’re looking for more engaging projects, consider trying baking soda painting for another creative outlet.
Why This Rainbow Salt Painting Jellyfish Works So Well
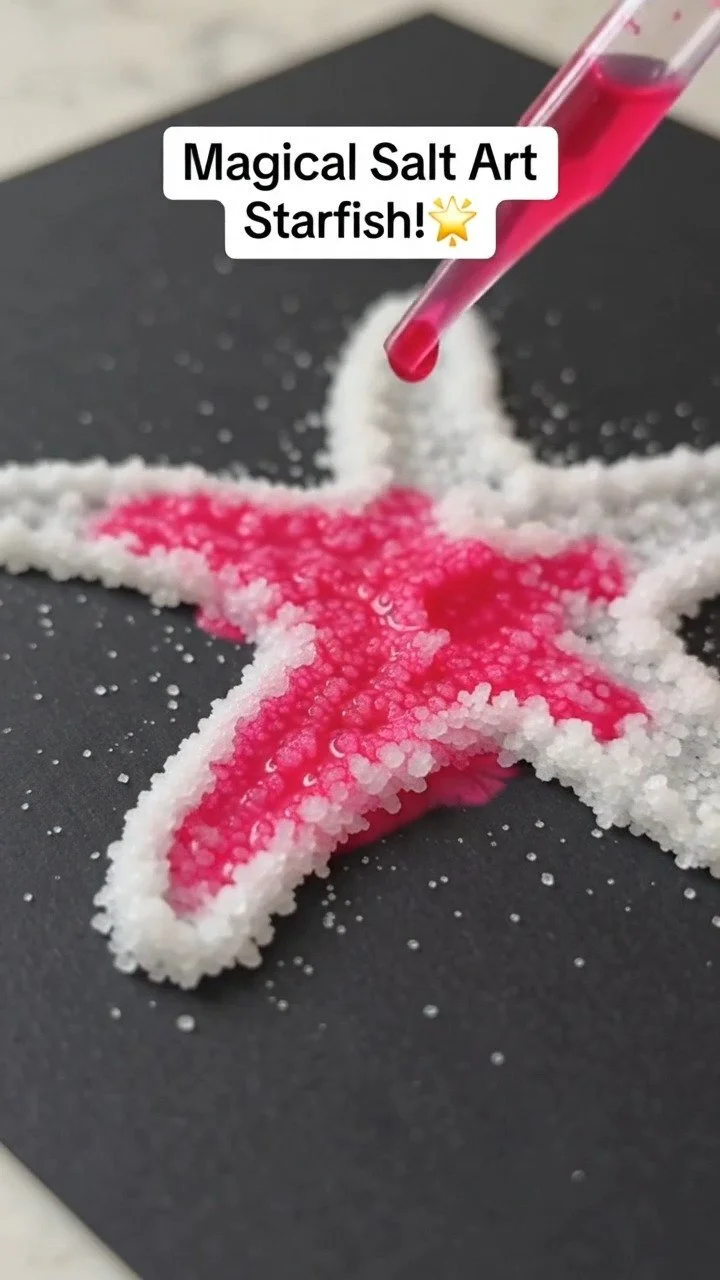
The charm of this Rainbow Salt Painting Jellyfish lies in its simplicity. You won’t need to spend hours gathering materials—most of what you need can be found right at home. Not only is it low-prep, but it also captivates children’s interest instantly. The visual appeal of the colorful salt will keep them engaged, allowing them to express their creativity freely. Plus, it’s a reliable project that yields great results with minimal hassle. You may also find Baking Soda Fizzy Painting useful.
Making an activity like the Rainbow Salt Painting Jellyfish is perfect for busy families. You can accomplish this project without extensive planning or setup. Just gather your materials and you’re ready to go! That’s what’s so appealing about this DIY; there’s no need for meticulous prep work or complicated instructions. This project can seamlessly fit into your everyday life, whether you need a last-minute activity or a simple way to unwind after a hectic day. You may also find Baking Soda Rainbow Crystal Forest useful.
A Quick Look Before You Begin
Before diving into your jellyfish creation, let’s set some expectations. This activity will take about 30-45 minutes from start to finish, which is short enough to keep kids engaged without losing their interest. Most of the preparation involves setting up the materials, and the cleanup afterward is quite manageable. It does require adult involvement for a few steps, but kids can take the lead with the paint application, especially when using pipettes. You may also find Cornstarch Rainbow Suncatchers useful.
This is an ideal project for family craft time, allowing everyone to contribute while building cherished memories. Expect a bit of mess with the salt and paint, but as long as you lay down some newspaper or a plastic covering, you can keep the mess contained. Most importantly, this activity promotes creativity and teamwork, making it a rewarding experience for both you and the kids.
Materials You’ll Need
To make the Rainbow Salt Painting Jellyfish, you will need the following items:
- 1 sheet heavy black cardstock
- 1 bottle (4 oz) white liquid craft glue
- 1 cup fine table salt
- 3 to 4 colors liquid watercolor paint
- 3 to 4 plastic pipettes or medicine droppers
These materials are quite common, and you might already have them in your crafting supplies. The black cardstock serves as the perfect contrasting background to make your jellyfish pop. The liquid watercolor paints provide vibrant colors that will spread beautifully on the salt, creating a mesmerizing effect.
Don’t worry if you don’t have liquid watercolors; you can substitute them with other types of paint, but the color diffusion might differ. This project is all about flexibility—feel free to use what you have on hand!
Step-by-Step Directions
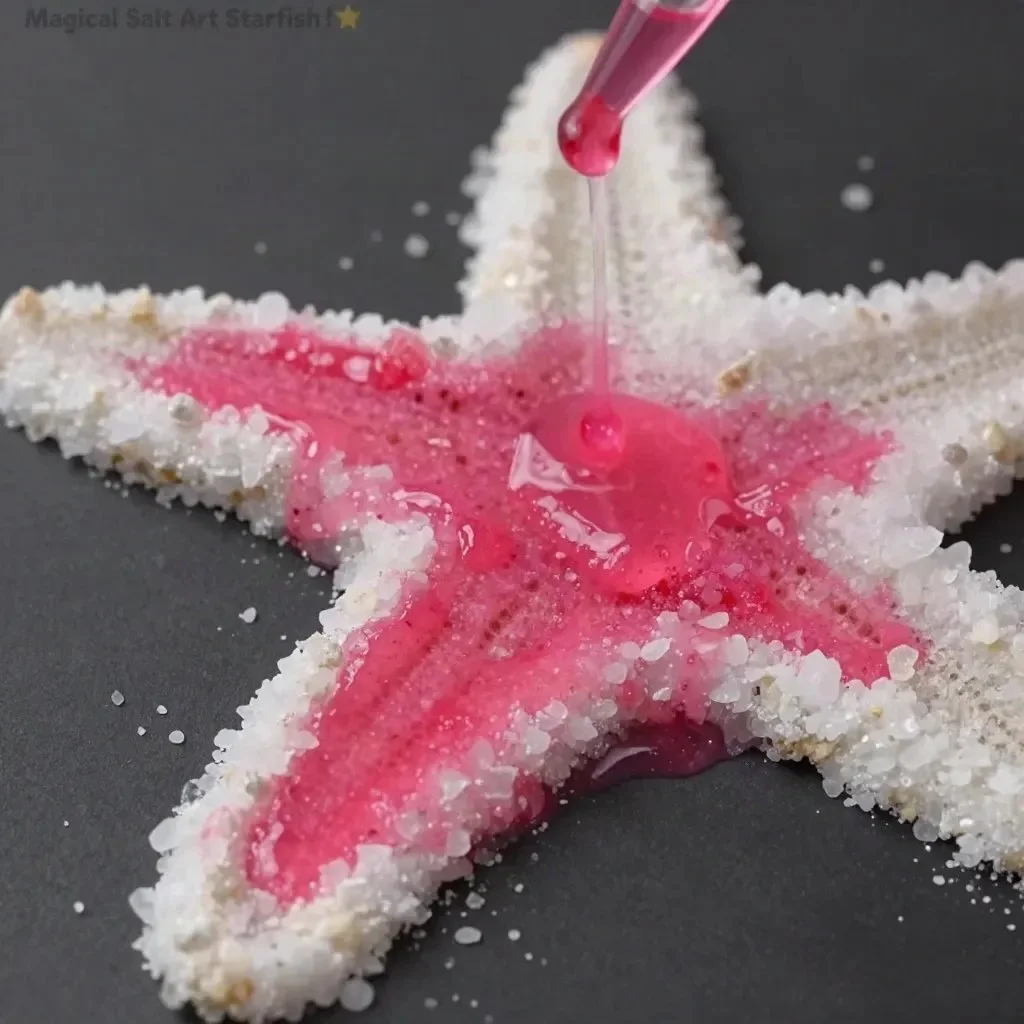
Now let’s get into the fun part: creating the jellyfish! Follow these simple steps to see your artwork come to life:
- Begin by drawing a jellyfish dome and tentacles on the cardstock using the white liquid craft glue. The glue should create a thick line that stands out; this is where the salt and paint will sit.
- Cover the wet glue fully with fine table salt. Be generous, then shake off the excess salt. This step is crucial because the salt will absorb the colors from the watercolor paint and create a beautiful reaction.
- Fill one of the pipettes with your chosen liquid watercolor paint. Begin to gently drop the paint onto the salt lines. Watch closely as the colors spread and blend into one another—it’s a beautiful visual experience!
- Continue repeating this process with different colors, adding as much or as little as you like. Allow the artwork to dry completely before displaying or storing it.
The Learning Behind This DIY

While creating this Rainbow Salt Painting Jellyfish, kids practice various skills seamlessly. Firstly, they enhance their fine motor skills by using pipettes to drop paint onto the salt. This helps improve hand-eye coordination, which is an essential developmental skill.
The project also introduces kids to simple scientific concepts. As they see the colors spread, they’re learning about diffusion in a hands-on manner. It’s a playful way to discuss how liquids can react and change appearances when mixed. Engaging children in this sort of activity fosters curiosity and encourages them to ask questions, promoting a love for learning without them even realizing it.
Troubleshooting Common Issues
If something doesn’t go as planned, don’t worry! It happens to everyone. Here are a few common issues and simple fixes to keep your jellyfish project on track:
- Salt Clumping: If your salt clumps together on the glue, it might be too wet. Make sure to shake off any excess before moving on to the paint step. If it still doesn’t look right, simply start with a new layer of glue and fresh salt.
- Paint Sinks Too Deeply: If the paint seems to disappear into the salt, try reducing the amount you drop at a time. Keeping the paint drops smaller allows for better spreading on top of the salt rather than soaking too far in.
- Colors Turning Muddy: If your colors blend into a muddy brown, opt to use cleaner pipettes or drop them in sections. Try not to mix too many colors together at once.
Each of these dilemmas can easily be fixed, keeping frustration at bay while making the project even more fun!
Easy Variations to Try
Feel free to switch things up and experiment with the Rainbow Salt Painting Jellyfish! Here are a few ideas to inspire creativity:
- Colorful Backgrounds: Instead of using black cardstock, try dark blue or deep purple. This will still make the colors pop while offering a different aesthetic.
- Themed Jellyfish: Create themed jellyfish using various color palettes, like a sunset jellyfish using shades of orange and yellow.
- Add Glitter: For a little sparkle, sprinkle some glitter on areas before the paint goes down to catch the light.
- Multiple Designs: Instead of one large jellyfish, create a whole school of jellyfish on the same or different papers. It can be a beautiful group art display!
- Interactive Elements: Discuss the real-life aspects of jellyfish and their environments. Have kids incorporate elements of that discussion into their art.
Every variation invites creativity and hands-on learning, ensuring no two jellyfish are ever the same!
Storing or Reusing This Project
After all the fun, you might wonder what to do with your jellyfish creation. Here are some helpful tips on storage and reuse:
- Display: Once dried completely, consider framing the artwork behind glass to protect it. This way, it can be enjoyed as a piece of art in your home.
- Reuse Materials: The pipettes can be washed and reused for other projects, minimizing waste. The same goes for any leftover salt and paint—store them in labeled containers for future use.
- Cleanup: Keep cleanup simple by laying down some paper during the project. When you’re done, you can simply roll the paper up and discard it. This will help contain any mess!
By focusing on storage and reuse, you can encourage kids to recognize the importance of sustainability without compromising creativity.
FAQs About Rainbow Salt Painting Jellyfish
Is this messy?
Absolutely, it can be! You’ll likely have some salt and paint to clean up. However, if you lay down newspaper or a plastic covering, managing the mess becomes much easier. Just be prepared for a little cleanup afterward!What ages is this suitable for?
This project is great for a range of ages, but I recommend it for kids aged 5 and up because of the pipettes involved. Younger children can participate with supervision, but be cautious of potentially spilling paint.Can we substitute any materials?
Yes, if you don’t have liquid watercolors, you can use regular water-based paints. Just remember that the color spreading effect may not be as dramatic.What should I do if my jellyfish doesn’t look vibrant?
If the colors are faint, it may be due to either not using enough paint or too much salt. Ensure you’re using a good amount of paint on the salt and don’t hesitate to add more color as needed.How do I store the finished piece?
Once dried, you can store it in a flat position, or display it in a frame. If not framed, just keep it out of direct sunlight to prevent fading over time.
Conclusion
Conclusion
Creating Rainbow Salt Painting Jellyfish offers a vibrant, hands-on experience for children and adults alike. The project is perfect for a rainy afternoon or a last-minute activity. It’s captivating, colorful, and educational all at once. If your kids enjoy this activity, you might also appreciate trying a craft activity guide for salt painting jellyfish or learning from the Jellyfish Salt Painting blog post to expand your crafting repertoire! Grab your supplies and enjoy the creative journey together.
PrintRainbow Salt Painting Jellyfish
A fun and colorful crafting activity that teaches kids about colors and textures while creating beautiful jellyfish art.
- Prep Time: 15 minutes
- Cook Time: 0 minutes
- Total Time: 30 minutes
- Yield: 1 jellyfish art piece 1x
- Category: Craft
- Method: DIY
- Cuisine: N/A
- Diet: N/A
Ingredients
- 1 sheet heavy black cardstock
- 1 bottle (4 oz) white liquid craft glue
- 1 cup fine table salt
- 3 to 4 colors liquid watercolor paint
- 3 to 4 plastic pipettes or medicine droppers
Instructions
- Begin by drawing a jellyfish dome and tentacles on the cardstock using the white liquid craft glue.
- Cover the wet glue fully with fine table salt.
- Fill one of the pipettes with your chosen liquid watercolor paint.
- Continue repeating this process with different colors, adding as much or as little as you like.
- Allow the artwork to dry completely before displaying or storing it.
Notes
This craft project requires adult supervision for younger children. Prepare for a bit of mess, so lay down newspaper or a plastic covering.
Nutrition
- Serving Size: 1 art piece
- Calories: 0
- Sugar: 0g
- Sodium: 0mg
- Fat: 0g
- Saturated Fat: 0g
- Unsaturated Fat: 0g
- Trans Fat: 0g
- Carbohydrates: 0g
- Fiber: 0g
- Protein: 0g
- Cholesterol: 0mg