

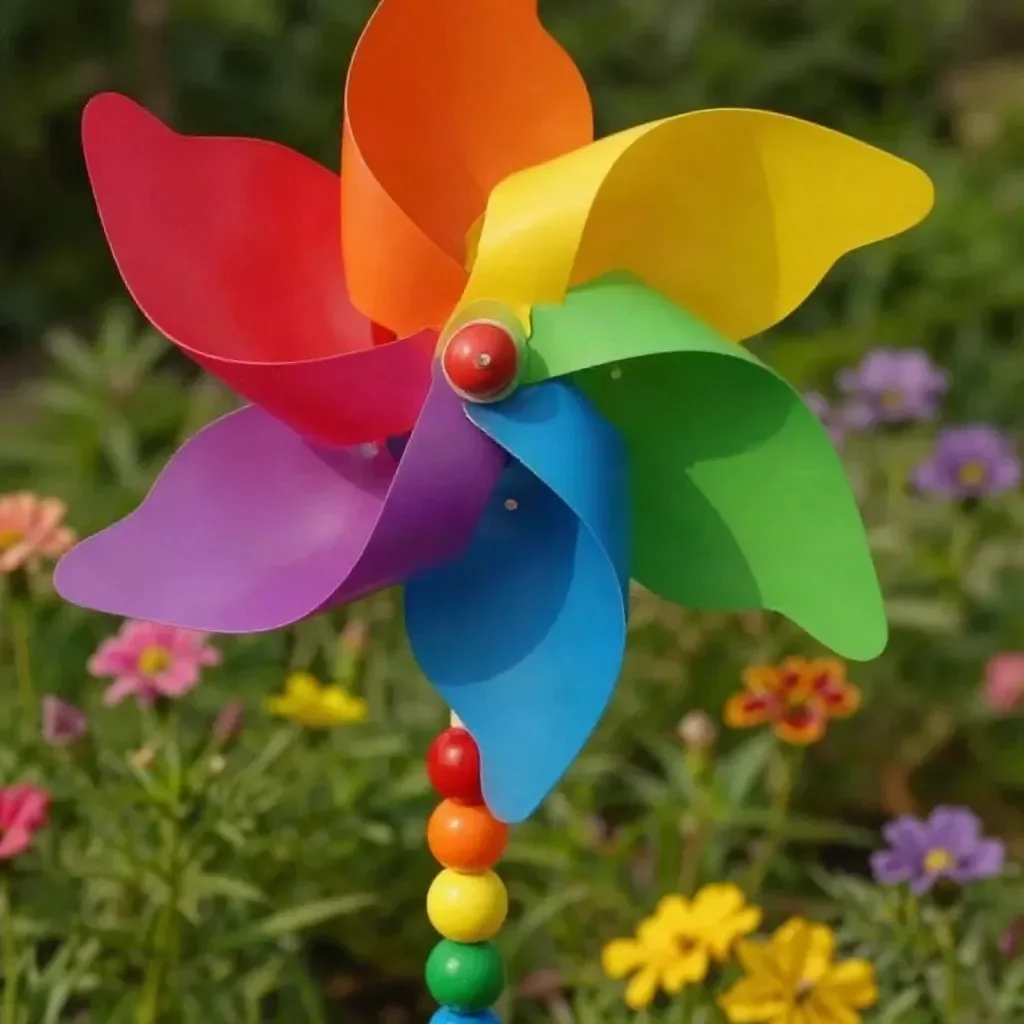
The sun was shining bright on a busy afternoon, and the kids were buzzing with energy, looking for something fun and creative to make. That’s when the idea of crafting a Large Rainbow Pinwheel Garden Stake for Outdoor Decor came to mind. It’s a perfect project that not only keeps them engaged but also adds a splash of color to your garden. With just a few simple materials, this DIY activity can turn an ordinary day into an extraordinary one, allowing everyone to enjoy the vibrant display when the wind catches the pinwheel just right. You may also find Baking Soda Rainbow Crystal Forest useful.
Why This Large Rainbow Pinwheel Garden Stake for Outdoor Decor Works So Well
The charm of a Large Rainbow Pinwheel Garden Stake lies in its simplicity. First, it requires minimal prep time and involves everyday materials that are often found around the house. This makes it accessible to kids and adults alike. The project can fit neatly into a busy schedule since it doesn’t demand hours of dedicated crafting time. Furthermore, kids love the hands-on approach, watching the pinwheel spin brings a rewarding sense of accomplishment. It’s a reliable way to spark creativity and foster some fun outdoor time, making it a great choice for busy families. You may also find Fork Pom Pom Flower Bouquet Garden useful.
A Quick Look Before You Begin
Before diving into crafting, let’s take a moment to acknowledge what you’re stepping into. The process is straightforward and doesn’t lead to major mess, which is a huge plus for parents. You can expect this DIY to take about an hour from start to finish – ideal for a Saturday afternoon. With the right setup, most of the work can be done out in the garden or on a kitchen table. Remember, this is about having fun, so you can adapt the flow and involve the kids as much or as little as you like. You may also find Water Gun Painting For Kids Creative Outdoor Art Idea useful.
Materials You’ll Need
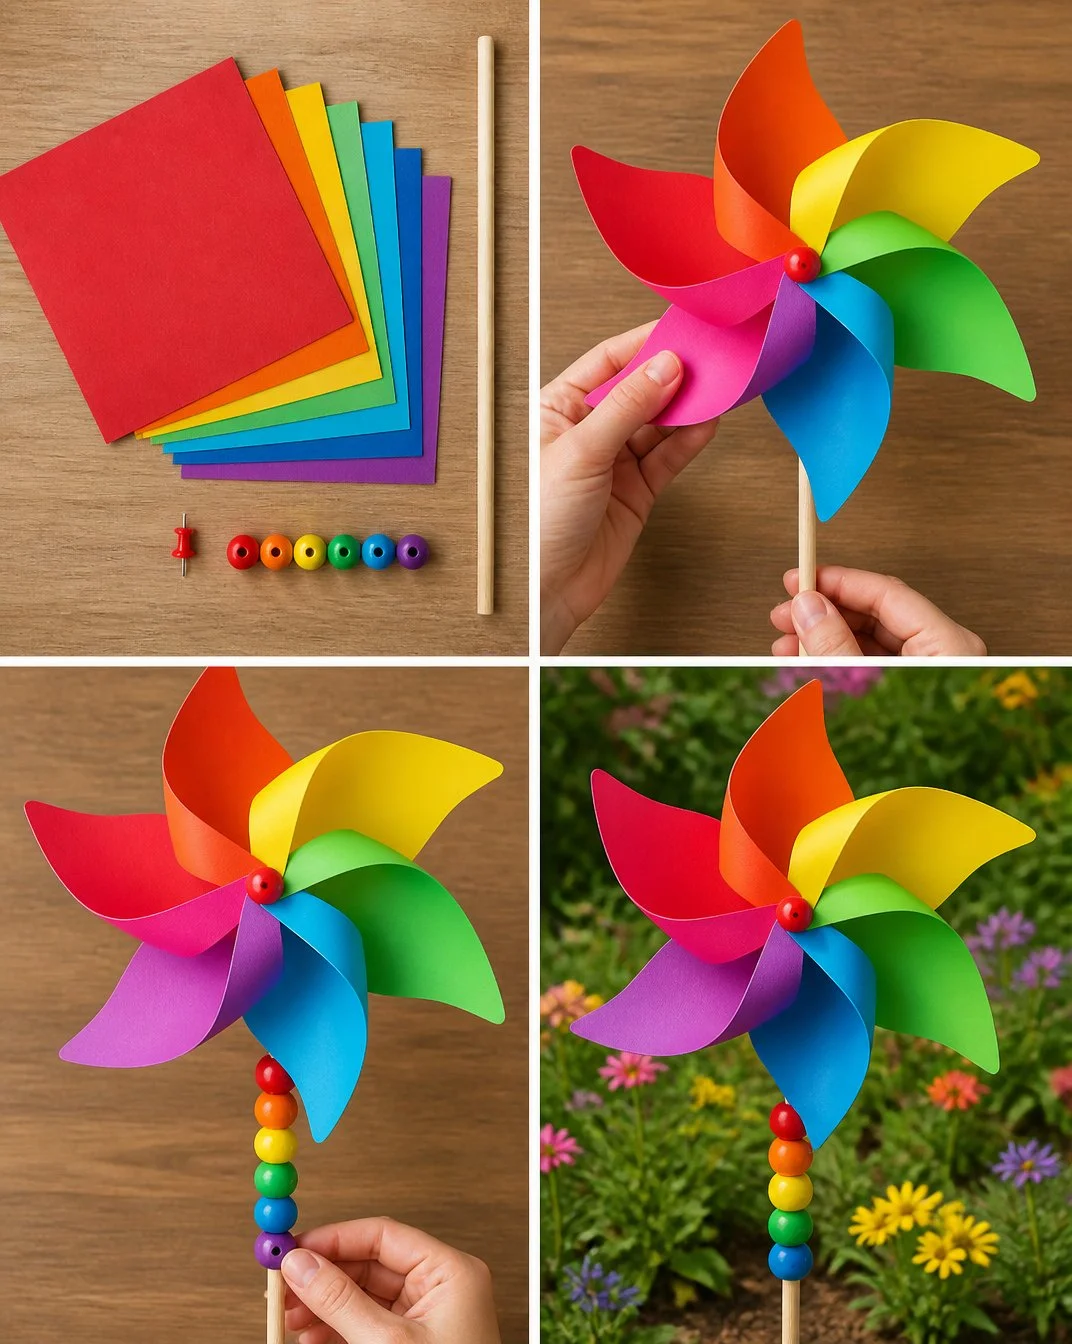
To create your Large Rainbow Pinwheel Garden Stake, gather the following materials: You may also find Baking Soda Crystals Transform Into Glassy Art useful.
- Colorful cardstock
- Wooden dowel
- Push pin
- Beads
These items are common around most households. Cardstock can be found at craft stores or even leftover from previous projects. The dowel is budget-friendly, and push pins are easy to manage, making this a delightful project that won’t break the bank.
Step-by-Step Directions
Cut the Cardstock: Begin by cutting the colorful cardstock into a square shape. This square will form the basis of your pinwheel.
Fold the Square: Fold the square in half diagonally to create a triangle. Crease well, then unfold. Repeat on the opposite diagonal.
Make the Pinwheel Shapes: Using the creases as guides, cut from each corner towards the center but stop just before the center point. There should be about an inch left uncut.
Create the Pinwheel: Gently lift each corner towards the center, where the cuts meet. Overlap the corners as you lift, forming a pinwheel shape.
Secure the Pinwheel: Use a push pin to secure the pinwheel shape around the center. Make sure it can still spin freely.
Attach to the Dowel: Take the wooden dowel and push the pin through the center of the pinwheel, ensuring it’s firmly fixed but still able to rotate.
Add Colorful Beads: String colorful beads beneath the pinwheel to add an extra flair and support. These will not only enhance the look but also give some added weight to hold the pinwheel in place.
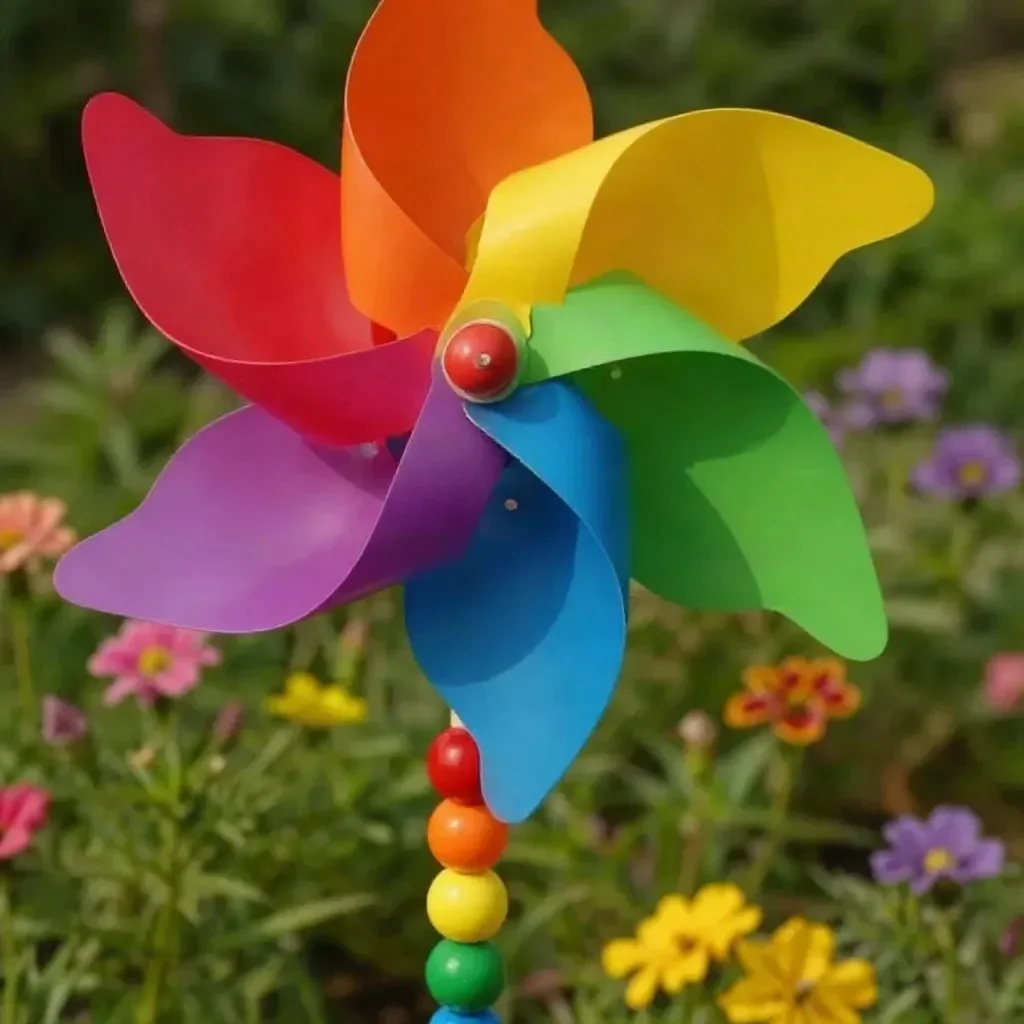
Final Reveal: Take your completed masterpiece outdoors. Position it securely in the ground and watch the wind set your vibrant pinwheel into motion!
The Learning Behind This DIY

This creative project isn’t just about aesthetics; it helps children develop various skills. As they cut and fold the cardstock, they work on their fine motor skills and learn a bit of geometry when dealing with the shapes and measurements involved. The pushing and pulling of the pinwheel illustrate cause and effect, showing how wind and motion interact. It’s also a great opportunity for storytelling – perhaps they’d like to give their pinwheel a nickname or imagine it as a magical artifact in a grand adventure.
Troubleshooting Common Issues
During your crafting journey, you might encounter some hiccups. If the pinwheel doesn’t spin well, check how tightly you’ve secured it with the push pin; it should be snug yet flexible enough to move freely. If cutting the cardstock isn’t producing tidy edges, try using scissors that are specifically designed for clean cuts. Remember, crafting is about experimenting, so embrace those little bumps along the way; they often lead to learning moments.
Easy Variations to Try
To keep things fresh, consider adding some twists to your pinwheel project. Here are a few ideas:
- Seasonal Themes: Change the cardstock colors based on seasons – pastels for spring, bright colors for summer, and rich earthy tones for fall.
- Additional Decor: Use stickers, glitter, or drawn designs to personalize each pinwheel, making them unique masterpieces.
- Size Variations: Experiment with different sizes of pinwheels by varying the size of the cardstock squares.
Storing or Reusing This Project
When your crafting session comes to a close, consider how to best use or store your creations. If you need to clean up, the materials are quite easy to dispose of or store for future projects. Alternatively, if the pinwheel is getting weathered outside, it may be time for a refresh or a little repair to keep it looking vibrant.
FAQs About Large Rainbow Pinwheel Garden Stake for Outdoor Decor
What should I do if my pinwheel isn’t spinning well?
Check the tightness of the push pin; a snug fit is essential for good movement. If the pin spins too loosely, it may fall off.
Can younger kids participate in this project?
Yes! While they may need guidance on some steps, younger kids can help with decorating and assembling.
How do I clean up after the activity?
Most of these materials can be easily stored or recycled. Use a damp cloth to wipe down surfaces if any cardstock bits are left behind.
Can I modify the materials if I don’t have cardstock?
Absolutely! Just ensure whatever you choose is lightweight enough to catch the wind.
Conclusion
Conclusion
Creating a Large Rainbow Pinwheel Garden Stake is a delightful project that brings creativity and a burst of color to outdoor spaces. It’s a wonderful way for families to bond while fostering skills that kids will benefit from, such as coordination and focus. You could enhance your outdoor décor with additional decorative items, such as reflective pinwheels or some colorful garden spinners for a truly eye-catching display. Enjoy the process, celebrate your creativity, and watch as the wind brings your colorful creations to life!
PrintLarge Rainbow Pinwheel Garden Stake for Outdoor Decor
A fun and engaging project for kids to create a colorful pinwheel garden stake that adds vibrancy to outdoor spaces.
- Prep Time: 15 minutes
- Cook Time: 45 minutes
- Total Time: 60 minutes
- Yield: 1 large pinwheel stake
- Category: DIY Project
- Method: Crafting
- Cuisine: N/A
- Diet: N/A
Ingredients
- Colorful cardstock
- Wooden dowel
- Push pin
- Beads
Instructions
- Cut the cardstock into a square shape.
- Fold the square in half diagonally.
- Make cuts from each corner towards the center but stop just before the center point.
- Lift each corner towards the center to form the pinwheel shape.
- Secure the pinwheel with a push pin in the center.
- Attach the wooden dowel by pushing the pin through the pinwheel.
- Add colorful beads beneath the pinwheel for additional flair.
- Position your pinwheel outside and watch it spin in the wind!
Notes
Make sure the push pin is snug but allows the pinwheel to spin freely. Customize with stickers or glitter for a personal touch.
Nutrition
- Serving Size: N/A
- Calories: N/A
- Sugar: N/A
- Sodium: N/A
- Fat: N/A
- Saturated Fat: N/A
- Unsaturated Fat: N/A
- Trans Fat: N/A
- Carbohydrates: N/A
- Fiber: N/A
- Protein: N/A
- Cholesterol: N/A