

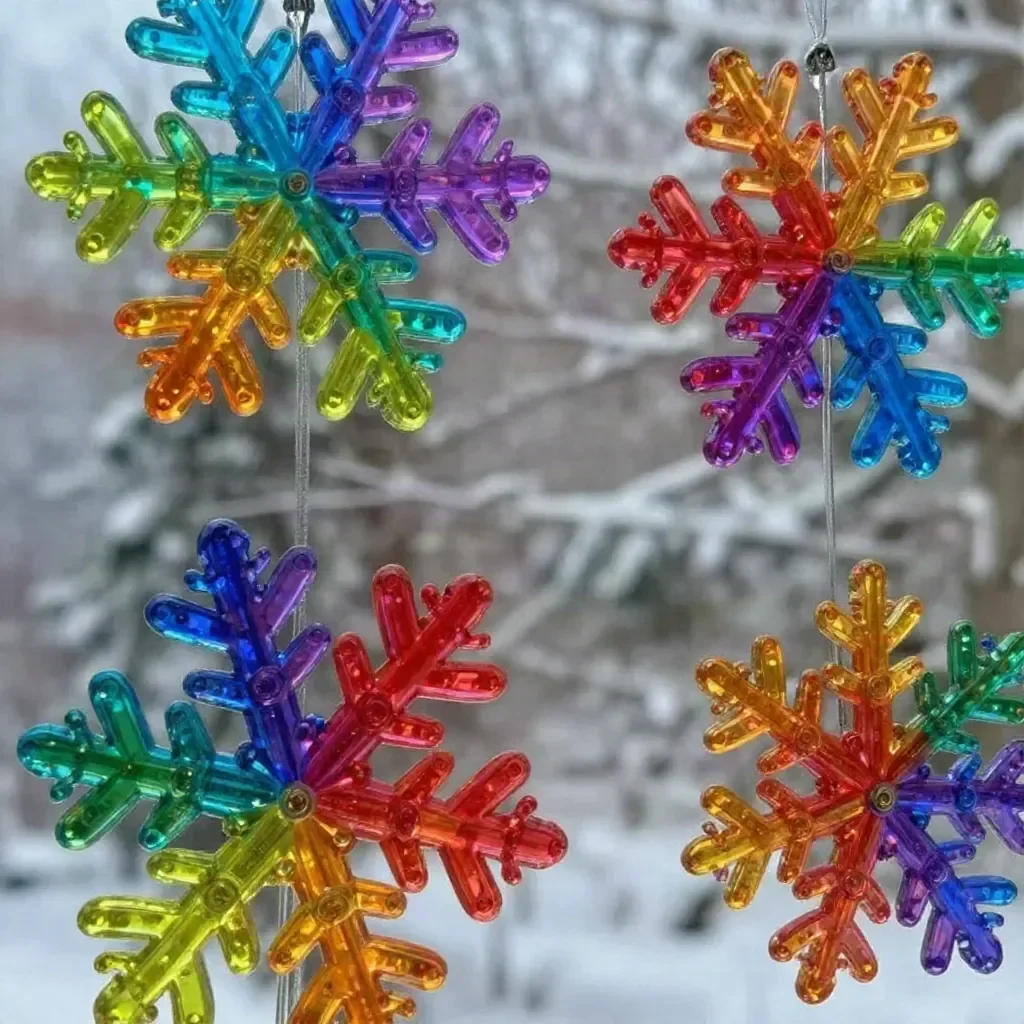
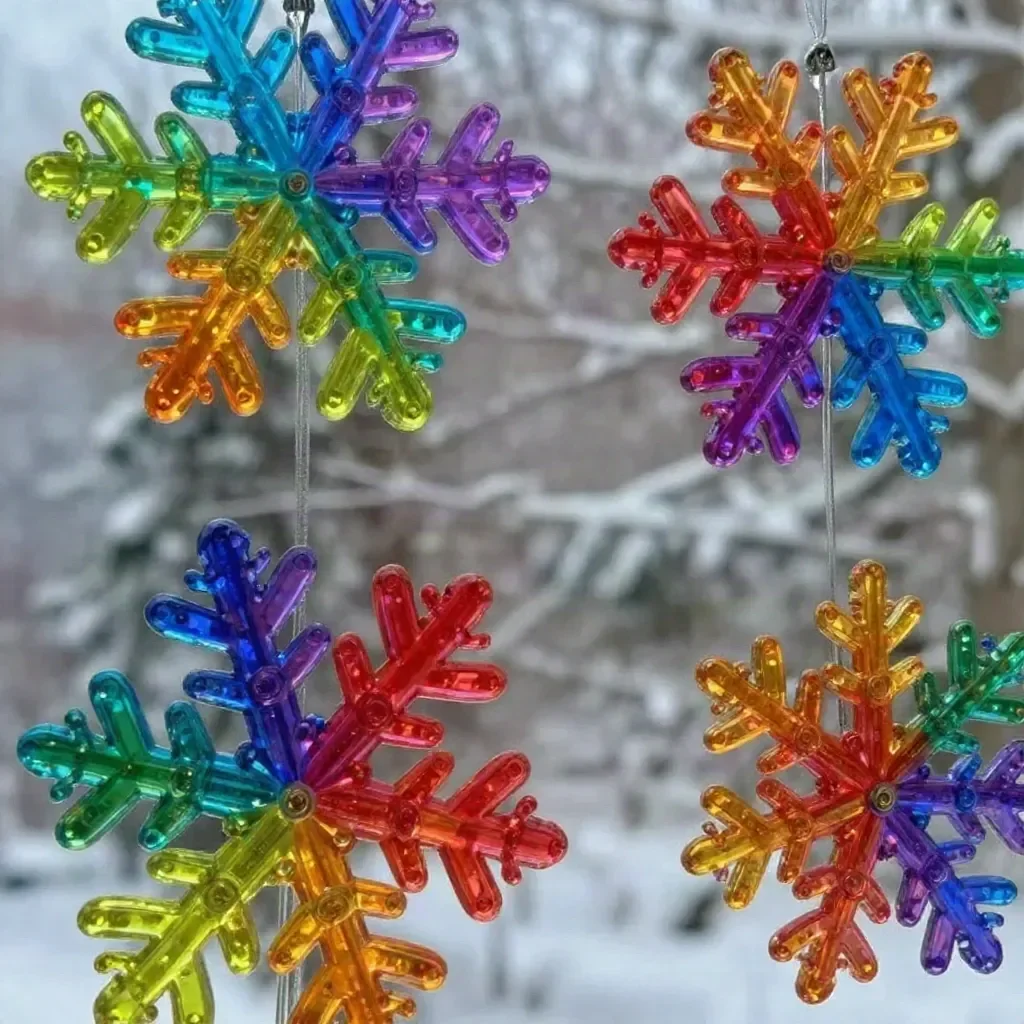
Rainbow Snowflake Window Clings are a delightful way to bring some color and fun into your home, especially during the colder months. If you’re looking for a quick activity that keeps little hands busy and brightens up your space, then this project is perfect. Imagine a busy afternoon with kids asking to create something festive. Instead of searching for complicated crafts, you can guide them through making these beautiful window clings using just a few basic materials. This project is not only simple and fun, but it also serves as a fantastic opportunity for kids to express their creativity. You may also find Baking Soda Rainbow Crystal Forest useful.
Why You’ll Love Making Rainbow Snowflake Window Clings
Creating Rainbow Snowflake Window Clings is a low-prep activity that is approachable for all ages. You won’t need fancy supplies or a great deal of setup time. With just colored glue and a few other materials, your kids can make dazzling decorations that bring a splash of joy to your windows. This project fits perfectly into busy schedules, whether you’re looking for a last-minute craft before guests arrive or just to spend some quality time with your children. You may also find Creative Science Craft Kids Rainbow Light Show useful.
Kids will enjoy seeing their designs transform as the glue dries, and you will appreciate how easily everything comes together. It’s reliable too: even if the weather is gray outside, these colorful creations will brighten up your home. Plus, there’s no worrying about cleanup mishaps with materials that are easy to handle. If you’re interested in similar creative projects, you might also enjoy making Cornstarch Rainbow Suncatchers.
A Quick Look Before You Begin
Making Rainbow Snowflake Window Clings doesn’t require much time or extensive planning. You can set up your workspace with minimal fuss—just a flat surface to work on and some newspaper or an old tablecloth to catch any spills. The mess level is low, as everything can be contained within the glue and coloring application. You may also find Crystal Pinecones Frozen Rainbows useful.
Expect the whole crafting process to take about 30 minutes, with overnight drying being the only waiting period. The adult involvement is minimal; think of it as a guided play session rather than an intense project. You’ll simply be there to supervise and offer encouragement.
Materials You’ll Need
For this project, you’ll be using the following materials:
- Clear glue (5 oz) – A common household item that holds everything together.
- Glitter (optional) – For those who love a bit of sparkle.
- Rainbow food coloring – To bring vibrant color to your snowflakes.
- Snowflake template – You’ll need this for tracing your design.
These materials are easily obtainable, and there’s flexibility in your approach. For example, the glitter is optional, making the project even simpler if your kids prefer a more straightforward look.
Step-by-Step Directions
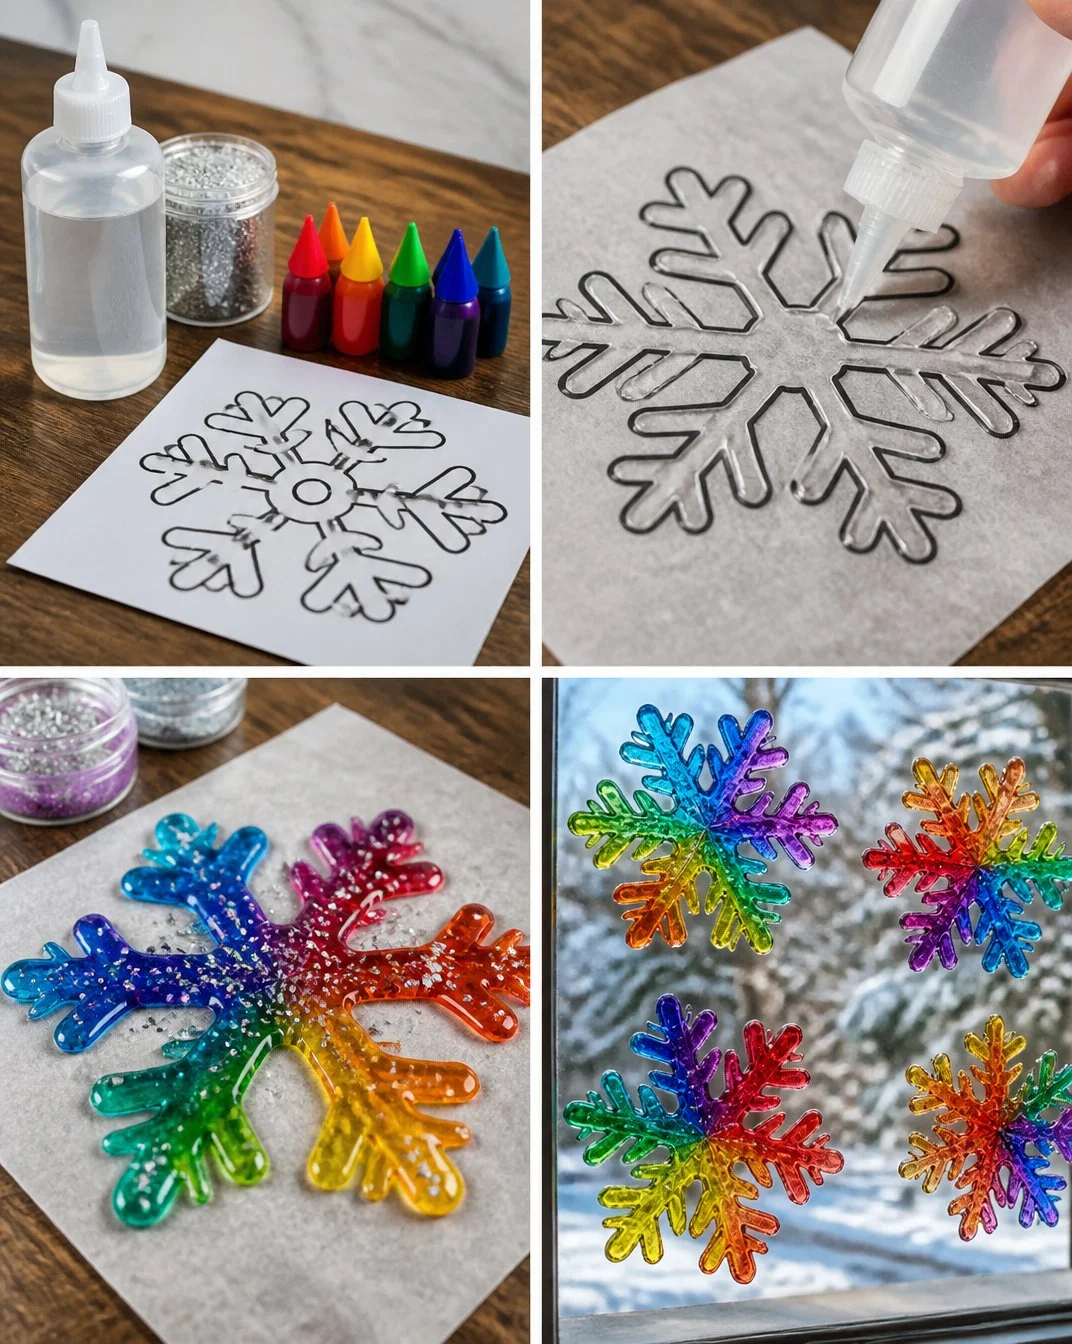
Trace your snowflake template with clear glue on a flat surface. Start by laying your template down, ensuring it doesn’t move while you work. Squeeze the glue from the bottle gently to form the outline of your snowflake.
Fill in the traced snowflake with rainbow food coloring mixed in the glue. Carefully add drops of different food colors inside the glue outline. You can use a toothpick or a small brush to swirl colors together if you wish.
If you like a bit of sparkle, sprinkle glitter on top. Before the glue sets, generously add glitter. This adds a fun texture and makes your snowflakes shimmer in the light.
Allow your creations to dry overnight. Make sure to place them somewhere safe and level to avoid any accidental damage.
Once dry, carefully peel them off and stick them to your windows! They should come off easily; if they resist, gently peel from the edges to avoid tearing.
This process is simple, and it allows your children to engage in hands-on creativity. The satisfaction of peeling off their creations the next day is a rewarding moment that they’ll cherish.
The Learning Behind This DIY

While crafting these window clings, kids practice essential skills without even realizing it. They develop fine motor skills as they handle the glue and colors, improving their hand-eye coordination. This project also teaches them about mixing colors and how different elements come together to create something unique.
Moreover, there is a fun aspect of cause and effect in this project. Kids can see how their choices regarding color and design impact the final product. They learn patience, waiting overnight to see the outcome of their efforts, which provides them with a sense of accomplishment.
Troubleshooting Common Issues
As with any DIY project, things might not go as planned sometimes. Here are some common issues and solutions:
Glue is too sticky or won’t peel off: If the glue is too thick, make sure to apply it sparingly. A thicker layer is harder to peel. If it’s too wet, let it dry a little more before trying to lift it.
Colors bleed into each other: This can happen if too much food coloring is used or if the glue is overly wet. Use a lighter hand when applying colors, and consider allowing one color to dry before adding another.
Creations don’t hold shape: Ensure the template is secured. Sometimes a little weight on top can keep the template stable as they work.
These small hiccups are easily manageable, so don’t stress—just keep the atmosphere relaxed and fun.
Easy Variations to Try
Changing up this project can be as simple as integrating different shapes or themes. Here are some ideas to spark creativity:
Try different shapes: Instead of just snowflakes, kids can make stars, hearts, or seasonal items like leaves for autumn.
Use food dye in different colors: Instead of a rainbow theme, you can do a monochromatic design using different shades of one color.
Make holiday-themed clings: Tailor your designs for different holidays; for instance, you can create spooky shapes for Halloween or vibrant flowers for spring.
These variations allow the activity to resonate with different interests and celebrate various occasions.
Storing or Reusing This Project
After the season is over, you may wonder how to store your creations or materials. Since these window clings are made from glue, they can last quite a while if stored properly. Place them flat between pieces of wax paper to maintain their shape and avoid sticking together.
If you’d like to reuse the glue and glitter, simply combine leftover materials creatively for another project later. Cleanup should be easy; just gather up the newspaper or tablecloth and toss it in the recycling.
FAQs About Rainbow Snowflake Window Clings
What if my kids get glitter all over the place?
It’s common for glitter to end up anywhere but where you want it! To minimize mess, lay out newspaper or an old towel as a catch. You can also have a vacuum handy for easy cleanup after the fun.
Can younger children join in this activity?
Yes! As long as they are supervised, younger children can certainly participate in making the clings. Just be cautious with glitter, as it can be a choking hazard for very small kids.
How should I store the clings once they are dry?
Store them flat, preferably between sheets of wax paper to keep them from sticking to each other or getting damaged.
Is there an alternative to food coloring if I don’t have any?
You can experiment with natural dyes such as beet juice or turmeric, although the colors may not be as vibrant.
How long do these clings last once made?
If preserved correctly, they can last for several months. Keep them out of direct sunlight to prevent any fading.
Conclusion
Conclusion
Creating Rainbow Snowflake Window Clings can be a joyful way to spend time with your kids while adding some color to your home. For those interested in decorative options, you might explore snowflake window stickers that offer a different look and save your birds from collisions. For a more permanent option, consider Snowflake Window Gems that provide long-lasting beauty and can be reused year after year. Embrace the crafting process, and most importantly, enjoy the creative moments together!
PrintRainbow Snowflake Window Clings
A fun and colorful craft project for kids to create festive window clings using clear glue and food coloring.
- Prep Time: 15 minutes
- Cook Time: 0 minutes
- Total Time: 15 minutes
- Yield: Various sizes and designs
- Category: Craft
- Method: Crafting
- Cuisine: N/A
- Diet: N/A
Ingredients
- Clear glue (5 oz)
- Rainbow food coloring
- Glitter (optional)
- Snowflake template
Instructions
- Trace your snowflake template with clear glue on a flat surface.
- Fill in the traced snowflake with rainbow food coloring mixed in the glue.
- Sprinkle glitter on top if desired.
- Allow your creations to dry overnight.
- Peel them off and stick them to your windows.
Notes
Allow creations to dry overnight for best results. Store window clings flat between wax paper.
Nutrition
- Serving Size: Varies
- Calories: N/A
- Sugar: N/A
- Sodium: N/A
- Fat: N/A
- Saturated Fat: N/A
- Unsaturated Fat: N/A
- Trans Fat: N/A
- Carbohydrates: N/A
- Fiber: N/A
- Protein: N/A
- Cholesterol: N/A