

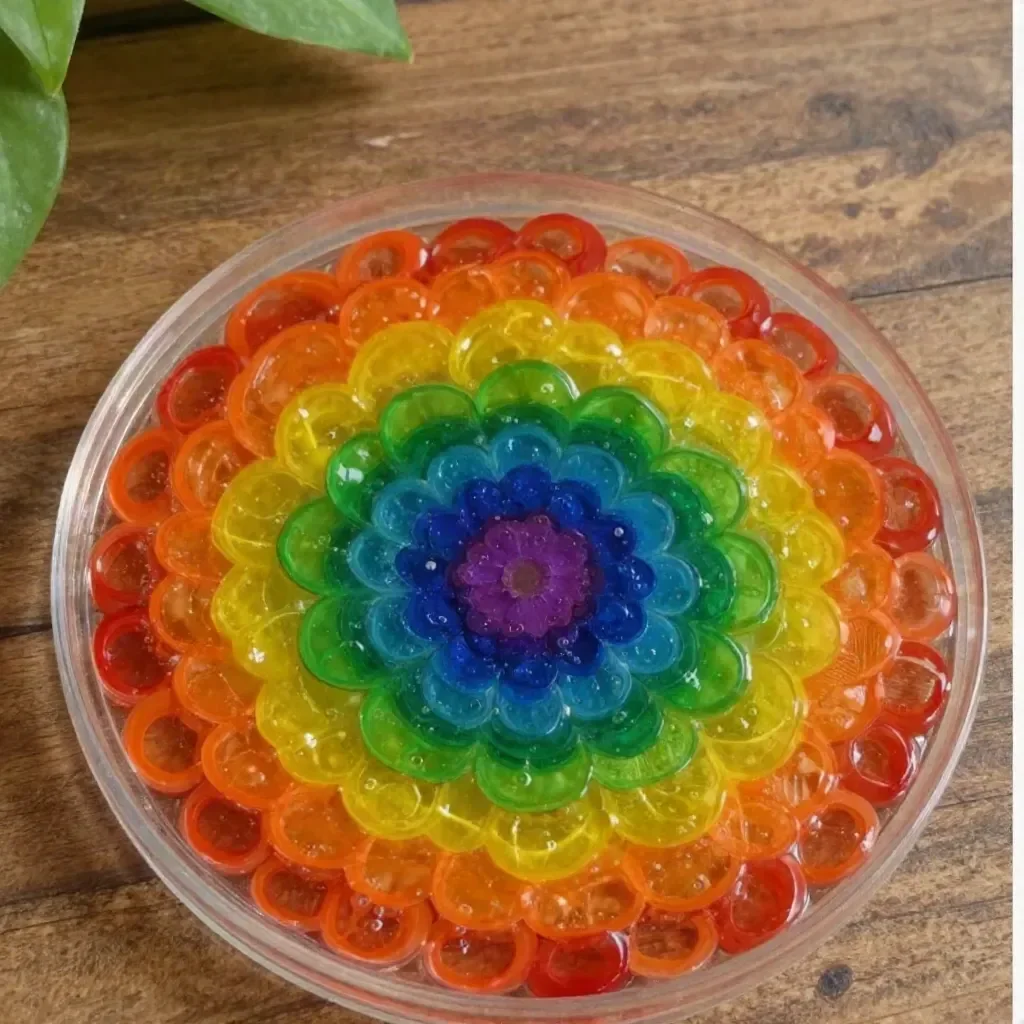
Creating decorations that brighten up your space can be a wonderful way to engage your creativity. Imagine a busy afternoon when the kids want to make something colorful and fun, but you’re not sure what to do. That’s when the idea of creating Colorful Rainbow Mandala Window Art for Home Decor becomes a perfect solution. This craft uses simple materials you likely have at home, and the result is a stunning piece of art that can be displayed in sunlight, adding a vibrant touch to your windows. You may also find Baking Soda Crystals Transform Into Glassy Art useful.
Why This Colorful Rainbow Mandala Window Art for Home Decor Works So Well
This DIY project is incredibly approachable for families. First, it requires minimal preparation, which is ideal when you’re short on time. All you need is a little time and a few common supplies that don’t require special trips to the craft store. The process is straightforward, ensuring that both kids and parents can engage without feeling overwhelmed. Each step is simple but fulfilling, leading to a beautiful result that usually works out well. Plus, the art looks especially captivating when hung in the sunlight, creating a dazzling display of colors. You may also find Baking Soda Rainbow Crystal Forest useful.
A Quick Look Before You Begin
Before diving into the project, it’s helpful to have a brief overview of what to expect. The whole process typically takes about an hour, including drying time. While the prep can get a bit messy, it’s manageable, and a covered workspace will help keep surfaces clean. Young children will likely need some adult supervision, especially when pouring glue and swirling colors. This project is entirely about enjoying the process, so take your time and let the kids explore their creativity. You may also find Build Heart Stem Challenge Affordable useful.
Materials You’ll Need
To get started, you’ll only need a few simple materials. Here’s what you’ll gather: You may also find Fork Pom Pom Flower Bouquet At Home useful.
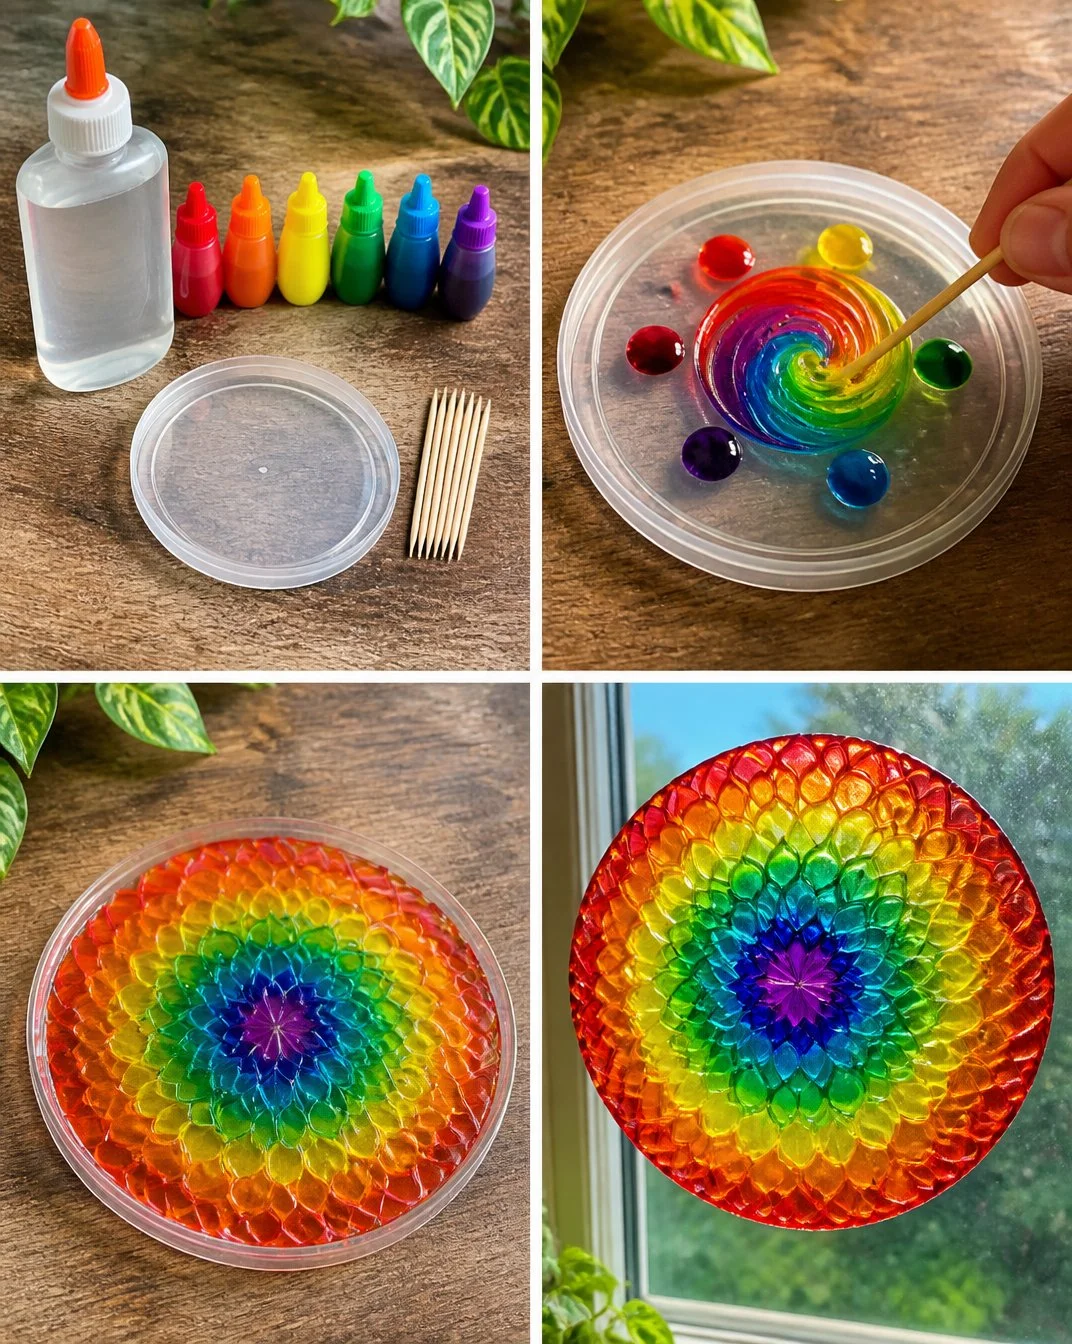
- 5 oz clear glue: A common household item that helps create a flexible base.
- Rainbow food coloring: Adds vibrant colors that will stand out beautifully.
- Toothpicks: Perfect for swirling the colors and creating unique designs.
- Plastic lid: Acts as your canvas for the colorful art.
These items are budget-friendly and are usually easy to find around the house. They make gathering supplies as simple as it gets.
Step-by-Step Directions
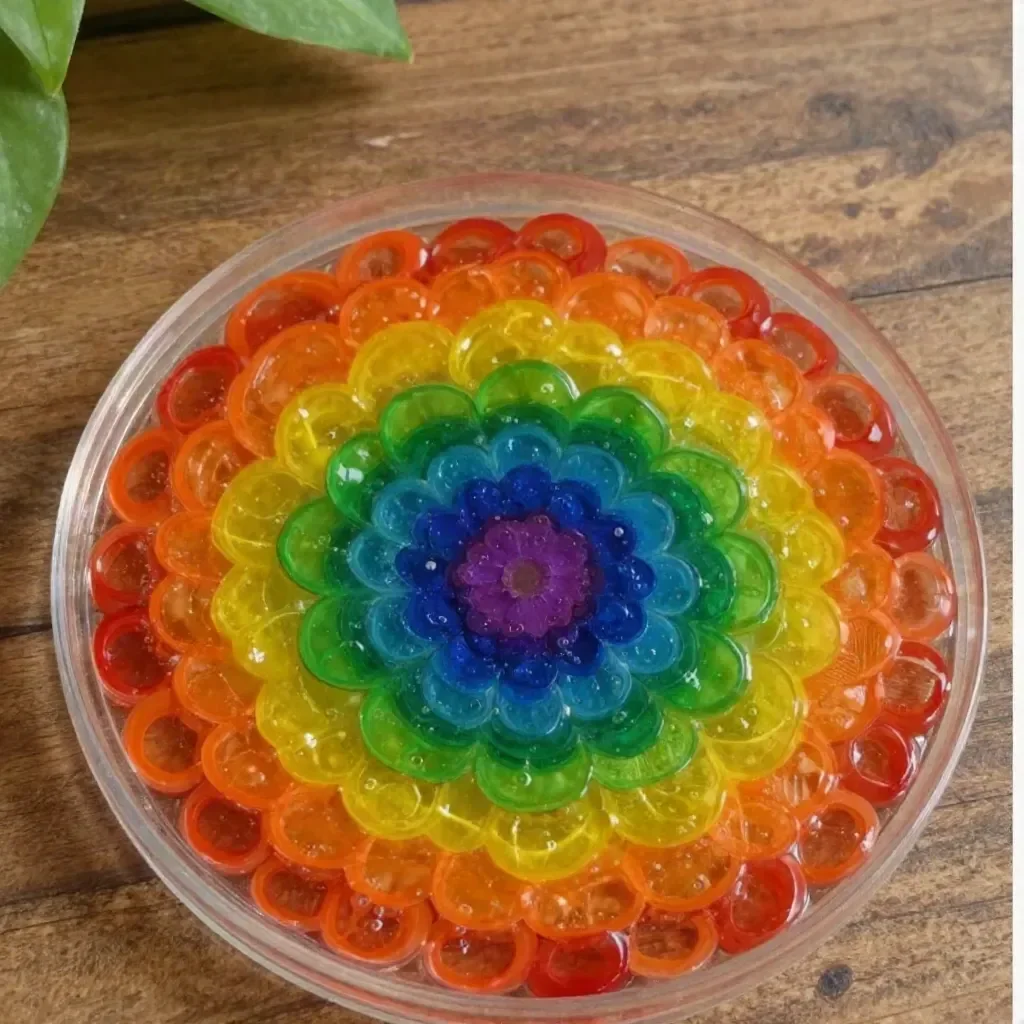
Now let’s move on to making your Colorful Rainbow Mandala Window Art. Follow these steps carefully to ensure a successful experience:
Pour glue into a lid. Begin by carefully pouring 5 oz of clear glue into your plastic lid, filling it to about halfway. Make sure it’s level to help create even designs.
Add drops of rainbow colors. Use your food coloring to add drops of different colors. Feel free to be generous with the drops since the mix of colors will create beautiful effects.
Swirl gently with a toothpick. Take a toothpick and start swirling the colors gently. Be mindful not to over-mix; you want each color to remain distinct, creating that lovely mandala effect.
Dry until flexible. Set your creation aside to dry. This usually takes about 30 minutes to an hour. You’ll know it’s ready when it feels flexible but firm to the touch.
Display in sunlight. Finally, once dried, hang or place your stunning artwork in a sunny spot. Watch how the light passes through, creating a rainbow of colors in your room.
The Learning Behind This DIY

This project is more than just making a pretty decoration; it fosters several valuable skills in children. First, it introduces basic principles of color theory as kids see how different colors blend together and how to create visually appealing patterns. The hands-on experience enhances fine motor skills, especially when they manipulate the toothpick for swirling. Plus, there’s a delightful cause-and-effect relationship here; kids can watch how the food coloring spreads and swirls, helping them grasp fundamental concepts in a fun way.
Troubleshooting Common Issues
If things don’t turn out as expected, don’t worry! There are a few typical issues that can arise. If your colors get too muddy, it likely means over-swirling; try to limit the swirling during mixing. If the glue dries too stiff, consider using a thinner layer next time to maintain flexibility. For children who may struggle with coordination, help them steady the lid while they pour or swirl. Remember, it’s about enjoying the process, not achieving perfection.
Easy Variations to Try
Once you’ve mastered the basic mandala art, you might want to explore creative twists on this project. Here are some easy variations:
Seasonal Colors: Use colors that represent the current season—pastels for spring, rich reds and golds for autumn.
Shape Shifting: Instead of a circular design, pour the glue into different shaped lids like hearts or stars for varied art pieces.
Layering: Start with a layer of glue and allow it to partially dry, then add more colors on top for a 3D effect.
Mixed Media: After drying, consider adding glitter or sequins for added texture.
Storing or Reusing This Project
When you’re done displaying your masterpiece, think about how you can reuse or store your materials. The clear glue can easily be stored for future projects, and the plastic lids can also be repurposed for other crafts. Make sure to clean up your workspace well to minimize waste. If you want to keep your artwork, consider a way to frame it or re-display it seasonally.
FAQs About Colorful Rainbow Mandala Window Art for Home Decor
Q: Will this project make a mess?
A: While some colorful spills might occur, covering your workspace will help manage the mess. Using old newspapers or a plastic sheet can make cleanup easier.
Q: Is this safe for young children?
A: Yes, the materials are non-toxic and safe for kids. Just ensure supervision when handling the food coloring and toothpicks.
Q: Can I use different colorings?
A: You can experiment with natural colorings, but food coloring typically yields the brightest results.
Q: How do I store the art once it’s made?
A: Store it in a cool place away from direct sunlight to maintain its vibrancy, or allow it to be hung in windows for a great display.
Q: What if my artwork doesn’t dry clear?
A: If your art stays cloudy, it may be due to excess glue. Try using less glue next time for a clearer finish.
A Final Helpful Note
As you embark on this colorful journey of making art, remember that creativity comes with freedom. Each piece is unique and reflects the personality of its creator. Take your time and enjoy the process; there’s no need for it to be perfect. Feel free to adapt the steps or materials based on what you have available.
Conclusion
Creating Colorful Rainbow Mandala Window Art for Home Decor is not just a fun activity; it’s a way to create something beautiful while spending quality time with loved ones. If you’re inspired by the idea of incorporating more vibrant elements into your decor, you might want to check out this rainbow mandala flower stained glass suncatcher for additional decoration ideas. You can also explore some of the most popular items ordered as gifts in suncatcher supplies to enhance your crafting experience.
PrintColorful Rainbow Mandala Window Art for Home Decor
A fun and engaging DIY project to create vibrant Rainbow Mandala Window Art using simple materials available at home.
- Prep Time: 15 minutes
- Cook Time: 30 minutes
- Total Time: 45 minutes
- Yield: 1 piece of window art 1x
- Category: Craft
- Method: DIY Crafting
- Cuisine: N/A
- Diet: N/A
Ingredients
- 5 oz clear glue
- Rainbow food coloring
- Toothpicks
- Plastic lid
Instructions
- Pour glue into a lid.
- Add drops of rainbow colors.
- Swirl gently with a toothpick.
- Dry until flexible.
- Display in sunlight.
Notes
Ensure adult supervision for young children when pouring glue and swirling colors. Cover your workspace to minimize mess.
Nutrition
- Serving Size: 1 project
- Calories: 0
- Sugar: 0g
- Sodium: 0mg
- Fat: 0g
- Saturated Fat: 0g
- Unsaturated Fat: 0g
- Trans Fat: 0g
- Carbohydrates: 0g
- Fiber: 0g
- Protein: 0g
- Cholesterol: 0mg