

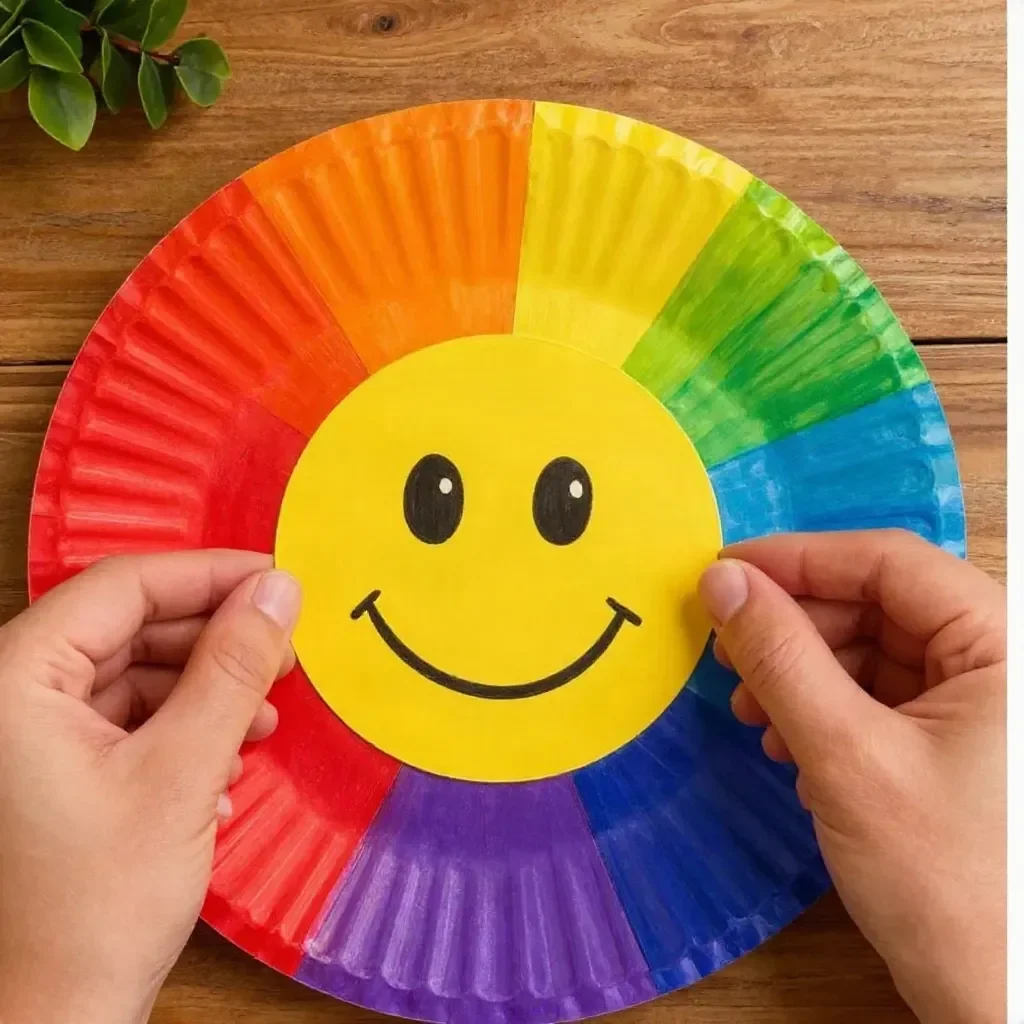
Making something creative with your kids on a busy afternoon can be a delightful way to spark joy and inspiration. If you’re in need of a quick yet fun activity, consider the DIY Rainbow Paper Plate Sun Craft for Kids. It’s a vibrant project that allows children to express their artistic flair while playing with colors. The beauty of this craft lies in its simplicity and the ability to turn a regular paper plate into a cheerful decoration that can brighten up any space. You may also find Diy Puffy Ghost Halloween Craft For Kids useful.
Why This DIY Rainbow Paper Plate Sun Craft for Kids Works So Well
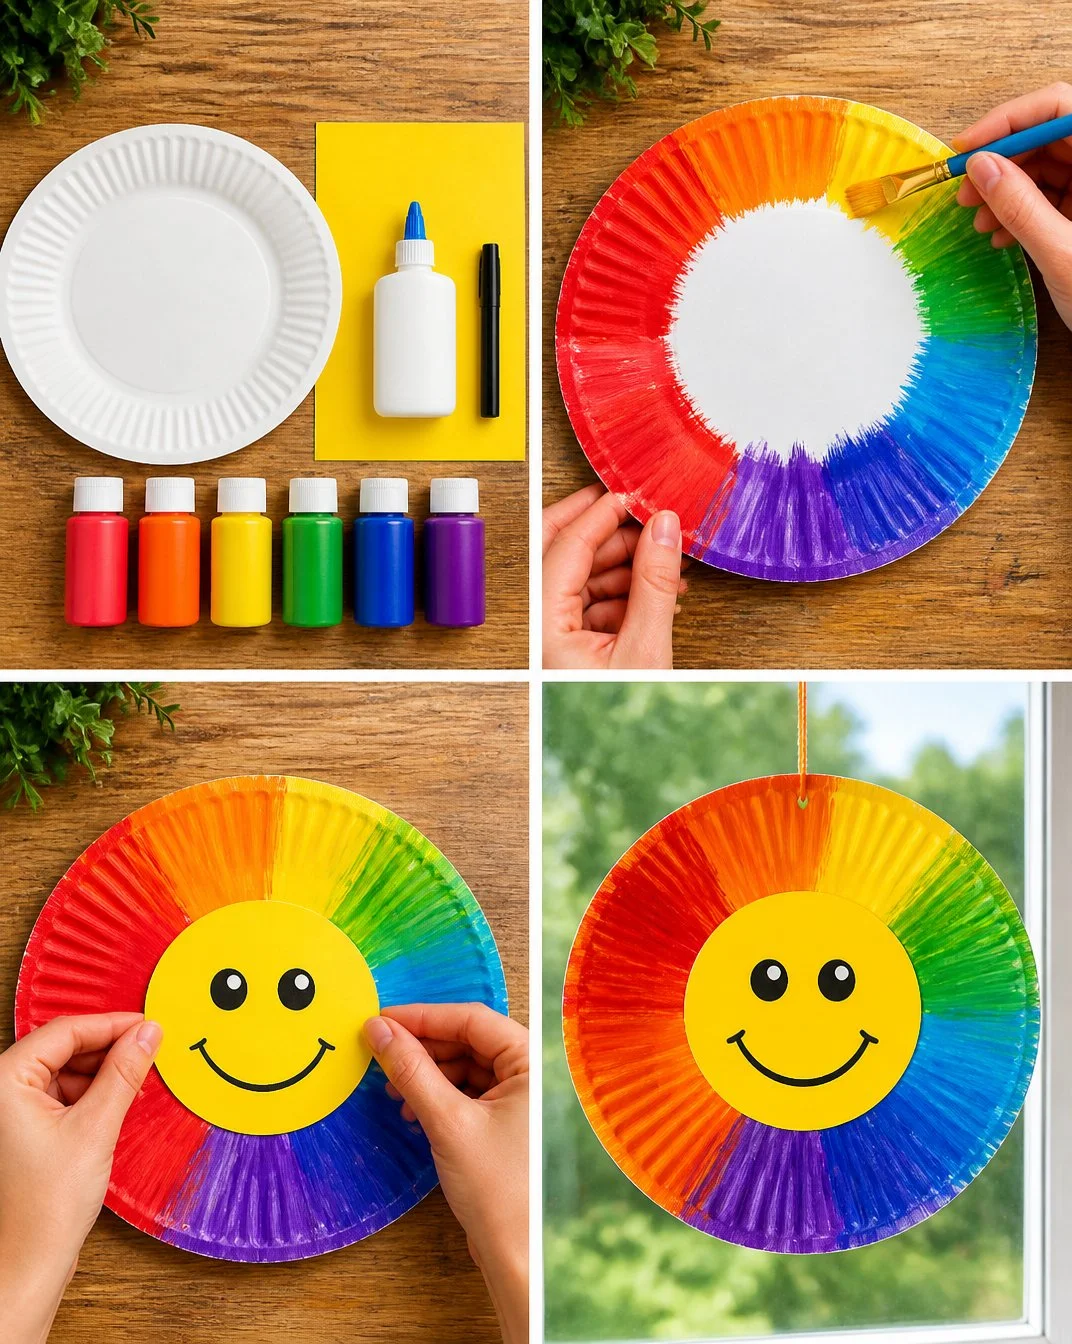
This project is perfect for parents and caregivers looking for a low-prep, approachable activity that fits easily into a busy schedule. The straightforward steps ensure that both kids and adults can jump right in without feeling overwhelmed. Plus, the materials are commonly found items around the house, like paper plates and acrylic paints, making it an accessible choice for spontaneous crafting. By engaging in this activity, children not only create something beautiful but also enjoy the therapeutic process of crafting—perfect for winding down after a hectic day. You may also find Top 10 Summer Crafts Diy Ideas For Kids useful.
A Quick Look Before You Begin
This DIY project offers a calming and fulfilling experience without the stress of complicated instructions. It typically takes about 30 to 60 minutes to complete, depending on the child’s age and attention span. Setting up is quick; just gather your materials at a table where spills can be easily managed. The mess level is fairly low, as you’ll mostly be painting and gluing, but it’s always a good idea to have some paper towels at hand for quick cleanups. Adult involvement is encouraged, especially for younger children, so you can offer guidance and assistance when needed. You may also find Crafts For Kids Fun Projects useful.
Materials You’ll Need
To create your colorful sun, you will need the following materials: You may also find Creative Science Craft Kids Rainbow Light Show useful.
- 1 paper plate (9 in)
- Acrylic paint (red, orange, yellow, green, blue, purple)
- Yellow cardstock (1 sheet)
- Craft glue
- Black marker
These items are budget-friendly and often found in most households. The use of a paper plate makes this an easy craft to set up and clean up afterward.
Step-by-Step Directions
Paint the Plate: Begin by painting the edge of the paper plate with vibrant rainbow rays. Start from the outer edge and blend the colors towards the center, creating a gradient effect. It’s okay to let the colors mix a little; it adds character to your sun.
Cut the Sunshine Face: While the paint dries, take the yellow cardstock and cut out a smiling sun face. Make a circular shape large enough to fit in the center of the paper plate.
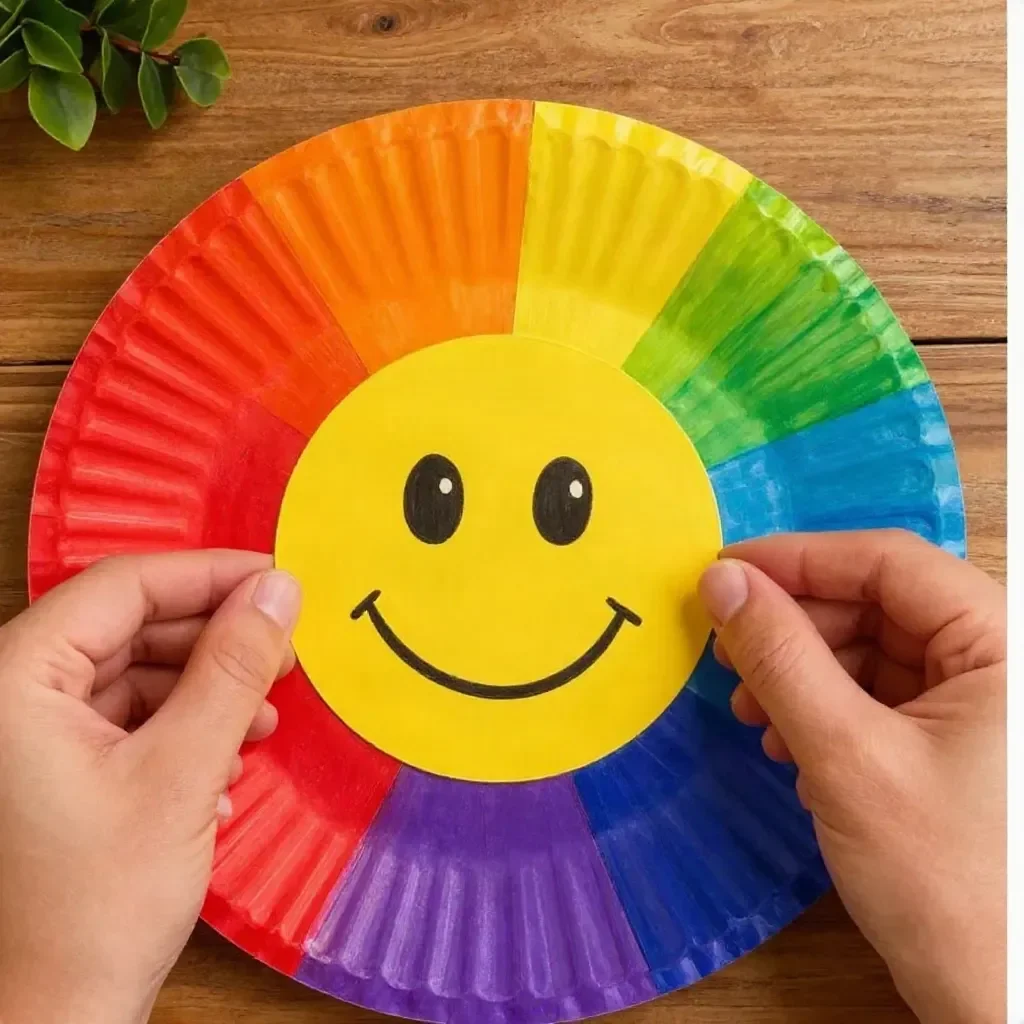
Glue the Face: Once the paint is dry, glue the sun face to the center of the plate. Make sure it’s secure so it doesn’t fall off when the craft is displayed.
Add Features: Using the black marker, draw eyes and a smile on the yellow face. Encourage kids to make it as silly or as happy as they desire; this is where their personality shines through!
Display Your Creation: Finally, hang the finished sunshine in a window or classroom. It will catch the light and spread cheer wherever it goes.
The Learning Behind This DIY

While making this joyful craft, children are not only honing their artistic skills but also engaging in essential developmental practices. The act of painting requires coordination, helping to refine fine motor skills as they maneuver the brush. They learn about colors through mixing and blending, which introduces them to basic color theory in a fun and hands-on way. Furthermore, as they follow the steps, they practice sequencing and planning, enhancing cognitive skills since they have to visualize the final product before it’s complete.
Troubleshooting Common Issues
If something doesn’t go as planned during your crafting session, it’s helpful to know a few common problems and quick fixes.
Sometimes, the paint can be too runny, leading to streaking instead of blending. If this happens, try using a bit less water or paint. On the other hand, if the colors appear muddy, it’s usually because they mixed too much. Encourage kids to clean their brushes when switching between colors to keep the vibrancy intact.
If the glue doesn’t hold, ensure it’s a good craft glue designed for paper projects, and give it a little extra time to dry. Setting a timer can be motivating while waiting!
Easy Variations to Try
To keep the fun going, here are some variations you might like to explore:
- Add Sparkle: Use glitter glue or real glitter on the sun face for a sparkling effect that catches the eye.
- Seasonal Themes: Change the colors to reflect different seasons, like a fall-themed sun using oranges and browns or pastel colors for springtime.
- Two-Plate Design: Use two paper plates: one for the sun and one for the rays, which allows for more creative layering and designs.
- Craft with Friends: Organize a crafting session with friends, encouraging kids to create their own suns with various expressions and color choices.
Storing or Reusing This Project
Taking care of your crafts can extend their life and enjoyment. If the paper plate sun is hung up, it can brighten a room for weeks or even months. However, if you wish to store it, place it in a flat container to avoid damage or warping. The materials can be reused; remnants of paint can be saved for future projects, and any leftover cardstock can be excellent for new crafts.
FAQs About DIY Rainbow Paper Plate Sun Craft for Kids
Q: Is this craft messy?
Although painting does involve some mess, the use of a single paper plate keeps things contained. Just lay down some newspaper or a plastic cloth for easy cleanup.
Q: What age is this craft suitable for?
This craft is perfect for children aged 5 and up, but younger kids can participate with adult supervision for the cutting and gluing steps.
Q: Can I use different materials?
Absolutely! Feel free to use whatever supplies you have on hand, like markers instead of paint or different types of paper for the sun face.
Q: How do I store the craft once it’s done?
If not displayed, keep it in a flat box to prevent bending or tearing. The project can also be taken apart and the materials reused.
Q: What if my child doesn’t like how it looks?
Remind them that crafting is all about exploration and creativity. Encourage them to embrace the imperfections, as each sun will have its own unique charm.
Conclusion
Getting involved in the DIY Rainbow Paper Plate Sun Craft for Kids offers a wonderful opportunity not just for creativity but also for learning. You’ll create not just a cheerful decoration but also lasting memories with your children. If you’re looking for other engaging crafts, consider checking out these articles: easy paper plate sunshine craft or sun and rainbow paper plate kids craft. Each project promises fun, creativity, and cherished moments!
PrintDIY Rainbow Paper Plate Sun Craft for Kids
A fun and vibrant DIY project that allows children to create a colorful sun using paper plates and acrylic paints.
- Prep Time: 10 minutes
- Cook Time: 30 minutes
- Total Time: 40 minutes
- Yield: 1 colorful sun decoration 1x
- Category: Craft
- Method: Crafting
- Cuisine: N/A
- Diet: N/A
Ingredients
- 1 paper plate (9 in)
- Acrylic paint (red, orange, yellow, green, blue, purple)
- 1 sheet of yellow cardstock
- Craft glue
- Black marker
Instructions
- Paint the edge of the paper plate with vibrant rainbow rays, blending colors towards the center.
- Cut out a smiling sun face from the yellow cardstock.
- Glue the sun face to the center of the plate once the paint dries.
- Add eyes and a smile on the yellow face using the black marker.
- Display your creation in a window for a cheerful decoration.
Notes
Encourage personalization of the sun with various expressions and colors. Keep cleanup easy by having materials ready.
Nutrition
- Serving Size: 1 finished sun
- Calories: N/A
- Sugar: N/A
- Sodium: N/A
- Fat: N/A
- Saturated Fat: N/A
- Unsaturated Fat: N/A
- Trans Fat: N/A
- Carbohydrates: N/A
- Fiber: N/A
- Protein: N/A
- Cholesterol: N/A