

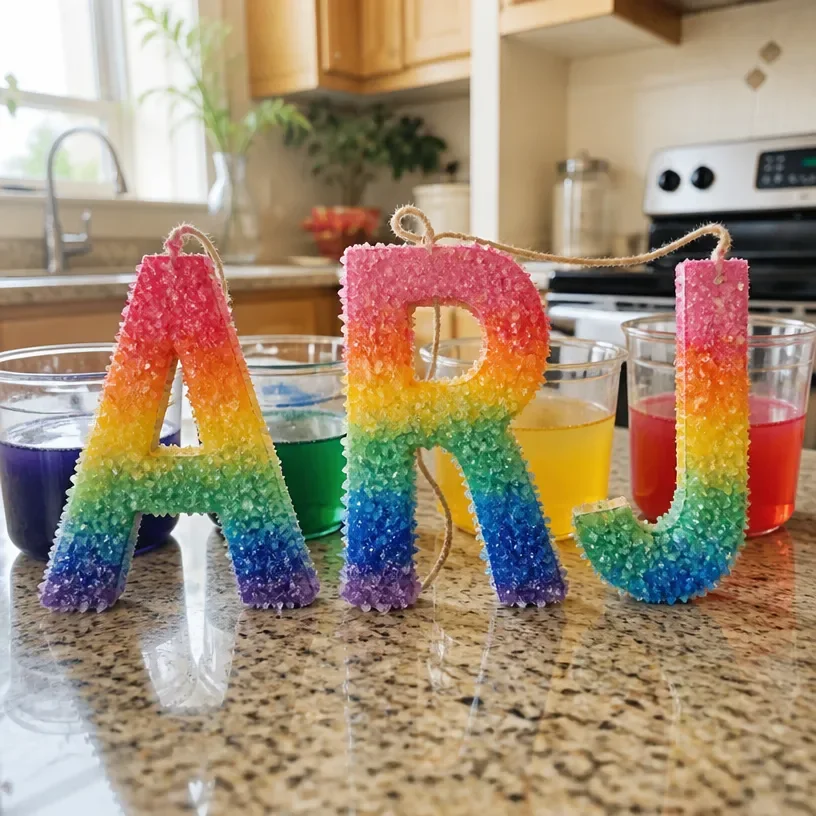
Creating a special craft project on a busy afternoon can often feel like a daunting task, especially when kids are eager to create something unique and beautiful. However, with the Rainbow Crystal Initial Letters project, you can turn an ordinary moment into a fun, hands-on activity. This project not only reinforces creativity but also adds a delightful touch of color to your home décor. Just think of how these shimmering initials will look displayed together, catching the light beautifully while vibrant crystals grow in an array of colors. You may also find Baking Soda Rainbow Crystal Forest useful.
Why This Rainbow Crystal Initial Letters Works So Well
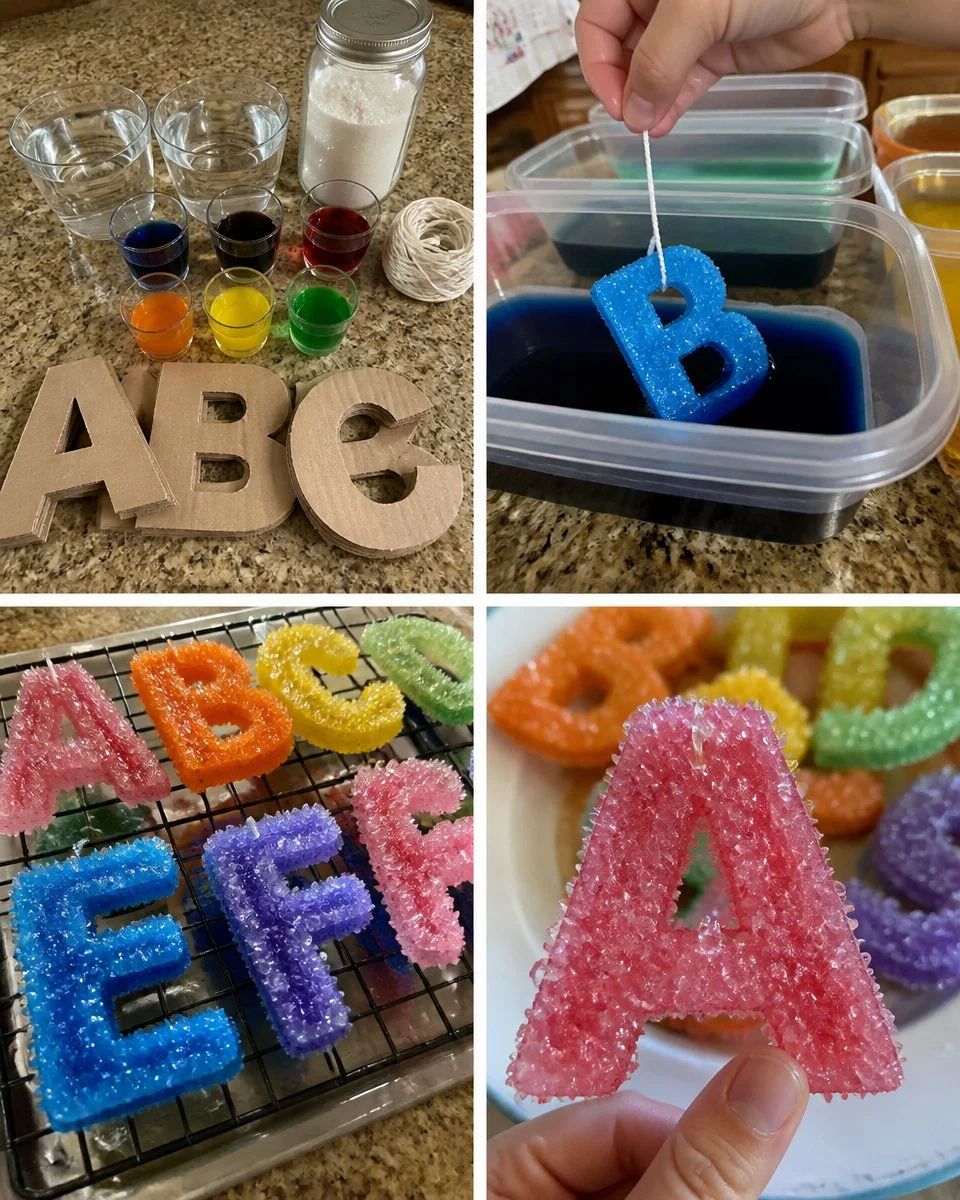
This project is exceptionally easy to start. First, it requires minimal prep time, making it a great choice for busy schedules. You’ll use common household items like cardboard and hot water, giving it a familiar feel. The steps are straightforward. As the crystals form overnight, your children will be excited to see their initials transform into colorful creations. This reliability in process means parents can feel confident that their kids will have fun and end up with something memorable and beautiful to showcase. You may also find Rainbow Crystal Rocks No Borax useful.
A Quick Look Before You Begin
This DIY project comes together seamlessly. You can set aside about an hour for preparation and let the project work its magic overnight. Expect some mess while dipping the letters into the colored water, so it’s best to work on a surface that is easy to clean up. Adult supervision is recommended, especially for handling hot water and borax, but kids can easily participate in most of the fun parts themselves.
Materials You’ll Need
For the Rainbow Crystal Initial Letters, you will need the following materials:
- Cardboard letters
- Borax
- Hot water
- Rainbow coloring (food coloring works great)
- Deep containers
- String
These items are typically available in most homes, and they offer a budget-friendly way to engage your kids in a creative project.
Step-by-Step Directions
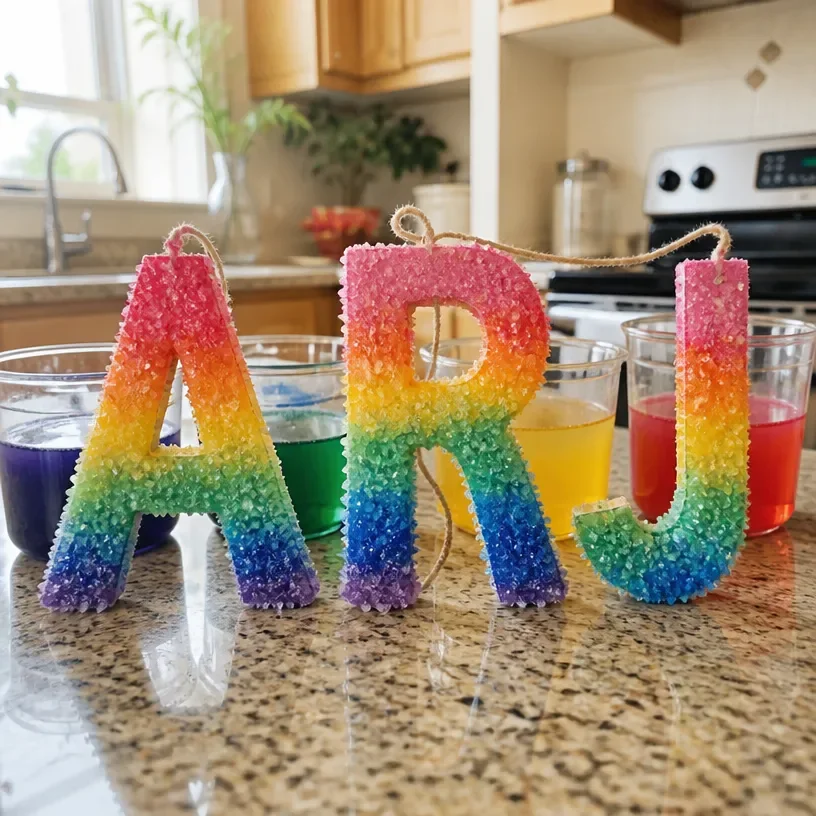
Start by cutting initials from the cardboard. Wrap a bit of string around each letter for easier handling. This step is fun and gives young ones a chance to practice their cutting skills.
Prepare a jar for each color of the rainbow, filling each with hot water. You can let your kids choose which colors they want, adding their personal touch to the project.
Add borax to the water, stirring until it dissolves completely. This mixture is key for crystal formation. Be prepared for the kids to be fascinated as they watch how the borax dissolves.
Dip each cardboard letter into a different bright color and let them soak. Watching the letters absorb the colors makes this part particularly exciting.
Allow your letters to sit overnight; crystals will begin to form beautifully. This is where the real magic happens. Make sure to keep an eye on them as they work!
Once dry, display your sparkling letters together for everyone to admire. They will definitely be proud of their colorful creations and eager to show them off.
The Learning Behind This DIY

While making these delightful Rainbow Crystal Initial Letters, children can practice various skills. They develop fine motor skills as they cut and handle the letters, and the project also offers a great opportunity to learn about science principles. By observing how the borax crystallizes, kids can grasp basic concepts of solution, saturation, and evaporation. It connects artistic expression with fundamental science concepts, making it an enriching experience.
Troubleshooting Common Issues
If something doesn’t go as planned, don’t fret. Crystals form differently based on temperature and borax concentration. If you find that the crystals are underwhelming, you might need to stir more borax into the water. If the colors are not vibrant enough, ensure the letters are completely submerged to absorb enough dye. Having a backup plan for a second try can ease any disappointment.
Easy Variations to Try
Consider mixing things up with a few variations to this project. For instance, you could create themed initials for holidays or special occasions. Instead of just standard rainbow colors, you might introduce glitter into the concoction for extra sparkle. Another idea is to have the kids design patterns on their letters instead of a solid color, which can give the project an even more personal touch.
Storing or Reusing This Project
Once your kids have displayed their sparkling letters, think about how to store or use them creatively. They can be kept as decorative pieces, or you could even repurpose them into gifts for family members. After some time, if you want to take them down, consider recycling the materials instead of tossing them.
FAQs About Rainbow Crystal Initial Letters
What is the cleanup like after making this project?
Most of the mess comes from the colored water, so it’s best to cover your workspace beforehand. Any spills can usually be wiped up easily.
Are there any safety concerns with using borax?
While borax is generally safe when used appropriately, it’s important to keep it out of reach of young children. Make sure they wash their hands after handling it.
Can I substitute borax with another material?
Borax is key to forming crystals, but if you want a different activity, you could try making colored water without the crystals or explore other DIY crystal-making techniques like using sugar or salt.
What are the realistic results I can expect?
Each project may yield different results. Some crystals might be larger depending on the time they sit and the water’s condition, so encourage your kids to appreciate each unique outcome.
A Final Helpful Note
Take a breath and remember that creativity should be fun and stress-free. Whether your letters form spectacular crystals or come out with unexpected designs, what really matters is the joy of creating together. Embrace the imperfections and enjoy the time spent crafting memories with your children.
Conclusion
Crafting Rainbow Crystal Initial Letters is a wonderful way to engage creativity while teaching kids about science. If you find yourself wanting to explore more beautiful crystal options, consider projects like rainbow crystal hearts or rainbow crystal trees. For a lovely accessory option, check out the Rainbow K ring crystal initial which can be another great way to showcase their initials. Don’t hesitate to browse more jewelry styles, such as the Rainbow Initial Gold-Tone Crystal Embellished Letter Necklace for a colorful twist. Enjoy the process and cherish the time spent creating together!
PrintRainbow Crystal Initial Letters
A fun and creative DIY project for kids to make colorful rainbow crystal initials.
- Prep Time: 60 minutes
- Cook Time: 0 minutes
- Total Time: 60 minutes
- Yield: 1 set of initials
- Category: Crafts
- Method: DIY
- Cuisine: N/A
- Diet: N/A
Ingredients
- Cardboard letters
- Borax
- Hot water
- Rainbow food coloring
- Deep containers
- String
Instructions
- Start by cutting initials from the cardboard. Wrap a bit of string around each letter for easier handling.
- Prepare a jar for each color of the rainbow, filling each with hot water.
- Add borax to the water, stirring until it dissolves completely.
- Dip each cardboard letter into a different bright color and let them soak.
- Allow your letters to sit overnight; crystals will begin to form beautifully.
- Once dry, display your sparkling letters together for everyone to admire.
Notes
Supervise kids while handling hot water and borax. Ensure the workspace is covered to avoid mess from colored water.
Nutrition
- Serving Size: 1 letter
- Calories: N/A
- Sugar: N/A
- Sodium: N/A
- Fat: N/A
- Saturated Fat: N/A
- Unsaturated Fat: N/A
- Trans Fat: N/A
- Carbohydrates: N/A
- Fiber: N/A
- Protein: N/A
- Cholesterol: N/A