

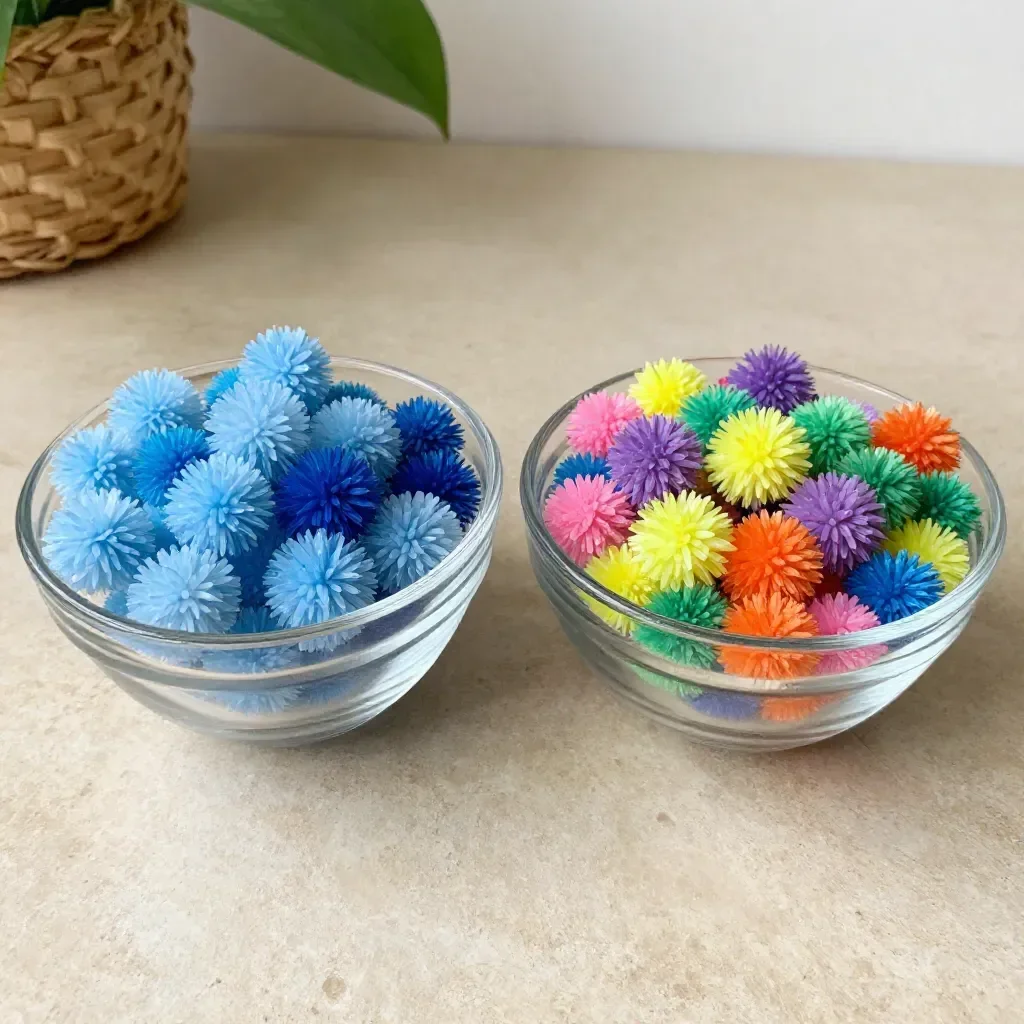
Creating a Salt Crystal Garden can be a delightful way to pass the afternoon, especially when your kids are eager to make something fun and educational. Imagine a busy day when you realize that you could harness that excitement by introducing them to a simple yet mesmerizing project. Mixing a few household items like salt and water to create colorful crystals can turn a last-minute activity into a memorable science experiment. It’s as easy as it sounds, and the results will leave everyone eagerly checking in on the transformation of the crystals over the days to come. The Salt Crystal Garden serves as a fantastic hands-on lesson about crystallization that you will want to do again and again. You may also find Crystal Garden useful.
Why This Salt Crystal Garden Works So Well
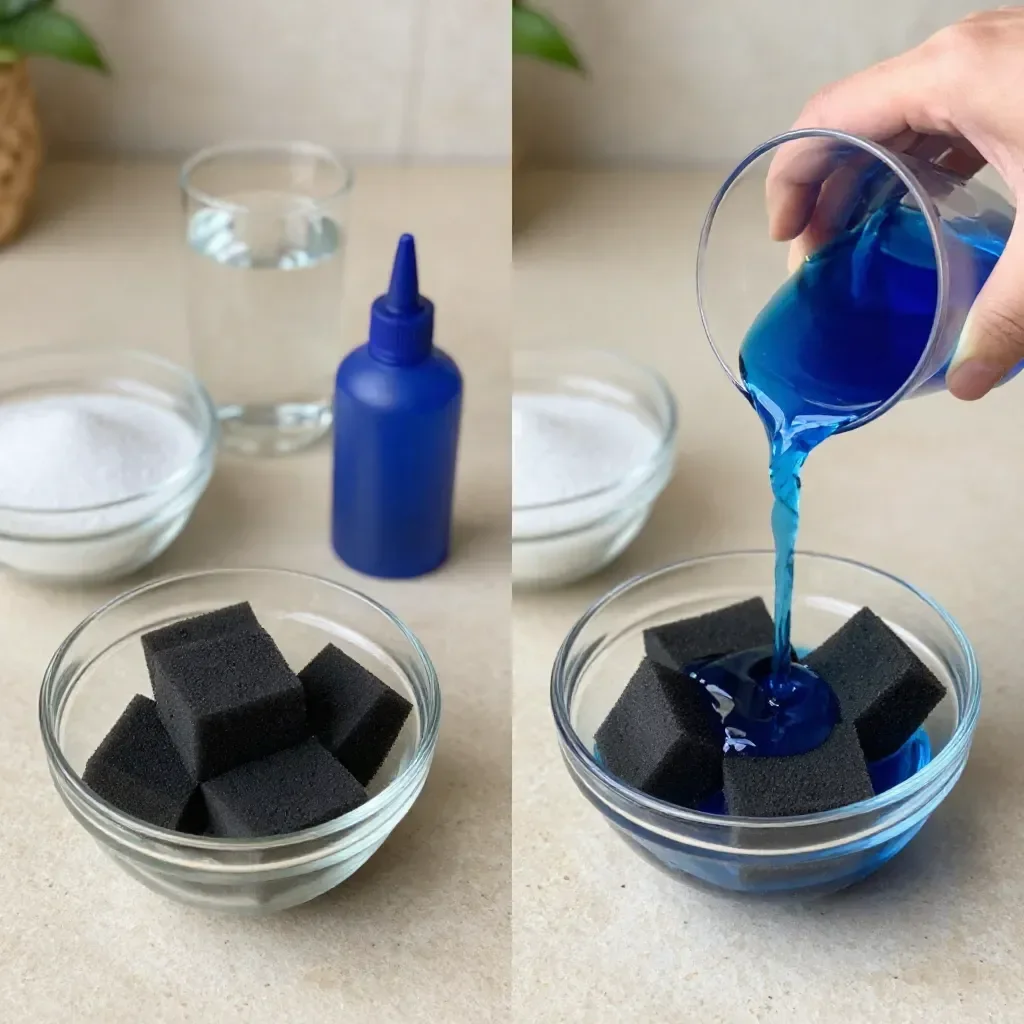
This project stands out for a few reasons that make it especially appealing for busy families. First, it requires minimal prep time and set-up, allowing you to dive right in without feeling overwhelmed. Second, the materials are commonly found in most households, so you won’t have to make a special trip to the store. Lastly, the whole process patiently unfolds over several days, so you don’t have to hover over it constantly. You can check in here and there, which means you can get back to other tasks while nature takes care of the magic. For those interested in the science behind crystal growth, you’ll also find the principles of solubility and crystallization fascinating. You may also find Diy Crystal Garden Watch Science Bloom useful.
A Quick Look Before You Begin
While the Salt Crystal Garden is straightforward, knowing what to expect can ease any concerns. The total time from start to finish spans a few days, but most of that period is just waiting for the crystals to form. Preparation only takes about 15 minutes, and you don’t need to worry about too much mess with this project. Just set up a designated area for the dish, and you’re good to go. Adult supervision is only needed for the initial setup—your little ones can take it from there, engaging their curiosity as they watch their garden grow. You may also find Amber Flame Crystals useful.
Materials You’ll Need
- Charcoal or sponge: Choose either as the base for crystal growth.
- Salt: Common kitchen staple used for creating the solution.
- Water: The simple solvent for mixing the salt.
- Food coloring: Adds color to your crystals, making them vibrant and fun.
- Dish: A shallow dish to hold the sponge or charcoal while the crystals form.
These materials are not only straightforward to find but also inexpensive, making this activity budget-friendly and accessible for everyone. You may also find Baking Soda Rainbow Crystal Forest useful.
Step-by-Step Directions
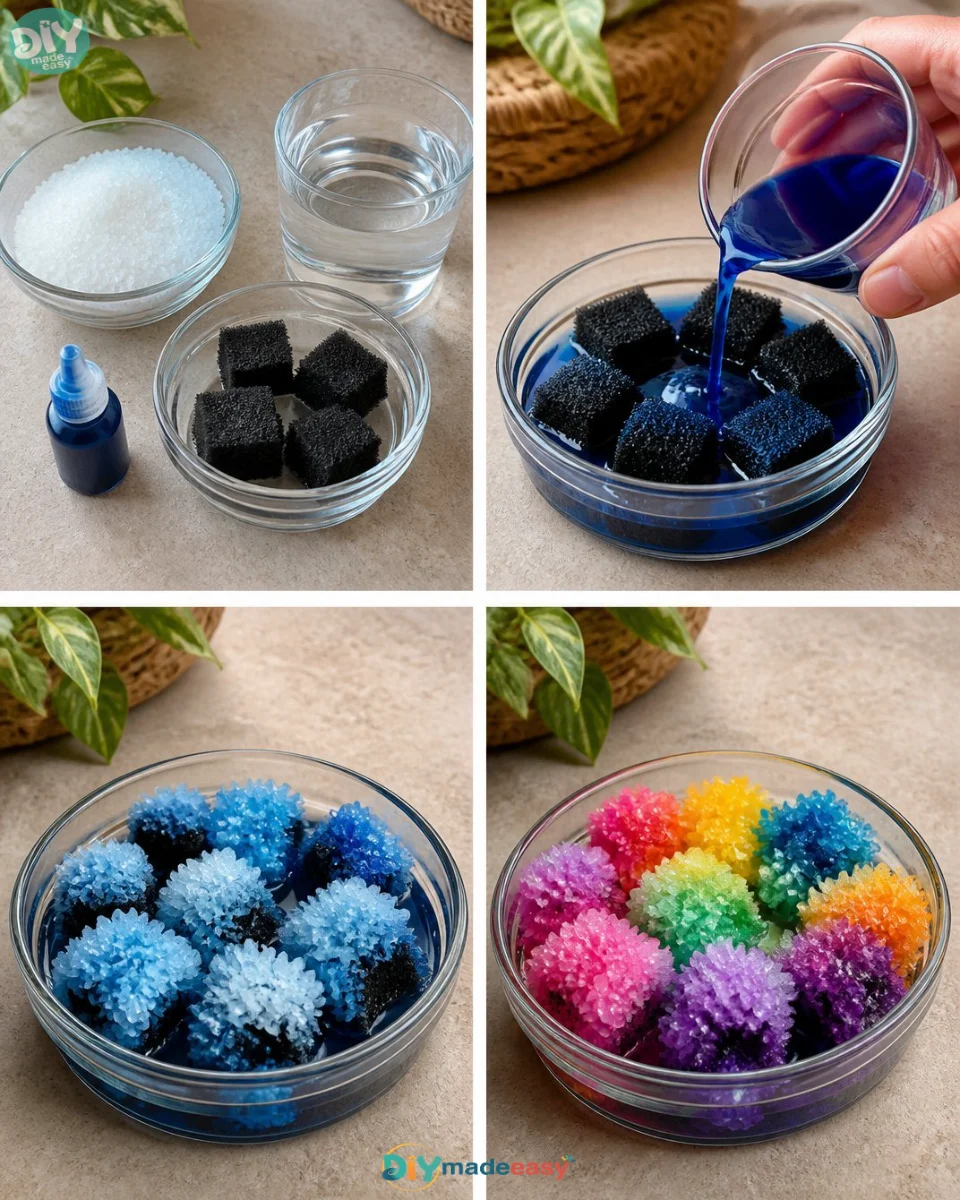
Begin by placing your sponge or pieces of charcoal in a shallow dish. This will be where your crystals grow. Make sure it’s flat to provide a solid base for moisture retention.
In a separate bowl, mix salt and water together. Add a few drops of food coloring and stir until the salt dissolves completely. You can experiment with the colors to see how they affect the final appearance of your crystals.
Pour your colorful solution over the sponge, making sure it’s well soaked. Ensure that the sponge is saturated but not overly dripping; you want it to absorb the solution without pooling. Set it aside for a few days and watch the crystals form! Be patient, as the process can take time.
The Learning Behind This DIY
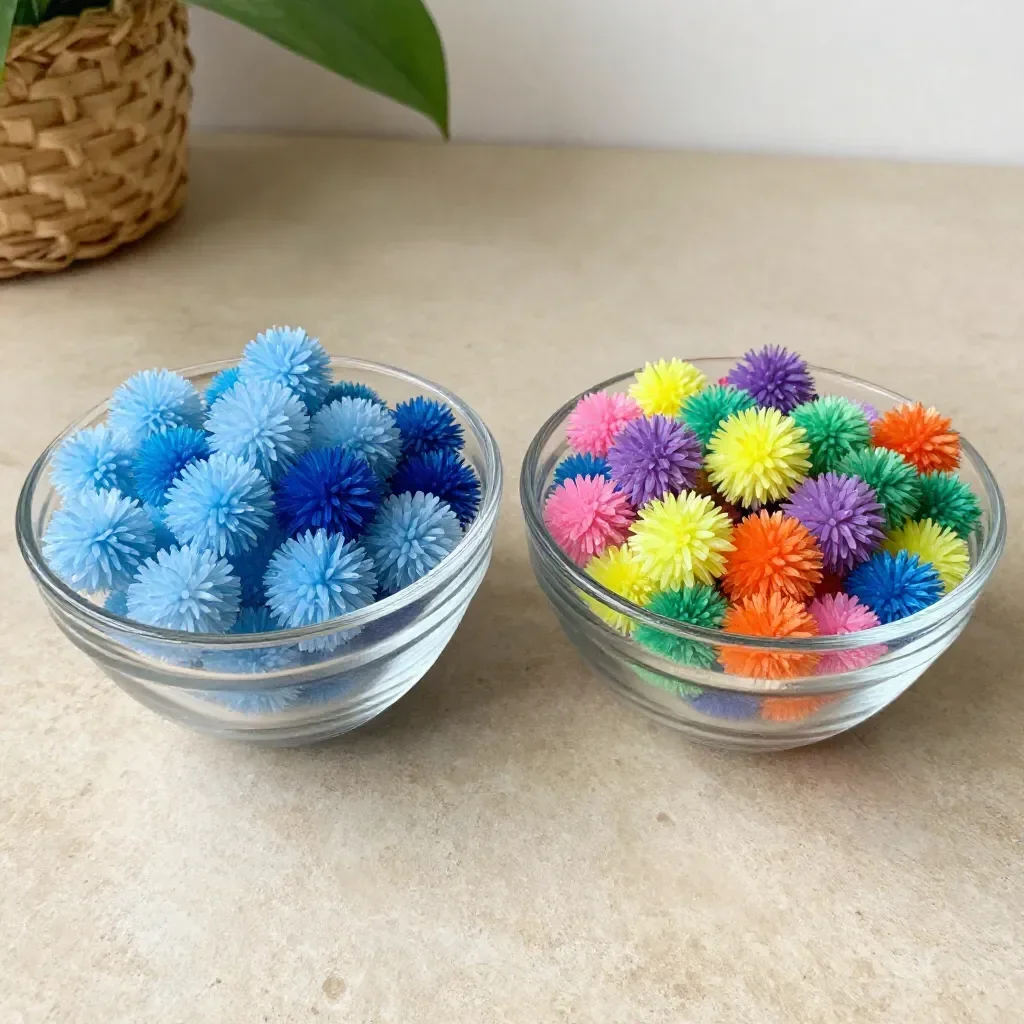
Making a Salt Crystal Garden combines fun and learning in a practical way. As your kids engage in this activity, they practice vital skills like fine motor coordination while transferring materials and pouring solutions. They also learn about science concepts such as solubility and crystallization. Not only are they entertained, but they also develop an understanding of cause and effect as they witness how their actions lead to beautiful results.
Troubleshooting Common Issues
Sometimes, things don’t go as planned with DIY projects, but that’s part of the experience. If you find that the crystals aren’t forming as expected, it could be due to a few reasons. Perhaps the salt didn’t dissolve completely, or the sponge wasn’t damp enough. If the solution looks watery after a day, consider adding more salt to boost the saturation. It’s all about trial and error, so don’t be afraid to adjust as needed!
Easy Variations to Try
If you’re hungry for creative twists on the Salt Crystal Garden, you might try a few variations. Consider using different types of containers to see how shape affects crystal formation. You could swap out food coloring for natural dyes—experimenting with beet juice or turmeric might yield fascinating results. For seasonal fun, try creating themed gardens, such as red and green for the holidays or pastel colors for spring!
Storing or Reusing This Project
You might wonder what to do with the Salt Crystal Garden once the crystals have formed. If they’re still intact, consider saving them as a decorative piece or gift for someone special. Cleanup is straightforward: dispose of the sponge or charcoal once the experiment is complete. If you enjoyed the process, think about letting the kids create a batch again using the same materials to keep the fun going!
FAQs About Salt Crystal Garden
What if the project seems too messy? While there’s a bit of setup involved, most cleanup is minimal, and the dish can easily be handled in the sink.
How safe is this activity for young children? It’s entirely safe as long as adult supervision is involved during the setup. The materials are non-toxic, and the only caution is with using boiling water if needed.
Can I substitute any ingredients? If you’re out of food coloring, it can be omitted for white crystals, or you might try colored salt if you have it on hand.
What if the crystals don’t form? Don’t worry—it happens! Ensure that the salt was fully dissolved, and consider adjusting the moisture in the sponge for better results next time.
How do I store my Salt Crystal Garden? Simply let the garden dry out completely and set it on a shelf for display.
Conclusion
Conclusion
Creating a Salt Crystal Garden is a delightful mix of art and science that you and your children can enjoy together. The wait for the crystals to form helps build patience while also allowing them to learn fundamental scientific concepts. For those interested in more detailed instructions, take a look at this Salt Crystal Garden project or explore the Magic Salt Crystal Garden guide for more inspiration. Your little ones will be eager to explore more creative experiments just like this one!
PrintSalt Crystal Garden
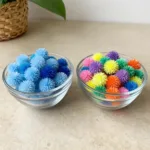
Create a vibrant and colorful salt crystal garden with household materials, combining fun and science in a memorable project.
- Prep Time: 15 minutes
- Cook Time: 4320 minutes
- Total Time: 4335 minutes
- Yield: 1 garden
- Category: Dessert
- Method: Crafting
- Cuisine: American
- Diet: Vegetarian
Ingredients
- Charcoal or sponge
- Salt
- Water
- Food coloring
- Shallow dish
Instructions
- Begin by placing your sponge or pieces of charcoal in a shallow dish.
- In a separate bowl, mix salt and water together.
- Add a few drops of food coloring and stir until the salt dissolves completely.
- Pour your colorful solution over the sponge, making sure it’s well soaked.
- Set it aside for a few days and watch the crystals form!
Notes
Experiment with different containers and natural dyes for creative variations.
Nutrition
- Serving Size: 1 garden
- Calories: 0
- Sugar: 0g
- Sodium: 0mg
- Fat: 0g
- Saturated Fat: 0g
- Unsaturated Fat: 0g
- Trans Fat: 0g
- Carbohydrates: 0g
- Fiber: 0g
- Protein: 0g
- Cholesterol: 0mg