

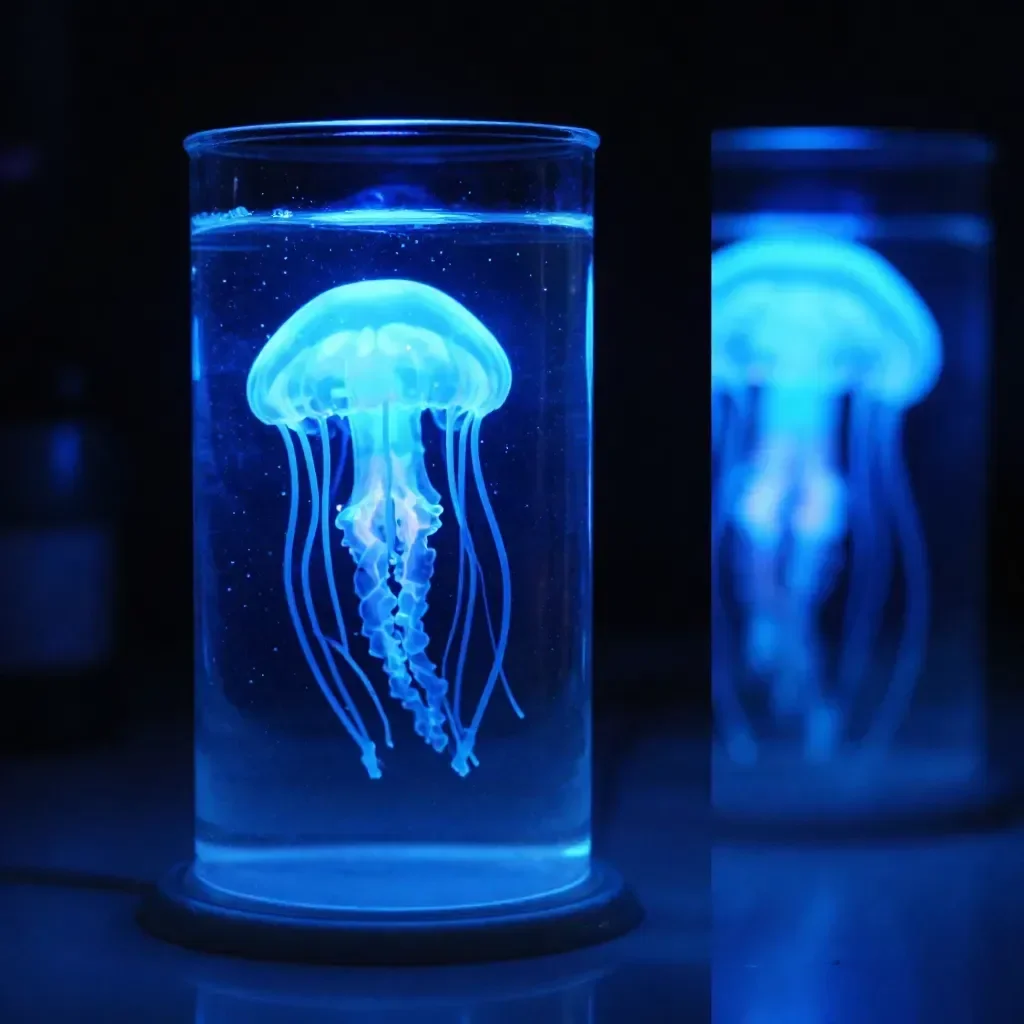
The afternoon light streamed through the window as your kids declared they wanted to make something memorable right now. In moments like these, a quick and easy project can do wonders. Enter the Glowing Jellyfish Jar, a delightful combination of creativity and science that brings a little sparkle to your home. With just a glass jar, a plastic bag, some glow paint, and water, you can create an enchanting jellyfish that glows softly in the dark. This project not only entertains but also leaves a beautiful addition to any room. You may also find Glowing Glitter Jar useful.
Why This Glowing Jellyfish Jar Works So Well
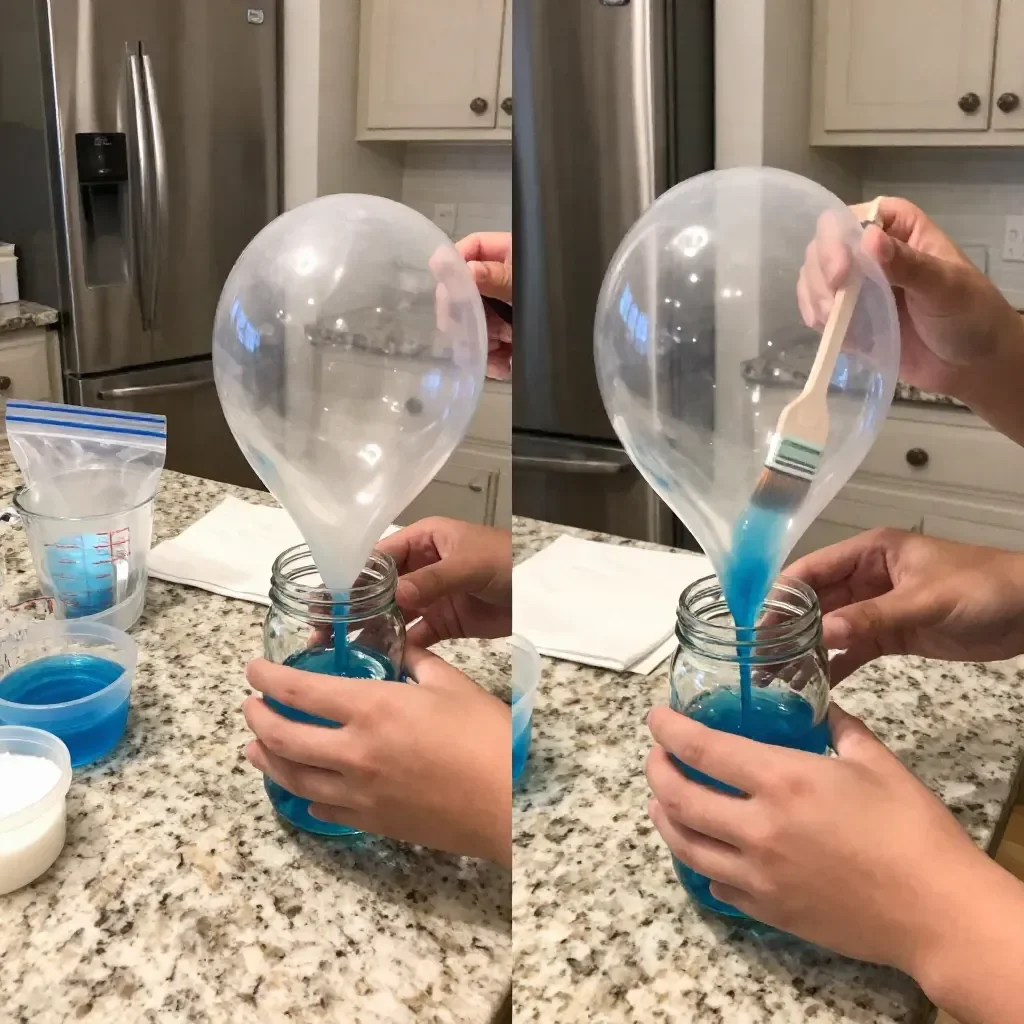
Creating the Glowing Jellyfish Jar is an effortless endeavor that adapts well to both busy schedules and curious minds. This project is low-prep, making it accessible for last-minute crafting sessions. Since it mainly uses items you likely have on hand, there’s no frantic trip to the store. The activity is so straightforward that even younger kids can be involved, making it perfect for family bonding moments. Plus, it offers reliable results: the glowing effect is magical and can be enjoyed for days. You may also find Diy Lightning Storm In A Jar useful.
A Quick Look Before You Begin
Making the Glowing Jellyfish Jar is designed to be simple and enjoyable. You can expect this project to take around 30 to 45 minutes, depending on how detailed you choose to get with your jellyfish. And when it comes to mess, you might get a bit of glow paint on your hands, but it’s all part of the fun. You’ll find that adult assistance might be needed in shaping and handling the glow paint, but kids can easily handle filling the jar and placing their creation inside. This type of project encourages teamwork and creativity, making it a great family activity. You may also find Glowing Ball Activity useful.
Materials You’ll Need
For the Glowing Jellyfish Jar, gather the following materials: You may also find Jellyfish Suncatcher useful.
- Glass jar (any clear container works)
- Plastic bag (a sandwich bag is perfect)
- Glow paint (look for non-toxic options)
- Water (just enough to fill the jar)
These materials are common household items that you likely have on hand. If you don’t have glow paint, consider using non-toxic highlighters diluted with water as a budget-friendly substitute.
Step-by-Step Directions
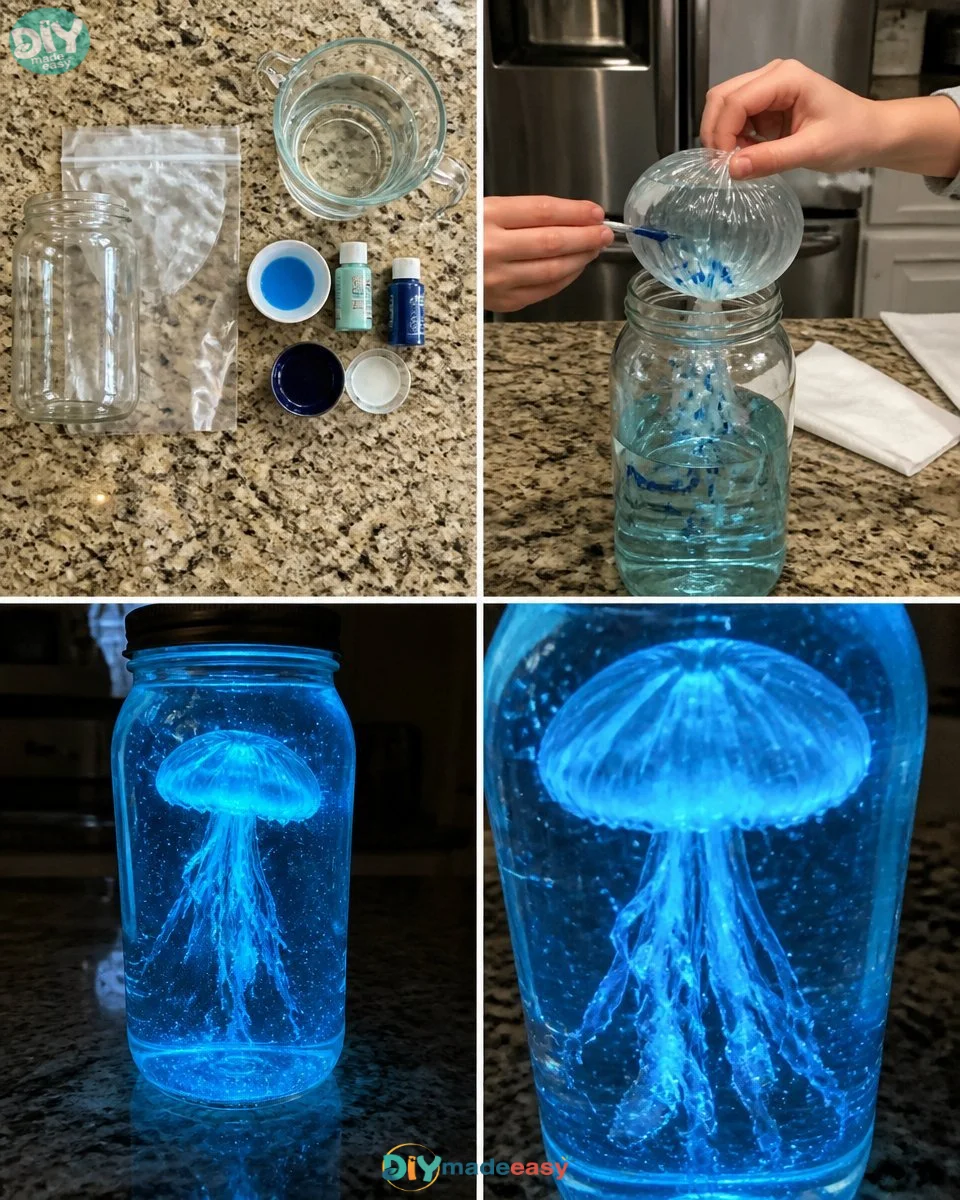
- Start by shaping the plastic bag into a jellyfish, letting the ends create tentacles. This creative phase allows for personal touches! Your kids can decide the number and length of the tentacles.
- Gently coat the outside with glow paint to make it shimmer. Here, you might want to remind the young ones to apply a thin, even layer to avoid any clumps.
- Fill the glass jar with water and carefully place your glowing jellyfish inside. The water should be just enough to hold the jellyfish without spilling.
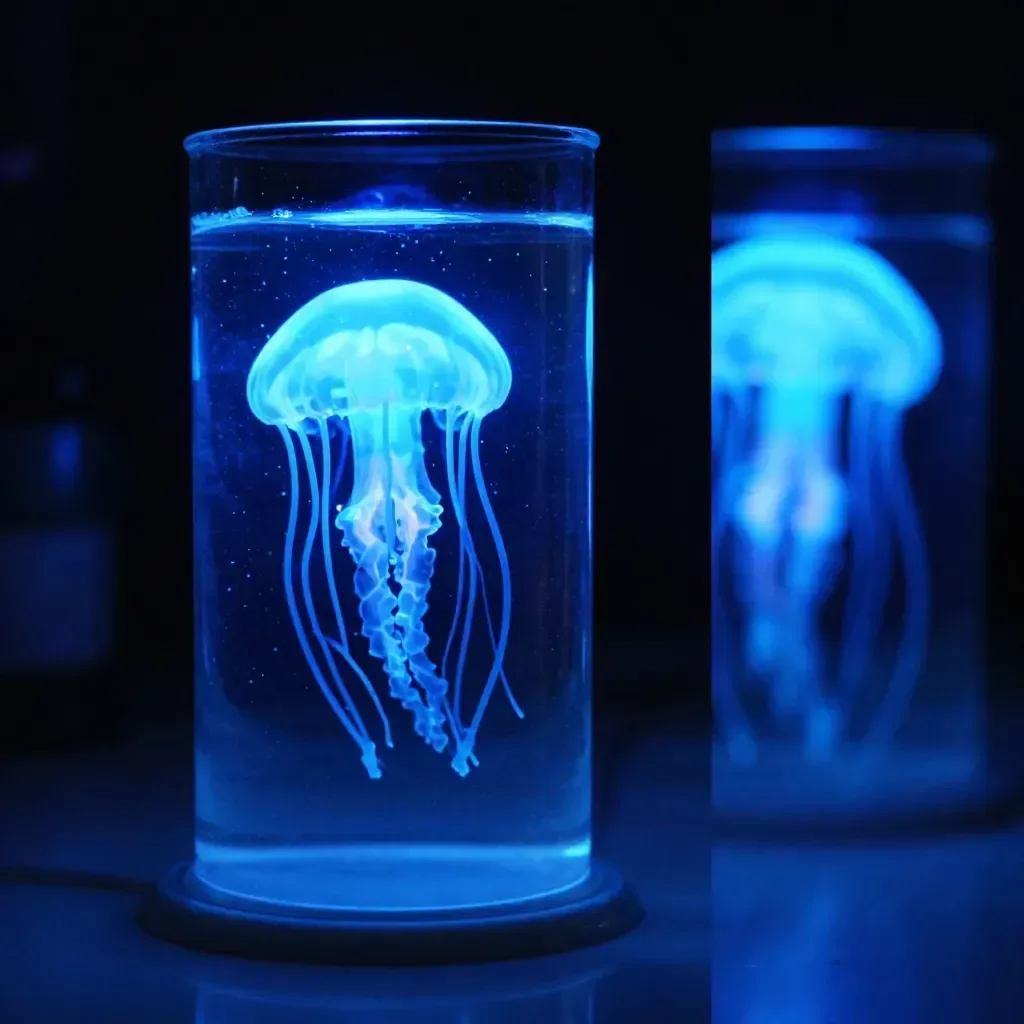
- Finally, set the jar in a sunny spot or under a lamp to charge, then enjoy its soft glow in the dark. Watching it light up after a bit of charging is truly satisfying, especially after all the effort put in.
What Kids Practice While Making This
The Glowing Jellyfish Jar is not just a fun project; it also helps kids practice essential skills. As they shape the jellyfish and apply the glow paint, they enhance their fine motor skills, coordination, and creativity. The cause-and-effect principle is at play as they learn that sunlight or lamp light helps their creation glow. By engaging in such activities, children also develop patience and problem-solving skills as they figure out how to make their jellyfish unique.
Troubleshooting Common Issues
Sometimes the lovely creation doesn’t go as planned. If the glow paint doesn’t seem to work, check the paint’s quality or ensure it was applied correctly. You might also consider charging the jar longer if the glow is faint. If the jellyfish’s tentacles feel too stiff after drying, you can trim them for a more delicate look. Being flexible and creative during the process only adds to the fun.
Easy Variations to Try
If you want to spice up your Glowing Jellyfish Jar, here are some simple variations to consider:
- Use different colors of glow paint to create a multi-colored jellyfish.
- Add glitter to the outer layer of the bag for extra shimmer.
- Instead of a jar, try using a large clear bottle for a different effect.
- Experiment with various shapes and sizes of jellyfish to make an entire underwater display.
Storing or Reusing This Project
After making your Glowing Jellyfish Jar, you might wonder about storage. The good news is that these jars can be reused for various crafting ideas. Empty the jar and clean it up, then store all the materials together for your next crafting adventure. Alternatively, keep your glowing jellyfish jar on display where it can be enjoyed continuously, enhancing your decor and reminding everyone of the fun experience.
FAQs About Glowing Jellyfish Jar
Is it messy to make the Glowing Jellyfish Jar?
While you may experience a bit of glow paint on hands, it’s a manageable mess. Working on a surface that’s easy to clean will help.
What age is appropriate for this activity?
This project is perfect for children aged 4 and up, especially with adult supervision during the paint application.
Can I use different materials if I don’t have glow paint?
Absolutely! Non-toxic highlighters diluted in water can provide a similar glowing effect.
How can I store my jellyfish once it’s made?
You can keep it in the jar for display. If you want to reuse the materials, clean the jar and store everything in one place.
Is it safe for kids?
Yes, as long as you use non-toxic materials, this activity is safe and appropriate for children.
Conclusion
Conclusion
Creating a Glowing Jellyfish Jar is a fun and magical activity that families can enjoy together. Not only does it allow for creativity and learning, but it also brings a sense of wonder as you watch the glowing jellyfish light up your space. If you’re fascinated by the concept of glow in crafts, you might find additional inspiration from the jellyfish jar tile logic discussion. There are also fun themed items out there, such as the SpongeBob Jellyfish Jar Keychain that can bring another layer of enjoyment for fans of the show. Dive into this crafty adventure and enjoy each luminous creation!
PrintGlowing Jellyfish Jar
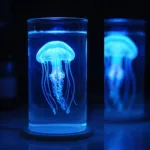
A delightful project for kids to create their own glowing jellyfish using household items, fostering creativity and teamwork.
- Prep Time: 15 minutes
- Cook Time: 30 minutes
- Total Time: 45 minutes
- Yield: 1 jellyfish jar 1x
- Category: Craft
- Method: Crafting
- Cuisine: N/A
- Diet: N/A
Ingredients
- 1 glass jar (any clear container works)
- 1 plastic bag (a sandwich bag is perfect)
- Glow paint (non-toxic options recommended)
- Water (enough to fill the jar)
Instructions
- Start by shaping the plastic bag into a jellyfish, letting the ends create tentacles.
- Gently coat the outside with glow paint.
- Fill the glass jar with water and carefully place your glowing jellyfish inside.
- Finally, set the jar in a sunny spot or under a lamp to charge.
Notes
Encourage creativity with variations like using different colors of glow paint or adding glitter.
Nutrition
- Serving Size: 1 jar
- Calories: N/A
- Sugar: N/A
- Sodium: N/A
- Fat: N/A
- Saturated Fat: N/A
- Unsaturated Fat: N/A
- Trans Fat: N/A
- Carbohydrates: N/A
- Fiber: N/A
- Protein: N/A
- Cholesterol: N/A