

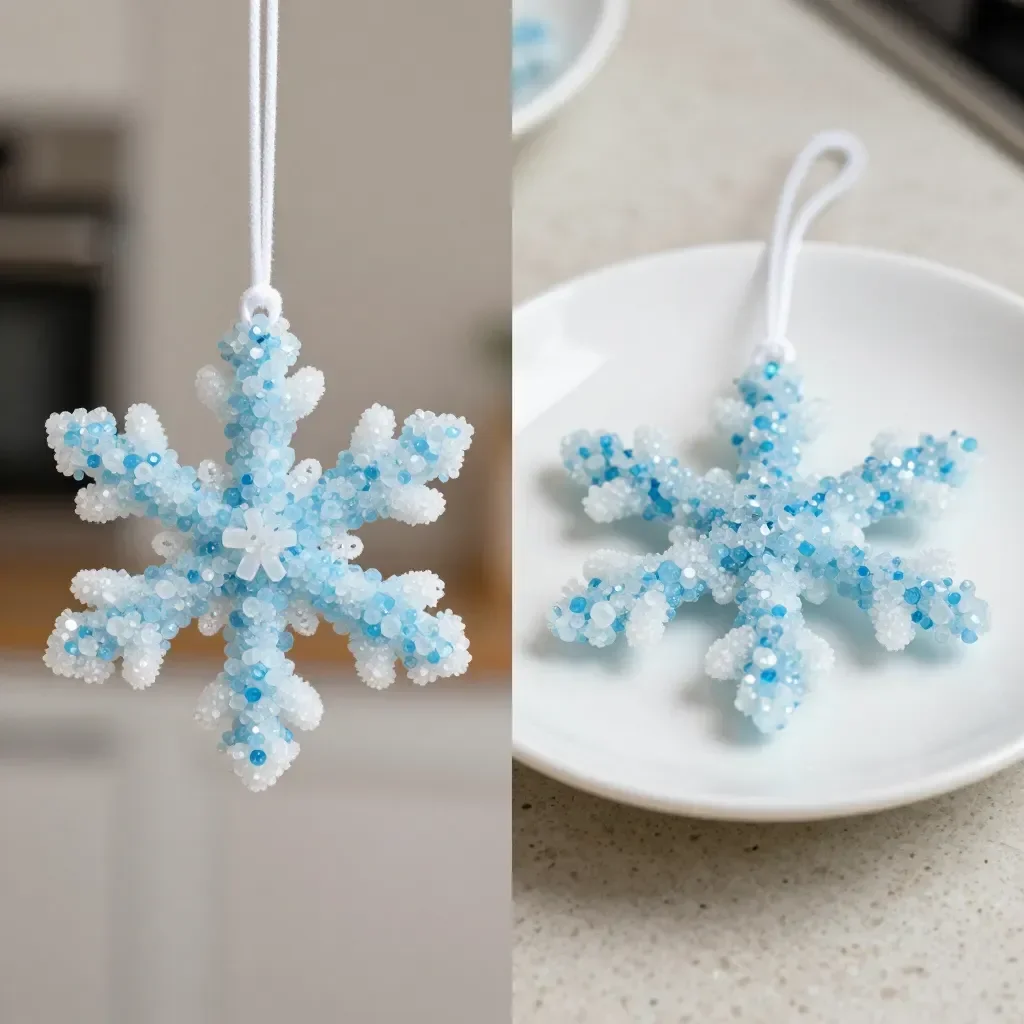
The busy afternoons filled with kids’ creative energy often demand a quick, engaging project. How about diving into the fun world of making a Crystal Snowflake Ornament? This delightful activity not only sparks creativity but also gives you the perfect chance to explore some exciting science along the way. You’ll be amazed at how simple household items can turn into beautiful, sparkling ornaments that capture the magic of winter. You may also find Easy Growing Crystal Ornaments useful.
Why You’ll Love Making Crystal Snowflake Ornament
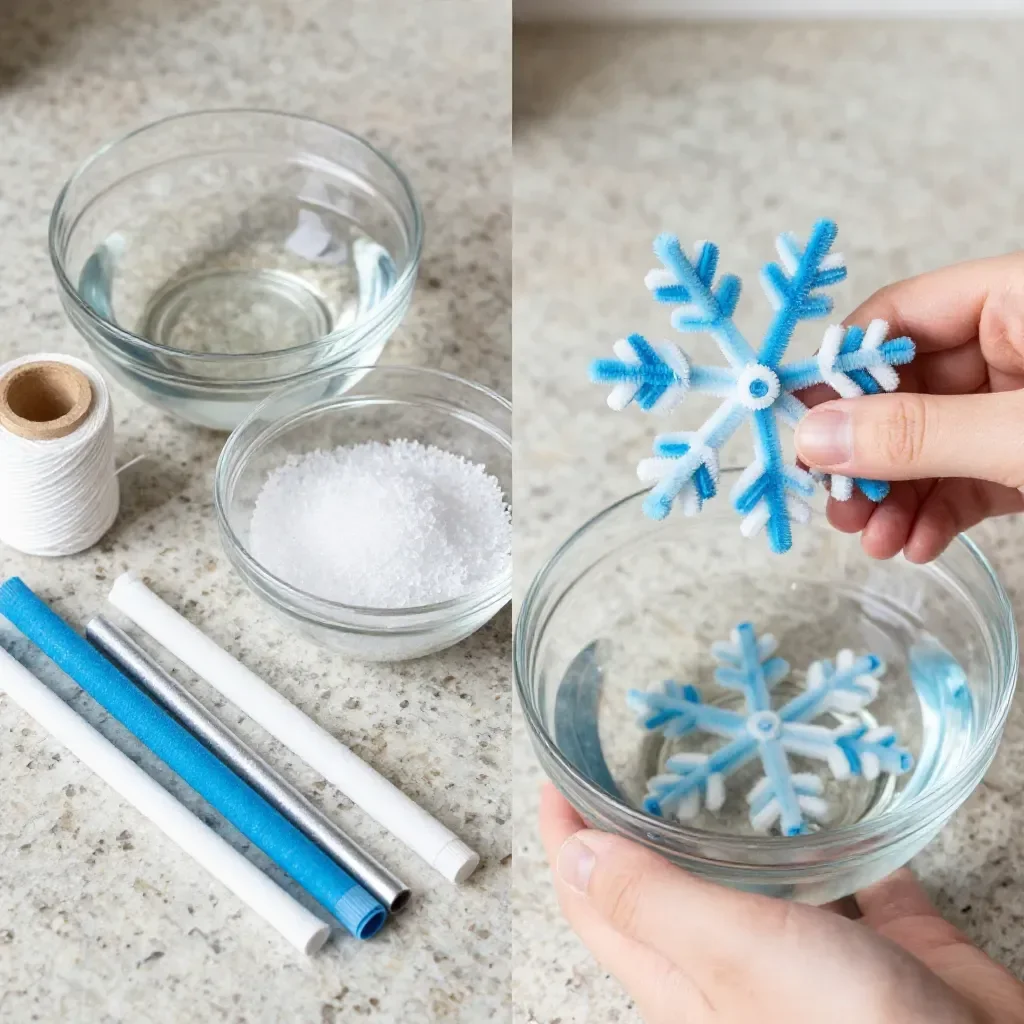
Crafting a Crystal Snowflake Ornament is an ideal choice for any busy parent or caregiver. It requires minimal preparation, making it approachable for kids and adults alike. The materials are common household items, easy to gather and almost always on hand. You won’t find complicated steps or hard-to-reach ingredients here; simply twist pipe cleaners and follow a few easy steps. This project is not only reliable but also engaging, encouraging everyone to express their creativity without the fear of making mistakes. With just a little patience, you can enjoy the satisfying results of your efforts by watching beautiful crystals form overnight. You may also find Easy Pink Crystal Heart Ornaments useful.
A Quick Look Before You Begin
Making a Crystal Snowflake Ornament is a quick and fun activity. Set aside about an hour, with the actual crafting taking only 10 to 15 minutes. The rest is simply waiting for the crystals to grow, which can easily be done overnight. This makes it a perfect fit for busy schedules as it requires little cleanup and supervision. Kids can take the lead, while adults can enjoy sharing in the experience and helping along the way. You will find that the only mess created is when the kids get too excited about their designs, which can be a joy to watch. You may also find Growing Crystal Ornaments Recipe useful.
Materials You’ll Need
To create your stunning Crystal Snowflake Ornament, gather the following materials: You may also find Growing Crystal Ornaments useful.
- Pipe cleaners: A fun and flexible material that forms the base of your ornament.
- Borax: A common household item that facilitates crystal growth.
- Hot water: Needed to dissolve the borax effectively.
- String: Used for hanging your finished ornament.
These materials are not only straightforward to find but also budget-friendly, ensuring you won’t have to make a special trip to the store.
Step-by-Step Directions
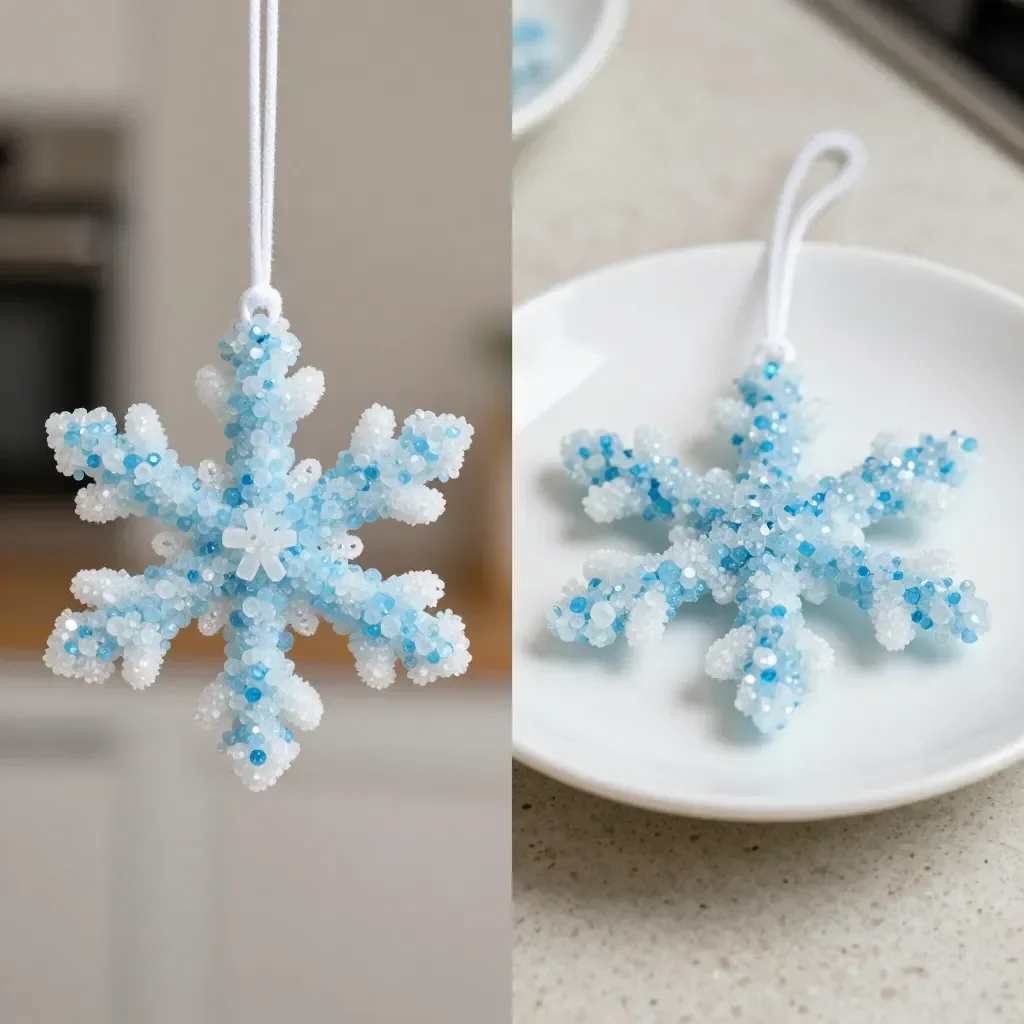
Start by twisting your pipe cleaners into a lovely snowflake shape. Let your imagination guide you; there are no wrong designs! You can create intricate patterns or simple designs, whatever feels right for you.
In a warm bowl, dissolve the borax in hot water. Stir gently until it fully mixes in. This part is quite magical, as the crystals will form overnight. Be sure the water is hot enough for the borax to dissolve completely, creating the right solution for your crystals to grow.
Soak your unique snowflake shape in the borax solution. Allow it to rest overnight in a safe spot where it won’t be disturbed. The longer it sits in the solution, the more pronounced the crystals will be.
In the morning, carefully lift it out, and let it dry completely. You should see lovely crystal formations clinging to your snowflake shape!
Finally, use string to hang it beautifully as a sparkling keepsake. You can showcase your artwork by hanging it in a window or on your holiday tree, spreading joy and sparkle.
The Learning Behind This DIY
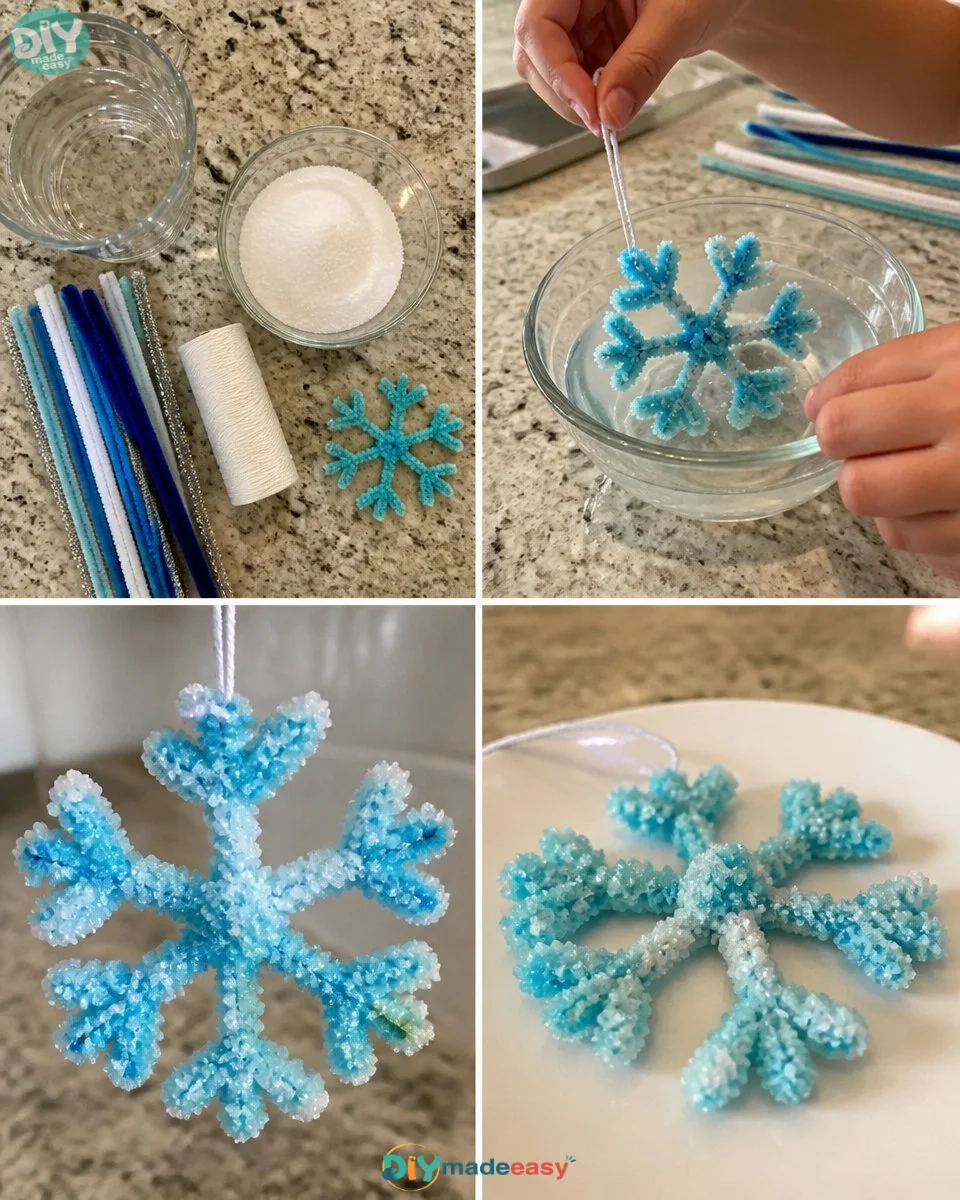
This creative project is not just about making ornaments; it’s a hands-on lesson in science. As children twist the pipe cleaners and mix the borax solution, they practice fine motor skills and hand-eye coordination. Watching the crystals form also teaches about cause and effect, demonstrating how simple ingredients can interact to produce something magical. This project is perfect for kids as it encourages observation and understanding of natural processes, even in a playful setting.
Troubleshooting Common Issues
Sometimes, crafting doesn’t go as planned, and that’s okay! Here are some tips to help you navigate common issues:
- If crystals don’t form: Ensure the borax was fully dissolved before soaking the snowflake. The solution needs to be saturating enough to allow crystals to develop.
- If the snowflake doesn’t hold its shape: Make sure to mold the pipe cleaners well. A thicker base can support the structure better.
- If your snowflake is too clumpy: Use a little less borax next time or stir the solution more vigorously to help break up any chunks.
Easy Variations to Try
You can switch up the activity to keep it fresh. Here are a few variations:
- Add food coloring: Experiment with food coloring in the borax solution to create colorful innovations.
- Try different shapes: Instead of snowflakes, twist pipe cleaners into stars, hearts, or other winter-themed designs.
- Add glitter: To make your snowflakes shimmer even more, dust little glitter on them before hanging.
- Make larger ornaments: Use more pipe cleaners to create larger shapes and see how the crystal growth differs.
Storing or Reusing This Project
After displaying your beautiful Crystal Snowflake Ornaments, think about how to reuse or recycle your materials. Once the holiday season is over, gently clean the ornament if needed and store it away for next year. You can keep the pipe cleaners for future crafts, and any leftover borax can be stored for other DIY projects. By being mindful of your materials, you help reduce waste and promote sustainability.
FAQs About Crystal Snowflake Ornament
Q: How messy is this project?
This activity is relatively mess-free! Just be cautious when pouring the borax solution. It might be a good idea to cover your working surface with newspaper or a tray.
Q: Is borax safe for kids?
While borax is generally considered safe in the context of this project, it’s always good practice to supervise younger children. Make sure they wash their hands after handling the ingredients.
Q: Can we substitute any materials?
Absolutely! If you don’t have borax, you could explore using sugar or salt instead, although they might not yield the same results.
Q: What age group is this suitable for?
This project is perfect for kids aged 6 and up, with adult supervision. Younger children may need more assistance, especially with the borax solution.
Q: How long can we keep the ornaments?
With proper care, your ornaments can last for several seasons. Store them in a safe, dry place away from direct sunlight.
Conclusion
Conclusion
Making a Crystal Snowflake Ornament is a delightful way to explore creativity and science with loved ones. Whether you hang them on the tree or use them in your winter decorations, these ornaments are sure to add a touch of sparkle. If you’re interested in exploring similar crafts, you can find beautiful options like the 2025 Annual Christmas Ornaments Crystal Snowflake Star or check out the Crystal Snowflake Ornaments (Borax Crystal Snowflakes Science) for more engaging activities. Enjoy your crafting!
PrintCrystal Snowflake Ornament
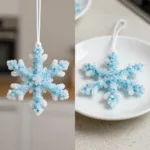
Craft beautiful crystal snowflake ornaments using simple household items while exploring the wonders of science.
- Prep Time: 15 minutes
- Cook Time: 0 minutes
- Total Time: 60 minutes
- Yield: 1 ornament
- Category: Craft
- Method: DIY
- Cuisine: N/A
- Diet: N/A
Ingredients
- Pipe cleaners
- Borax
- Hot water
- String
Instructions
- Twist your pipe cleaners into a lovely snowflake shape.
- Dissolve the borax in hot water.
- Soak your snowflake shape in the borax solution overnight.
- Lift it out in the morning and let it dry completely.
- Use string to hang it beautifully as a sparkling keepsake.
Notes
This project is great for practicing fine motor skills and understanding natural processes in a playful way. Supervision is recommended for younger children.
Nutrition
- Serving Size: 1 ornament
- Calories: 0
- Sugar: 0g
- Sodium: 0mg
- Fat: 0g
- Saturated Fat: 0g
- Unsaturated Fat: 0g
- Trans Fat: 0g
- Carbohydrates: 0g
- Fiber: 0g
- Protein: 0g
- Cholesterol: 0mg