

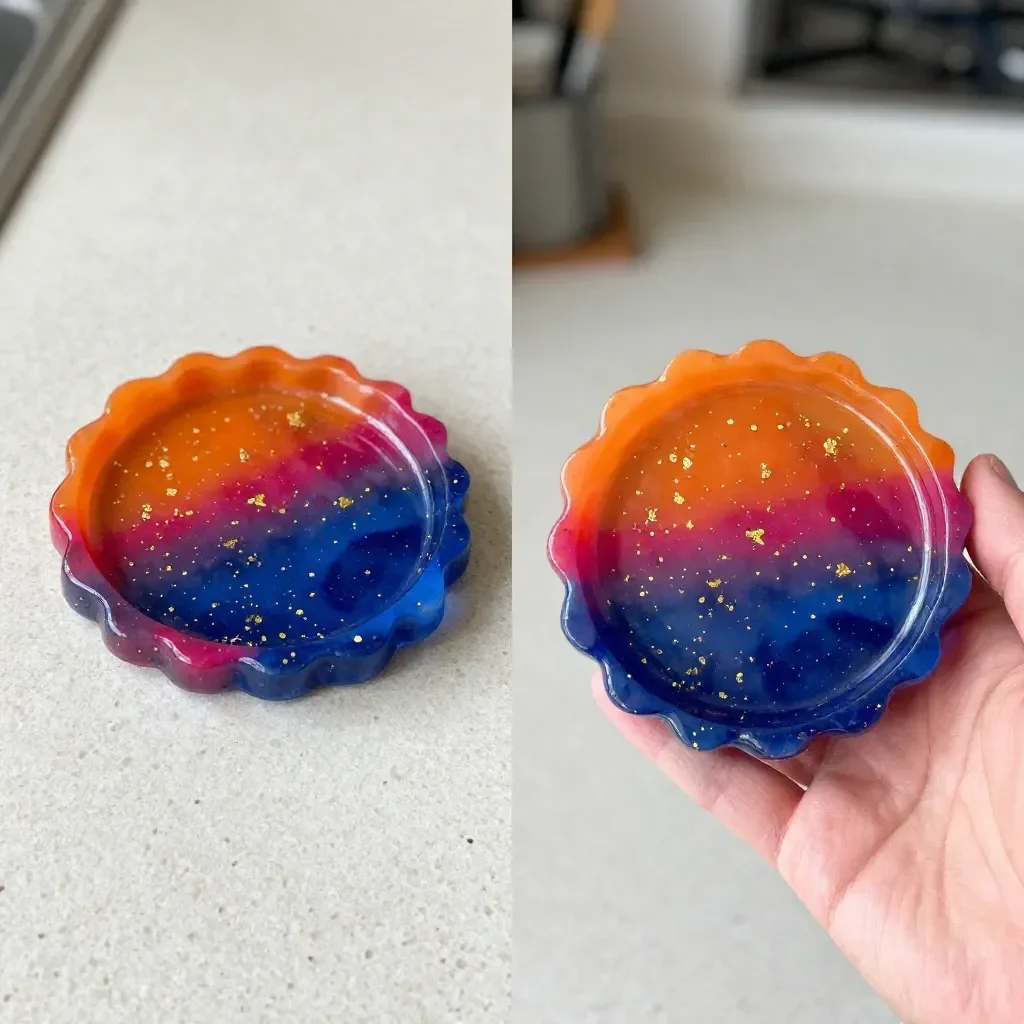
Sometimes, a last-minute creative project is just what you need on a busy afternoon—especially when the kids are eager to make something unique. Creating a Sunset Resin Coaster can be a fantastic way to occupy time while letting everyone’s imagination soar. It combines vibrant colors and a touch of sparkle, making this DIY project a hit for all ages. Imagine gathering around the table, mixing contrasting tints to mimic a beautiful sunset. If you’re looking for an engaging, hands-on activity, this is it. Plus, it’s an excellent opportunity for families to bond and create an artistic masterwork together. You might even find you love the process so much that it leads to other fun crafts, like a Teal Moon Unicorn Resin Suncatcher.
Why This Sunset Resin Coaster Works So Well
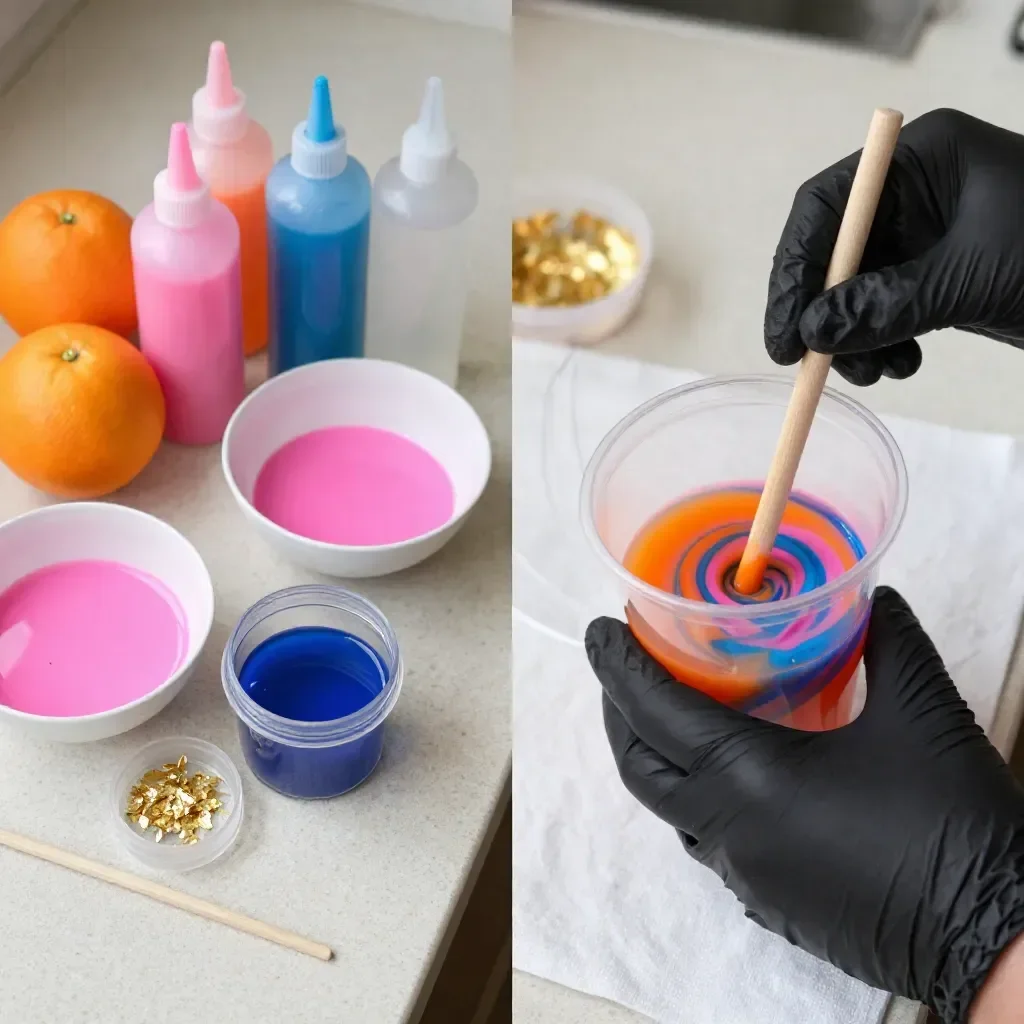
This Sunset Resin Coaster stands out as a perfect choice for DIY enthusiasts for several reasons. Firstly, it requires minimal preparation, allowing families to dive right into the creative fun without lengthy setup times. Secondly, the project is approachable for both experienced crafters and beginners alike. The materials are straightforward, making it easy to gather everything before you get started. Reliability is another key aspect; the steps are clearly laid out, and the results are rewarding, with none of the guesswork that can often accompany craft projects. This design is good for real-life schedules where time might be tight because it can be done in just a couple of hours, but the curing overnight gives you something beautiful to look forward to.
A Quick Look Before You Begin
Before jumping into the crafting process, it’s essential to understand what to expect. You’ll find that working with resin can be a delightful yet straightforward experience. The timeline here is manageable; the pouring and mixing should take about 30 to 45 minutes, while the waiting for hardening can feel like a breeze as you excitedly anticipate the end result.
Regarding mess, it’s relatively low if you prepare your workspace. Lay down some old newspapers or a plastic tablecloth to catch any accidental spills. Adult supervision is recommended, especially during the pouring stages, to ensure everything goes smoothly. This project also provides a lovely moment for connection; use the time to chat and enjoy each other’s company while creating something special.
Materials You’ll Need
- Clear resin
- Orange tint
- Pink tint
- Blue tint
- Silicone mold
- Gold flake
These materials are not just accessible but can typically be found at local craft stores or online. The silicone mold can often be reused for future projects, making it a budget-friendly option. You can explore various tints, giving each project a distinct flair or choosing colors that resonate with the seasons.
Step-by-Step Directions
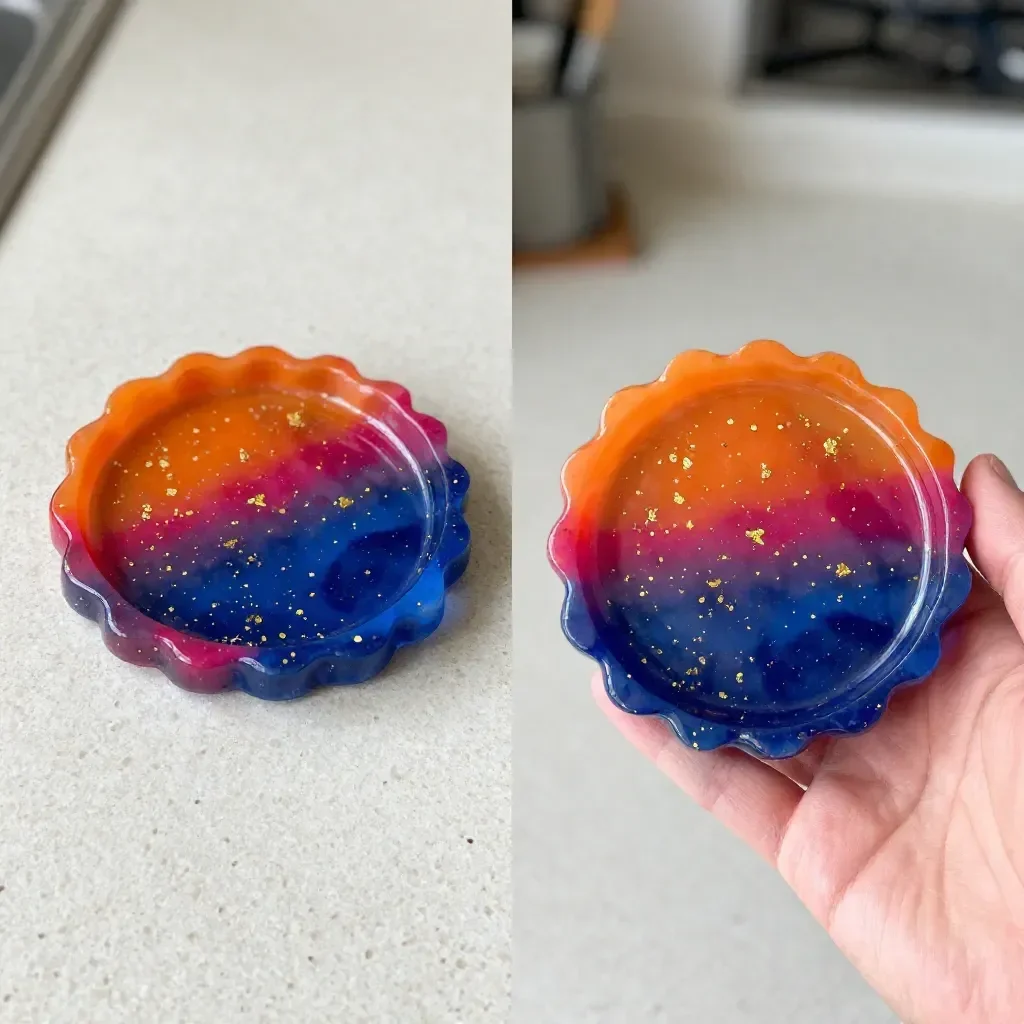
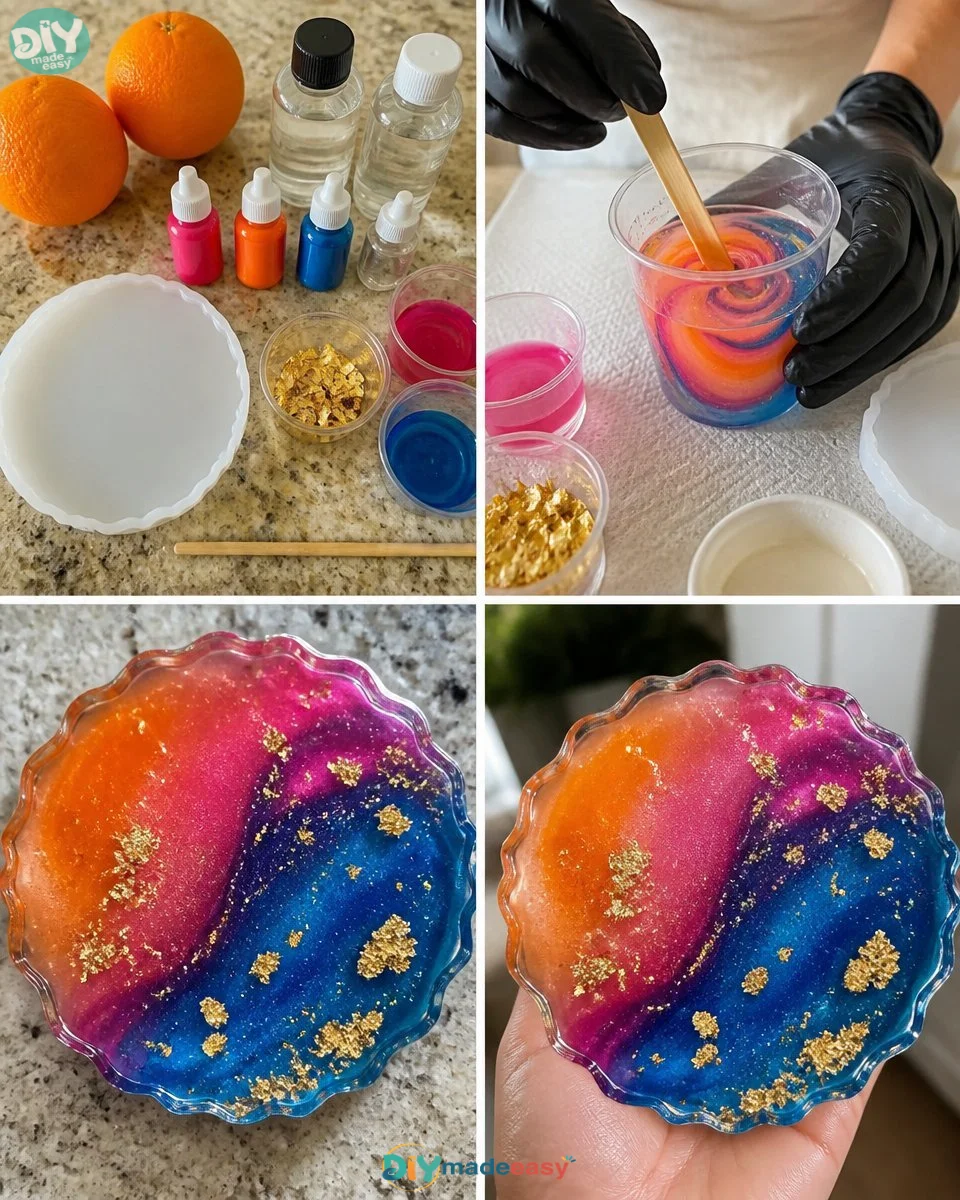
Begin by carefully pouring the clear resin into the silicone mold, filling it to the desired level. It’s essential to take your time and avoid overfilling, which can lead to spills. Pouring slowly helps you control the thickness and creates a nice base for your colors.
Next, gently add the pink, orange, and blue tints in lovely bands, letting them swirl together like a painting in the sky. This is where the fun really comes in! You can use a stick or a small scoop to create your desired pattern.
Sprinkle in the gold flakes for that touch of sparkle and let your imagination shine! The flakes catch the light beautifully, adding an elegant enhancement to the coaster and making it feel truly festive.
Allow the coaster to cure for 24 hours, giving it time to set and become beautifully glossy. Don’t rush this step; the waiting increases anticipation, and you’ll be thrilled when you finally peel it out of the mold.
Once ready, pop it out of the mold and admire your work of art! You’ve just created a stunning centerpiece that’s both functional and a conversation starter.
The Learning Behind This DIY
While this project appears simple, it encompasses several educational elements. Kids will engage in fine motor skills while mixing and pouring the resin. It also introduces basic scientific concepts, such as chemical reactions and the properties of solid versus liquid states. Not to mention, the cause-and-effect relationship in play here helps children grasp how their actions impact the final result. For parents, it’s reassuring to know that crafting offers moments of learning without it feeling like a lesson.
Troubleshooting Common Issues
Common problems might arise, but they’re usually easy to fix, ensuring that frustration doesn’t take over the creative experience. One typical issue is bubbles appearing in the resin. If this happens, gently twisting a toothpick or a small tool around the bubbles can help them pop. Alternatively, pouring at a steady speed and keeping the resin warm might help reduce bubbles from forming in the first place.
Another challenge might be uneven coloring. If some sections of color seem more prominent than others, remember that mixing requires a gentle touch. Swirling the colors too vigorously can lead to muddy results where the distinct colors blur together. Avoid this by gently layering your tints.
Easy Variations to Try
If you’re looking to mix things up, consider these variations. You might try using different color combinations to match your home décor or seasonal themes. Incorporating glitter or small decorative elements like dried flowers or leaves can provide a unique touch to each coaster. For a fun twist, create a series of coasters with each representing a different time of day—think sunrise, midday, sunset, and night variations.
Storing or Reusing This Project
When it comes to cleanup and storage, keep your supplies organized to make future crafting sessions easier. Clean your mixing tools immediately after use to ensure that they last for many projects ahead. The silicone mold can be stored in a cool, dry area, and it lasts quite well if treated gently. Saving leftover resin can also provide materials for another round of crafting down the line, reducing waste and encouraging more creativity.
FAQs About Sunset Resin Coaster
Q: How messy is this project?
A: While it can be a bit sticky, laying down protective covering on your work surface can limit cleanup significantly. With adult supervision, spills can be quickly managed.
Q: Is resin safe for kids?
A: It’s best for older kids (ages 8 and up) with adult assistance, as resin does have elements that require safe handling. Always work in a well-ventilated area.
Q: Can you substitute materials if I don’t have specific colors?
A: Yes, you can mix your own colors using acrylic or food coloring to create beautiful tints if you don’t have the exact ones on hand.
Q: What should I do if my coasters do not cure properly?
A: If the resin feels tacky after the setting period, it may need more time to cure. Ensure that your workspace isn’t too humid, which can interfere with the hardening process.
Q: How should I store or display my finished coasters?
A: You can use them directly as coasters or even frame them in a decorative way. Storing them in a cool, dry place prevents warping.
Conclusion
Creating a Sunset Resin Coaster not only beautifies your space but also helps in fostering creativity and collaboration with your loved ones. If you’re eager to keep the DIY momentum going, consider exploring more crafting options like these Resin Sunset Coasters or the elegant Ocean Wave 4-Piece Custom Resin Coaster Set. Embrace the joy of creating and remember that each project is a step toward honing your skills and sparking even more inspiration for future crafts.
PrintSunset Resin Coaster
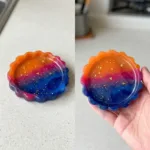
Create a stunning Sunset Resin Coaster that captures the beauty of a vibrant sunset while bonding with family and sparking creativity.
- Prep Time: 15 minutes
- Cook Time: 30 minutes
- Total Time: 1440 minutes
- Yield: 1 coaster
- Category: Craft
- Method: DIY Crafting
- Diet: N/A
Ingredients
- Clear resin
- Orange tint
- Pink tint
- Blue tint
- Silicone mold
- Gold flake
Instructions
- Begin by carefully pouring the clear resin into the silicone mold, filling it to the desired level.
- Next, gently add the pink, orange, and blue tints in lovely bands.
- Sprinkle in the gold flakes for that touch of sparkle.
- Allow the coaster to cure for 24 hours.
- Once ready, pop it out of the mold and admire your work of art!
Notes
For best results, ensure a well-prepared workspace and supervise children during the pouring stages.
Nutrition
- Serving Size: 1 coaster
- Calories: 0
- Sugar: 0g
- Sodium: 0mg
- Fat: 0g
- Saturated Fat: 0g
- Unsaturated Fat: 0g
- Trans Fat: 0g
- Carbohydrates: 0g
- Fiber: 0g
- Protein: 0g
- Cholesterol: 0mg