

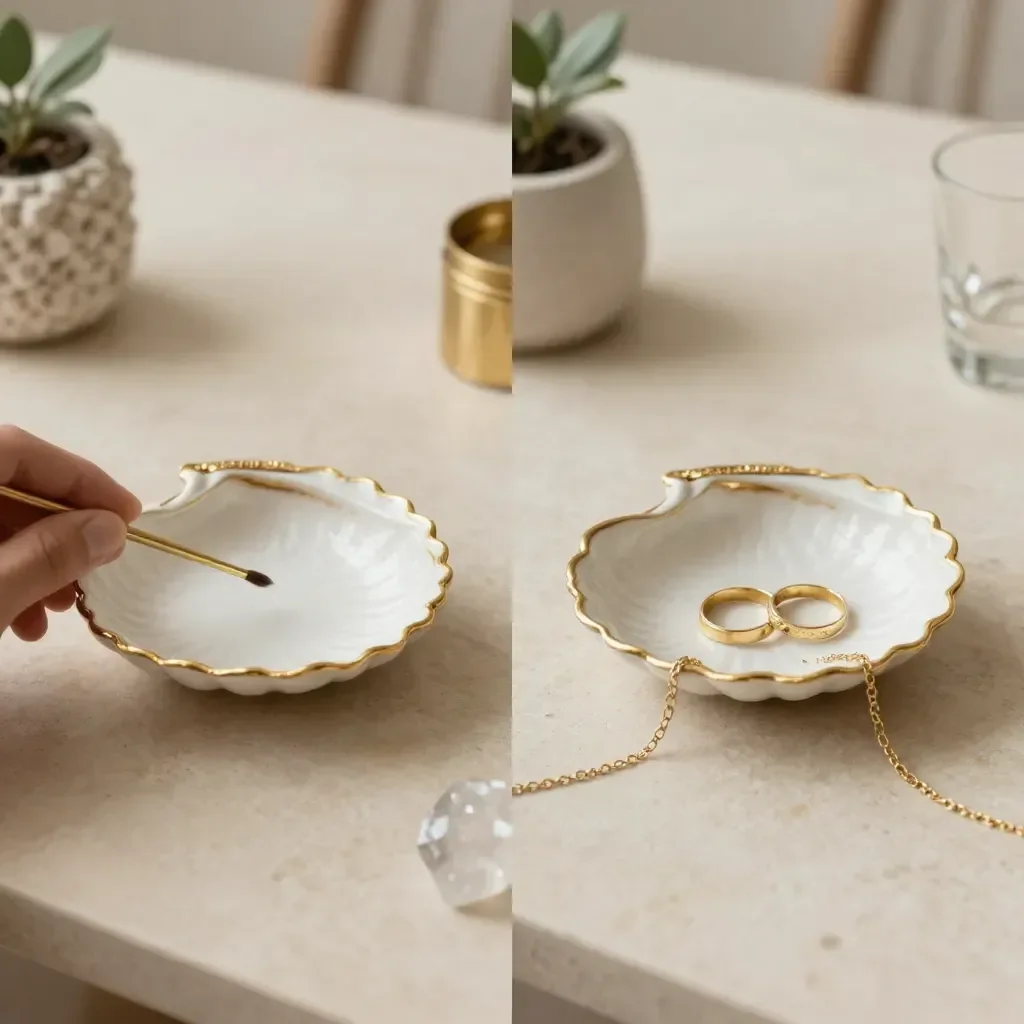
Creating a cozy space where family members can gather and craft something beautiful can be a delightful way to spend an afternoon. When you have kids eager to make something, a quick and accessible project like a Crystal Ring Dish offers the perfect solution. This charming dish not only serves as a lovely home for your jewelry, but it is also a straightforward introduction to crafting with air-dry clay. With minimal materials and a relaxed approach, making a Crystal Ring Dish can easily fit into your busy schedule, even on a last-minute whim. You may also find Amber Flame Crystals useful.
Why You’ll Love Making Crystal Ring Dish
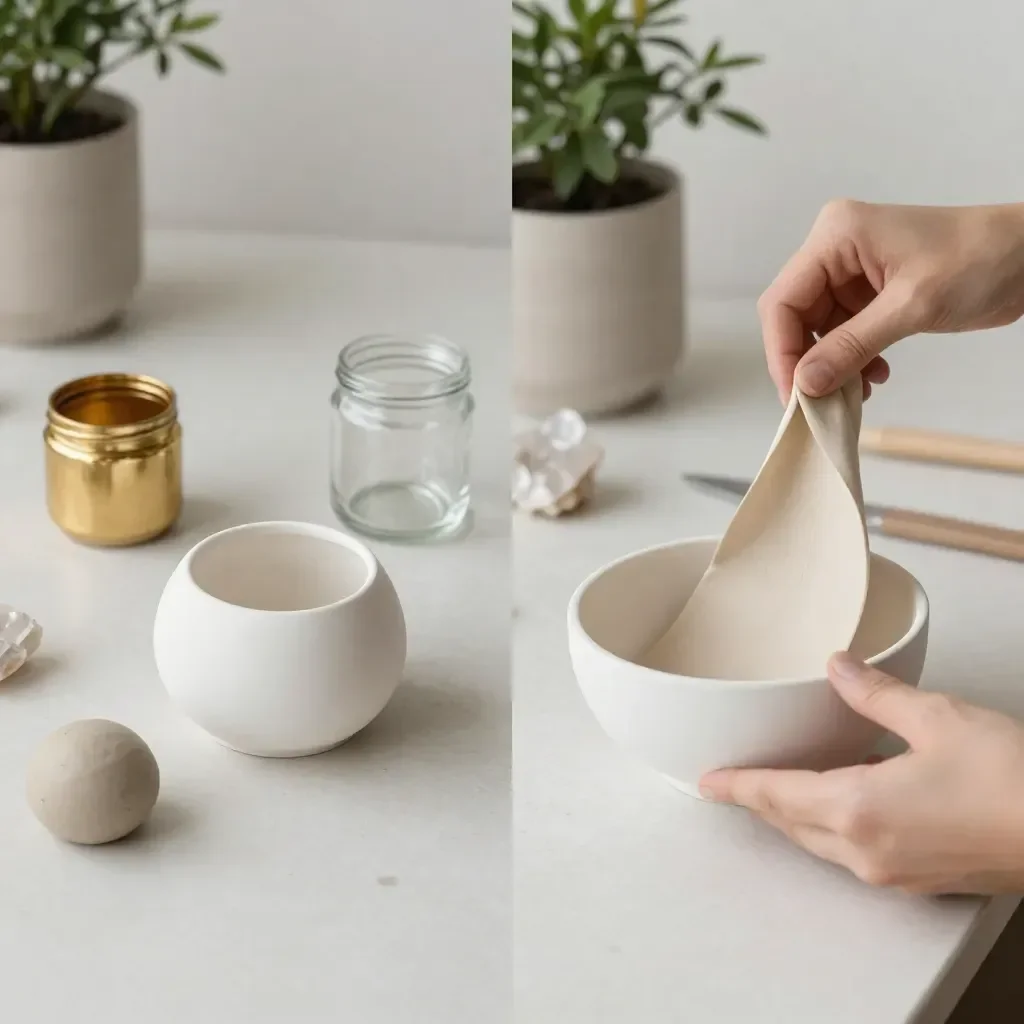
The Crystal Ring Dish project works so well because it utilizes simple, low-prep materials, making it approachable for everyone from kids to adults. The process of shaping air-dry clay is incredibly satisfying and encourages creativity. Plus, while waiting for the clay to dry, it gives you a moment to pause and enjoy a cup of tea or to engage in other fun activities. This project is reliable too; with just a few steps, you can expect consistent results and a beautiful end product. You may also find Baking Soda Rainbow Crystal Forest useful.
A Quick Look Before You Begin
Creating your Crystal Ring Dish can be overwhelming if you think about it too much. Instead, take a deep breath and know that this DIY can be managed in under two hours, including drying time. The setup is straightforward; you’ll need just one table or a clean countertop to work on. Expect a little bit of mess, as clay can sometimes leave bits behind, but it’s nothing a quick cleanup can’t handle. Younger kids may need adult assistance, especially when it comes to draping the clay over the bowl mold and painting. You may also find Bright Green Crystal Seashell Experiment 2 useful.
Materials You’ll Need
To make your Crystal Ring Dish, gather the following materials: You may also find Bright Green Crystal Seashell Experiment useful.
- Air-dry clay: A common household item that dries naturally without needing an oven.
- Gold paint: An optional touch that adds elegance and style.
- Clear gloss: This will seal your dish, giving it a polished finish.
- Bowl mold: You can use small bowls or containers to shape your dish.
Keep these items handy, and you’ll be well-prepared to start your project!
Step-by-Step Directions
Flatten the Clay: Begin with a generous piece of air-dry clay and flatten it into a circle. You can use a rolling pin or just your hands to shape it. Aim for the thickness of a cookie. This step is tactile and fun; the feeling of the clay can be very calming.
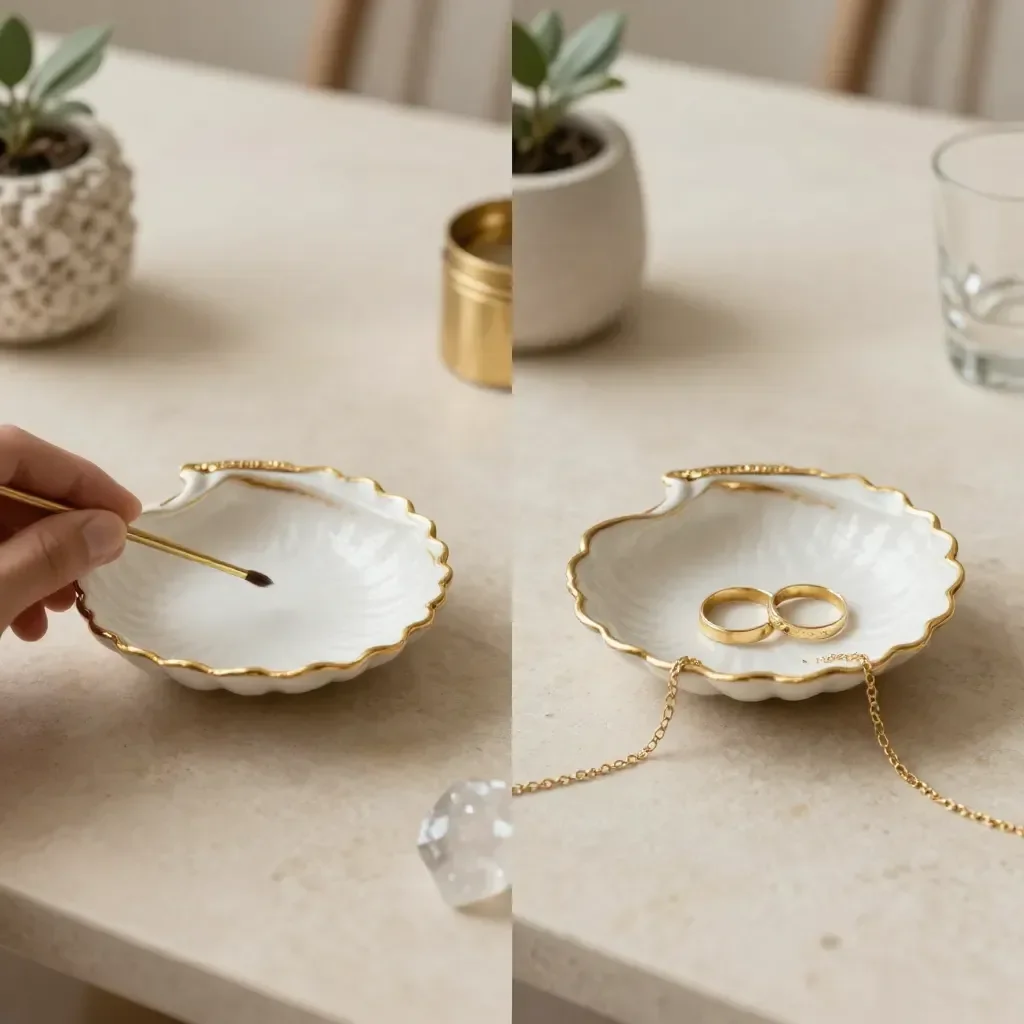
Shape the Dish: Gently drape the circle over a small bowl to create the dish shape. This should be done delicately so that the clay maintains its form. Let it sit and dry until it hardens, which may take a few hours or overnight. Patience is key here!
Add Finishing Touches: Once dry, lightly paint the rim with gold paint for an elegant touch. For added beauty and durability, after it dries, seal the surface with clear gloss. Now it’s ready for your favorite rings or little treasures!
What Kids Practice While Making This
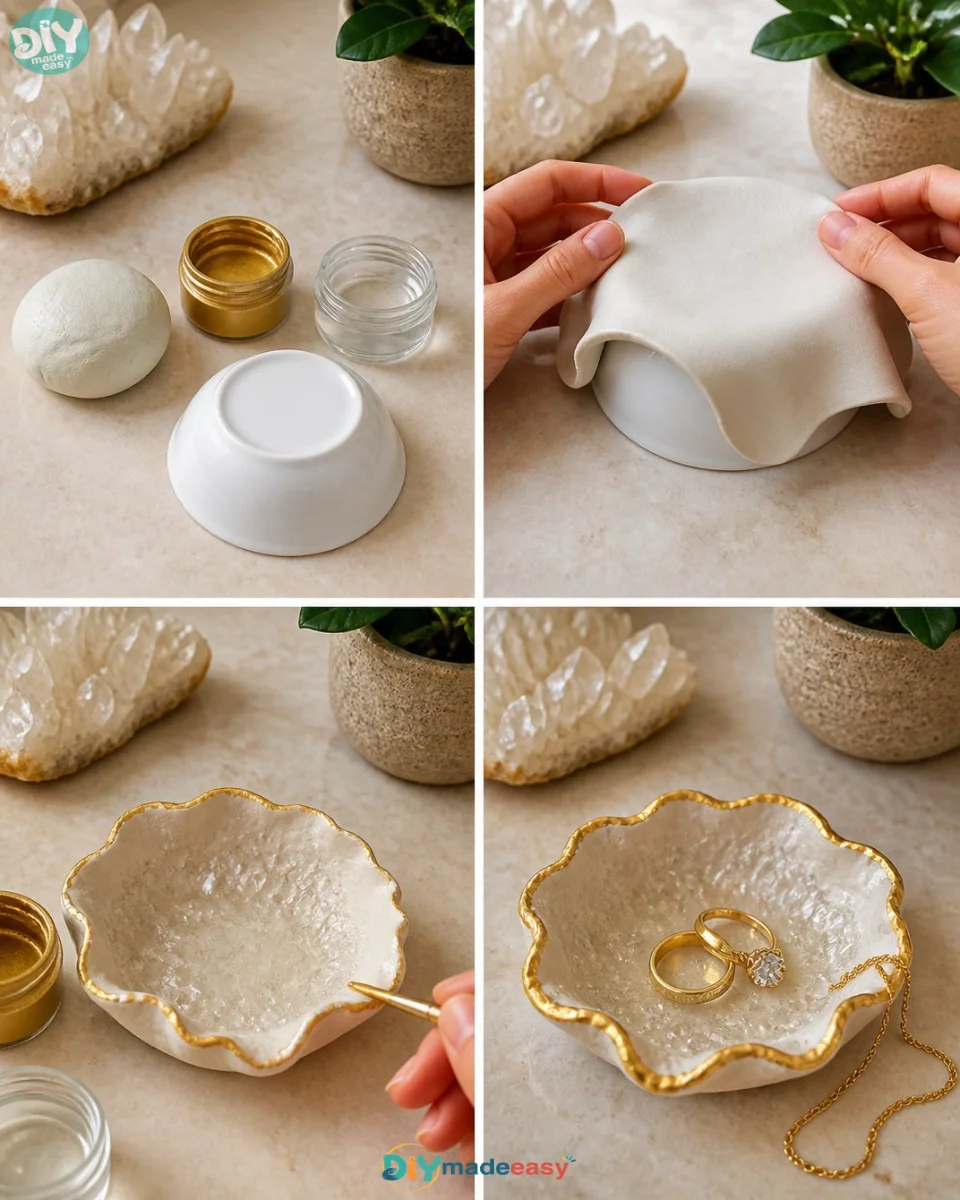
Making a Crystal Ring Dish is not just about creating a functional item; it’s also an opportunity for kids to develop various skills. Through this activity, children practice their fine motor skills by manipulating clay and painting precisely. They learn about patience as they wait for the clay to dry, understanding cause and effect as they see the transformation from soft clay to a hard dish. Additionally, this activity can serve as a perfect introduction to basic crafting techniques.
Troubleshooting Common Issues
Sometimes, projects don’t go as planned, and that’s okay! If the dish starts to crack while drying, it may be a sign that the clay was too thin in certain areas. To fix this, you can smooth those areas with a bit of extra clay or even seal them with additional gloss after painting. If the paint comes out uneven, consider giving it another light coat once the first layer dries. Remember, crafting is a learning experience—each attempt improves your skills!
Easy Variations to Try
Get creative with your Crystal Ring Dish! Here are a few variations you might enjoy:
- Colorful Clay: Try mixing in some colored clay for a more vibrant dish.
- Textured Patterns: Use stamps or textured items to create unique designs on the clay before it dries.
- Different Shapes: Move beyond a circular dish by using different bowl molds; heart-shaped molds can be particularly charming.
These are just a few ideas to spark your creativity as you make your dish come alive.
Storing or Reusing This Project
When you’re done crafting the dish, it’s essential to think about storage and cleanup. You can keep the dish in a dry, safe place where it won’t be knocked over. This way, it serves its purpose without any worries about damage. If the dish collects dust, a simple wipe with a damp cloth will suffice. Should you wish to recreate this project, simply dust off the old supplies and get ready to make a brand new masterpiece!
FAQs About Crystal Ring Dish
Can we make this project messy?
It’s normal for some mess to occur while working with clay. A simple table covering can help; just prepare with some newspaper or old cloth.
What age is this project suitable for?
This activity is great for kids aged 5 and up. Younger ones may need adult supervision, especially during the shaping and painting phases.
What if I don’t have clay?
You can substitute air-dry clay with play dough, although it won’t harden the same way. If you want something more permanent, consider polymer clay.
Can we keep the dish outdoors?
While the dish looks beautiful, keeping it indoors is best for longevity. Remember that moisture can cause clay to degrade over time.
How should I clean the dish?
For day-to-day cleanup, a damp cloth is all you need. Avoid washing it under running water, as that could damage the surface finish.
Conclusion
Creating a Crystal Ring Dish is a manageable and enjoyable DIY project that can bring joy and organization to your jewelry collection. By using materials like air-dry clay and gold paint, you can craft something beautiful with your family. For those interested in unique crystal holders, consider exploring options such as a Crystal Ring Holder – H&D Hyaline & Dora on Amazon or check out exquisite designs available at Waterford for crystal ring holders. Happy crafting!
PrintCrystal Ring Dish
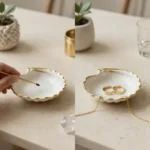
Create a beautiful Crystal Ring Dish using simple materials like air-dry clay and gold paint. This enjoyable DIY project is perfect for families.
- Prep Time: 15 minutes
- Cook Time: 120 minutes
- Total Time: 135 minutes
- Yield: 1 dish
- Category: Craft
- Method: DIY
- Cuisine: N/A
- Diet: N/A
Ingredients
- Air-dry clay
- Gold paint (optional)
- Clear gloss
- Bowl mold
Instructions
- Flatten the clay into a circle using a rolling pin or your hands.
- Shape the dish by draping the circle over a small bowl.
- Add finishing touches with gold paint and seal with clear gloss after drying.
Notes
Perfect for kids aged 5 and up; adult supervision may be needed.
Nutrition
- Serving Size: 1 dish
- Calories: 50
- Sugar: 0g
- Sodium: 0mg
- Fat: 0g
- Saturated Fat: 0g
- Unsaturated Fat: 0g
- Trans Fat: 0g
- Carbohydrates: 12g
- Fiber: 0g
- Protein: 1g
- Cholesterol: 0mg