

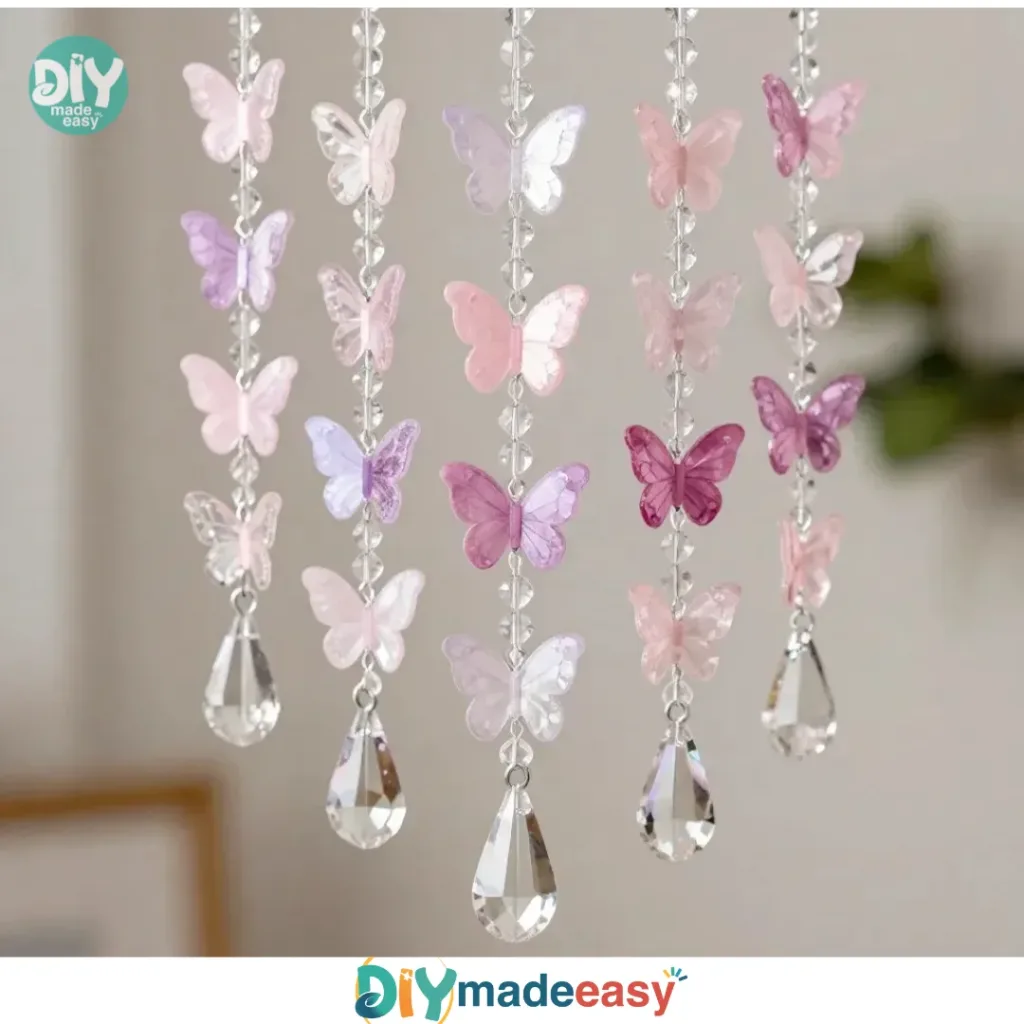
Creating a DIY Floral Crystal Wind Chime can be a wonderful way to engage with your family while enjoying a creative afternoon. Imagine your kids eagerly asking for a new activity during a lazy weekend. Instead of scrambling for ideas, you can introduce them to the joys of crafting by making beautiful wind chimes that catch the sunlight and bring color to your surroundings. This project is not only fun; it’s also a fantastic opportunity to utilize simple materials you likely already have at home. If you’re looking for a straightforward yet delightful way to spend time with your children, making a DIY Floral Crystal Wind Chime is a perfect choice. You may also find Diy Cornstarch Glass Floral Hearts Flowers useful.
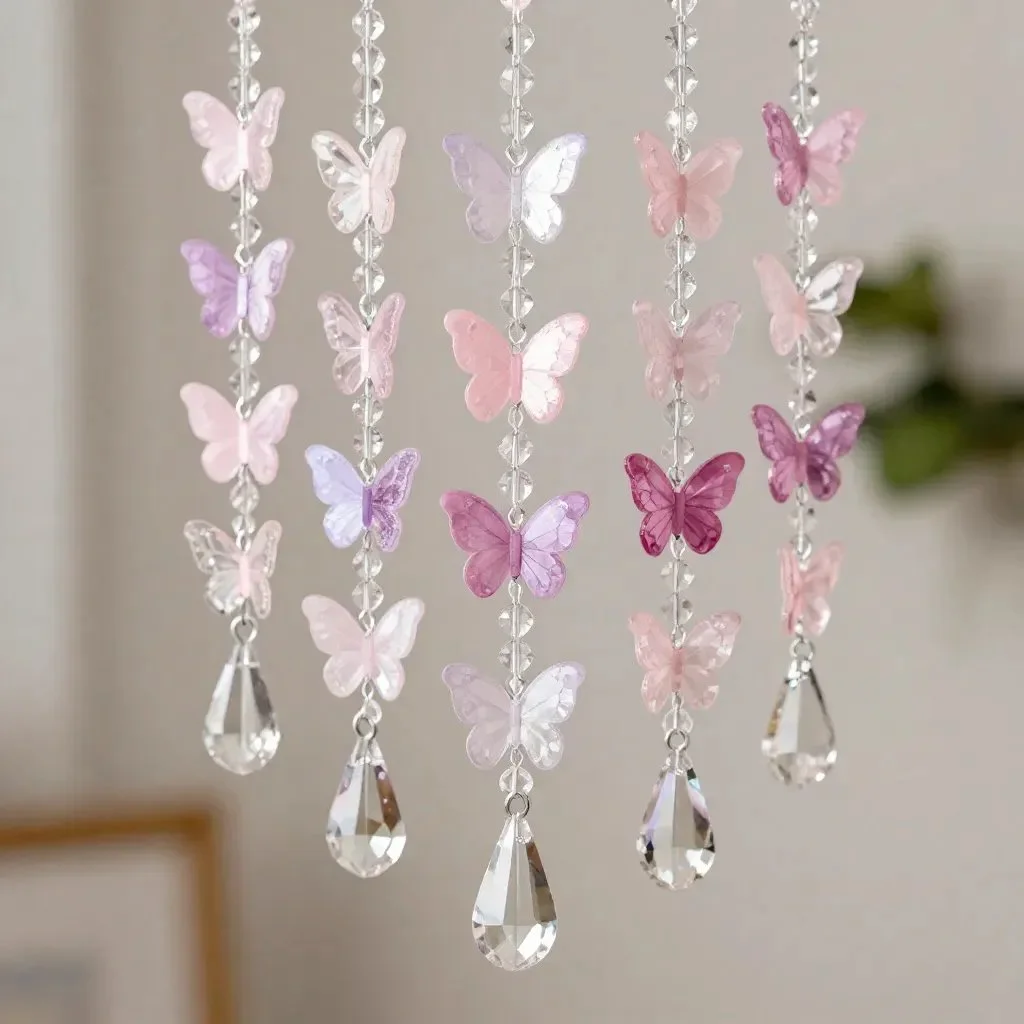
Why You’ll Love Making DIY Floral Crystal Wind Chime
You may also find Diy Crystal Garden Watch Science Bloom useful.
This DIY Floral Crystal Wind Chime project stands out for its low-prep requirements and approachable steps. With just a handful of materials and a little creativity, anyone can craft a beautiful wind chime that can be hung in your home or garden. Imagine the satisfaction of getting real results without needing advanced crafting skills. It’s a project that fits seamlessly into busy schedules, allowing for enjoyable moments without requiring extensive setup or cleanup. In just a short amount of time, you can create something stunning that adds artistic flair to your space. You may also find Diy Crystal Growing Star useful.
A Quick Look Before You Begin
Before diving into the specifics, here’s what you can expect from this project. The total time for making your DIY Floral Crystal Wind Chime is around 1 to 2 hours, depending on how many strands of crystals you wish to make. Gather your materials in one place to minimize the mess and confusion. While the kids can help with most steps, an adult may need to assist with cutting the twine or fishing line to ensure safety. Rest assured, this activity is quite manageable and can lead to some lovely family bonding time. You may also find Diy Crystal Seashells Recipe useful.
Materials You’ll Need
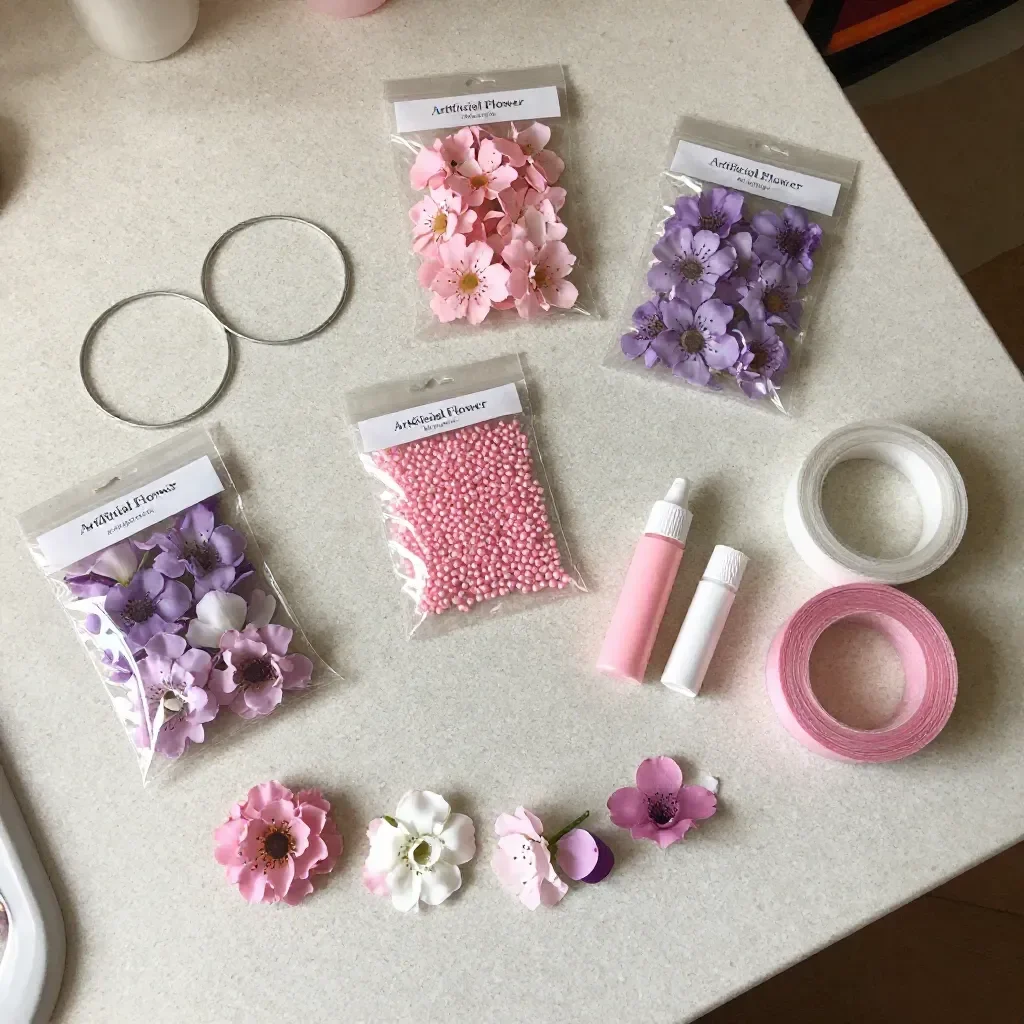
- Crystal beads (various shapes and sizes)
- Floral elements (dried flowers or floral foam)
- Twine or fishing line
- A hoop or frame (wooden or metal)
- Scissors
- Optional: A small weight (e.g., a washer) for balance
Most of these materials are common household items, and using dried flowers adds a personal touch to the project. Don’t hesitate to substitute with what you have on hand—creativity is the name of the game here.
Step-by-Step Directions
Cut the twine or fishing line into lengths of about 12-18 inches, preparing several pieces for stringing your crystals. This will give you enough length to work with and create varied designs.
Thread a crystal bead through the middle of one length of twine and tie a secure knot just above it to hold it in place. This knot will act as an anchor for your bead.
Add a variety of beads to the string, mixing shapes and colors, and leave about 2-3 inches of space at the bottom for balance and movement. Feel free to experiment with different combinations.
Tie a final knot once you reach the desired length. This helps secure the beads in place and ensures everything stays intact.
Repeat this to create multiple strands of varying lengths. The variety will add visual interest to your wind chime.
Attach each strand to the hoop or frame, spacing them evenly for a balanced look. This is where your artistic flair can really shine!
Wire dried flowers to the hoop or tuck them between strands. Using wires can give a stronger hold, while simply tucking them can create a more relaxed style.
Create a loop at the top for hanging, ensuring it can catch the breeze. This is the final touch that transforms your work into a beautiful wind chime.
Now that you’ve crafted your wind chime, take a moment to admire your handiwork. Seeing the sun catch the crystals and hearing them gently chime in the wind brings a sense of joy and accomplishment.
The Learning Behind This DIY
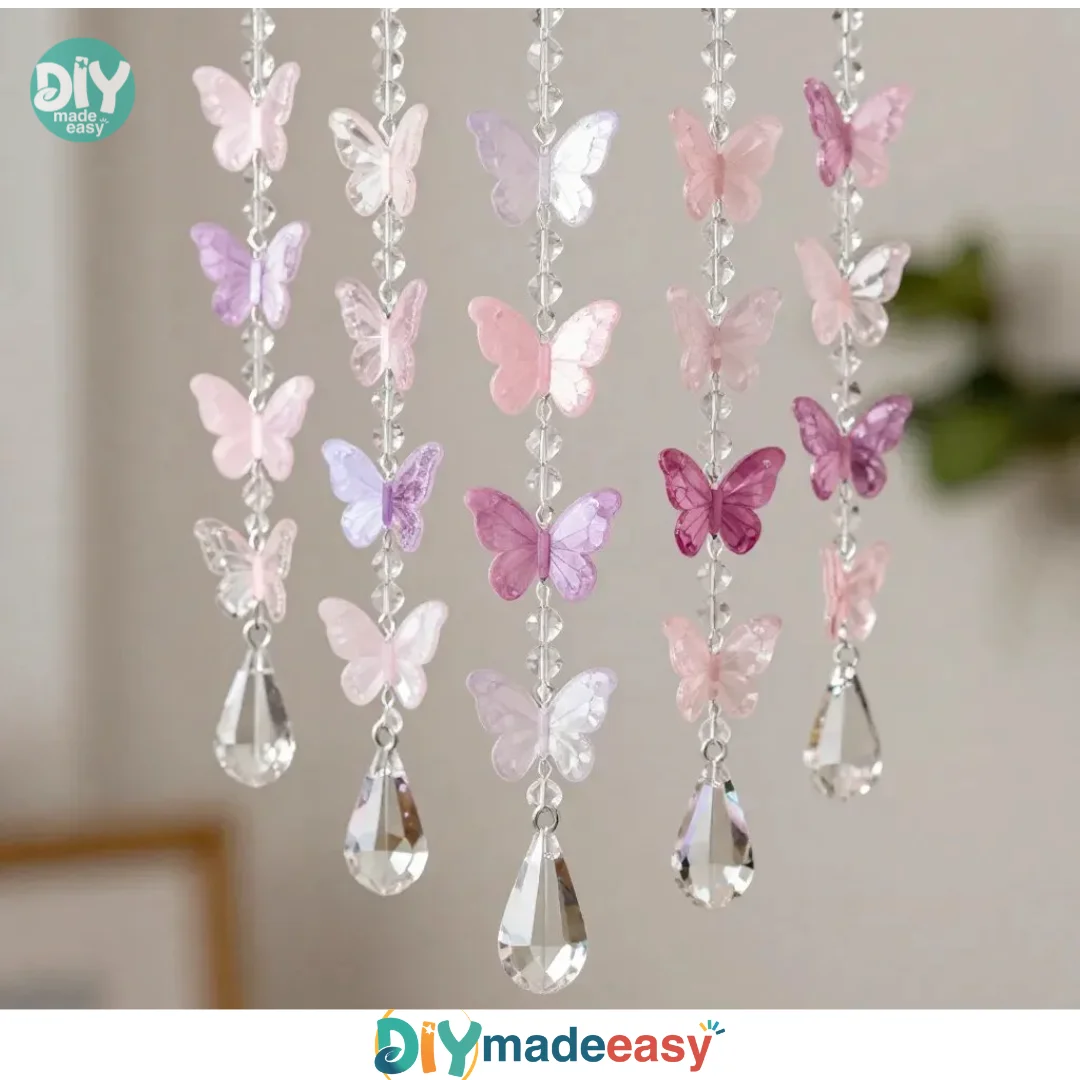
Making DIY Floral Crystal Wind Chimes offers not only a fun craft but also a chance to explore various skills. As children string beads, they practice fine motor skills, hand-eye coordination, and design principles. The project can also introduce them to fundamental science concepts like movement and sound, as they observe how the wind moves the chimes and how different materials create various sounds. Engaging in these creative activities helps children develop patience and problem-solving skills, making it a rewarding experience beyond just crafting.
Troubleshooting Common Issues
If something doesn’t go as planned, fear not! It’s common to encounter a few hiccups along the way. If your knots come undone, consider using a bit of clear tape to hold the beads temporarily while you work, or use a drop of glue for added security. Should your wind chime feel unbalanced, play with the lengths of your strands until you find a configuration that feels right. Remember, adjusting to get it just right is part of the creative process.
Easy Variations to Try
Looking to make this project even more exciting? Here are a few twists you can try:
- Seasonal Themes: Use colors and flowers that match the seasons, such as autumn leaves or spring blossoms.
- Personal Touches: Incorporate personal items like charms or mementos into your wind chime.
- Glow-in-the-Dark Elements: Add glow-in-the-dark paint to some beads to create a unique nighttime effect.
- Experiment with Different Shapes: Use other shapes for the hoop, like a heart or star, to change up the design.
Storing or Reusing This Project
After creating your DIY Floral Crystal Wind Chime, you may want to consider how to store it or even reuse its materials in the future. To keep it safe, hang it in a place where it won’t get knocked over. If you decide to change up your design later, components like beads can be easily repurposed for other crafts. This not only reduces waste but also provides an opportunity to continuously express your creativity.
FAQs About DIY Floral Crystal Wind Chime
What if my kids are too young to handle the scissors?
It’s always a great idea to have adult assistance when using scissors, especially for younger children. You can cut the twine or fishing line in advance while they work on threading beads.
Will this activity make a lot of mess?
Every DIY project comes with some mess, but this one is relatively contained. Use a table or craft mat to help catch any beads that fall, making cleanup a breeze.
How do I know if the materials are safe for kids?
All the materials listed are generally safe, but always check labels for any choking hazards, especially with younger children around.
Can I substitute materials if I don’t have everything?
Absolutely! Feel free to get creative with what you have. Many items can be easily replaced with something similar.
Is this craft suitable for all ages?
This craft can be adjusted to fit various age groups. Older children can handle more challenging tasks, while younger ones can focus on simple bead threading.
Conclusion
Conclusion
The DIY Floral Crystal Wind Chime project is an excellent way for you and your family to spend meaningful time together while exploring your creativity. Not only will you create a stunning piece of art, but you’ll also have fun in the process. For additional crafting inspiration, check out some unique wind chime ideas on this Amazon listing. You can also explore a variety of DIY wind chime projects through this resourceful guide at Color Me Thrifty. Enjoy your crafting adventure!
PrintDIY Floral Crystal Wind Chime
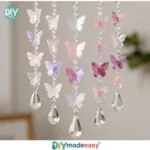
A fun and creative project for families to make beautiful wind chimes using simple materials.
- Prep Time: 15 minutes
- Cook Time: 60 minutes
- Total Time: 75 minutes
- Yield: 1 wind chime
- Category: Craft
- Method: Crafting
- Cuisine: N/A
- Diet: N/A
Ingredients
- Crystal beads (various shapes and sizes)
- Floral elements (dried flowers or floral foam)
- Twine or fishing line
- A hoop or frame (wooden or metal)
- Scissors
- Optional: A small weight (e.g. a washer) for balance
Instructions
- Cut the twine or fishing line into lengths of about 12-18 inches.
- Thread a crystal bead through the middle of one length of twine and tie a secure knot just above it.
- Add a variety of beads to the string, leaving about 2-3 inches of space at the bottom.
- Tie a final knot once you reach the desired length.
- Repeat this to create multiple strands of varying lengths.
- Attach each strand to the hoop or frame, spacing them evenly.
- Wire dried flowers to the hoop or tuck them between strands.
- Create a loop at the top for hanging.
Notes
This project can lead to some lovely family bonding time, and feel free to substitute materials as needed.
Nutrition
- Serving Size: 1 wind chime
- Calories: 0
- Sugar: 0g
- Sodium: 0mg
- Fat: 0g
- Saturated Fat: 0g
- Unsaturated Fat: 0g
- Trans Fat: 0g
- Carbohydrates: 0g
- Fiber: 0g
- Protein: 0g
- Cholesterol: 0mg