

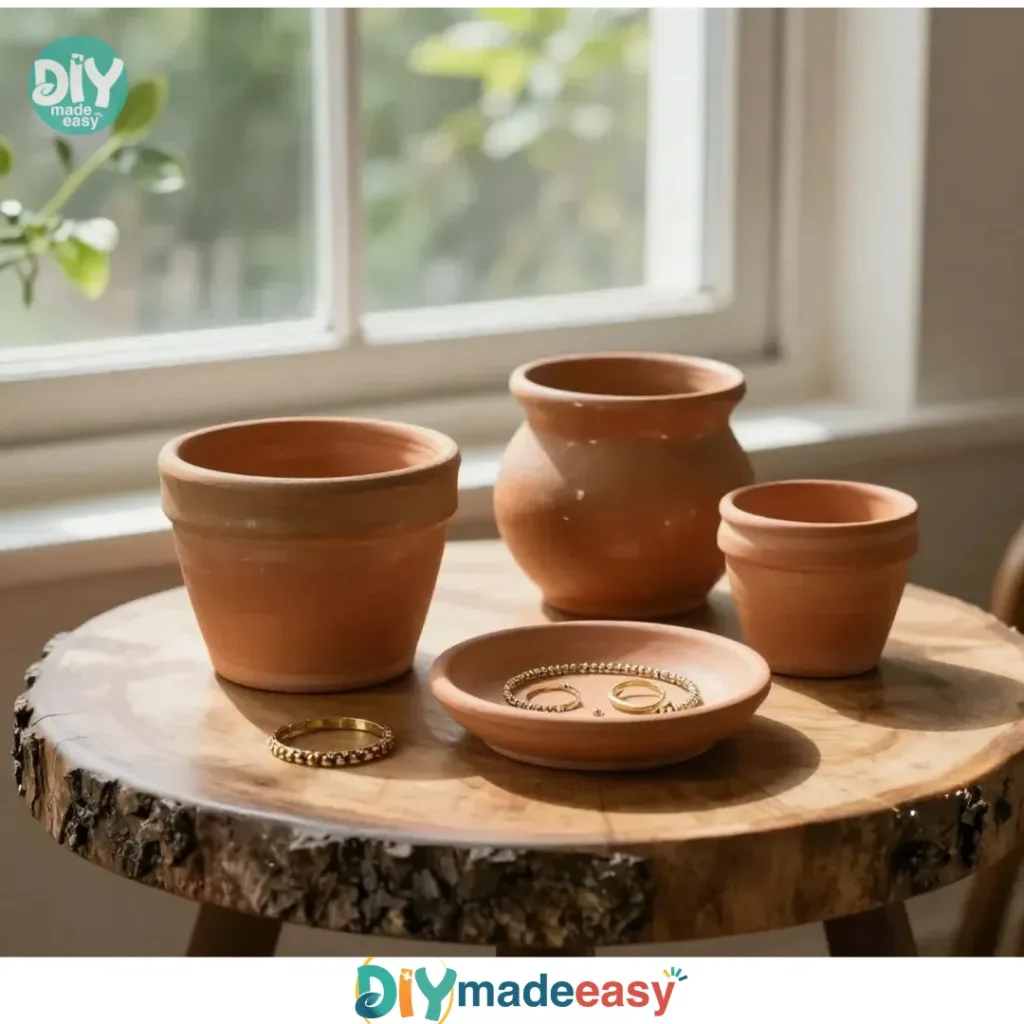
Creating Terracotta Style Air Dry Pots is an enjoyable activity, especially on those busy afternoons when kids are eager to make something creative right away. These pots allow for easy crafting at home and can turn an idea into a tangible decoration. If you’re looking for a straightforward project that engages little hands and fosters creativity, making these Terracotta Style Air Dry Pots is a perfect choice. In less than an hour, you can create an adorable planter that’s great for holding small plants or even just as a decorative piece. You may also find No Oven Needed Terracotta Pots useful.
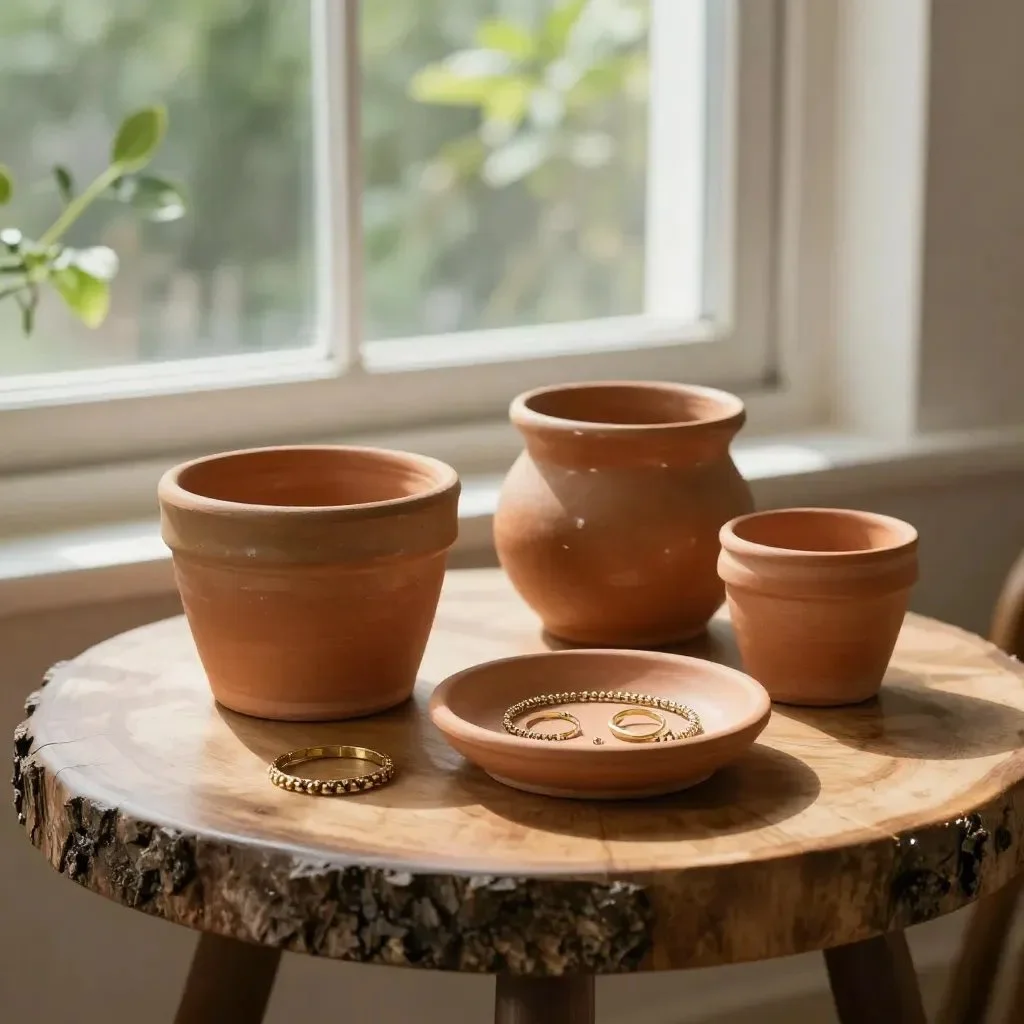
Why You’ll Love Making Terracotta Style Air Dry Pots
Terracotta Style Air Dry Pots are fantastic for several reasons. First, they require minimal preparation, which means you can jump right into the creativity without spending much time setting up. Using air-dry clay streamlines the crafting process since you don’t need any special tools or baking equipment. This project is incredibly approachable, making it suitable for children and adults alike, regardless of crafting experience. Plus, there’s something wonderfully satisfying about shaping clay with your hands and watching your creation come to life. You may also find Fairy Dust Bouncy Balls useful.
A Quick Look Before You Begin
Crafting these pots won’t take much time, and the mess can be easily managed with some preparation. Expect to set aside about 30 to 45 minutes for crafting, with a bit of waiting time for your pots to dry. Keeping a damp sponge nearby allows you to smooth out any imperfections as you work. If you plan on painting your pot, ensure you have some non-toxic paint ready. Adult involvement may be needed mainly for younger children, to help with any tricky spots or simply to share in the creativity. You may also find Subtraction Haircut Using Sticky Notes useful.
Materials You’ll Need
To craft your Terracotta Style Air Dry Pots, gather the following materials:
- Air dry clay (terracotta color or tinted options) – a great base for pot-making.
- Crafting tools (like a rolling pin and smoothing tools) – essential for shaping your clay.
- Water (for moisture maintenance) – helps to keep the clay workable.
- Paint (non-toxic for embellishing; optional) – for adding personal touches.
- Brushes and sponges (for detail work) – useful for painting and smoothing.
- Sealant (if desired for durability) – provides extra durability for your finished pot.
These materials are mostly common household items or easy to find in craft stores, making this project budget-friendly and approachable.
Step-by-Step Directions
Now that you have your materials ready, let’s dive into the steps for creating your Terracotta Style Air Dry Pots:
- Knead the air dry clay until it becomes soft. This helps improve its pliability and makes it easier to shape into a pot.
- Roll the clay into a ball, then flatten it into a disk shape for the base of your pot. Aim for a thickness of about half an inch to give it a sturdy foundation.
- Pinch the edges upward to form the sides of the pot. This step allows you to create a nice shape and depth for your planter.
- Smooth out imperfections with a damp sponge. Take your time here; ensure it looks neat for a more polished final appearance.
- Use crafting tools to add decorative patterns or textures if desired. Let your creativity shine by using tools to etch designs into the clay.
- Allow the pot to dry according to the clay’s instructions in a safe, dry space. Be patient; this drying time is crucial for a solid pot.
- Paint your pot with non-toxic paint for a personal touch if desired. This is where you can truly make it your own.
- Apply a sealant for durability if needed. This step is optional but can add a beautiful finish and prolong the life of your pot.
Each step is simple and allows for creativity to flow, resulting in a charming decorative piece.
The Learning Behind This DIY
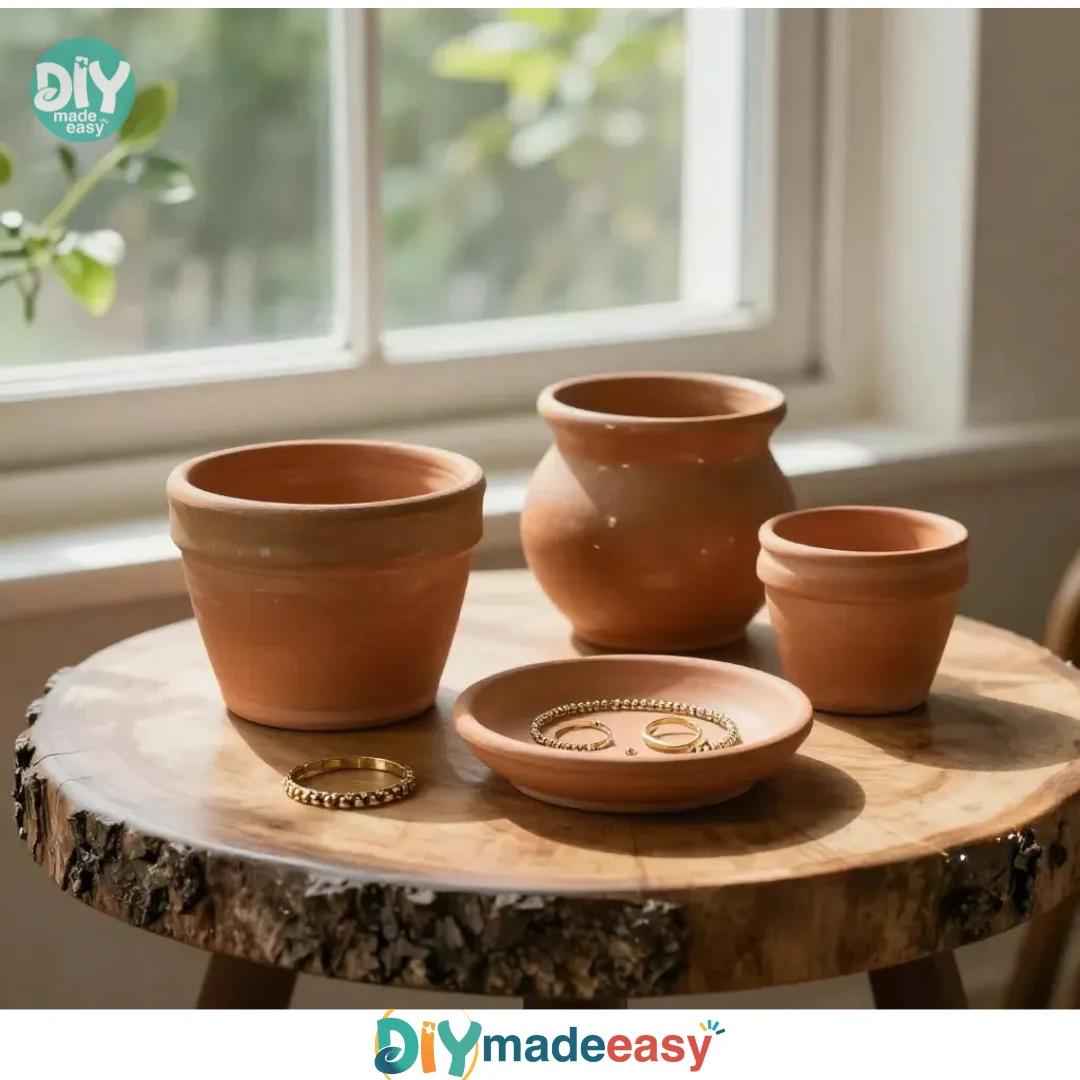
Making these terracotta pots provides an excellent opportunity for children to engage in hands-on learning. As they mold and shape the clay, they practice fine motor skills, improving hand-eye coordination and dexterity. This project also introduces simple science concepts like drying and hardening, showing how the clay changes form as it dries. Moreover, the creative choices involved—like designing and painting—encourage artistic expression and creativity.
Troubleshooting Common Issues
Every crafting session can come with its challenges. If you notice that your clay is too dry and hard to work with, simply knead in a little water until it softens up. For any cracks or imperfections that appear as the clay dries, a little extra water and smudging with your finger or sponge can often remedy this. If your pot collapses while forming, don’t worry—just reshape it and let it dry in a sturdy position.
Easy Variations to Try
This project can easily be adapted to fit various themes or occasions:
- Different Shapes: Instead of standard pots, aim for unique forms like hearts or stars.
- Seasonal Decor: Paint the pots in seasonal colors to create festive centerpieces.
- Personalized Gifts: Encourage kids to make pots as gifts with personalized messages or designs.
- Planter Combinations: Make smaller pots to fit inside a larger decorative planter.
- Nature Inspired: Incorporate natural textures like leaves or twigs into the clay while forming.
These variations keep the project fresh and exciting, allowing for endless creativity.
Storing or Reusing This Project
After your pots are complete, think about how to best care for your creations. If they are left unpainted, they can serve as functional planters for seedlings or small plants. For any leftover clay, wrap it tightly in plastic wrap or store it in an airtight container to keep it moist for future projects. Cleanup is as simple as wiping down surfaces and containers with a damp cloth while the clay is still wet.
FAQs About Terracotta Style Air Dry Pots
What can I do if there’s too much mess?
Don’t worry about mess; lay down some newspaper or a plastic sheet to catch clay pieces. Most cleanup is easy with a damp cloth at the end.
Is air dry clay safe for children?
Yes, air dry clay is generally non-toxic and safe for kids, especially when using non-toxic paint for embellishments.
Can I use regular paint on air dry clay?
Using non-toxic paint is advisable, as it ensures safety while adding fun colors to your pots.
What if my pot has cracks?
If cracks form during drying, don’t panic. You can use a little water to mold and smooth the crack over.
Can I reuse the leftover clay?
Absolutely! Just keep it sealed in an airtight container to maintain its moisture for future projects.
A Final Helpful Note
Take a moment to appreciate the creative process. Crafting these Terracotta Style Air Dry Pots is all about enjoying the activity, not stressing over results. Remember, every pot tells a story, and it’s perfectly fine if your creation isn’t identical to someone else’s. Embrace the flexibility to innovate and adapt, and most importantly, have fun!
Conclusion
Crafting with air dry clay opens up a world of possibilities for creativity at home. If you’re looking for unique project ideas, consider exploring the Modern DIY Mini Air Dry Clay Pot or read about innovative techniques in Walking the Line: Crafting Homewares with Air Dry Clay. Your crafting journey is just beginning, so enjoy every moment!
PrintTerracotta Style Air Dry Pots
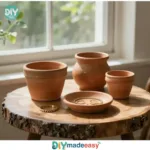
Create adorable terracotta style air dry pots that engage creativity and provide a fun crafting experience for all ages.
- Prep Time: 15 minutes
- Cook Time: 30 minutes
- Total Time: 45 minutes
- Yield: 4 pots
- Category: DIY Crafts
- Method: Crafting
- Cuisine: N/A
- Diet: N/A
Ingredients
- Air dry clay (terracotta color or tinted options)
- Crafting tools (like a rolling pin and smoothing tools)
- Water (for moisture maintenance)
- Paint (non-toxic for embellishing; optional)
- Brushes and sponges (for detail work)
- Sealant (if desired for durability)
Instructions
- Knead the air dry clay until it becomes soft.
- Roll the clay into a ball, then flatten it into a disk shape for the base.
- Pinch the edges upward to form the sides of the pot.
- Smooth out imperfections with a damp sponge.
- Use crafting tools to add decorative patterns or textures if desired.
- Allow the pot to dry according to the clay’s instructions.
- Paint your pot with non-toxic paint if desired.
- Apply a sealant for durability if needed.
Notes
This project is budget-friendly and suitable for all ages. Adult supervision may be required for younger children.
Nutrition
- Serving Size: 1 pot
- Calories: N/A
- Sugar: 0g
- Sodium: 0mg
- Fat: 0g
- Saturated Fat: 0g
- Unsaturated Fat: 0g
- Trans Fat: 0g
- Carbohydrates: 0g
- Fiber: 0g
- Protein: 0g
- Cholesterol: 0mg