

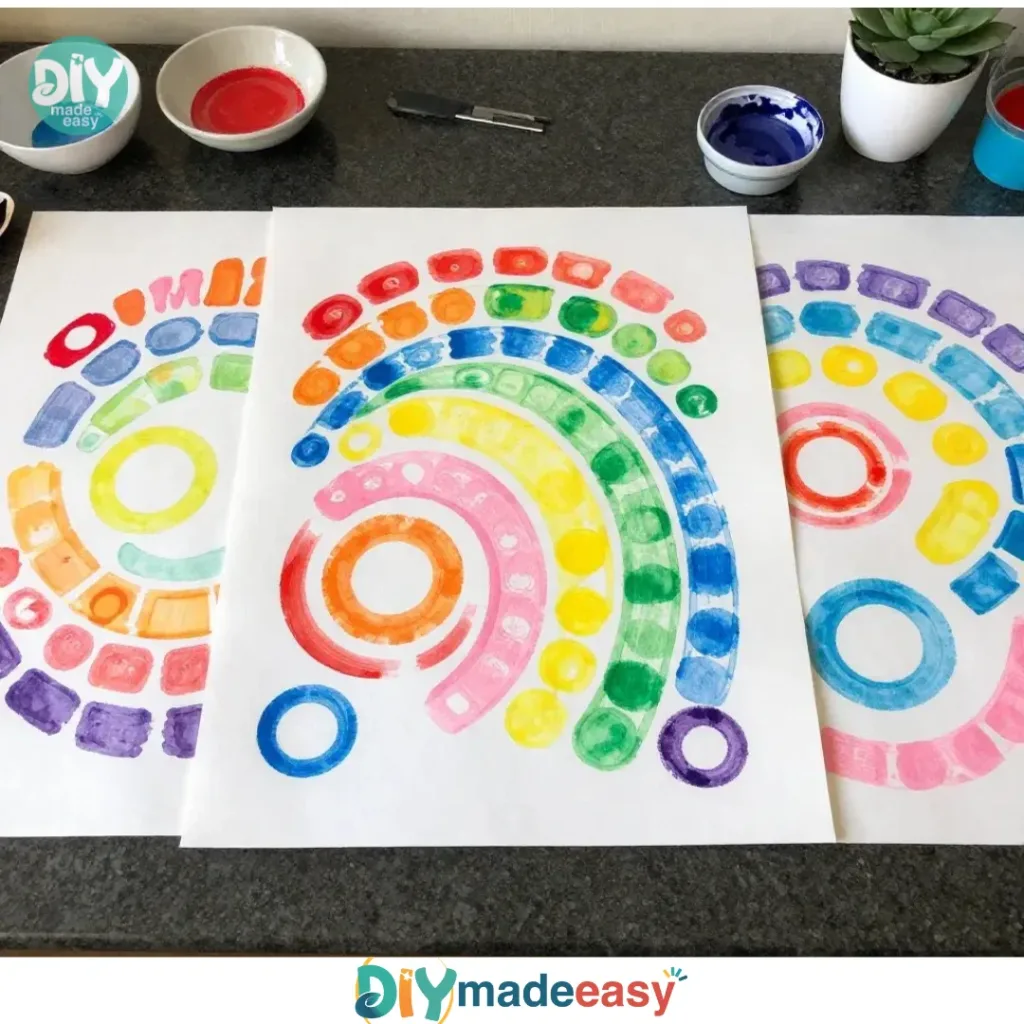
Creating art projects with kids can be incredibly fulfilling, especially when you find an activity that sparks joy and creativity. One perfect choice for such moments is the Giant Dot-Painting Activity. Imagine a busy afternoon where the kids, tired of their usual routines, excitedly ask to make something colorful and fun. This activity allows them to dive into creating a beautiful masterpiece with simple tools and minimal setup. It’s an engaging way for them to express themselves, and the results can be wonderfully vibrant. You may also find Back To School Activity Binder Preschool useful.
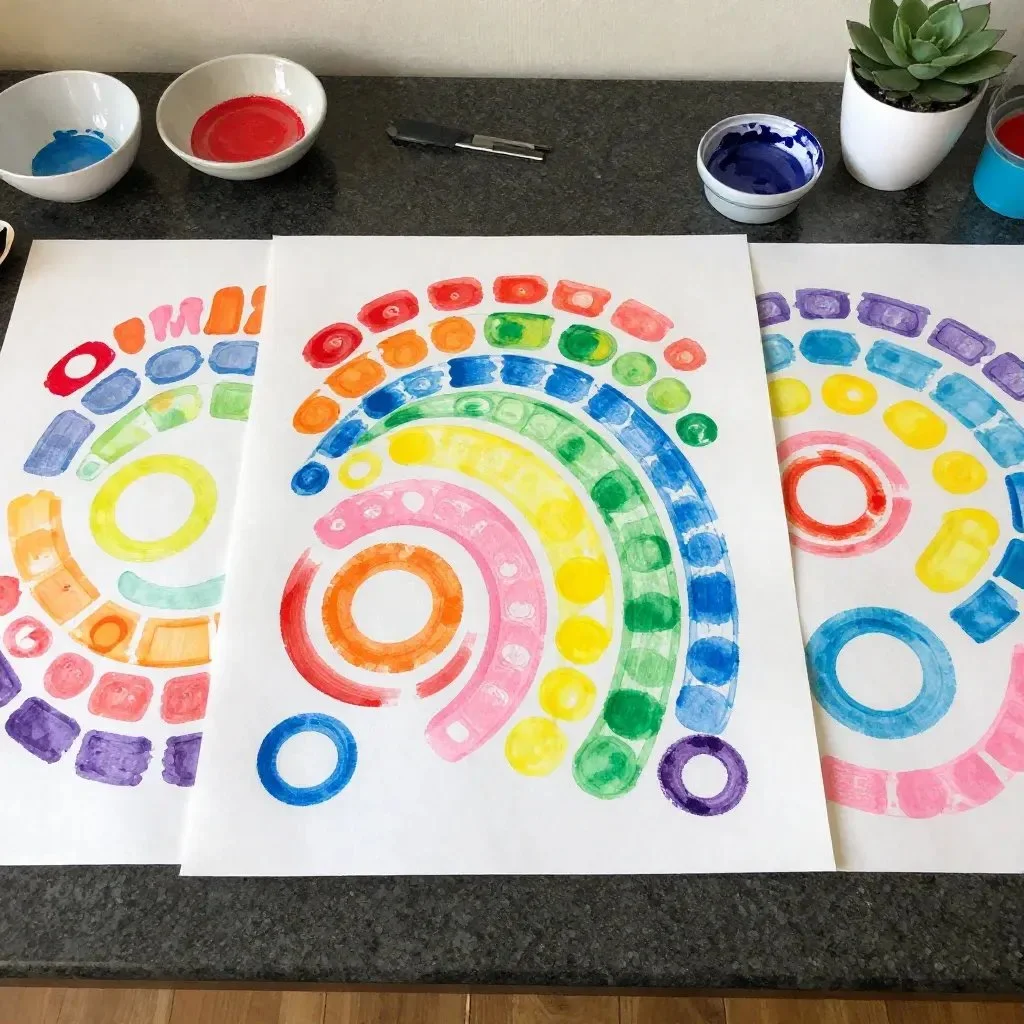
Why You’ll Love Making Giant Dot-Painting Activity
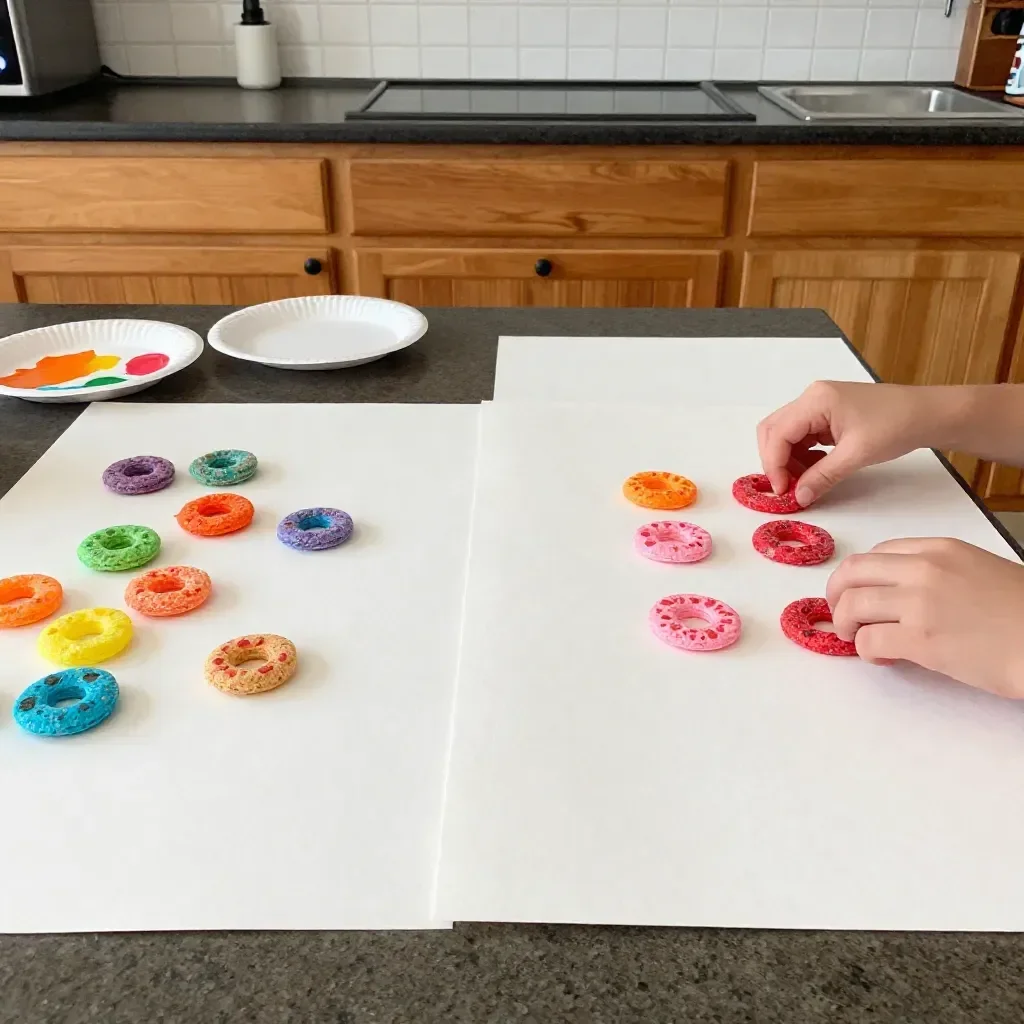
You may also find Glowing Ball Activity useful.
The Giant Dot-Painting Activity works so well because it’s low-prep and approachable, making it suitable for any day. With just a few materials, you can set this up and let the kids run wild with creativity. You’ll likely find that the joy of painting and creating together brings a sense of calm and satisfaction. The nature of this project makes it great for real-life schedules as it doesn’t require extensive planning or complicated steps. You may also find How To Make Frozen Bubbles Winter Activity useful.
A Quick Look Before You Begin
Before diving into the painting process, it’s good to have a calm overview of what to expect. This activity typically takes about an hour including setup, painting, and cleanup. You’ll want to set aside time for the paint to dry afterward, so plan accordingly. The mess level is manageable, especially if you prepare your workspace carefully. Little ones will need adult supervision, particularly when using paints and tools, but the activity is primarily hands-on, giving them plenty of room to explore their creativity. You may also find Math Activity For Preschoolers useful.
Materials You’ll Need
Gathering the right materials is essential for a smooth painting experience. Here’s what you’ll need:
- Large canvas or thick paper
- Acrylic paints or washable paints
- Do-A-Dot markers or sponge brushes
- Paper plates for palette mixing
- Water cups for rinsing brushes
- Smocks or old shirts to keep clothes clean
These supplies are mostly common household items, making them easy to gather. If you don’t have Do-A-Dot markers, sponge brushes can work just as well for this project.
Step-by-Step Directions
Now that you have everything ready, let’s walk through the steps for your Giant Dot-Painting Activity:
- Set up your workspace by covering the area with protective cloth or paper. This will help contain any potential mess and make cleanup easier later on.
- Position your canvas where you can comfortably reach it. Ensure it’s at a height that suits both you and the kids.
- Pour a small amount of each paint color onto your paper plate. Choose bright and bold colors for an eye-catching result.
- Choose your painting tool: either a Do-A-Dot marker or sponge brush, and practice on a scrap piece of paper. This will help the kids get a feel for how to use the tools properly.
- Begin creating your design with a base layer of color. Don’t worry about perfection here; just encourage everyone to let their creativity flow.
- Layer your dots in various sizes and colors, observing the blending or contrasting of colors. This is where the magic happens, and the mixing of colors can lead to unexpected but beautiful results.
- Allow the painting to dry completely before moving or displaying it. Enjoy the process and maybe take some pictures of the masterpieces along the way.
The Learning Behind This DIY
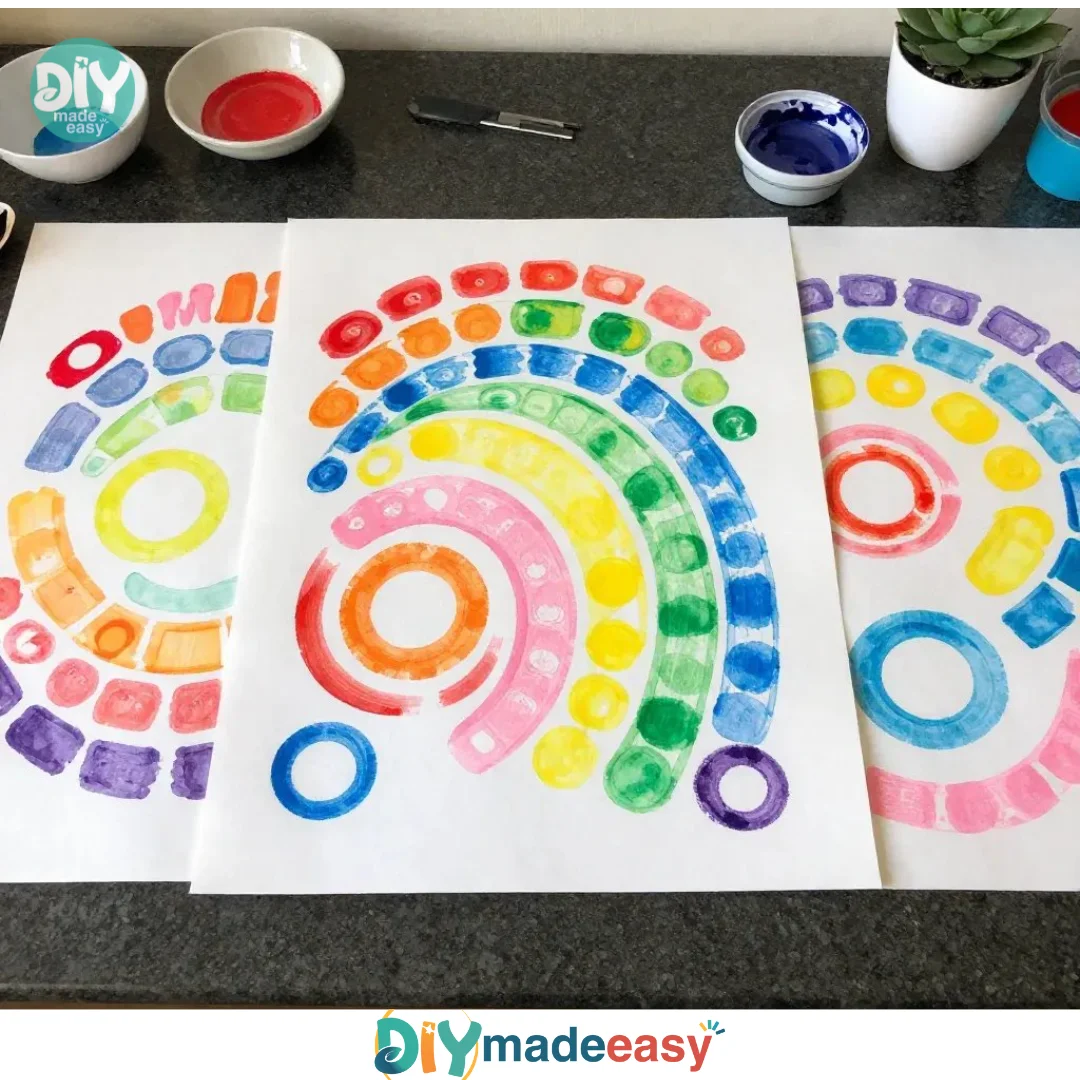
Engaging in the Giant Dot-Painting Activity supports various skills in children. For one, they exercise fine motor skills as they grasp and use different painting tools. Children will also learn about color theory — how colors blend, contrast, and complement one another. This hands-on experience makes the foundational lessons in art more memorable and enjoyable.
Troubleshooting Common Issues
As you embark on this artistic journey, you may encounter some hiccups along the way. Common problems include paint spills, which can happen when using brushes or markers. If a spill occurs, don’t panic! Quickly blot with a paper towel, and consider setting up a designated painting area where accidents are less worrisome. If colors blend too much, remind the kids to let each layer dry before adding more dots. This way, they can observe how different colors interact and learn from the process.
Easy Variations to Try
If you’re looking to spice up the Giant Dot-Painting Activity, consider these simple variations:
- Seasonal Themes: Tailor the colors to fit holidays or seasons — bright pastels for spring or deep oranges and reds for fall.
- Using Stencils: For those looking for a guided approach, bring in stencils to create shapes before filling them in with dots.
- Outdoor Painting: Take the project outside for some fresh air. This can encourage larger movements and a more lively atmosphere.
- Glow-in-the-Dark Paint: For an exciting twist, use glow-in-the-dark paint to add a magical element to the finished artwork.
Storing or Reusing This Project
Once the painting is complete and dry, consider how to best store or display the creations. If you want to keep your materials for future use, properly clean the brushes and store the paints tightly sealed. For the artwork itself, you can frame it to showcase the kids’ creativity, or use it as gift wrap for family members. This activity can easily become a cherished memory or a beautiful gift that honors the time spent together.
FAQs About Giant Dot-Painting Activity
What if the paint spills?
Accidents happen, especially with kids. Keep some paper towels handy to quickly blot spills. The protective cloth or paper setup will help minimize mess.Is this activity safe for toddlers?
Yes! Just make sure they are supervised, especially if using acrylic paints. Opt for washable paints if you are concerned about stains.Can we use other tools besides Do-A-Dot markers?
Absolutely! You can use sponge brushes, brushes, or even cotton balls to create different textures and effects.How should we store the leftover paint?
Store any leftover paint in tightly sealed containers. Most washable paints can be used a few weeks later if sealed correctly.What if the results don’t come out as expected?
Keep in mind that art is subjective! Encourage kids to embrace their unique creations, focusing on the fun rather than perfection. Each piece is a representation of their creativity.
A Final Helpful Note
Embrace the process of creating the Giant Dot-Painting Activity with flexibility and ease. There’s no right or wrong way to create art, and the true enjoyment comes from the time spent together. So gather the materials, set up your space, and let the creativity flow without pressure. You and your kids will come away feeling accomplished and inspired.
Conclusion
The Giant Dot-Painting Activity is a wonderful way to engage children in a creative and hands-on experience. The excitement of seeing their imaginations come to life on canvas is truly special. For additional artistic inspiration, check out this paint by number activity or consider picking up some tools from these washable markers to enhance future art projects.
PrintGiant Dot-Painting Activity
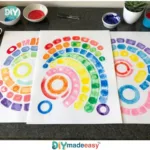
Engage kids in a colorful and fun Giant Dot-Painting Activity that sparks creativity and learning.
- Prep Time: 10 minutes
- Cook Time: 50 minutes
- Total Time: 60 minutes
- Yield: 1 activity
- Category: Arts & Crafts
- Method: Creative Activity
- Cuisine: N/A
- Diet: N/A
Ingredients
- Large canvas or thick paper
- Acrylic paints or washable paints
- Do-A-Dot markers or sponge brushes
- Paper plates for palette mixing
- Water cups for rinsing brushes
- Smocks or old shirts to keep clothes clean
Instructions
- Set up your workspace by covering the area with protective cloth or paper.
- Position your canvas where you can comfortably reach it.
- Pour a small amount of each paint color onto your paper plate.
- Choose your painting tool: either a Do-A-Dot marker or sponge brush.
- Begin creating your design with a base layer of color.
- Layer your dots in various sizes and colors.
- Allow the painting to dry completely before moving or displaying it.
Notes
Supervision is required for young children while using paints and tools. Accidents may happen, so be prepared with paper towels.
Nutrition
- Serving Size: 1 activity
- Calories: 0
- Sugar: 0g
- Sodium: 0mg
- Fat: 0g
- Saturated Fat: 0g
- Unsaturated Fat: 0g
- Trans Fat: 0g
- Carbohydrates: 0g
- Fiber: 0g
- Protein: 0g
- Cholesterol: 0mg