

Creating DIY Crystal Flower Roses can be a delightful project, especially on a busy afternoon when kids want to create something beautiful. Imagine gathering fresh roses, sugar, and water in your kitchen, transforming these simple materials into enchanting crystal creations. This hands-on activity not only captures the imagination but also serves as a fantastic way to spend quality time together. By following a few straightforward steps, you can make captivating crystal flowers that will brighten any space. Let’s explore what makes this project a wonderful choice for your next crafting endeavor. You may also find Crystal Flowers Recipe useful.
Why This DIY Crystal Flower Roses Works So Well
You may also find Crystal Flowers useful.
One of the best features of making DIY Crystal Flower Roses is how approachable it is. The materials needed are often things you already have at home, making preparation easy. Plus, this project boasts a low-mess factor. While some projects might leave your home looking like a tornado hit it, this activity only requires mixing solutions and arranging flowers. The process of watching crystals form naturally instills a sense of wonder in both kids and adults. You may also find Crystal Growing Flower useful.
Reliability is another huge benefit. With the right solution, usually made from sugar, salt, or borax, you’ll see results within hours. This quick gratification keeps enthusiasm high. In the world of DIY, having a completed project in a short amount of time is truly a win, especially for those with busy schedules. You may also find Diy Cornstarch Glass Floral Hearts Flowers useful.
A Quick Look Before You Begin
Making DIY Crystal Flower Roses is a stress-free activity that doesn’t take much time to set up. You can gather all your materials beforehand or involve your kids in the gathering process. Expect the whole project to take a few hours to a day to see the full results, depending on the conditions.
While adults might need to assist with specific tasks like heating water, many steps are kid-friendly. There’s something magical about leaving the flowers to grow their crystals in a calm spot, as it allows everyone to reflect and appreciate the process without rushing. You can even incorporate short breaks to observe any changes, making it feel like a scientific exploration.
Materials You’ll Need
To get started, you’ll need these simple supplies:
- Fresh flowers (roses or any desired type)
- Sugar, salt, or borax (for crystal growth)
- Water
- Food coloring
- Glass jars (for crystallization)
- Stirring stick (like a wooden spoon)
- Pot (for heating water)
- Optional: decorative elements (glitter or other embellishments)
Most of these materials are common household items. If you don’t have borax, sugar or salt works perfectly as alternatives. The optional decorative elements will add a personal touch, so use them if you wish!
Step-by-Step Directions
Trim the flowers to desired lengths carefully. Start by cutting your fresh flowers to the length you want them to be displayed. This is an excellent chance for kids to practice their fine motor skills.
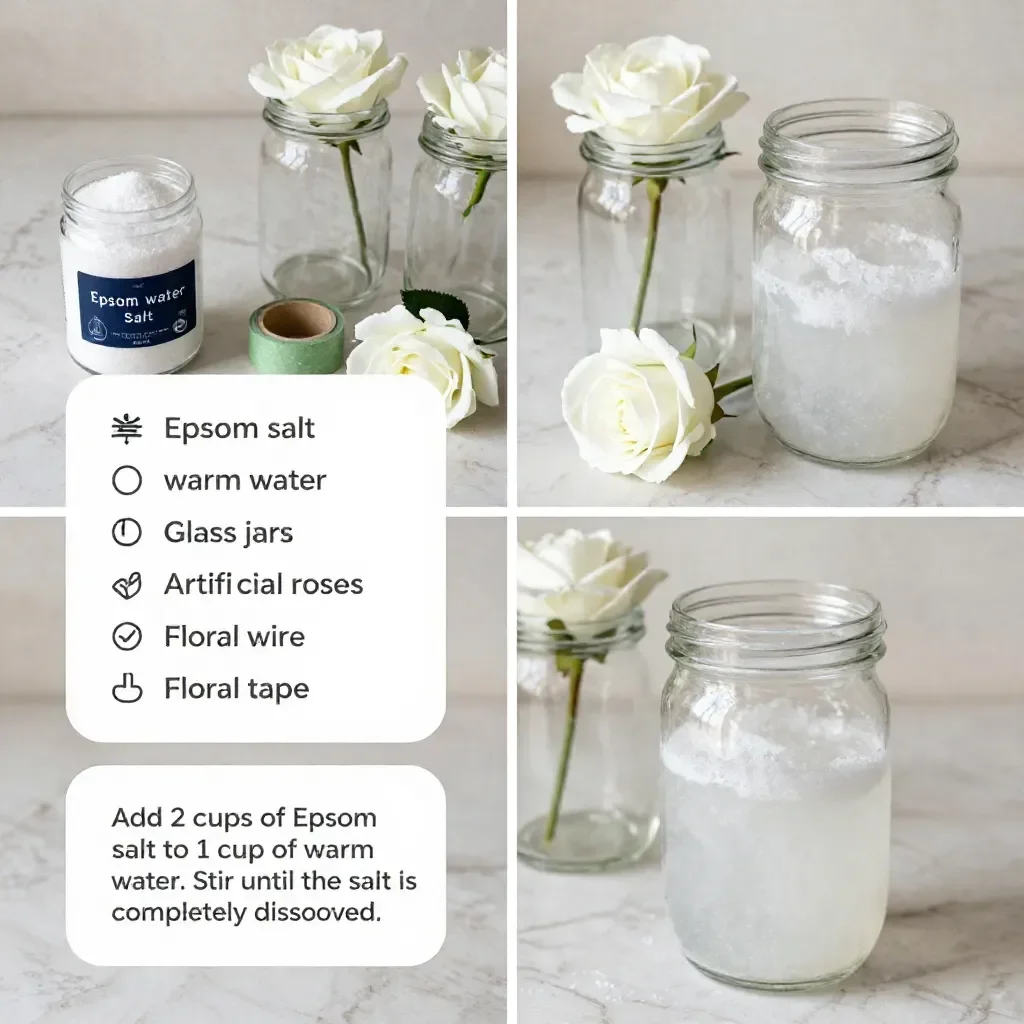
In a pot, combine water and your chosen medium. Add the sugar, salt, or borax to the water in your pot. Heat gently while stirring until dissolved. This step is crucial, as the solute needs to fully dissolve for the best results.
Remove from heat and stir in food coloring. Once your solution is completely mixed and clear, take it off the heat and add a few drops of food coloring to create vibrant crystals.
Place flowers upright in glass jars. Get your cleaned glass jars and carefully set the prepared flowers upright inside each one.
Pour the crystallization solution over the flowers. Gently pour your colored solution into the jars, ensuring the stems are well covered. This step can be particularly exciting, as you can see the colors start to blend.
Leave jars in a calm area for crystals to grow. Find a corner of your home that’s undisturbed, somewhere the jars can remain still. This period can last from hours to a few days depending on the mixture and environment.
Once crystals are formed, remove flowers and let them dry. You’ll see crystals emerging as you wait. Once they look good to go, remove the flowers and allow them to dry on a soft cloth.
Display your finished crystal flower roses in your home. After they dry completely, find a special spot to showcase your stunning creations. They make a lovely decorative piece and a conversation starter!
The Learning Behind This DIY
While creating DIY Crystal Flower Roses, kids can engage with various learning concepts. The project encourages exploration of basic science principles, particularly crystallization. Understanding how crystals form from a liquid solution involves observing and discussing real-world phenomena.
Beyond science, this DIY supports fine motor skills as children handle delicate flowers. Skills such as pouring, mixing, and careful placement also come into play.
It’s a hands-on way to illustrate cause and effect; if the solution isn’t made correctly, the crystals won’t form. By discussing these lessons in a relaxed manner, you foster a deeper understanding without making the process feel like a classroom.
Troubleshooting Common Issues
If you encounter any situations where the crystals don’t form as you hoped, don’t worry! There are a few common issues that can arise during this DIY project.
One common problem is not using enough of the crystallizing agent, be it sugar, salt, or borax. If that’s the case, you might not see the growth you’re expecting. Simply remaking the solution with more of the chosen material can help.
Another issue can be related to temperature. If it’s too cold where the jars are placed, crystals may not develop well. Trying again in a warmer area may improve results.
Do keep an eye on the jars as the crystals grow. If you notice excess liquid, you might want to pour some out to allow for optimal growth.
Easy Variations to Try
You might want to tweak the experience and try some of these creative variations:
Use a different type of flower. While roses are stunning, consider experimenting with other flowers to see how they look once crystallized.
Adjust food coloring for unique colors. Mixing different colors can yield stunning effects, from pastels to vibrant hues.
Add decorative elements. Using glitter or small embellishments mixed into the solution or sprinkled on the flowers could create a more whimsical look.
Make a themed display. Create seasonal displays, like using holiday colors or themed decorations to make it festive.
Mix it up with sizes. Instead of full flowers, consider using smaller blooms or buds for a different effect.
Storing or Reusing This Project
After your DIY crystal flowers have served their purpose, you may wonder what to do with them. They can be displayed as is or stored carefully among protective materials if you want to keep them longer.
If you plan to reuse materials, be sure to store the jars and any leftover components safely. Cleanup is easy; simply rinse out the jars and reuse them for another project.
To avoid waste, incorporate educational talks about recycling and reusing materials in the context of your craft. It makes the activity more holistic and teaches valuable life lessons along the way.
FAQs About DIY Crystal Flower Roses
How messy is this project? It’s relatively low-mess, but be careful when pouring the solution. Have paper towels nearby for any spills.
Is this safe for kids? Yes! Though caution should be taken around hot water, the materials used are generally safe. Always supervise children during that part.
Can I use different types of sugar? Absolutely! Granulated sugar is most common, but brown sugar could give you interesting results.
What if I want to store my creations? You can display them for a while, but crystal flowers may lose their sparkle over time. Store them in a dry, cool area away from direct sunlight to preserve their appearance a little longer.
Can I substitute the flowers? Yes! This process can work with various types of flowers or even artificial flowers for a different aesthetic.
Conclusion
Conclusion
Making DIY Crystal Flower Roses is a delightful way to spend time with loved ones while creating a beautiful, educational project. If you’re looking for more detailed steps on crystallization techniques, you may find useful information in Flower Crystallization: 8 Steps (with Pictures) – Instructables. Additionally, for those curious about borax crystal variations, be sure to explore Make Borax Crystal Flowers | Pink Stripey Socks for alternative ideas. This project promises not just fun but also a lasting memory, beautifully displayed in your home. Enjoy crafting!
PrintDIY Crystal Flower Roses
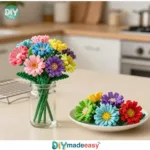
A delightful project for creating beautiful crystal flower roses with fresh flowers, sugar, and water, perfect for quality time with kids.
- Prep Time: 15 minutes
- Cook Time: 0 minutes
- Total Time: 240 minutes
- Yield: 4 servings
- Category: Craft
- Method: DIY Crafting
- Cuisine: N/A
- Diet: N/A
Ingredients
- Fresh flowers (roses or any desired type)
- Sugar, salt, or borax (for crystal growth)
- Water
- Food coloring
- Glass jars (for crystallization)
- Stirring stick (like a wooden spoon)
- Pot (for heating water)
- Optional: decorative elements (glitter or other embellishments)
Instructions
- Trim the flowers to desired lengths carefully.
- Combine water and your chosen medium in a pot. Add sugar, salt, or borax, then heat while stirring until dissolved.
- Remove from heat and stir in food coloring.
- Place flowers upright in glass jars.
- Pour the crystallization solution over the flowers.
- Leave jars in a calm area for crystals to grow.
- Once crystals are formed, remove flowers and let them dry.
- Display your finished crystal flower roses in your home.
Notes
This project is low-mess and offers a quick gratification, making it great for busy schedules. Supervision is advised for heating water.
Nutrition
- Serving Size: 1 decorative piece
- Calories: 0
- Sugar: 0g
- Sodium: 0mg
- Fat: 0g
- Saturated Fat: 0g
- Unsaturated Fat: 0g
- Trans Fat: 0g
- Carbohydrates: 0g
- Fiber: 0g
- Protein: 0g
- Cholesterol: 0mg