

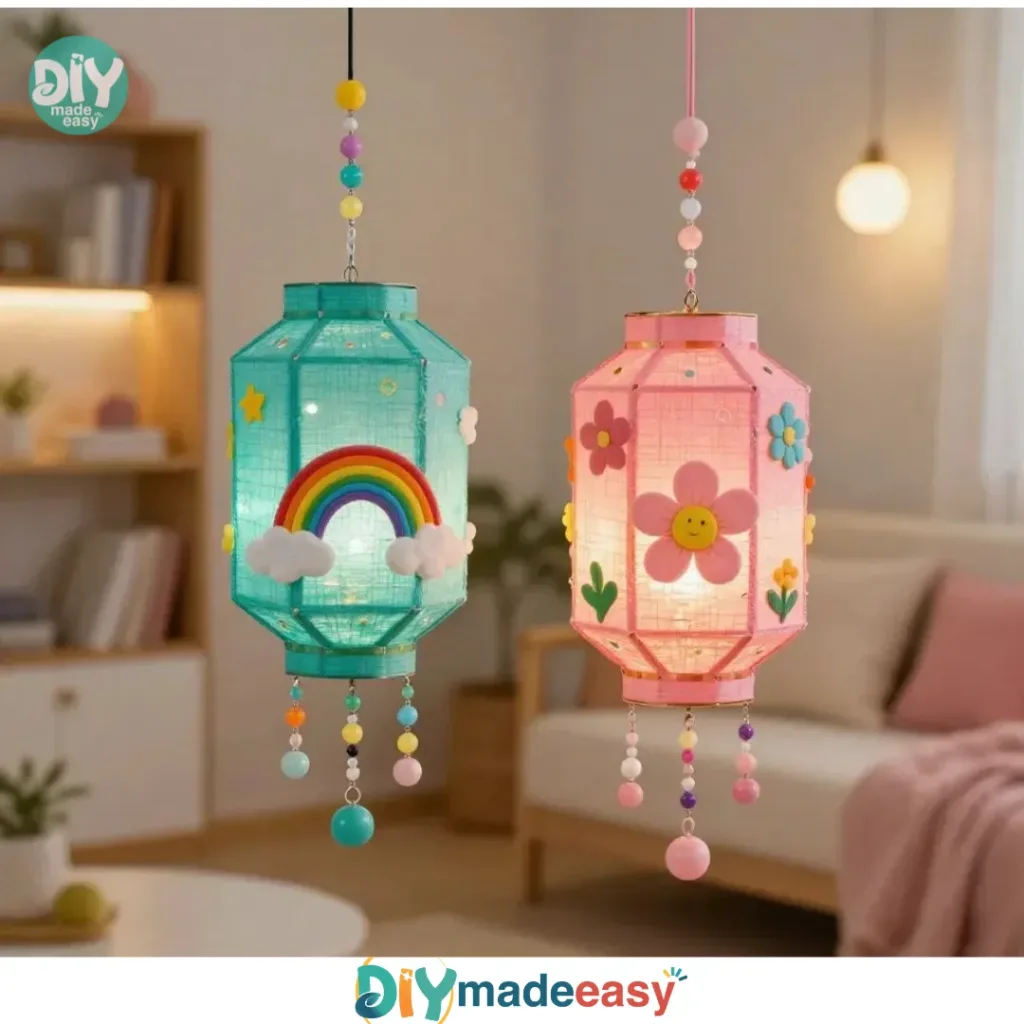
Creating hanging cup lanterns can be a delightful activity, especially on a busy afternoon when kids are eager to make something fun and decorative. Just imagine the laughter and excitement when they see their creations glowing softly in the evening light. This project is an easy and enjoyable way to spend time together while also adding some charm to your space. With a few simple materials—like clear plastic cups—you can craft lovely lanterns that brighten any setting. You may also find Fireworks In A Cup Fireworks Cup useful.
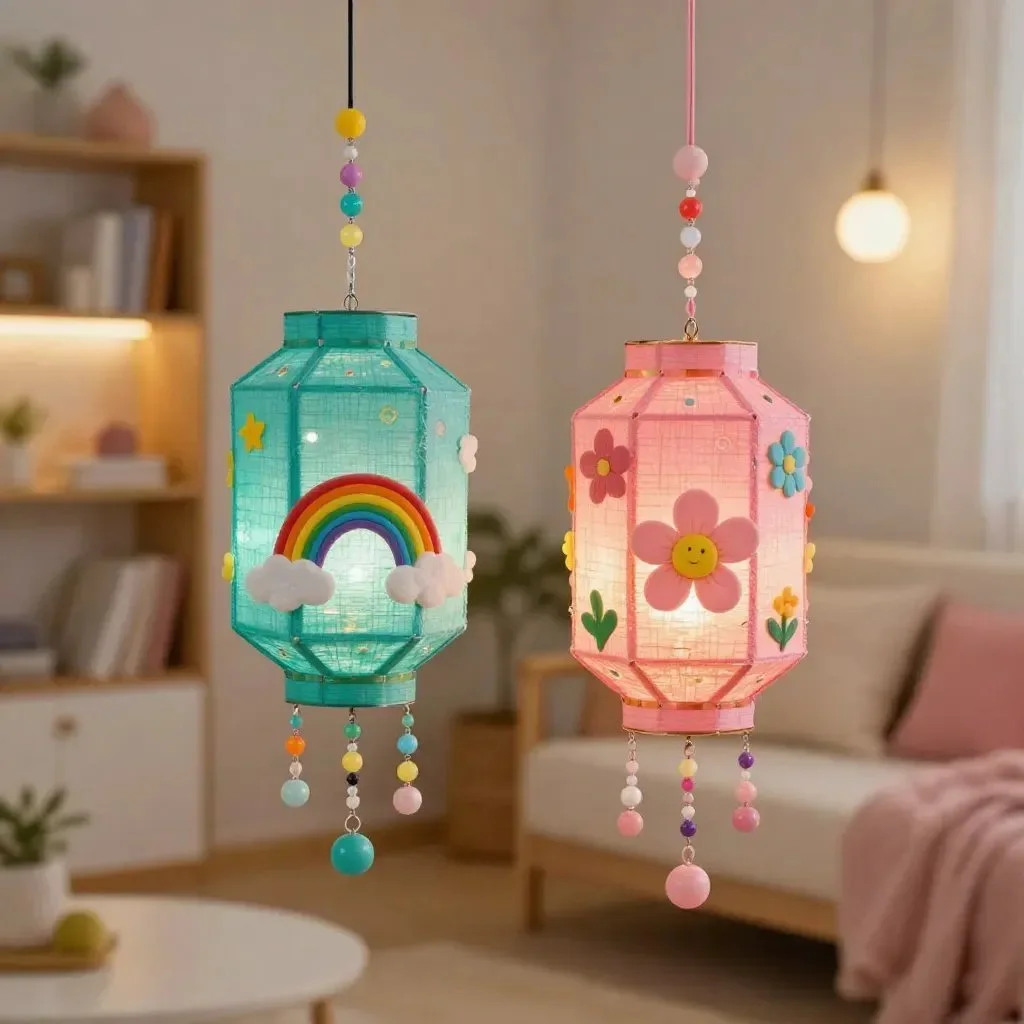
Why You’ll Love Making Hanging Cup Lanterns
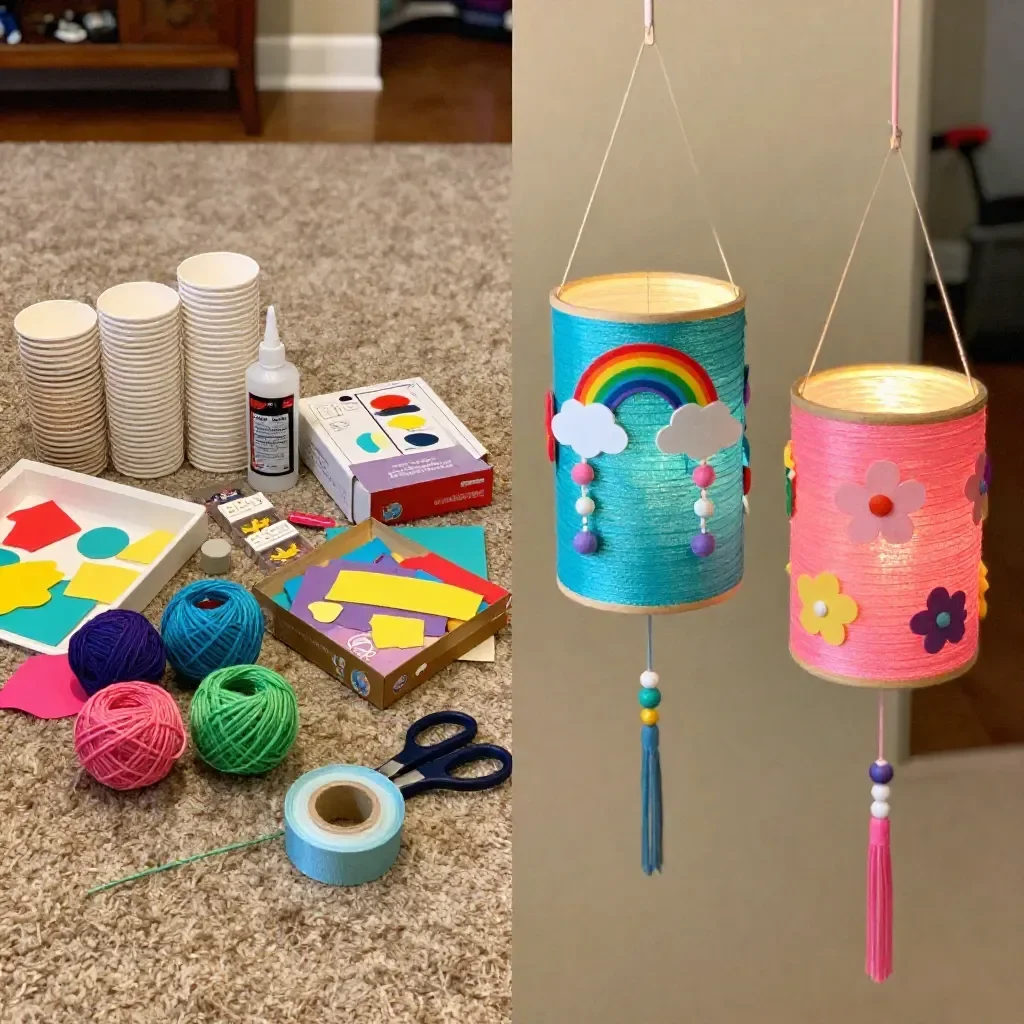
Making hanging cup lanterns works wonders for busy schedules, allowing you to create something beautiful with minimal preparation. The simplicity of this project makes it perfect for those spontaneous crafting moments. You won’t need extensive supplies or complicated tools, which means you can get started right away without much fuss. The best part is that the results can be quite striking, featuring an engaging glow that captures attention. It’s accessible for both children and adults, making it a fantastic family activity.
A Quick Look Before You Begin
Before diving into the crafting, let’s take a moment to consider what the experience will be like. You can plan to set aside about an hour for this project, depending on how many lanterns you wish to make. The setup is straightforward, and you can easily manage the mess, as most materials are common household items. Adult supervision is beneficial, especially when it comes to using scissors and glue. Overall, the atmosphere of crafting together fosters creativity and joy.
Materials You’ll Need
Here’s a quick rundown of what you’ll require to create your hanging cup lanterns:
- Clear plastic cups (any size)
- Twine or fishing line
- Small battery-operated tea lights
- Paint (optional)
- Glue or tape
- Scissors
- Wire or string
Each of these items can usually be found around your home. For instance, those plastic cups from last week’s picnic can become part of your lantern project, making this a budget-friendly endeavor.
Step-by-Step Directions
Creating your hanging cup lanterns involves these simple steps:
Prepare your cups by painting the outside if desired and allowing them to dry fully. If you choose to paint, vibrant colors can add extra flair. Ensure the paint is non-toxic if children are involved in this step.
Cut a length of twine or fishing line about 20 inches long for hanging. It’s important that the length is sufficient to hang the lanterns securely where you want them.
Create small holes near the rim of each cup, keeping them even and aligned. A sharp object can help with this step, but be cautious to avoid any accidents.
Thread the twine through the holes, secure with a knot, and use glue if necessary. Ensure the knots are tight to prevent the cups from slipping.
Insert a battery-operated tea light into each cup. This is where the magic happens! The lights will create a warm glow through the cups.
Find a place to hang your lanterns and enjoy the ambiance. Whether indoors or outdoors, these lanterns can create wonderful soft lighting.
The Learning Behind This DIY
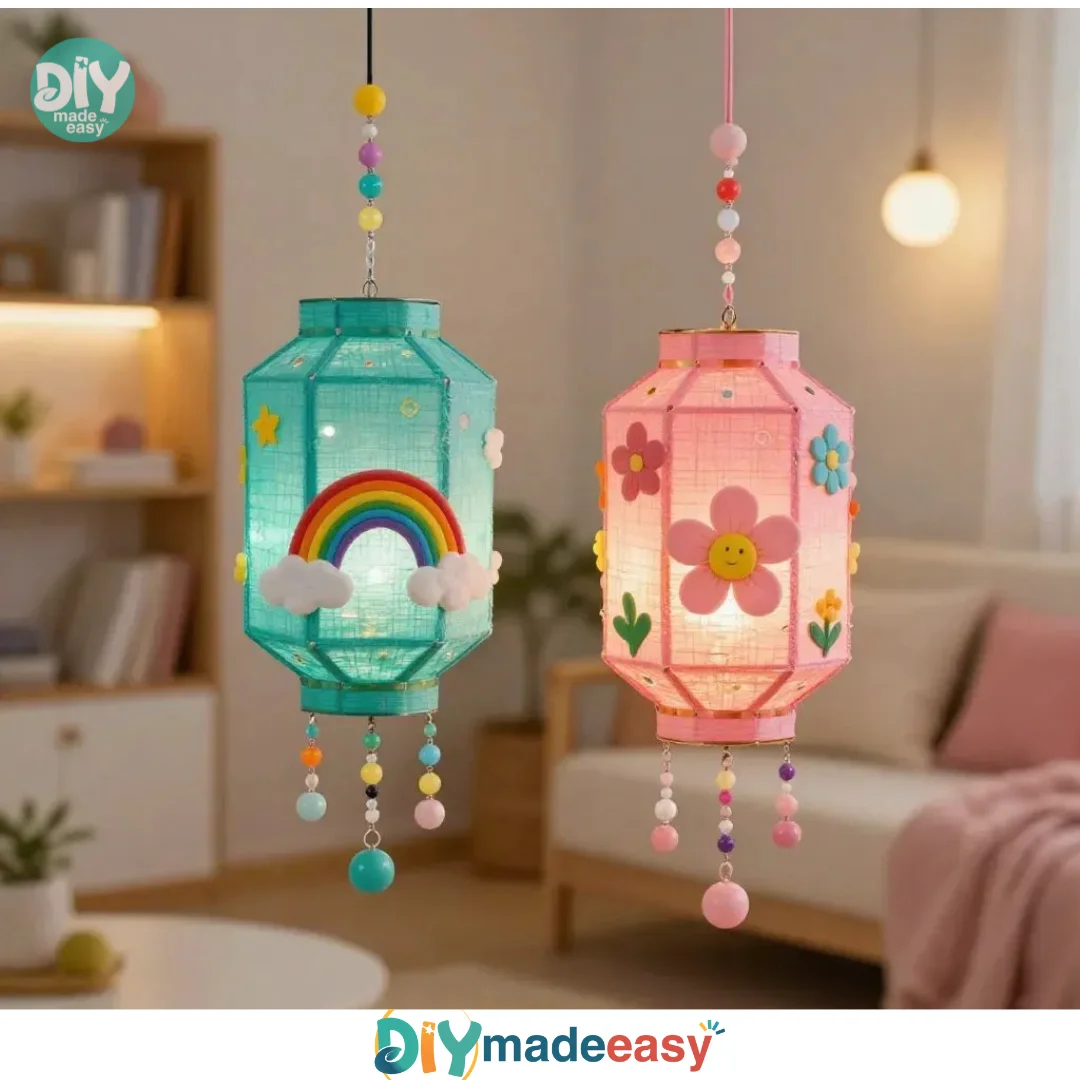
While making these lanterns, kids and adults alike practice various skills. First, you’ll be working on fine motor coordination when you cut the twine and create holes, which is crucial for younger children. This project also introduces basic concepts of design and aesthetics, as you decide how to paint and arrange your lanterns. Additionally, there’s a lovely cause-and-effect relationship to explore; when you turn on the tea lights, you see the immediate result of your handiwork glow beautifully.
Troubleshooting Common Issues
If you run into problems, here are a few common issues and their solutions:
- If the cups fall, ensure your knots are secure. Check the tightness and make sure they are tied properly.
- If the paint smudges or doesn’t dry well, you might need to use a different kind of paint. Acrylic paint is generally the best choice for plastic surfaces if you want vibrant colors that stick.
- If the twine frays, consider adding a small drop of glue to the end to prevent it from unraveling. This extra step can save time and frustration later.
Easy Variations to Try
Want to mix things up a bit? Here are a few creative variations to consider:
- Try using different types of paint for varied effects. Metallic or glow-in-the-dark paints can create interesting looks at night.
- Decorate your cups with stickers or markers for a personal touch. Kids can express their creativity by adding designs that reflect their personality.
- Use larger cups for bigger lanterns or small cups for a fairy light effect. This variability can be a fun experiment for different aesthetics.
Storing or Reusing This Project
Once you’ve enjoyed your hanging cup lanterns, think about how to care for them. These lanterns can be stored in a cool, dry place to reuse them later. If you’d rather keep them for future décor, simply disassemble and store the cups flat to save space. This way, you can reduce waste and enjoy your artistic creations for seasons to come.
FAQs About Hanging Cup Lanterns
Q: Can we make these lanterns indoors?
A: Absolutely! Just ensure you use battery-operated tea lights for safety. Normal candles can be a fire hazard.
Q: How much mess should we expect?
A: The mess level is quite manageable. Most materials are easy to clean, and you can lay down newspaper or a cloth to catch any paint drips.
Q: Are these lanterns safe for young children?
A: Yes, they’re safe to make with adult supervision. Just keep an eye on their use of scissors and glue.
Q: Can we use other materials instead of cups?
A: Sure! You can experiment with other containers like jars or larger plastic containers, but make sure they can hold a candle securely.
Q: What if we don’t have twine?
A: You can substitute with string, fishing line, or even ribbon; as long as it’s durable enough to support the lantern, you’re good to go.
Conclusion
Conclusion
Making hanging cup lanterns is a memorable way to spark creativity and enhance your living space. Not only does this project engage everyone involved, but it also teaches useful skills and fosters collaboration. If you’re looking for other decorative pieces to enhance your space, check out the Hanging Kew Lantern for a lovely touch or explore different styles of lanterns like this Star Lantern Hanging Glass Star Red to inspire your next crafting adventure.
PrintHanging Cup Lanterns
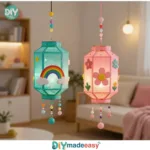
Create beautiful hanging cup lanterns with simple materials for a delightful family crafting activity.
- Prep Time: 15 minutes
- Cook Time: 0 minutes
- Total Time: 60 minutes
- Yield: 4 lanterns
- Category: Craft
- Method: Crafting
- Cuisine: N/A
- Diet: N/A
Ingredients
- Clear plastic cups (any size)
- Twine or fishing line
- Small battery-operated tea lights
- Paint (optional)
- Glue or tape
- Scissors
- Wire or string
Instructions
- Prepare your cups by painting the outside if desired and allowing them to dry fully.
- Cut a length of twine or fishing line about 20 inches long for hanging.
- Create small holes near the rim of each cup, keeping them even and aligned.
- Thread the twine through the holes, secure with a knot, and use glue if necessary.
- Insert a battery-operated tea light into each cup.
- Find a place to hang your lanterns and enjoy the ambiance.
Notes
Ensure adult supervision when using scissors and glue. Consider using non-toxic paint if children are involved.
Nutrition
- Serving Size: 1 lantern
- Calories: N/A
- Sugar: N/A
- Sodium: N/A
- Fat: N/A
- Saturated Fat: N/A
- Unsaturated Fat: N/A
- Trans Fat: N/A
- Carbohydrates: N/A
- Fiber: N/A
- Protein: N/A
- Cholesterol: N/A