

While setting up for a fun afternoon with your kids, the need for a quick and engaging activity might suddenly pop into mind. You want something colorful and enjoyable to keep their hands busy, and that’s when the Floating Jellyfish Craft becomes the perfect solution. With minimal prep involved, this craft not only entertains but also sparks creativity. Let’s explore how to bring this underwater delight to life using just a few simple materials. You may also find Crafts For Kids Fun Projects useful.

Why This Floating Jellyfish Craft Works So Well

You may also find Creative Science Craft Kids Rainbow Light Show useful.
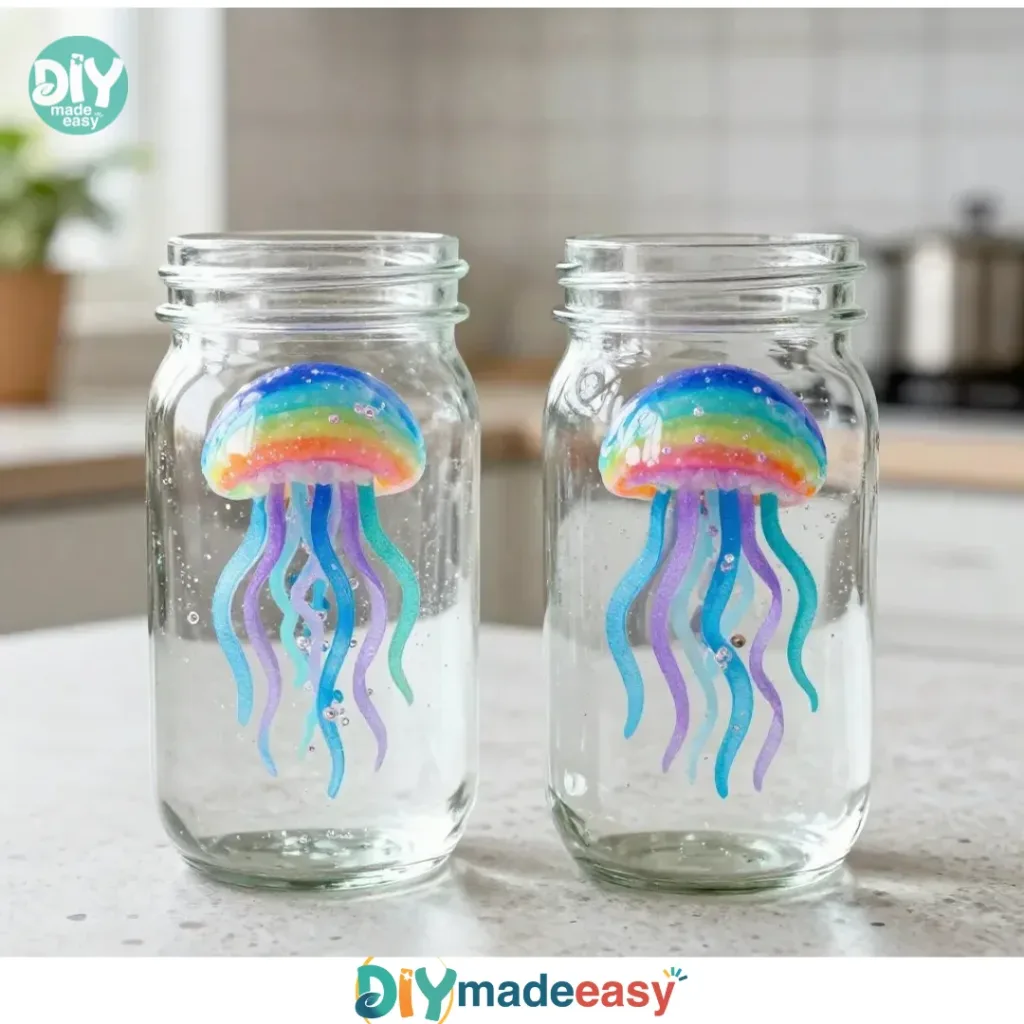
Creating this Floating Jellyfish Craft requires only basic materials and can be done in under an hour, making it an ideal choice for busy schedules. You won’t need to run out for expensive supplies; instead, you can likely gather everything from home. The craft emerges with vibrant colors that naturally attract children, and the layering of circles mimics the soothing motions of jellyfish in the water, providing a satisfying visual component. You may also find Crystal Heart Craft useful.
The process is completely approachable, giving kids the chance to express their creativity in a manageable, structured way. If you find yourself short on time, projects like these keep the kids engaged without requiring extensive supervision. Plus, the excitement of hanging their creations gives kids a sense of accomplishment. You may also find Cute Egg Carton Baby Birds Craft useful.
A Quick Look Before You Begin
Setting up for the Floating Jellyfish Craft is straightforward. All you need is a clean surface where little hands can spread out their creativity. The entire project typically takes about 30-45 minutes, which is an excellent window for concentration—perfect for young minds with lots of energy. Expect a bit of colorful mess, but don’t worry; it’s all part of the fun! An adult’s involvement might be beneficial for tasks like using scissors and handling the hot glue gun.
This project can also align with learning moments—talk to kids about the lifecycle of jellyfish or how they float in the ocean as you create. Engaging in conversation adds layers of learning without feeling like a lesson.
Materials You’ll Need
For this Floating Jellyfish Craft, gather these simple supplies:
- Colorful plastic bags (these are often common household items)
- String or fishing line (easy to find)
- Scissors (be sure an adult is available for this part)
- Craft glue or hot glue gun (adult supervision if using hot glue)
- Googly eyes (optional but adds character)
- Circular template (using a plate or lid for tracing)
- Optional: glitter or sequins for extra sparkle
This list gives you everything needed to dive into crafting without breaking the bank. Don’t hesitate to substitute some items as needed to fit what you have on hand!
Step-by-Step Directions
Now let’s get crafting! Follow these clear steps to create your Floating Jellyfish:
- Lay the colorful plastic bags flat on a clean surface. Choose a bright variety to make your jellyfish truly stand out.
- Use a circular template to trace and cut out several circles from the bags. The more circles, the fuller and fluffier your jellyfish will look.
- Cut a length of string or fishing line to hang your jellyfish. Make sure it’s long enough for displaying your finished creation.
- Attach the string to the center of one of the circles with glue and let it set. This serves as the base of your jellyfish.
- Layer the other circles on top of the base circle, gluing them to create a jellyfish shape. Encourage them to stick to different sizes for added texture.
- Add googly eyes to the top circle to give it personality. This step brings every jellyfish to life, so help your kids pick silly or funny styles!
- Optional: Sprinkle glitter or sequins around the edges for added sparkle. This gives that extra shimmer effect as they light up in sunlight.
- Hang the completed jellyfish using the string. Find a perfect spot to display their artwork around the house for all to see!
This sequence keeps kids engaged with each step enhancing their creations, making it a fun and memorable crafting experience.
The Learning Behind This DIY

While the Floating Jellyfish Craft may seem simple, it actually incorporates several learning aspects. Children practice fine motor skills through cutting and gluing, developing hand-eye coordination during the crafting process. They also learn about layering and structure as they build their jellyfish shapes, reinforcing concepts of balance and artistic design.
Introducing a water theme opens a doorway to discussions about marine life, offering chances to explore ecosystems, jellyfish anatomy, and their habitats. Engaging with these science concepts while crafting solidifies the learning experience beyond making a fun decoration.
Troubleshooting Common Issues
If something doesn’t go as planned during crafting, don’t fret! The glue might not hold if too much is applied, so remind kids to use it sparingly. Also, if the circles don’t stay layered well, check to ensure that enough glue is used between each layer.
If the jellyfish doesn’t float as imagined, adjusting the length of the string can create a more dynamic effect. Encourage experimentation instead of discouraging kids when things go awry—these problem-solving moments can be among the most educational.
Easy Variations to Try
To keep the creativity flowing, consider these delightful variations on the Floating Jellyfish Craft:
- Use different types of plastic materials or colorful paper for unique textures.
- Try painting the circles instead of using bag colors for a customized look.
- Experiment with mobility—attach lightweight materials to the jellyfish to make them sway as if they’re underwater.
- Create themed jellyfish based on different ocean creatures, expanding artistic expression.
- Make it seasonal! Create jellyfish in shades of red, white, and blue for Independence Day or green for St. Patrick’s Day.
These variations can adapt to your child’s interests, fostering creativity and joy.
Storing or Reusing This Project
After creating their jellyfish, ideas for reuse make cleanup easy. If they want to keep them around, encourage kids to display their crafts in their rooms or around the house. Hanging the jellyfish in windows can create a peaceful effect as they float in the breeze.
If they want new creations, gently dismantling the jellyfish to save the string and googly eyes for future crafts can be eco-friendly. Plastic bags can be recycled depending on your local guidelines, reinforcing lessons about reducing waste.
FAQs About Floating Jellyfish Craft
As you plan for the Floating Jellyfish Craft, here are some common questions parents might have:
What if the craft makes a mess?
Crafting can be colorful, but setting a designated workspace helps manage messiness. Have paper towels or wipes ready for quick clean-ups.
Is this project safe for all ages?
Children above preschool age can typically handle scissors with supervision. If younger kids join, consider pre-cutting the circles for safety.
Can we substitute ingredients if we don’t have googly eyes?
Absolutely! You can draw eyes or use buttons for a different look without sacrificing creativity.
What if the project doesn’t turn out perfectly?
Remind children that crafting is about the process, not perfection. Celebrate the uniqueness of each creation!
How can we store the finished jellyfish?
Gently hanging or placing them in a box will preserve their shape. Storing them carefully reduces wear and tear.
Conclusion
Conclusion
In wrapping up this engaging craft, you’ll find that the Floating Jellyfish Craft is not just a creative outlet but an opportunity for learning and bonding. Allow your children to explore their imaginations and create something unique. If you’d like to explore more fun ideas, check out this Coffee Filter Jellyfish Craft – Happy Hooligans or dive into the DIY Floating Jellyfish Craft – Highlights Parents for additional inspiration on crafty adventures. Enjoy the process, embrace the creativity, and have fun!
PrintFloating Jellyfish Craft

Engaging Floating Jellyfish Craft that combines fun with creativity for kids using simple, household materials.
- Prep Time: 10 minutes
- Cook Time: 30 minutes
- Total Time: 40 minutes
- Yield: 1 jellyfish per craft session
- Category: Craft
- Method: DIY Crafting
- Cuisine: N/A
- Diet: N/A
Ingredients
- Colorful plastic bags
- String or fishing line
- Scissors (adult supervision needed)
- Craft glue or hot glue gun (adult supervision needed)
- Googly eyes (optional)
- Circular template (plate or lid for tracing)
- Optional: glitter or sequins for extra sparkle
Instructions
- Lay the colorful plastic bags flat on a clean surface.
- Use a circular template to trace and cut out several circles from the bags.
- Cut a length of string or fishing line to hang your jellyfish.
- Attach the string to the center of one of the circles with glue and let it set.
- Layer the other circles on top of the base circle, gluing them to create a jellyfish shape.
- Add googly eyes to the top circle for personality.
- Optional: Sprinkle glitter or sequins around the edges for added sparkle.
- Hang the completed jellyfish in a spot for display.
Notes
Encourage kids to express their creativity, and consider pre-cutting circles for younger children for safety.
Nutrition
- Serving Size: 1 craft
- Calories: 0
- Sugar: 0g
- Sodium: 0mg
- Fat: 0g
- Saturated Fat: 0g
- Unsaturated Fat: 0g
- Trans Fat: 0g
- Carbohydrates: 0g
- Fiber: 0g
- Protein: 0g
- Cholesterol: 0mg