

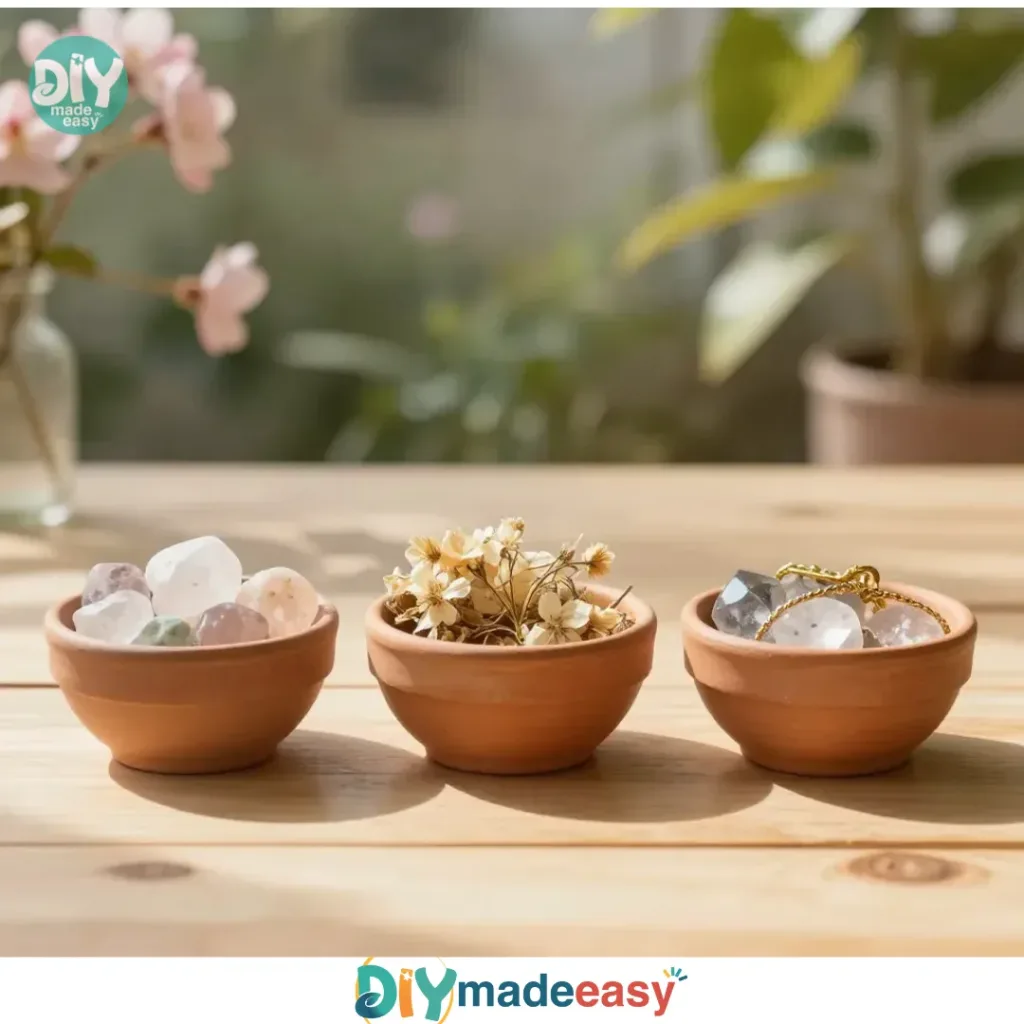
No Oven Needed! Terracotta Pots
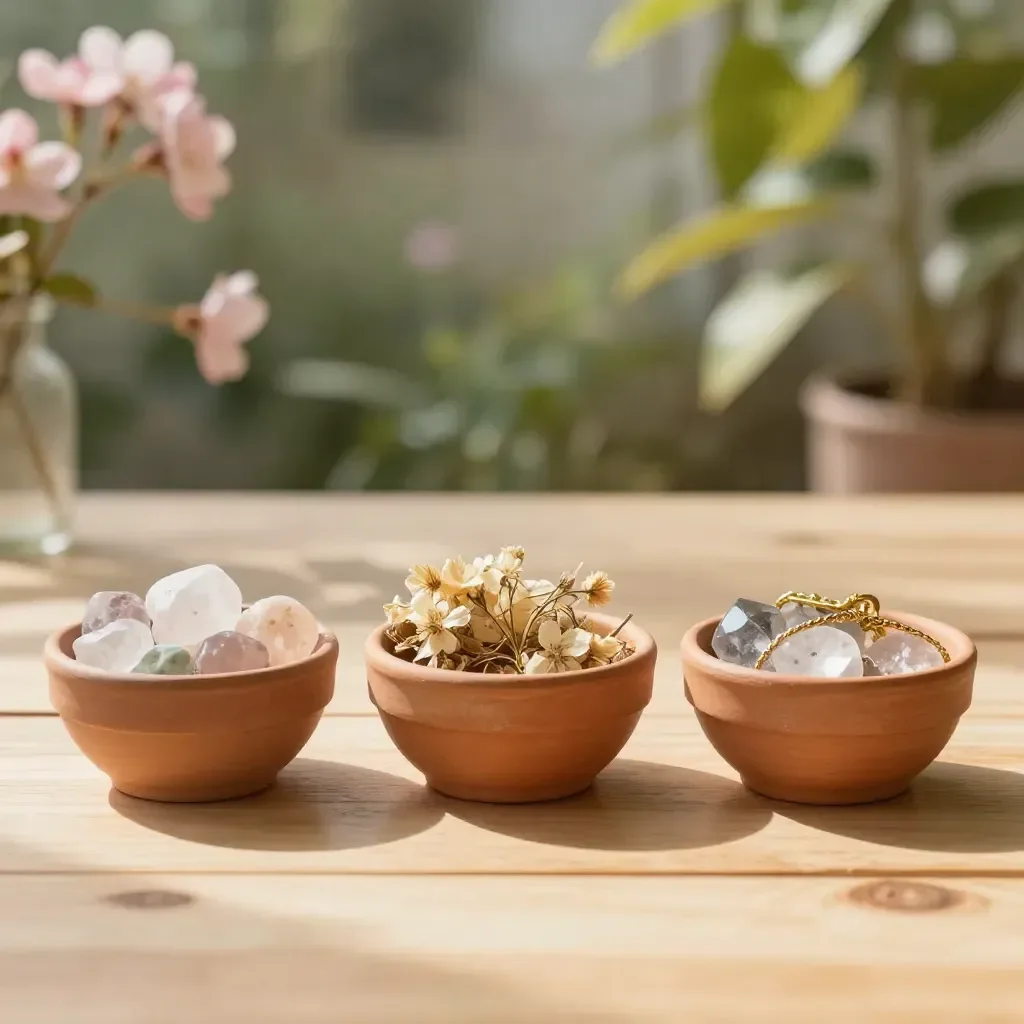
Late on a Saturday afternoon, your kids come running to you with that familiar spark of creativity in their eyes. They want to make something special, but you’ve been busy all day and need a quick activity that doesn’t require a lot of prep time or kitchen chaos. That’s where No Oven Needed! Terracotta Pots come into play. This delightful project is perfect for a last-minute endeavor. Using simple ingredients, you can create charming terracotta pots without ever turning on the oven. Your kids will love shaping them into pinch pots or small jewelry dishes while exploring their artistic side.
Why This No Oven Needed! Terracotta Pots Works So Well
This project stands out because it’s incredibly low-prep. You gather just a few everyday items from your kitchen, and in no time, you have a fun activity that keeps everyone engaged. The beauty lies in its simplicity. You can easily fit the project into a busy day all while providing a memorable experience for your kids.
The ingredients needed are common household items: cornstarch, baking soda, water, and a bit of acrylic paint. There’s no extensive clean-up required, and the whole process feels satisfying without being overwhelming. It’s the perfect way to bridge a busy day and a moment of creativity.
With the steps clearly laid out, you won’t feel lost or confused. Each action flows naturally into the next, making it manageable even if you’re juggling multiple tasks. The results are reliable, ensuring that your kids feel accomplished after making their own pots. Plus, there’s more than one way to be creative, and this project encourages kids to express themselves as they shape their pots into whatever form they wish.
A Quick Look Before You Begin
Making No Oven Needed! Terracotta Pots is a straightforward process. Set aside about an hour for the whole experience. This includes time to gather your materials, prepare the mixture, and let the pots dry.
The setup is easy and can be done right in your kitchen. If you have an old pot or saucepan, you’ve got the perfect tool. The mess level is minimal, just a little paint and a few ingredients that can easily be wiped away. Adult involvement is helpful but not mandatory for every step, especially when it comes time to shape the pots.
Give your kids some space to explore and create. You’ll be pleasantly surprised at what they dream up. Just keep an eye on them during the heating phase and crafting process.
/
Materials You’ll Need
1 cup cornstarch
2 cups baking soda
1 1/4 cups water
a drop of brown or orange acrylic paint
Cornstarch is a common household item that many have on hand for cooking. Baking soda is likely in your pantry for baking. Water is simply tap, and acrylic paint adds a splash of color. The paint color is optional but can make a fun difference in the final pots. Using a drop of brown or orange gives it that terracotta look.
These materials are also budget-friendly. You’ll find them all within easy access, which is another perk when you need to whip up something engaging without extra trips to the store.
STEP-BY-STEP DIRECTIONS
- In a small pot, mix the cornstarch, baking soda, water, and paint over medium heat. This is where the fun begins, and you can see how the mixture changes right before your eyes. Stir well to combine everything completely.
- Stir constantly for 4–5 minutes until it thickens to a smooth texture. You’ll notice it starting to form a dough-like consistency. This is a very satisfying texture to work with, so enjoy the process.
- Remove from heat, let cool completely, and knead until it feels like clay. This step is important; it turns the mixture into a workable form. Kids will love getting their hands in there, feeling the texture transform.
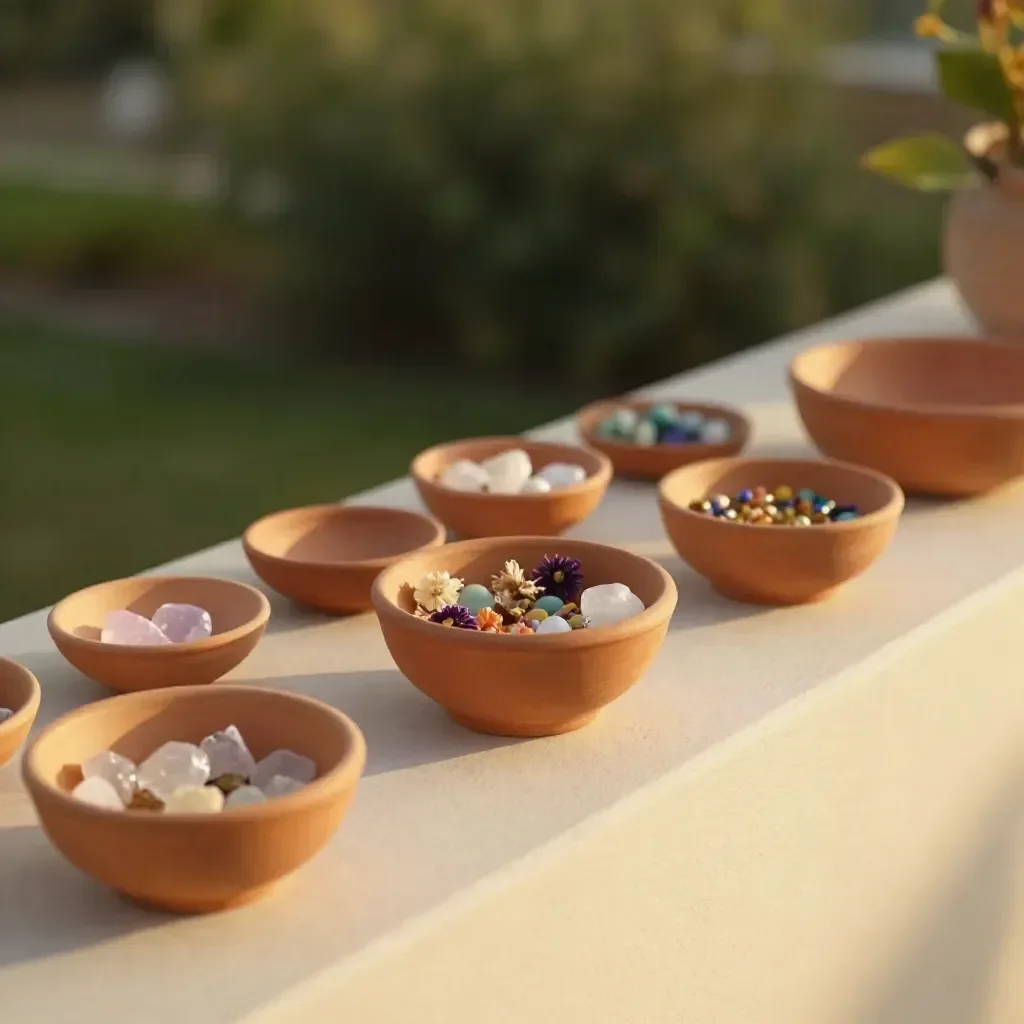
- Roll into balls and let kids shape them into pinch pots or jewelry dishes. Encourage them to be creative. They can press their thumbs into the center to make a pinch pot or flatten it into a dish.
- Place the finished pots in the sun for 24 hours to harden completely. This step gives them time to firm up so they hold their shape when dry.
The Learning Behind This DIY
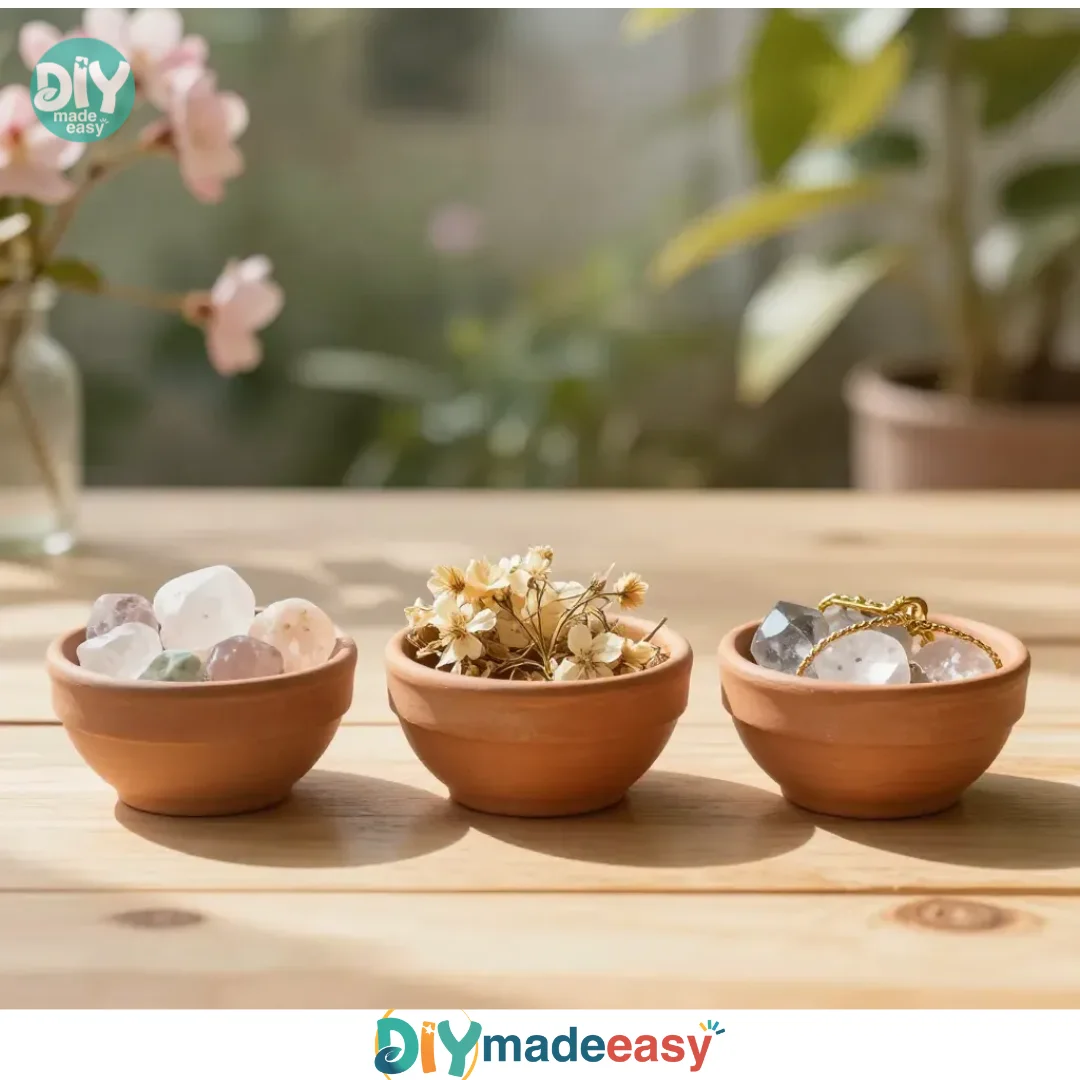
This DIY project isn’t just about creating cute pots. It’s an opportunity for kids to engage in fine motor skills and coordination. Rolling the mixture into balls or pinching the clay helps strengthen their hand muscles.
As they work the dough, they explore cause and effect. When they exert pressure, they see the material change. Each gentle pinch and press shows them how their actions cause different results, turning a simple mixture into their finished work.
This kind of hands-on exploration helps build confidence as they create something meaningful. Plus, it promotes a sense of accomplishment once they see the final product. They realize that creativity doesn’t always require complex tools or methods sometimes, just a little elbow grease and imagination are enough.
Troubleshooting Common Issues
What if the mixture seems too runny? If you notice that the texture isn’t thickening, try turning up the heat slightly. Stir more vigorously, as it can sometimes catch on the bottom and become uneven.
If the pots crack while drying, that could mean that they need more time in the sun. Leaving them to dry longer often does the trick. Also, make sure they aren’t too thick to start with; thinner layers usually dry better and hold together nicely.
If your kids aren’t happy with how their pots look, encourage them. It’s all about the process and less about achieving perfection. They can always reshape or remold as they see fit. Reassure them that every pot is unique, just like the thoughts that came from their imaginations.
Discover Easy Kids Activities
Looking for simple, fun ideas for kids? Explore our Low Prep Kids Activities and find quick projects that spark creativity without long prep time.
Easy Variations to Try
- Add Paint Swirls: Instead of just one color, let your kids choose multiple colors and swirl them together for a more vibrant look.
- Theme Shapes: Depending on the season, encourage your kids to shape their pots into themed crafts, such as pumpkins for Halloween or flowers for spring.
- Personalized Designs: They can carve designs or names into the pots before they dry. This gives each pot a personal touch.
- Weatherproofing: After they dry, give the pots a coat of clear sealant to make them suitable for outdoor use.
- Functional Items: Instead of traditional pots, they can create small trays for holding items like jewelry or desk supplies.
These variations allow for endless creativity, helping your kids explore different ways to use the same basic process.
Storing or Reusing This Project
If you find that your pots are a bit too fragile, they can still serve as decorative items rather than functional ones. They can be used to hold lightweight objects or as colorful pieces on a shelf.
When cleaning up, make sure to keep any leftover materials for future projects. The cornstarch and baking soda can be repurposed for other DIY activities or even baking.
If you notice your kids have moved on from their pots, consider repurposing them. They can be plant pots for tiny succulents or even used as part of a larger art project later on.
FAQs About No Oven Needed! Terracotta Pots
“What if my kids make a big mess?
” Every project has the potential for a little mess. You can help minimize it by having a designated workspace. A simple table covered with butcher paper can catch spills. Most of the ingredients are easy to clean with water.
“Are these safe for younger kids?
” Yes, this project is safe when supervised, as it’s made from non-toxic materials. Always keep an eye on younger children while they’re handling the mixture, especially when it’s warm.
“Can we use different paints or colors?
” Absolutely! While the recommended colors are brown or orange for a classic terracotta look, feel free to let their creativity shine. Use whatever non-toxic acrylic paints you have.
“Will these pots last over time?
” They are sturdy but not indestructible. They last well for decorative purposes or holding lightweight objects, but they are not meant for heavy-duty use.
“How do we store the leftover materials?
” Just keep any leftover cornstarch, baking soda, or paint in sealed containers. Make sure they’re dry and stored away from moisture to keep everything fresh for next time.
A Final Helpful Note
This project is meant to be a fun experience. Don’t stress about every little detail; enjoy the time spent creating together. Remember, flexibility is key. If things don’t go as planned, that’s perfectly okay. Each pot is a canvas for your child’s creativity, and every experience is an opportunity to explore together. Your kids will be proud of their creations, and so will you. Happy crafting!
PrintNo Oven Needed! Terracotta Pots
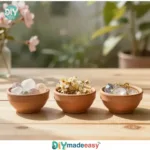
Engage your kids in a fun and easy DIY project to create charming terracotta pots without an oven.
- Prep Time: 10 minutes
- Cook Time: 5 minutes
- Total Time: 60 minutes
- Yield: Several small pots
- Category: Crafts
- Method: Stovetop
- Cuisine: N/A
- Diet: N/A
Ingredients
- 1 cup cornstarch
- 2 cups baking soda
- 1 1/4 cups water
- 1 drop of brown or orange acrylic paint
Instructions
- In a small pot, mix the cornstarch, baking soda, water, and paint over medium heat.
- Stir constantly for 4–5 minutes until it thickens to a smooth texture.
- Remove from heat, let cool completely, and knead until it feels like clay.
- Roll into balls and let kids shape them into pinch pots or jewelry dishes.
- Place the finished pots in the sun for 24 hours to harden completely.
Notes
Encourage kids to get creative with shapes and designs. Supervise younger children while handling warm materials.
Nutrition
- Serving Size: 1 pot
- Calories: N/A
- Sugar: N/A
- Sodium: N/A
- Fat: N/A
- Saturated Fat: N/A
- Unsaturated Fat: N/A
- Trans Fat: N/A
- Carbohydrates: N/A
- Fiber: N/A
- Protein: N/A
- Cholesterol: N/A