

Window Magic: a delightful DIY project that can turn a busy afternoon into a moment of creativity and color. Imagine a day when your kids come rushing to you with a sudden urge to craft something beautiful. The materials needed for this project are simple and often found around the house. You’ll soon find that with colorful tissue paper or lightweight fabric, you can create enchanting window art that dances with light, adding warmth and cheer to your home’s atmosphere.
Why You’ll Love Making Window Magic

This project is low-prep and wonderfully approachable. It doesn’t require specialized skills or fancy tools, making it perfect for families with varying levels of crafting experience. Many parents understand the struggles of trying to find an engaging activity that fits into a busy schedule. That’s what makes Window Magic such a gem. You can step right into it without lengthy preparations or extensive cleanup, allowing you and your kids to channel your creativity without stress.
Date nights, rainy days, or even just a quiet Sunday afternoon can transform into a magical crafting session that everyone will enjoy. You can easily adjust the complexity based on the age of your children, ensuring that everyone feels included and proud of their contribution.
A Quick Look Before You Begin
Making your own Window Magic can come together surprisingly quickly. Setting aside about an hour should give you ample time to create this colorful masterpiece, even if you and your kids are learning as you go. This project stays within an easy mess level; most of your materials are non-toxic and easy to clean. Just having a pair of scissors and glue on hand keeps the supplies simple.
Adult involvement is a great way to guide younger children, helping them navigate the cutting and layering steps. It can be a lovely bonding experience bonding over color choices and creative ideas. Plus, finishing touches like choosing where to hang the artwork become an interactive and exciting decision-making process for your family.
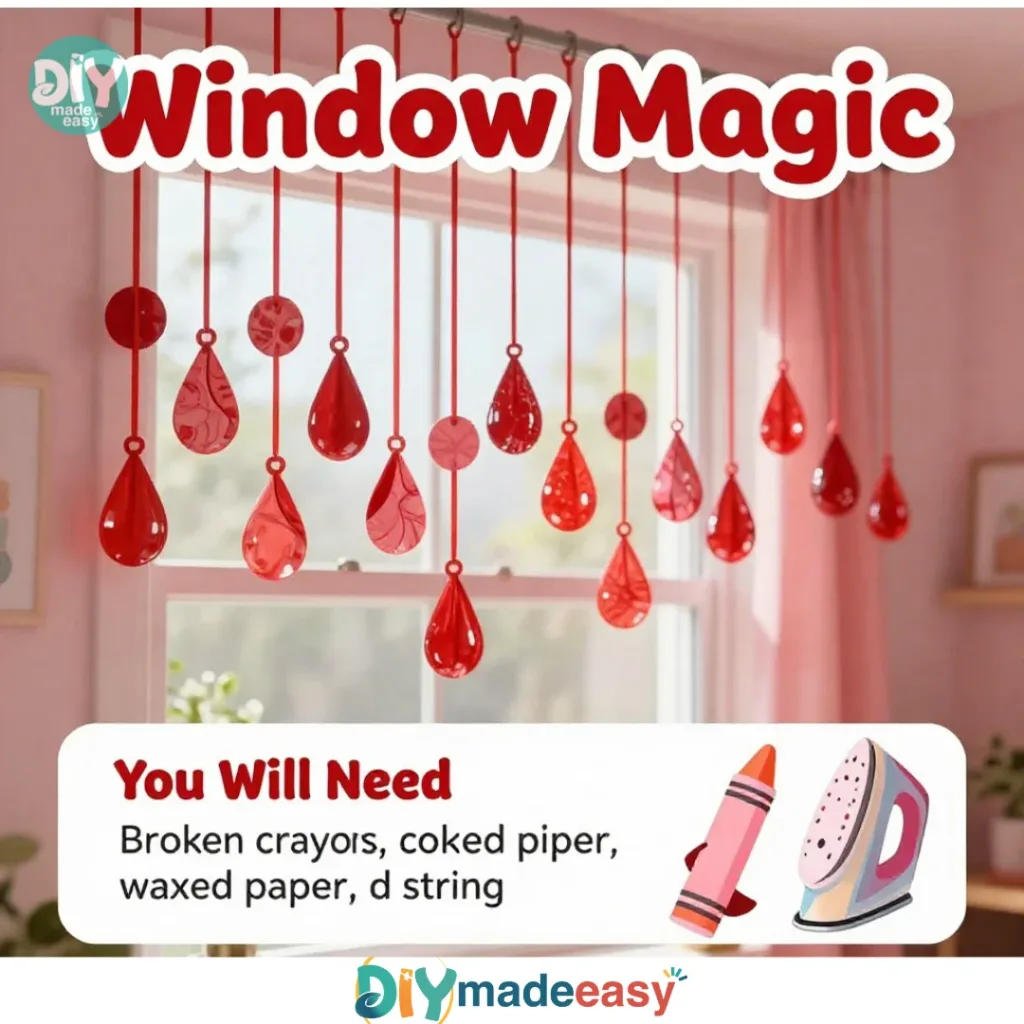
Materials You’ll Need
Gathering your materials is an important first step to ensure a smooth crafting experience. Here’s a clear list of what you’ll be using for this DIY project.
- Colorful tissue paper or lightweight fabric (brightly colored options work best)
- Scissors (be sure to have a pair that’s easy to handle)
- Adhesive (a glue stick or craft glue is ideal)
- Clear adhesive tape (for additional securing)
- Small wooden or plastic frame (optional; adds a lovely touch)
- String or thin ribbon (for hanging the artwork)
- Decorative elements (like nature-inspired embellishments to personalize your project)
These materials are all common household items. They can easily be found or substituted based on what you have at home. When you get everything together, the real fun can begin!
STEP-BY-STEP DIRECTIONS

- Prepare Your Workspace: Start by finding a calm area free from distractions. Lay out all your materials neatly to help maintain order. This will give everyone a clear view of what’s available and creates a relaxing environment.
- Cut Your Materials: Carefully cut the tissue paper or fabric into various shapes. Think triangles, circles, or even leaves. The goal is to have a range of shapes that will help create layered designs.
- Arrange the Pieces: Experiment freely with the layout of your cut materials. Layer the colors and shapes in a way that pleases your eye. There’s no right or wrong here; it’s about what feels good to you and your children.
- Glue Your Layers Together: Once satisfied with your arrangement, begin gluing down the layers. A thin layer of glue will hold the colors together beautifully. Press gently to avoid any messy spills and let the pieces meld together.
- Attach the String or Ribbon: Cut a length of string or ribbon. Adhere it at the top of your artwork for hanging. This is a lovely moment for kids to get involved, adding a personal touch.
- Finishing Touches: If you’re using a frame, place your creation inside it. If not, adhere it directly to the window. Don’t hesitate to add decorative elements if you feel inspired. Nature-inspired embellishments like leaves or small flowers can add to the visual appeal.
- Hang Your Window Magic: Finally, find the perfect spot near a window. Hang your artwork where the light can play through it, creating vibrant patterns on your walls or floor. Enjoy watching the magic unfold as sunlight dances through the colors.
The Learning Behind This DIY

Making Window Magic opens the door to a delightful exploration of science concepts and skills. As you and your kids work together, you’re unknowingly learning about color theory and light diffusion. Children practice fine motor skills as they cut, layer, and glue materials. The act of arranging the shapes helps develop their coordination.
This project encourages them to explore cause and effect too. When they hold different colors up to light, they’ll instantly see how the colors mix and change. It fosters curiosity and makes art both playful and educational.
Troubleshooting Common Issues
If something doesn’t go exactly as planned, don’t worry it’s all part of the creative process. Sometimes, the glue may be too thick, causing the layers to weigh down or warp. If this happens, gently peel away the layers and apply a lighter layer of glue.
If you find the shapes slipping while drying, clear adhesive tape can be your quick fix. A dash of tape can hold everything in place while the glue sets. Recognize that each project will be unique embrace the quirks and let them become part of your window magic!
Discover Easy Kids Activities
Looking for simple, fun ideas for kids? Explore our Low Prep Kids Activities and find quick projects that spark creativity without long prep time.
Easy Variations to Try
Want to get more creative? Here are a few optional ideas for changing things up:
- Seasonal Themes: Use colors and shapes that represent different seasons. Bright greens and uncut flower shapes for spring, oranges and browns for autumn.
- Layered Textures: Try combining different types of fabric or tissue paper to create a texture-rich masterpiece.
- Family Projects: Have each family member make their own piece and create a gallery wall filled with colorful art.
- Nature Art: Collaborate with kids in collecting real leaves, petals, or small twigs to integrate into your designs.
These variations encourage growth and creativity throughout each season and occasion.
Storing or Reusing This Project
Once the project is complete, you can choose to keep your creation up for a while, or take it down when you feel ready for a change. If you decide to take it down, gently peel it off, ensuring you don’t tear it. Store it flat in a box or document holder to avoid wrinkles.
If you want to repurpose your materials for another project, ensure the leftover bits of tissue paper or fabric are stored neatly for a future craft day. Taking care of your materials not only keeps them organized but reduces waste too!
FAQs About Window Magic
Is this project going to make a mess?
Yes, there might be some glue spills and bits of paper flying about, but it’s manageable. Having a tablecloth or an old newspaper underneath can help with cleanup.
What age range is this project appropriate for?
This project works well for a variety of ages. Younger children might need more adult supervision, particularly with scissors and glue. Older kids can take the lead with guidance.
Can I use other materials if I don’t have tissue paper?
Absolutely! You could use lightweight fabric or even scrap paper. Each material will produce unique results, and that’s part of the fun!
What do I do with leftover supplies after the project?
Store them in a safe place or reuse them for another crafting activity. This keeps your space tidy and sets you up for future fun.
Will the results be perfect?
Results may vary, and that’s okay. Each piece of art is unique, and the beauty of creativity comes in its imperfections.
Conclusion
Creating Window Magic is about more than just making art; it’s about fostering creativity and spending quality time with your family. By embracing this project, everyone can feel proud of their work, regardless of artistic skill. Remember, the joy comes from the process, not just the outcome.
If you’re looking for high-quality materials and supplies, you can check out Window Magic Supply. For those interested in custom window treatments, Window Magic: Custom Installed Window Shutters, Shades & Blinds offers great options as well. Take the plunge into crafting and enjoy the vibrant atmosphere that your Window Magic will bring!
PrintWindow Magic DIY Craft

A fun and engaging DIY project for the whole family to create colorful window art using simple materials.
- Prep Time: 15 minutes
- Cook Time: 45 minutes
- Total Time: 60 minutes
- Yield: 1 colorful window art piece
- Category: DIY Craft
- Method: Crafting
- Cuisine: N/A
- Diet: N/A
Ingredients
- Colorful tissue paper or lightweight fabric
- Scissors
- Adhesive (glue stick or craft glue)
- Clear adhesive tape
- Small wooden or plastic frame (optional)
- String or thin ribbon
- Decorative elements (nature-inspired embellishments)
Instructions
- Prepare your workspace: Find a calm area free from distractions and lay out all materials.
- Cut your materials: Cut the tissue paper or fabric into various shapes like triangles, circles, or leaves.
- Arrange the pieces: Experiment with the layout of your cut materials to create layered designs.
- Glue your layers together: Begin gluing down the layers, pressing gently to avoid spills.
- Attach the string or ribbon: Adhere it at the top of the artwork for hanging.
- Finishing touches: Use a frame or adhere directly to the window, adding decorative elements if desired.
- Hang your Window Magic: Find a perfect spot near a window to display your artwork.
Notes
This project is perfect for all ages; adult supervision is recommended for younger children during cutting and gluing.
Nutrition
- Serving Size: 1 artwork
- Calories: 0
- Sugar: 0g
- Sodium: 0mg
- Fat: 0g
- Saturated Fat: 0g
- Unsaturated Fat: 0g
- Trans Fat: 0g
- Carbohydrates: 0g
- Fiber: 0g
- Protein: 0g
- Cholesterol: 0mg