

Making slime might just turn a busy afternoon into an unforgettable family activity. Imagine your kids buzzing with excitement and asking to create something that throws them a splash of joy. That’s when the Slime Recipe comes in handy. With just a few simple ingredients you likely have at home, you can whip up a fun, gooey creation that keeps little hands busy and sparks creativity. The best part? It’s an easy, low-prep project that requires just a bit of mixing and kneading, making it perfect for moments when you need an instant, satisfying activity.
Why This Slime Recipe Works So Well

This Slime Recipe shines for several reasons that make it an excellent choice for family-friendly fun. First, it uses common materials that you can find in almost any kitchen. White school glue, water, and a few optional extras like food coloring can easily be gathered together without a trip to the store. This low-prep friendliness is crucial for busy families, especially on days filled with endless activities.
Furthermore, this recipe is approachable for all ages. Children can take the lead while adults help with smaller tasks like using the contact lens solution. Seeing the kids measure, pour, and stir gives them a sense of independence and accomplishment. Also, the consistency of the slime is very forgiving, meaning it’s hard to mess up completely. Even if the mixture turns out different than expected, the process is still enjoyable, and kids learn to adapt.
Reliability is another plus. When you follow the steps, you typically achieve success on the first try, which is fantastic for building confidence in young makers. It’s a simple project that provides real results, making it a winner for family time.
Discover Easy Kids Activities
Looking for simple, fun ideas for kids? Explore our Low Prep Kids Activities and find quick projects that spark creativity without long prep time.
A Quick Look Before You Begin
Making slime is a straightforward project that doesn’t require a significant time commitment. Typically, setting everything up and creating the slime will take around 15-20 minutes. Depending on the ages of your children, you may want to be available to assist, particularly during the stirring and kneading stages.
In terms of mess level, it’s relatively contained, especially when you set up your workspace on a kitchen counter or table. You might have a little glue or food coloring on your hands, but it washes off easily. Just keep paper towels nearby for quick clean-ups. Overall, this DIY fits well into busy schedules without overwhelming anyone.
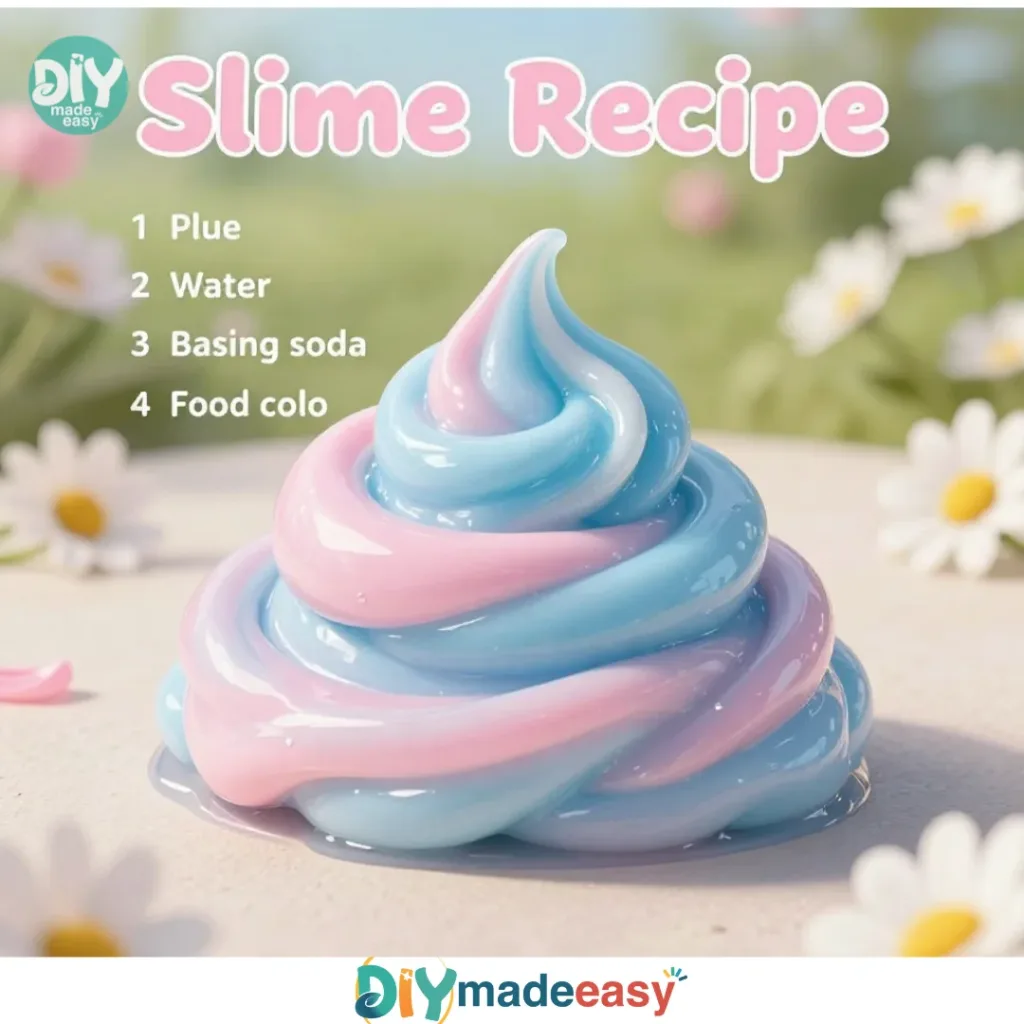
Materials You’ll Need
- 1 cup white school glue (non-toxic)
- 1 cup water
- 1 teaspoon baking soda (optional for consistency)
- Food coloring (optional)
- 1 tablespoon contact lens solution (contains boric acid)
- A mixing bowl
- A spoon or spatula for stirring
These materials are straightforward and commonly found around the house. The glue is non-toxic, making it suitable for kids. If you wish to make the slime stretchier, consider adding baking soda, but know that it is not necessary. Food coloring lets children add a personal touch, encouraging creativity and fun.
STEP-BY-STEP DIRECTIONS

- In a mixing bowl, add one cup of white school glue. Watch how it flows and settles. This clear liquid will form the base of your slime.
- Pour in one cup of water and stir gently to combine. The mixture will become more fluid. Make sure to mix thoroughly, so all the glue is incorporated.
- (Optional) Add one teaspoon of baking soda and stir again. This will help adjust the slime’s consistency, making it even stretchier if that’s your goal.
- (Optional) Add food coloring and mix. Let the kids choose their favorite colors. Watch the transformation as the color blends throughout the glue and water mixture.
- Gradually stir in one tablespoon of contact lens solution until the mixture starts to form. You will see it become thicker and begin to pull away from the bowl. This is where the magic happens!
- Knead the slime gently with your hands until it becomes stretchy. It may feel a bit sticky at first, but don’t worry. As you knead, you’ll find it becomes smoother and more pliable.
- Shape the slime into a smooth ball and enjoy. This is the moment to play around, stretch it, and see how it reacts in your hands.
The Learning Behind This DIY

Making slime is not only a fun activity but a learning experience too. Children grasp fundamental science concepts like mixing and chemical reactions. When glue is combined with boric acid from the contact lens solution, it creates a new substance. Kids can observe the transformation from a liquid to a pliable, stretchy substance.
This project also promotes fine motor skills and coordination. As children stretch and knead the slime, they work on hand strength and dexterity. These physical actions may seem simple but are essential for development.
It also encourages creativity as they decide how to customize their slime with colors and textures. Every child can have a unique creation, leading to imaginative play long after the slime is made.
Troubleshooting Common Issues
If Something Doesn’t Go as Planned
Even the most straightforward projects can have hiccups. It’s perfectly normal. If your slime seems too runny, consider adding a few drops of contact lens solution gradually, mixing until you reach the desired consistency. On the other hand, if your slime is too thick, adding a little more water can help dial it back.
If the slime doesn’t stretch and tears instead, it’s likely not mixed enough or requires more kneading. Encouraging kids to knead longer can help the slime come together better. Remember, this is all part of the process, so reassure them that experimenting is part of making something fun.
Easy Variations to Try
Simple Ways to Change It Up
Once you master the basic slime recipe, don’t be afraid to explore variations. Here are a few ideas:
- Glitter Slime: Add glitter to the mixture for a sparkly twist that is sure to captivate kids.
- Scented Slime: Incorporate a few drops of essential oils to make your slime smell delightful. Lavender can be soothing, while citrus can be invigorating.
- Foam Slime: Mix in small foam beads for a fun texture. The result will feel different and provide extra fun during play.
- Seasonal Slime: Try using different colors or scents based on the season. Bright pastels for spring and deep oranges for fall can enhance the creative experience.
- Glow-in-the-Dark Slime: Incorporate glow powder or use fluorescent colors to make nighttime play exciting.
Storing or Reusing This Project
What to Do With It After
Once you’re done having fun with your slime, consider storage and reuse. The best way to preserve your slime is by placing it in an airtight container. This will keep it fresh and prevent it from drying out. Make sure to label the container if you have multiple colors or variations.
Clean-up is simple. Use a damp cloth to wipe down surfaces and hands afterward. The glue should wash off easily, but pay attention to any food coloring that could leave stains.
Reusing your slime is also an option. After some play, store it and bring it back out later. It can help prolong the fun and keep your kids entertained for days to come.
FAQs About Slime Recipe
What if my slime is too sticky?
If your slime sticks to your hands, try adding a little more contact lens solution. A few drops should help reduce the stickiness, making it easier to handle.
Is this slime safe for younger kids to play with?
Yes, this recipe uses non-toxic materials. However, since it involves small parts and ingredients, supervising younger children is always best to ensure safety.
Can we use something other than contact lens solution?
While contact lens solution contains boric acid, which is necessary for slime’s formation, you can also find alternatives or recipes that omit this ingredient altogether. For example, you might explore methods using cornstarch or other household items.
What do we do if something spills during the process?
Accidents happen, and cleanup is part of the fun! Use paper towels or a cloth to wipe up spills right away. The sooner you take care of it, the easier it is to clean.
Conclusion
Making slime with your kids should always feel like a fun, engaging experience. Embrace the small messes and occasional hiccups along the way. With challenges come opportunities for learning and creativity. For those looking beyond this recipe, discover more about different types of slime, or explore ways to give your children sensory-rich activities by checking out this easy sensory slime recipe. Enjoy your slime-making adventure, knowing that real memories are created in these simple, joyful moments!
PrintSimple Slime Recipe

An easy and fun slime recipe perfect for kids and family activities, using common household ingredients.
- Prep Time: 10 minutes
- Cook Time: 5 minutes
- Total Time: 15 minutes
- Yield: 1 batch of slime 1x
- Category: Activity
- Method: Mixing
- Cuisine: N/A
- Diet: N/A
Ingredients
- 1 cup white school glue (non-toxic)
- 1 cup water
- 1 teaspoon baking soda (optional for consistency)
- Food coloring (optional)
- 1 tablespoon contact lens solution (contains boric acid)
- A mixing bowl
- A spoon or spatula for stirring
Instructions
- Add one cup of white school glue to a mixing bowl.
- Pour in one cup of water and stir gently to combine.
- Add one teaspoon of baking soda (optional) and stir again.
- Mix in food coloring if desired.
- Gradually stir in one tablespoon of contact lens solution until the mixture starts to form.
- Knead the slime gently with your hands until it becomes stretchy.
- Shape the slime into a smooth ball and enjoy.
Notes
For fun variations, try adding glitter, essential oils, or foam beads. Store in an airtight container after use.
Nutrition
- Serving Size: 1 batch
- Calories: 50
- Sugar: 0g
- Sodium: 5mg
- Fat: 0g
- Saturated Fat: 0g
- Unsaturated Fat: 0g
- Trans Fat: 0g
- Carbohydrates: 12g
- Fiber: 0g
- Protein: 0g
- Cholesterol: 0mg