

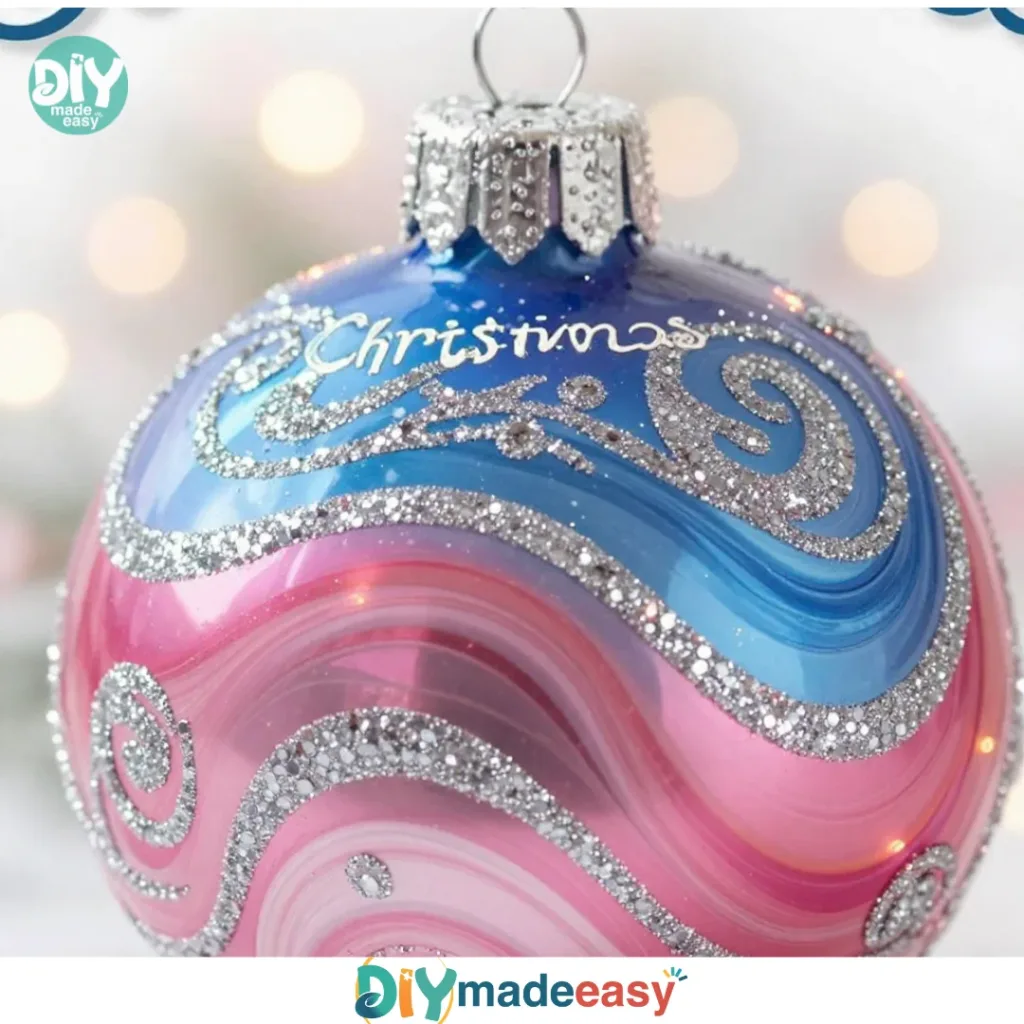
In the hustle and bustle of a busy afternoon, the kids start asking for something fun to do right now it’s a last-minute scramble to find a project everyone will enjoy. What about creating some beautiful Hydro Dipped Ornaments? This activity not only keeps everyone engaged but also results in stunning decorations you can hang on your tree or give as heartfelt gifts. It’s a project that meshes creativity with an easy process, perfect for a family day at home.
Why You’ll Love Making Hydro Dipped Ornaments

Hydro Dipped Ornaments are a fantastic way to bring holiday cheer and embrace creativity with very little prep. The appeal lies in the simplicity and the instant gratification of seeing your designs take shape before your eyes.
The best part of this craft is that it requires minimal supplies; you likely have everything you need right at home. All ages can participate, making it quite versatile for family gatherings or playdates. This project also wraps up quickly, which is great for those short on time. Kids can help without feeling overwhelmed, and the mess is manageable when prepared correctly.
Another fantastic aspect to consider is the ease of clean-up. While the paints may spill or splatter, a simple wipe-down of your work surface will have things back to normal in no time. You’ll be amazed at how easy it is to create something that looks professionally crafted, using just basic materials.
Create with the Seasons
Celebrate every time of year with hands-on ideas. Explore our Seasonal DIY Projects and enjoy creative crafts perfect for holidays and seasonal moments.
A Quick Look Before You Begin
Making Hydro Dipped Ornaments is fast and fulfilling. You can expect to spend about 30 to 45 minutes on the entire project a perfect time frame for a weekend afternoon. Set aside some extra time if you plan to make several ornaments, as each will require some drying time after dipping.
Gather everything in one place to streamline your process. It’s ideal to work near the kitchen or a well-ventilated area because some paint can have strong fumes. Plus, having paper towels handy will help manage any spills, allowing you to focus on enjoying the craft.
An adult should supervise, especially if younger kids are participating, but everyone can help with the fun, creative parts. Get ready to roll up your sleeves and dive into this colorful adventure!
Materials You’ll Need
- Clear glass or plastic ornaments
- Acrylic paint in various colors
- Disposable container
- Toothpicks or skewers
- Paper towels
- String or hooks for hanging
These materials are easy to find, with many likely already being common household items. The ornaments can be glass or plastic, depending on your preference and comfort level with the materials. Acrylic paint comes in a wide range of colors, allowing for personal expression. The disposable container is meant for a quick and easy clean-up, and the toothpicks or skewers are perfect for mixing and maneuvering the paint.
Step-by-Step Directions

- Take off the tops of the ornaments. Start by carefully removing the metal tops of the ornaments. This step will help prevent any mess when dipping.
- Fill the disposable container with water. Choose a container wide enough to fit the ornament. Fill it about halfway, leaving enough space for the ornament to be submerged without overflowing.
- Add acrylic paints to the water and swirl gently. Go ahead and drop small amounts of different colors into the water. The paints will float on top, creating a vibrant layer. Swirling the colors leads to beautiful marbling.
- Use a toothpick or skewer to mix the paints lightly. This is where you can create interesting patterns. It’s like painting with water just a gentle mix to avoid bubbles.
- Dip the ornament into the water while twisting it. Hold the ornament by the opening. As you slowly dip it into the water, gently twist the ornament to catch the colors. This action ensures that the paint adheres beautifully to the ornament’s surface.
- Lift it out carefully and let it dry on paper towels. Hold the ornament over the container to allow any excess paint to drip off. Place it on paper towels this makes cleaning easier, plus the towels absorb any extra water and paint.
- Once dry, put the tops back on. Give the ornament a moment to dry completely before carefully replacing the metal top. This step is crucial to keep everything intact.
- Add string or hooks for hanging. You can use simple twine or ready-made hooks to hang your ornaments. Find a lovely spot or a tree to display your creations.
- Display your creations with pride! Step back and admire your artistic work. You did it! Enjoy the fruits of your creativity.
What Kids Practice While Making This

While making Hydro Dipped Ornaments, kids engage in various learning experiences that support their growth. The process helps strengthen fine motor skills through the actions of dipping, twisting, and maneuvering the ornament in the water. Every movement requires coordination, promoting hand-eye coordination which is essential as they grow.
Moreover, this project introduces basic science concepts like color mixing and floating. Children can observe how colors combine and change in water, leading to delightful surprises. The cause-and-effect relationship between their actions and the resulting designs encourages critical thinking and problem-solving. Plus, they can learn patience as they wait for the ornaments to dry before reassembling them.
This hands-on activity not only enhances their creativity but also lays the foundation for various skills. You’ll likely find them inspired and excited to explore more projects after this one.
Troubleshooting Common Issues
If Something Doesn’t Go as Planned
Sometimes, craft projects don’t go exactly as anticipated. If the paint doesn’t stick well to the ornament, ensure that the paint isn’t too thick in the water. Thinning it a bit with some water can improve the adhesion.
If the colors are too muddy, try using less paint or adjusting the swirling time. Remember, every design is unique; celebrate the happy accidents that come your way!
In case of any spills, don’t worry too much. Simply grab some paper towels to clean up quickly. Keeping your work area tidy before you start can make clean-up less daunting. With a little practice, you’ll master the art of hydro dipping ornaments.
Easy Variations to Try
- Experiment with different colors. Swap out color palettes based on holidays or seasons. Try pastels for spring or bright colors for summer, or use traditional reds and greens for Christmas ornaments.
- Add glitter. Before dipping, sprinkle some fine glitter into the water to add sparkle to your ornaments. It gives a fun, festive touch.
- Use different ornament shapes. Try out star or heart-shaped ornaments. Variety can make the project even more enjoyable.
- Make a family tradition. Create personalized ornaments each year. Write dates or names on the ornaments as keepsakes.
- Try a different dipping medium. Instead of acrylic paints, explore $nail polish. This variation can create unique effects and is often used in similar craft projects. Just remember, nail polish can be more potent, so use it in a well-ventilated area.
Storing or Reusing This Project
What to Do With It After
Once your Hydro Dipped Ornaments dry and are proudly displayed, think about their longevity. These beautiful creations can be cherished for years. If you want to reuse or refresh the project, consider cleaning the ornaments gently for another go.
For cleanup, remove any leftover paint from the container with water. The same goes for any tools used, like toothpicks or skewers. Gather everything while still fresh for an easy clean-up.
When it comes to storage, keep the ornaments in a secure container where they won’t get scratched or damaged. Use tissue paper or fabric to cushion them. This approach makes them easy to set back out each holiday season, preserving your hard work.
FAQs About Hydro Dipped Ornaments
What if I make a mess while working?
Mess can happen, but that’s part of the fun! Lay down some old newspaper or disposable cloths to catch spills. A little cleanup afterward is worth the joy of creation.
Can younger kids help?
Absolutely! Just supervise closely, especially when dipping the ornaments. Modify your approach based on their age simplify steps if needed and allow them to enjoy the colorful process.
Can I use other types of paint?
While acrylic paint works best for hydro dipping, using other types might lead to varying results. If you want something different, try nail polish, which produces exciting effects too! Just ensure you work in a well-ventilated area.
What should I do if my ornaments don’t turn out as I expected?
Sometimes, results vary, and that’s okay! Embrace the unique designs. Every creation is a chance to learn. If anything goes wrong, don’t hesitate to try again. Adjusting the paint amounts or swirling techniques can yield different results.
How do I store the ornaments after the holidays?
For storing, use a sturdy box lined with tissue paper for cushioned protection. This way, your beautiful ornaments will be safe until the next holiday season, ready to make their return.
Conclusion
Creating Hydro Dipped Ornaments is not only an exciting project but also a wonderful way to spend time with family while expressing creativity. With clear steps and simple materials, you can achieve impressive results. Each ornament tells a story, bringing warmth and color to your holiday decorations.
If you’re interested in exploring similar creative projects, check out this guide to Hydro Dipped Christmas Ornaments or discover how to make Nail Polish Dipped Christmas Ornaments. Enjoy the process, and remember, it’s all about having fun with your loved ones!
PrintHydro Dipped Ornaments

Create stunning Hydro Dipped Ornaments with minimal supplies and a quick process, perfect for family fun during the holidays.
- Prep Time: 10 minutes
- Cook Time: 20 minutes
- Total Time: 30 minutes
- Yield: 5 ornaments
- Category: Craft
- Method: Dipping
- Cuisine: N/A
- Diet: N/A
Ingredients
- Clear glass or plastic ornaments
- Acrylic paint in various colors
- Disposable container
- Toothpicks or skewers
- Paper towels
- String or hooks for hanging
Instructions
- Take off the tops of the ornaments.
- Fill the disposable container with water.
- Add acrylic paints to the water and swirl gently.
- Use a toothpick or skewer to mix the paints lightly.
- Dip the ornament into the water while twisting it.
- Lift it out carefully and let it dry on paper towels.
- Once dry, put the tops back on.
- Add string or hooks for hanging.
- Display your creations with pride!
Notes
Supervise younger kids closely during the dipping process. Clean up spills immediately to keep the workspace tidy.
Nutrition
- Serving Size: 1 ornament
- Calories: 0
- Sugar: 0g
- Sodium: 0mg
- Fat: 0g
- Saturated Fat: 0g
- Unsaturated Fat: 0g
- Trans Fat: 0g
- Carbohydrates: 0g
- Fiber: 0g
- Protein: 0g
- Cholesterol: 0mg