

A busy afternoon, a burst of “I want to make something now,” and just enough time before dinner. That is the kind of moment the Magic Glitter Jar was made for. I remember one rainy Saturday when the kids needed a calm activity and I needed something quick and clean to set up.
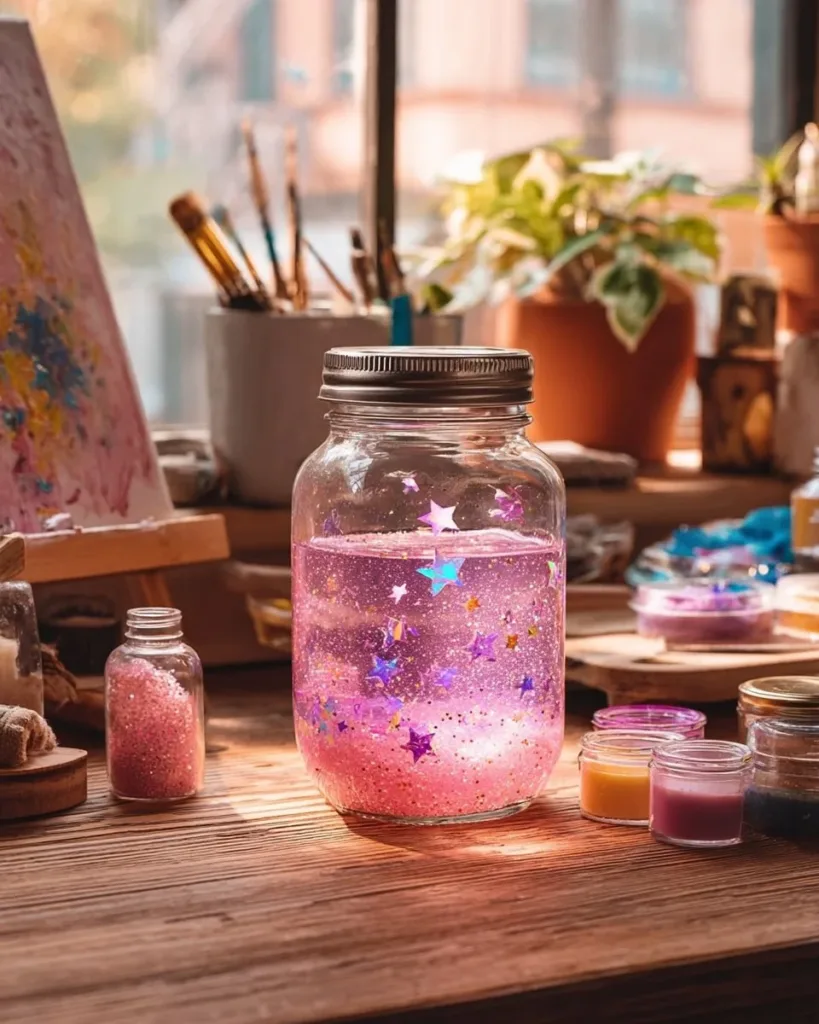
We pulled out a clear jar with lid, warmed a little water, added a squeeze of glue, a dash of food coloring, and some loose glitter. Within minutes we had slow, hypnotic swirls and a few calm faces. If you want a similar quick win that uses things you already have in the house, this is it. If you like jar crafts, try our Magical Snowstorm in a Jar for another easy make.
Why This Magic Glitter Jar Works So Well

This project needs almost no prep. You gather five simple items and you are ready to go. The materials list matches what many families already have in a kitchen or craft cupboard. That makes setup fast when a child asks for something creative right now.
The method uses gentle steps that kids can help with. Fill a jar, add glue and a drop of color, pour glitter, and close the lid. No complicated measuring, no long drying time. That keeps the activity short and satisfying for young attention spans.
The result repeats reliably. The glue slows the glitter so it falls in a soft, slow-motion pattern. Warm water helps the glue mix into the jar without clumps, which means less frustration and more sparkle. Parents and kids both see clear, calming movement right away.
Because the jar is reusable, this feels like a small craft with real staying power. It can calm a child for a few minutes or sit on a shelf as a little homemade decoration. It fits into busy days without needing a lot of cleanup.
A Quick Look Before You Begin
This craft usually takes 5 to 10 minutes to assemble, depending on the jar size and how much glue you use. Plan a quick wipe-up surface just in case glitter escapes. The mess level is low compared with projects that use paints or lots of small parts.
You do not need an adult for every single step, but an adult should help when handling warm water and sealing the lid tightly. Kids can pour glitter and stir gently. Expect small spills if a child is pouring; that is normal and part of the learning.
Timed moments in this project matter a little. Warm water helps the glue blend better, so use water that is warm to the touch but not hot. If the glue floats at first, a gentle swirl usually brings it in. If bubbles form, let the jar sit for a minute; most bubbles calm on their own.
If you enjoy watching jar crafts, they pair nicely together. You might try a weather-themed jar next to this one to extend the calm down time or to compare how different materials move in water. If kids love watching weather in a jar, they also enjoy DIY Lightning Storm in a Jar.
Materials You’ll Need
Clear jar with lid
common household item that keeps the liquid contained and shows off the glitter
Warm water
easy to get from the tap; not boiling, just warm to the touch
Glitter glue or clear glue
glitter glue cuts a step but clear glue works well; either slows the glitter
Loose glitter
budget-friendly and dramatic; choose fine glitter for slow swirl
A few drops of food coloring
adds a soft tint; a little goes a long way
STEP-BY-STEP DIRECTIONS

- Fill the jar with warm water, leaving some space at the top.
Fill to about one inch from the rim so the liquid can move when you shake it.
Warm water helps the glue mix smoothly and avoids clumps. - Add your glue and a few drops of food coloring, swishing it around gently.
Squeeze in a generous squirt of glitter glue or a couple of tablespoons of clear glue.
Twist the lid on loosely first and tip the jar to mix, then tighten once the glue blends. - Pour in the loose glitter and watch it swirl.
Add glitter little by little until you like the sparkle level.
Tap the jar gently to settle any floating bits, then enjoy the slow fall. - Close the lid tightly and give it a good shake!
Make sure the lid screws on firmly to avoid leaks.
Shake and set the jar down; watch the glitter slow and float as it settles.
The Simple Science or Skills at Work

This jar is a simple mix of water, glue, and bits of shiny material. The glue makes the liquid thicker, so glitter falls slowly instead of dropping quickly to the bottom. That slower fall creates the calm, drifting movement people like to watch.
Young hands practice fine motor skills by pouring and measuring without strict precision. They learn cause and effect as they see how extra glue changes the speed of the glitter. Watching color mix with water shows simple blending, and waiting for the glitter to settle teaches patience.
You also get a quiet lesson in observation. Kids notice bubbles form or how glitter clumps if the glue does not mix well. Those small observations help them adjust their hands-on approach the next time. The science is gentle and immediate, which keeps the mood light and the interest high.
Troubleshooting Common Issues
If the glitter falls too fast
You probably need more glue. Add a little more glue or use glitter glue instead of clear glue. Warm the jar in your hands and swirl it to help the glue spread.
If the glue floats or clumps
Try tipping the jar and swirling gently or tightening the lid and rolling the jar between your hands. Warm water usually helps the glue dissolve and sink. If clumps persist, let the jar sit for a few minutes; they often break up on their own.
If the jar leaks
Tighten the lid and wipe the threads clean before closing. If your lid feels loose, press a small layer of tape around the outside seam for a temporary seal. Always check the lid before offering the jar to a small child.
If the glitter sticks to the sides
A few small particles may cling at first. Gently tap the jar or turn it upside down a few times to dislodge them. If that does not work, you can try adding a tiny extra drop of detergent to break surface tension, but only very sparingly.
If bubbles form when you shake
Bubbles often appear when you mix warm water and glue. Let the jar rest upright for a few minutes. The biggest bubbles usually disappear quickly and do not affect the calming motion.
Easy Variations to Try
Try different glitter sizes
Fine glitter gives a soft, slow motion. Chunky glitter creates faster, more playful swirls.
Add layered color
Use a few drops of color at different times for subtle layering. Swirl between each addition to see the shades mix.
Seasonal themes
Choose glitter colors to match holidays. Silvers and blues work well for winter. Golds and reds feel festive in the fall.
Make a nightlight jar
Use darker food coloring and metallic glitter that catches indoor light for a cozy shelf piece.
For a sun catcher version using glue, see Glue Suncatcher Magic. These ideas keep things simple and do not change the basic steps, so you can try them without extra planning.
Storing or Reusing This Project
Keep the jar sealed when not in use. A tight lid prevents spills and keeps dust out. Store it on a low shelf where a small child cannot knock it over but can reach it for quiet moments.
If you want to change the look later, you can empty the jar and start over. Pour the mixture into a sink while running water to help break up the glue. Rinse thoroughly to avoid any sticky residue.
Reuse loose glitter by collecting any spilled glitter on a tray and tapping it back into a container. Store leftover glue and glitter together in a small craft box for your next quick setup. That reduces waste and makes the next activity even faster.
Small amounts of waste occur, but this project uses materials carefully. A single jar can last weeks if treated gently, so it feels like a good trade for a few minutes of calm.
FAQs About Magic Glitter Jar
Will this be too messy for my kitchen table?
I worry about glitter everywhere. It can be tidy if you prepare a small work area. Use a shallow tray to pour glitter into and keep a damp cloth nearby. Glitter that spills often gathers into one spot and brushes up easily. If a child is young, do the pouring while they watch. I have made several of these with kids and a little set-up prevents most of the mess.
Is this safe for toddlers who might try to open the jar?
This works best with supervision for toddlers. The jar lid should be closed tight and checked before you hand it to a child. I lock the lid for very young children by adding a small tape ring. For older kids, explain that it is for looking, not for shaking near the face.
Can I use food coloring with glitter glue or will it clump?
A few drops of food coloring usually mix fine, especially if the water is warm. If you use a lot of coloring it may separate or tint the glue more heavily. I add color slowly and swirl; this helps keep the mixture smooth and avoids thick clumps.
What if the glitter barely moves or falls too slowly?
That is normal if you used a lot of glue. It still looks pretty, but if you want faster movement, add a little more warm water and swirl to thin the mixture. The visual change is quick, so you can fine-tune it in one or two tries.
How long will the jar last and can I reuse the parts?
A well-sealed jar can last weeks. You can open and reuse the jar later. If the mixture gets cloudy or looks dirty, empty and rinse the jar and start fresh with the same materials. I find keeping extra glue and glitter handy makes reuse simple and fast.
A Final Helpful Note
This project is forgiving. If something feels off, step back and try a small fix like warming the jar in your hands or adding a tiny bit more glue. The goal is calm and a little wonder, not perfect symmetry.
Take it slow the first time. Let kids help with the parts that suit their age. Praise their choices. The jar works even when it looks a little messy. That is part of the charm and part of the learning.
Conclusion
If you are curious about other step-by-step visuals, see this clear walkthrough at DIY Calming Glitter Jars on Instructables for more photo ideas and tips. If you want a different style of calming jar, try this alternate method at How to Make a Magic Sparkles Calming Jar on One Time Through.
PrintMagic Glitter Jar

Create a calming Magic Glitter Jar with simple materials in just minutes for a fun and mesmerizing craft project.
- Prep Time: 5 minutes
- Cook Time: 0 minutes
- Total Time: 5 minutes
- Yield: 1 jar
- Category: Craft
- Method: Crafting
- Cuisine: N/A
- Diet: N/A
Ingredients
- Clear jar with lid
- Warm water
- Glitter glue or clear glue
- Loose glitter
- A few drops of food coloring
Instructions
- Fill the jar with warm water, leaving some space at the top.
- Add your glue and a few drops of food coloring, swishing it around gently.
- Pour in the loose glitter and watch it swirl.
- Close the lid tightly and give it a good shake!
Notes
Ensure the lid is tightly sealed to avoid leaks. If bubbles form, let the jar rest for a minute to settle.
Nutrition
- Serving Size: 1 jar
- Calories: 0
- Sugar: 0g
- Sodium: 0mg
- Fat: 0g
- Saturated Fat: 0g
- Unsaturated Fat: 0g
- Trans Fat: 0g
- Carbohydrates: 0g
- Fiber: 0g
- Protein: 0g
- Cholesterol: 0mg