

A busy afternoon, a cupboard full of simple kitchen supplies, and two kids who want to make something right now is exactly the moment I reach for projects like Bold Color Bioplastic Suncatchers. I pull out gelatin or agar-agar, a small saucepan, a bit of glycerin and food coloring, and set a lined tray on the table. The few minutes of measuring and gentle stirring buy calm and give everyone something bright and hands-on to watch. If you want to peek at a longer version of this method later, check the full instructions in our DIY bioplastic suncatchers guide which I wrote after trying this same easy approach with my family.
Why You’ll Love Making Bold Color Bioplastic Suncatchers

This craft works because it asks for very little prep and gives a big, visible payoff. You do a quick mix on low heat, pour, and wait, so you can start and finish a meaningful part of the project within an afternoon. The steps use common kitchen items and ingredients that you likely have on hand or can grab at a grocery store.
The technique feels approachable because it does not demand perfect timing. A slightly warmer or cooler room will only change setting time a bit. The result looks deliberately handmade, not pristine, which makes it forgiving for kids and busy adults. You will find it reliable: once you get the texture right while heating, the sheets set predictably into colorful, slightly flexible panels that catch light beautifully.
A Quick Look Before You Begin
This activity takes about 30 to 90 minutes total, depending on cool-down time and how intricate your cutouts are. Most of the work is hands-off while the bioplastic sets, so plan for a calm workspace where the tray can sit undisturbed.
Mess level stays low if you line a baking sheet and use a silicone mat or parchment. Kids will need light supervision when the mixture heats and when using scissors or a hole punch. Expect sticky edges during trimming and a few tiny spills when pouring; those wipe up easily with warm water.
If you want to practice color mixing first, try small test pours. For a fun follow-up, you can explore color separation ideas similar to our coffee filter chromatography activity at colorful chromatography coffee butterflies to see how simple color play informs your suncatcher palette.
Materials You’ll Need
- Gelatin or agar-agar (food-grade) – common grocery item; agar works for vegetarian alternatives
- Warm water – tap water warmed slightly for the bloom step
- Glycerin – pharmacy or craft store; keeps the sheets flexible
- Food coloring or liquid watercolor – vivid, concentrated color works best
- Small saucepan – for gentle heating and stirring
- Wooden spoon or silicone spatula – nonreactive stirring tool
- Baking sheet or rimmed tray – to pour the sheet; choose size based on how big you want panels
- Parchment paper or silicone baking mat – lines the tray and releases the sheet cleanly
- Measuring spoons and cups – for accurate gelatin-to-water ratio
- Scissors or craft knife – to cut shapes once the sheet sets
- Hole punch or straw – makes holes for hanging
- Thread, twine, or ribbon – for hanging the finished suncatchers
- Optional small objects (pressed flowers, thin leaves) – add-interest inclusions; optional and delicate
STEP-BY-STEP DIRECTIONS

- Gather your materials and set up a calm workspace.
Place the lined tray on a flat surface where it can stay undisturbed. Keep scissors, a hole punch, and hanging materials within reach. - Measure gelatin or agar-agar and warm water, letting the gelatin bloom.
Sprinkle gelatin into the warmed water and let it sit until the granules swell and look plump. For agar-agar, mix and let it hydrate per package notes until translucent. - Heat the mixture gently over low heat until clear and silky.
Stir slowly and keep the heat low so the mixture never boils. Watch for the moment it goes from cloudy to clear and moves smoothly on the spoon. - Stir in glycerin for flexibility and add food coloring to desired hue.
Add a small amount of glycerin and stir until fully combined. Mix in food coloring a few drops at a time until you like the color. - Pour the mixture into a lined tray, optionally placing small inclusions.
Pour gently to avoid bubbles and smooth the surface with the spoon if needed. Lay pressed flowers or thin leaves flat into the pour while still tacky. - Allow the mixture to cool at room temperature until set.
Leave the tray on a level surface away from drafts or curious hands. Expect the sheet to firm up in 30 to 90 minutes depending on room temperature. - Once firm, lift the sheet, dry gently, and cut out desired shapes.
Peel the edges and lift the sheet from the paper or mat; blot any lingering moisture. Use scissors or a craft knife to cut shapes the kids like. - Use a hole punch or straw to make holes for hanging.
Punch where you want the string to go while the sheet still lies on a flat surface. If the hole tears, trim and re-punch nearby. - Thread twine or ribbon through the holes and hang in a window to enjoy the colors.
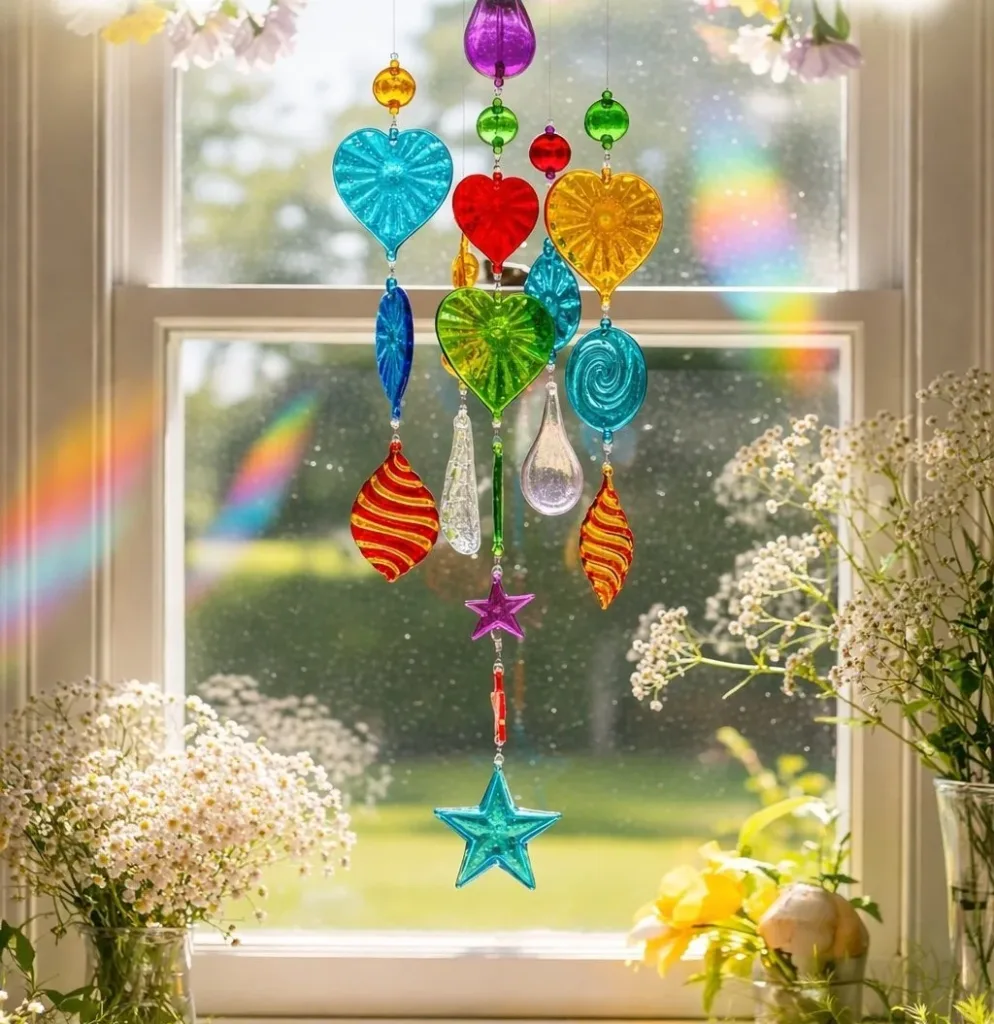
Choose a sunny window where the colors can glow but the suncatchers avoid direct, high heat for long periods. Tie a knot and adjust the length for balance.
The Simple Science or Skills at Work

This project quietly teaches basic cause and effect and a little food chemistry. The gelatin or agar-agar absorbs water and swells during the bloom step, which helps the mixture melt smoothly when heated. Glycerin acts like a softener that keeps the finished sheet bendable instead of brittle.
Kids practice precise measuring, careful stirring, and patience while the sheet sets. They also get to observe texture changes: from grainy to glossy as the mixture heats, then from glossy to firm as it cools. Those sensory cues help them know when you got each step right.
There is modest engineering in choosing where to punch holes and how to balance hanging lengths. These small decisions build fine motor control and spatial thinking.
Troubleshooting Common Issues
If the mixture stays cloudy after heating, it probably did not dissolve fully.
Keep the heat low and stir longer until it clears, but do not let it boil. A few extra minutes usually fixes it.
If the sheet feels sticky after it sets, the room might be too humid.
Let it sit a bit longer at room temperature or place it in a dry spot. You can gently blot the surface with a paper towel to remove surface tack.
If your sheet cracks when you cut or punch holes, it got too dry or too cool.
Try adding a touch more glycerin next time and avoid chilling the tray. When cutting, use steady pressure and a sharp tool.
If inclusions like flowers float or shift, press them gently into the poured surface right away.
Work one or two items at a time and keep movements slow to avoid creating bubbles. Thin, flat items work best.
Easy Variations to Try
Make small, layered medallions by pouring thin sheets in stages.
Let one thin layer set enough to be tacky, then pour a second color on top for a subtle stripe or marbled look.
Create a mosaic by cutting a large sheet into shapes and rearranging them on another backing.
This works well when kids want to mix many colors into one larger hanging.
Use tiny pieces of colored cellophane between layers for a stained-glass effect.
The cellophane adds extra saturation and holds color differently than liquid dyes.
Seasonal themes work great: pressed autumn leaves for fall, small dried flowers for spring.
Swap colors and inclusions to match holidays or room decor.
Storing or Reusing This Project
Finished suncatchers last best when kept out of direct, prolonged sunlight and away from humid spaces.
Hang them in a window that gets light without high afternoon heat or store flat in a dry, cool drawer.
Leftover sheets that you decide not to hang can be layered between parchment paper and gently pressed.
If you keep scraps, reuse them as colorful tags or small ornaments by cutting and punching new holes.
Clean up as you go: warm soapy water removes residual glycerin and dye from pots and spoons.
Parchment or silicone mats wipe clean easily. Dispose of small bits responsibly or compost biodegradable inclusions.
FAQs About Bold Color Bioplastic Suncatchers
Will this activity stain my table or hands easily?
It can, especially if you use concentrated food coloring. Wear an apron and lay down a sheet of newspaper or a silicone mat. Food coloring washes off hands and most surfaces with warm soapy water, but porous surfaces might keep a faint tint. I plan for quick cleanups and keep a damp cloth nearby.
Is this safe for young children to help with?
Children can do many parts safely. They can measure, stir when the mixture cools a bit, and place pressed flowers. An adult should handle the heating step and any cutting or hole punching. For toddlers, focus on pouring and pressing inclusions under close supervision.
Can I use gelatin if someone is vegetarian or vegan?
Gelatin comes from animal collagen. Agar-agar is a plant-based alternative that works similarly. It sets differently, so follow the package instructions for hydrating agar, but it remains an excellent vegetarian option.
How long will these suncatchers last?
They will keep for many months if you avoid direct, prolonged heat and very humid conditions. They age like handmade items: colors may mellow over time and flexible edges may become firmer. Treat them gently and enjoy them while they bring color to a window.
What if my family wants bolder or subtler colors?
Add color in small amounts and test on a corner or in a small cup first. For bolder color, concentrate a few drops of dye in a tablespoon of warm water before mixing it into the batch. For softer shades, dilute more. I often make a tiny test puddle so kids can choose what they like without affecting the whole tray.
A Final Helpful Note
This project stays relaxed when you remember the goal: bright, handmade color rather than perfection. Expect small differences between sheets and count them as part of the charm. If something does not look exactly like a photo, that is okay. You can turn imperfect pieces into garlands, gift tags, or layered mobiles without fretting.
If you need extra ideas for color play or to keep kids engaged during the cooling time, pair this with a short table activity like drawing designs for future cuts or making a quick palette test with spare food coloring.
Conclusion
If you want another take on this idea with thoughtful photos and background, you can compare techniques in this Bioplastic Suncatchers guide and pick up helpful tips. For inspiration on where to hang and style your finished pieces around the home, read advice about decor trends and placement in this interior design tips from Etsy pros.
PrintBold Color Bioplastic Suncatchers

Create vibrant and colorful suncatchers using simple kitchen supplies and a hands-on approach that kids will love.
- Prep Time: 15 minutes
- Cook Time: 15 minutes
- Total Time: 30 minutes
- Yield: 4 suncatchers
- Category: Craft
- Method: Crafting
- Cuisine: DIY
- Diet: Vegetarian
Ingredients
- Gelatin or agar-agar (food-grade)
- Warm water
- Glycerin
- Food coloring or liquid watercolor
- Small saucepan
- Wooden spoon or silicone spatula
- Baking sheet or rimmed tray
- Parchment paper or silicone baking mat
- Measuring spoons and cups
- Scissors or craft knife
- Hole punch or straw
- Thread, twine, or ribbon
- Optional small objects (pressed flowers, thin leaves)
Instructions
- Gather your materials and set up a calm workspace.
- Place the lined tray on a flat surface where it can stay undisturbed.
- Measure gelatin or agar-agar and warm water, letting the gelatin bloom.
- Heat the mixture gently over low heat until clear and silky.
- Stir in glycerin for flexibility and add food coloring to desired hue.
- Pour the mixture into a lined tray, optionally placing small inclusions.
- Allow the mixture to cool at room temperature until set.
- Once firm, lift the sheet, dry gently, and cut out desired shapes.
- Use a hole punch or straw to make holes for hanging.
- Thread twine or ribbon through the holes and hang in a window to enjoy the colors.
Notes
Clean up as you go, and reuse leftover materials creatively. Supervise kids during hot and sharp tasks.
Nutrition
- Serving Size: 1 suncatcher
- Calories: 50
- Sugar: 0g
- Sodium: 10mg
- Fat: 0g
- Saturated Fat: 0g
- Unsaturated Fat: 0g
- Trans Fat: 0g
- Carbohydrates: 12g
- Fiber: 0g
- Protein: 1g
- Cholesterol: 0mg