

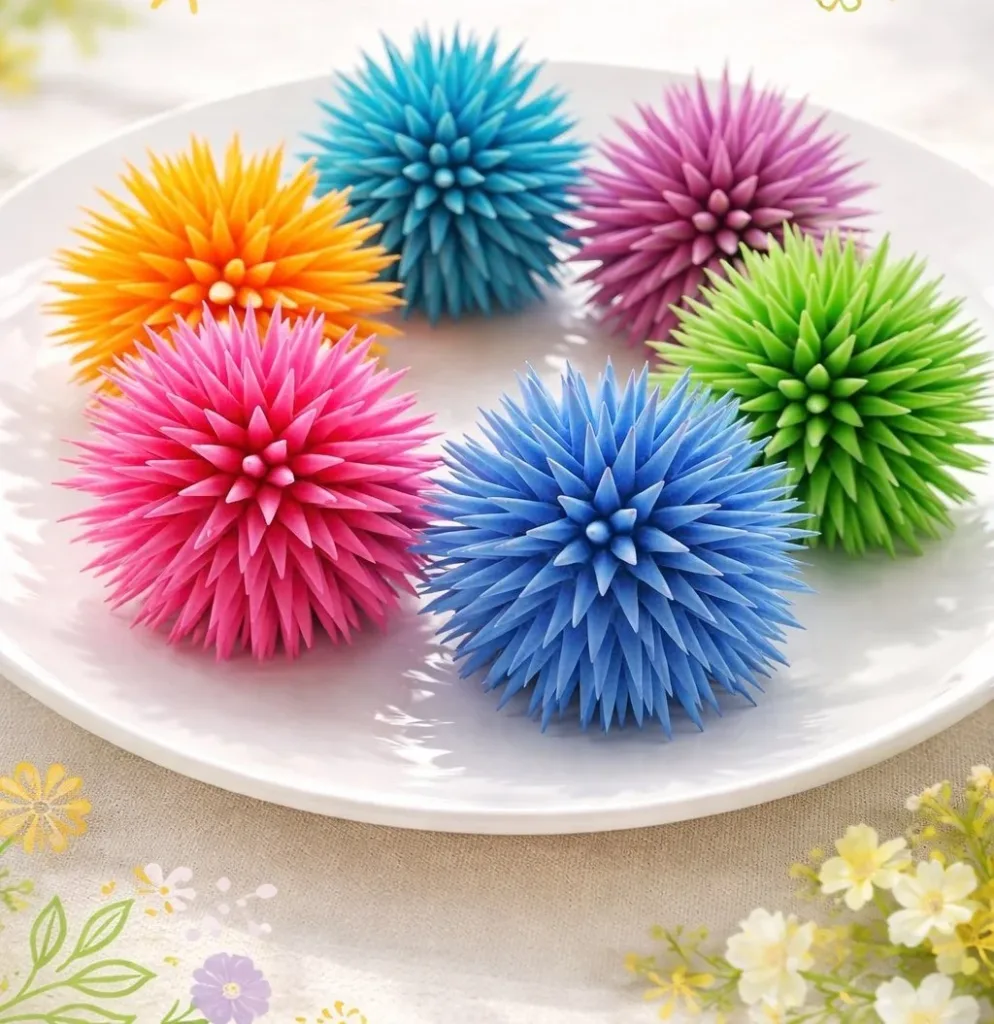
A late afternoon when the kids are restless and dinner is still a work in progress makes a perfect moment for a simple art break. I remember one evening when a sudden request for something creative turned our kitchen counter into a mini studio. We set up a small tray, pulled out watercolor paper, and started Spiky Rainbow Lines. The project takes minutes to prep, needs items you probably already have, and gives everyone a calm, colorful result to be proud of. If you want a low-fuss, high-satisfaction activity that fits into a busy day, Spiky Rainbow Lines is an easy pick that feels like a small, bright win.
Why You’ll Love Making Spiky Rainbow Lines
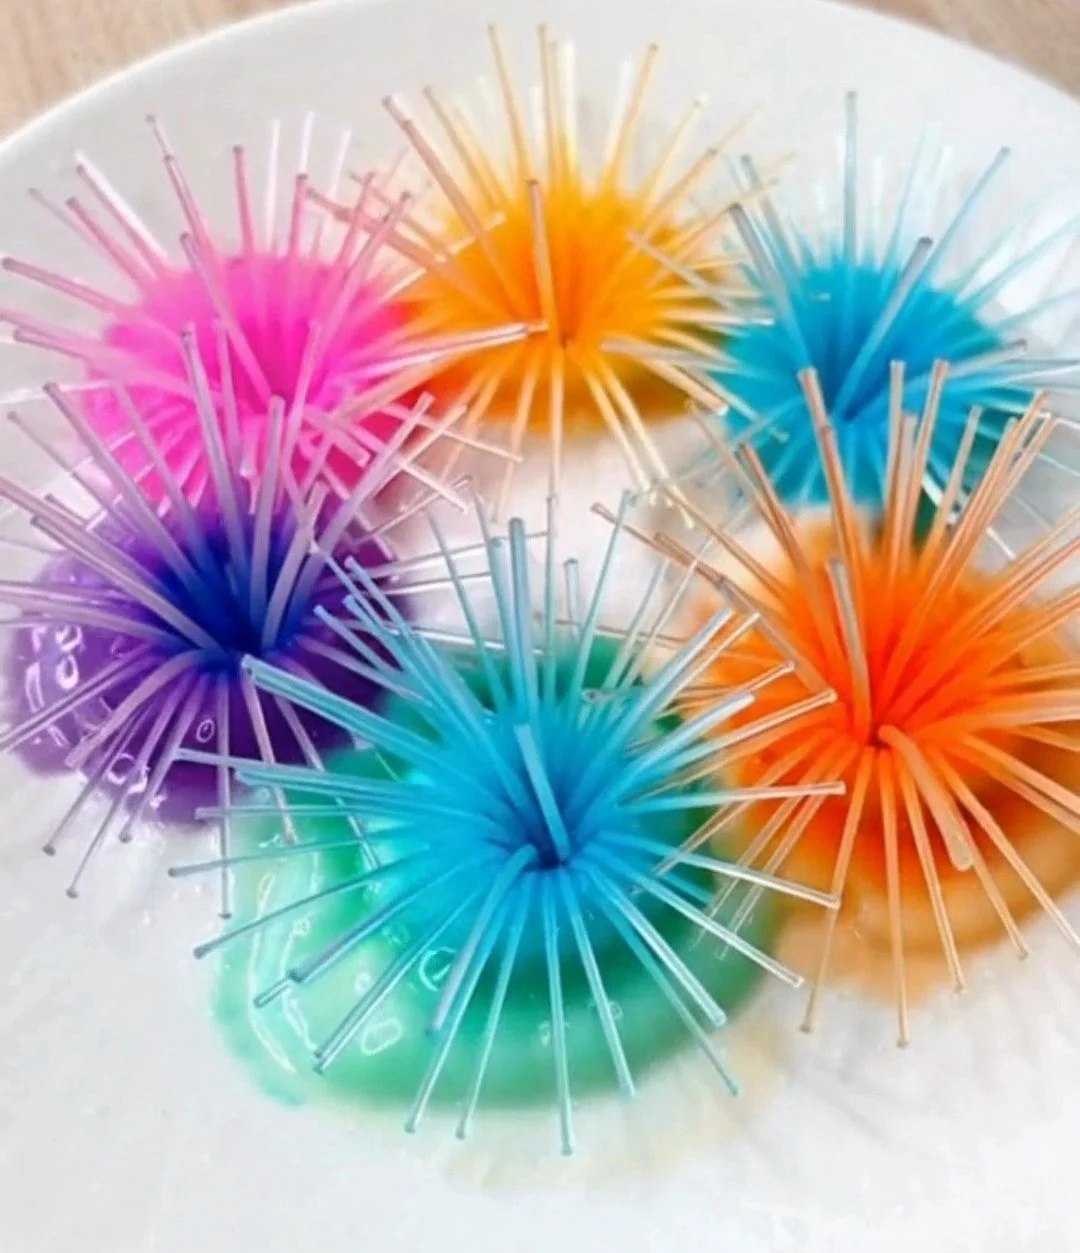
This project works because it keeps things small and focused. You do not need a lot of setup. The payoff comes fast and looks intentional even if the strokes stay playful.
It suits busy days. Tape the paper down, set a bowl of warm water nearby, and the core activity runs in short bursts. You can stop and come back without losing momentum.
It stays neat enough for a kitchen table. You will see drips and color blending, but nothing that demands a full cleanup. That makes it reliable for family time or a quiet half-hour of making.
It welcomes different ages and skill levels. Kids enjoy the rhythmic motion of making spikes. Adults appreciate the simple control and pleasing color shifts. The result looks like a small painting, not a hurried craft.
A Quick Look Before You Begin
This activity takes about 20 to 40 minutes from start to finish, depending on how detailed you get. Prep runs five minutes if you tape your paper and mix colors. The actual painting is a fun, steady process that moves quickly once you find your rhythm.
Setup needs a small space and basic supplies. You will want a board to tape your paper to, a palette or shallow dish, warm water, and a cloth for quick brush cleanups. The mess level stays low if you keep the water and cloth close by.
Adults can lead this with young kids or simply supervise. For older kids, let them explore color choices and spike sizes. You will still help with masking and removing tape if you want crisp edges.
Materials You’ll Need
medium-weight watercolor or mixed-media paper
small round brush
fine liner brush
watercolors or gouache
liquid ink
fine-tipped pens or brush pens
palette or shallow dish
warm water
paper towel or cloth
pencil and eraser (optional)
ruler or straightedge (optional)
masking tape (optional)
small tray or plate
Each line above names the exact item you will use. The pencil, ruler, and masking tape remain optional if you prefer a freer approach. A small tray or plate works well to keep tools together and avoid spills.
Step-by-Step Directions
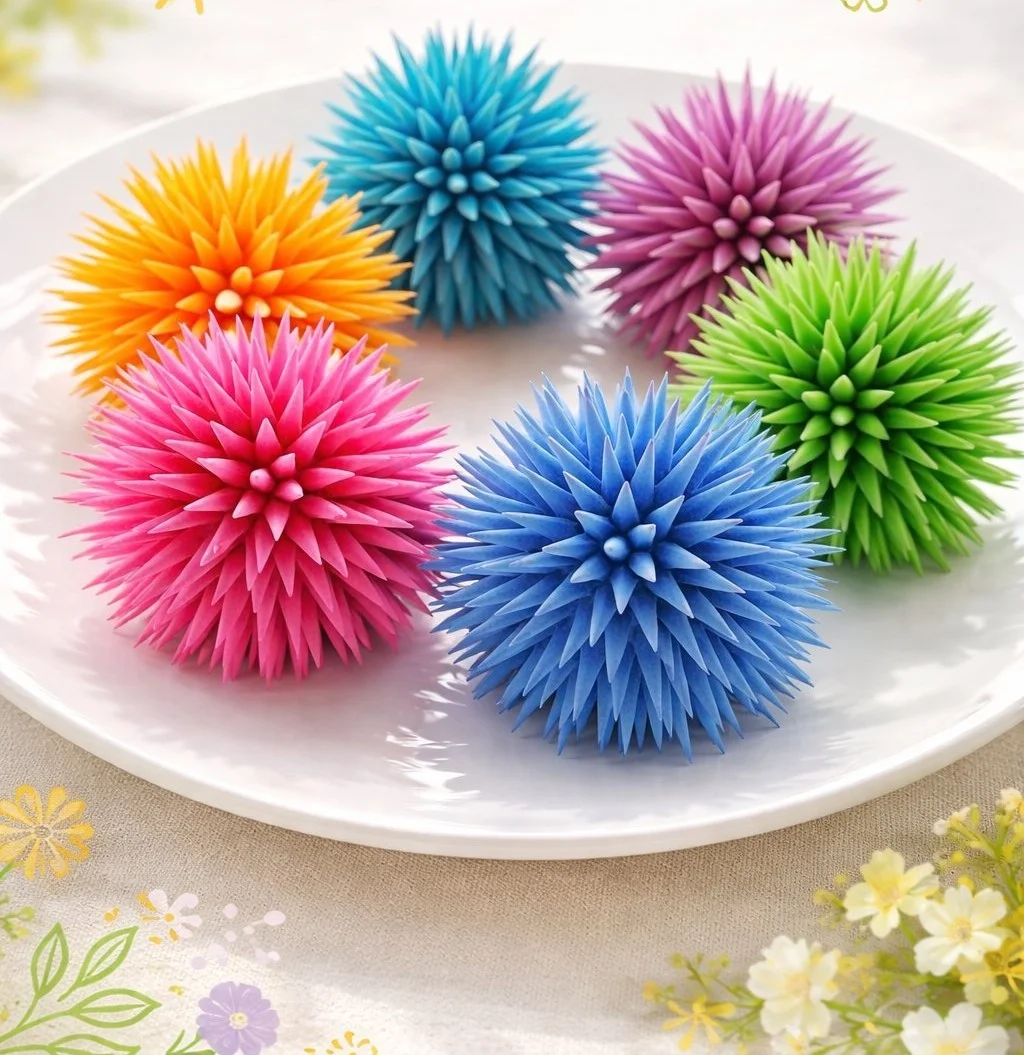
- Prepare your space by taping the paper to a board for neat edges.
Tape the paper flat so it will not buckle when it gets wet.
Masked edges give a tidy white border that looks finished when you remove tape. - Keep a bowl of warm water and a cloth close by for cleaning brushes.
Warm water rinses paint faster and keeps colors true on the brush.
A cloth or paper towel helps you control drips and wipe excess color. - Choose a color plan with three to five complementary colors.
Pick colors that flow together, such as warm pastels or bright primaries.
Limit the palette so the piece reads clearly and you do not mix muddy tones. - Mix small puddles of color on your palette and test strokes on scrap paper.
Make each puddle slightly diluted for smooth flow and modest transparency.
Testing gives you a feel for how quickly the paint runs and how bold each spike will look. - Mark faint guidelines on the paper with a light pencil, if desired.
Light guidelines help keep spikes in a neat line or curve across the page.
You can skip this for a freer, organic layout. - Load your brush or pen with a small amount of color.
Avoid overloading the tool to keep spikes clean and pointed.
The right amount looks like a small bead of paint on the brush tip. - Make your first spike by touching the tool to the paper and quickly pulling it up.
Touch, then pull in a single, confident motion to create the spike shape.
If the tip blunts, rinse and reload with fresh color. - Maintain a rhythm by making each spike similar in size and shape.
Move down the guideline with steady beats to create a pleasing pattern.
A consistent tempo helps the eye read the sequence as a line or wave. - Gently shift colors where spikes meet and allow them to mingle.
Overlap spikes just enough to let colors kiss without muddying them.
When two colors meet, tilt the brush slightly to nudge a soft blend. - Add contrast with a fine pen for sharp edges if desired.
Use a fine-tipped pen to outline select spikes for definition and pop.
A little ink goes a long way; choose one or two accents rather than outlining everything. - Let the piece dry gently and avoid rushing the surface.
Allow drying on a flat surface to prevent puddles from sliding.
If you need it sooner, a fan helps, but avoid high heat that can warp paper. - Remove tape carefully and sign your piece in a small corner.
Pull tape back at a low angle to keep the border crisp.
Sign modestly so the artwork stays the focus. - Reflect on your process and enjoy the calming experience of your creation.
Notice the rhythm you made and where colors blended nicely.
Keep the piece for display or send it as a simple handmade card.
Materials notes:
Keep your palette small for quick color refresh.
A shallow dish makes mixing and cleaning easier for kids.
Liquid ink adds depth when you want bold dark lines.
Skills This Activity Supports
Spiky Rainbow Lines builds fine motor control and hand-eye coordination. The action of touching and quickly pulling the brush requires steady pressure and a controlled release, which strengthens small hand muscles.
Kids practice timing and cause and effect. They learn that load too much paint and the spike becomes a blob. They learn that a light touch and a confident pull make the sharp shapes they like.
This activity also teaches basic color relationships. When children choose three to five colors, they start to see which pairings blend nicely and which make muddier tones. That observation helps future color choices.
There is a simple science at work. Water and pigment flow across paper fibers. The paint spreads until the paper and pigment reach balance. That explains why adding too much water changes spike shape and why heavier paint gives more saturated tips.
Troubleshooting Common Issues
If your spikes flatten or puddle, you likely had too much water on the brush.
Rinse the brush, blot it lightly, and try again with a smaller bead of paint.
You will see better peaks when you control the amount of liquid.
If colors muddy where spikes meet, pause between layers to let paint settle.
Work from light to dark when possible, and keep overlapping minimal.
If you do get a muddy area, let it dry and add contrast with a fine pen.
If tape lifts paper or tears the edge, press tape thinner and use less sticky tape.
Painter tape or low-tack masking tape reduces tearing.
Remove tape slowly once the paper dries to protect the border.
If the spikes look uneven, practice a steady rhythm on scrap paper.
Try counting silently as you touch and pull, or hum a steady beat.
Most people see quick improvement after a few practice spikes.
Easy Variations to Try
Turn your spikes into a curved rainbow across the page for a playful shape.
Follow a gentle arc instead of a straight line so colors flow like a bridge.
Use only two colors and alternate spikes for a bold, graphic look.
This approach simplifies cleanup and makes contrast pop.
Try metallic or pearlescent paints for a subtle shine on finished pieces.
Apply sparingly to a few spikes to keep the effect special.
Create a border of spikes on all four sides for a spiky frame card.
Fold a sheet and glue your finished panel to make a simple greeting card.
For a seasonal twist, choose autumn tones or icy blues to match holidays.
If you want inspiration for other easy color experiments, this fireworks project gives similar bright results: fireworks rainbow sugar explosion.
Storing or Reusing This Project
Let finished pieces dry fully before stacking or storing.
Place a sheet of clean paper between artworks to protect wet spots and prevent smudges.
Keep leftover paints in small lidded containers for a day or two.
Label containers if you plan to reuse specific color mixes.
Wipe brushes well after each session and reshape bristles before storing.
A quick rinsing and gentle towel blot prolongs brush life.
Repurpose smaller or imperfect pieces into collage bits or gift tags.
Trim the art into strips or shapes and glue them to cards for quick handmade notes.
If you want to turn this work into a keepsake, try pairing it with a simple frame and hang it in a bright corner, or use pieces as part of a craft journal spread. For ideas on crystal and color keepsakes, see this related DIY: rainbow crystal heart.
FAQs About Spiky Rainbow Lines
Can this activity get too messy for a small table and young kids?
This one stays surprisingly tidy if you tape the paper and keep a bowl of warm water and a cloth nearby. Expect a few drips and dab marks. If a child likes to dip the whole brush often, have an apron or smock ready. I have left a wet paper on the table before and cleaned up easily with a quick wipe and warm water.
Is Spiky Rainbow Lines safe for toddlers?
The paints and ink can stain, so supervise closely with toddlers. If you worry about mouth contact or staining clothes, use washable watercolors and cover the area with a plastic tablecloth. I often let two to four year olds make one or two spikes while I hold the brush for them, and that keeps things safe and fun.
What if I do not have gouache or liquid ink?
Watercolors work well and give a soft, transparent look. Gouache gives opaque, bright spikes. If you only have watercolor, pick stronger pigments or let strokes dry and layer for more vivid results. I mix a slightly thicker wash when I only have watercolor so the spikes keep their shape.
How long does the finished piece last and how should I store it?
The painting will last as long as you keep it flat and dry. Avoid direct sunlight to protect colors from fading. Store finished works between clean sheets of paper in a dry folder. If you plan to display it, frame behind glass to prevent dust and moisture. I store a stack of small paintings in a shallow box with tissue between them and they stay bright for months.
A Final Helpful Note
Trust the rhythm you find and allow a few imperfect spikes. The charm of Spiky Rainbow Lines comes from its human, hand-made marks. If a spike goes wide, consider it a design choice and balance the next one to match.
If you feel stuck choosing colors, limit yourself to three and repeat them across the page. That small rule keeps the piece cohesive and cuts decision fatigue.
This project rewards gentle attention and small experiments. It works on busy days, quiet afternoons, and as a quick creative reset between tasks. Give yourself permission to play and keep a sheet of scrap paper handy for warm up spikes.
Conclusion
If you want more color-forward kids science crafts to pair with this activity, you can compare techniques with this rainbow light show project for ideas on mixing vivid layers: creative science craft kids rainbow light show. For a technical dive into particles and color interactions in fluid mixes, this research article offers a scientific perspective that matches well with hands-on experiments: Evaluation of tire tread particle toxicity to fish using rainbow trout cell.
Enjoy the calm rhythm, small wins, and colorful results of Spiky Rainbow Lines.
PrintSpiky Rainbow Lines
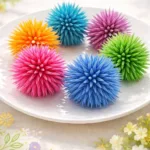
A fun and engaging painting activity for kids that promotes creativity and fine motor skills through colorful spikes.
- Prep Time: 5 minutes
- Cook Time: 20 minutes
- Total Time: 40 minutes
- Yield: 1 artwork
- Category: Craft
- Method: Painting
- Cuisine: Creative
- Diet: N/A
Ingredients
- Medium-weight watercolor or mixed-media paper
- Small round brush
- Fine liner brush
- Watercolors or gouache
- Liquid ink
- Fine-tipped pens or brush pens
- Palette or shallow dish
- Warm water
- Paper towel or cloth
- Pencil and eraser (optional)
- Ruler or straightedge (optional)
- Masking tape (optional)
- Small tray or plate
Instructions
- Prepare your space by taping the paper to a board for neat edges.
- Keep a bowl of warm water and a cloth close by for cleaning brushes.
- Choose a color plan with three to five complementary colors.
- Mix small puddles of color on your palette and test strokes on scrap paper.
- Mark faint guidelines on the paper with a light pencil, if desired.
- Load your brush or pen with a small amount of color.
- Make your first spike by touching the tool to the paper and quickly pulling it up.
- Maintain a rhythm by making each spike similar in size and shape.
- Gently shift colors where spikes meet and allow them to mingle.
- Add contrast with a fine pen for sharp edges if desired.
- Let the piece dry gently and avoid rushing the surface.
- Remove tape carefully and sign your piece in a small corner.
- Reflect on your process and enjoy the calming experience of your creation.
Notes
This activity encourages kids to explore color and composition while developing their artistic skills. Supervision is advised for younger children.
Nutrition
- Serving Size: 1 artwork
- Calories: N/A
- Sugar: N/A
- Sodium: N/A
- Fat: N/A
- Saturated Fat: N/A
- Unsaturated Fat: N/A
- Trans Fat: N/A
- Carbohydrates: N/A
- Fiber: N/A
- Protein: N/A
- Cholesterol: N/A