

A rainy Saturday afternoon, the kids burst into the kitchen asking to make something right now, and you need a quick, low-mess activity that actually works. Simple Cornstarch Bioplastic fits that moment perfectly: it uses pantry staples, takes under an hour of active time, and turns into tactile sheets you can cut, stamp, and decorate. Set out a tray, warm a pot, and you can turn a busy hour into a proud handful of handmade labels, shapes, or small craft pieces the whole family enjoys.
Why You’ll Love Making Simple Cornstarch Bioplastic

This project keeps prep small and progress obvious. You mix cornstarch and water, warm gently, and watch the cloudy slurry become glossy, then dough-like. It asks for one adult to keep an eye on the stove, but kids can stir, press, and stamp once the mass cools. The ingredients are safe and cheap, and the tools are things you likely already have.
It works well for quick afternoons because timing is flexible. The cooking step takes just minutes, and drying mostly happens on its own. You can start before dinner and finish the next day. If you liked the sticky, stretchable play of our cornstarch bubble dough, you will enjoy how this recipe makes simple, moldable sheets that hold shapes and textures.
A Quick Look Before You Begin
This project breaks into three small parts: a quick mix, a short gentle cook, and a patient dry. Active time runs about 20 to 30 minutes. Set aside a flat tray for drying and a little counter space for rolling and cutting.
Expect a little warm steam while you cook and a bit of cleanup of sticky hands and spatulas. The mess stays contained to the pot and the tray. You do not need fancy ventilation or protective gear just basic kitchen caution around a warm stove.
Adult supervision matters mainly for the warm saucepan step. Kids shine at stirring the slurry, smoothing the sheet, and pressing cookies or stamps into the surface when it cools a bit. If you want, plan to do the stove step while a child prepares cutters and textures.
Materials You’ll Need
1 cup cornstarch
common pantry ingredient
4 cups water (divided)
use tap water; divide as directed
1 tablespoon white vinegar
adds stability; pantry staple
1 teaspoon glycerin (optional)
optional; makes the plastic a bit more flexible
Baking sheet or flat tray
for drying and working flat
Parchment paper or silicone mat
nonstick surface for easy release
Measuring cups and spoons
for accurate amounts and reliable results
Cookie cutter or rolling pin (optional)
for shaping and making textures
Clean damp cloth and bowl of cool water
for smoothing and quick cleanup
STEP-BY-STEP DIRECTIONS

- Measure and mix the dry and wet ingredients slowly.
In a bowl, stir together 1 cup of cornstarch and 1 cup of water to make a smooth slurry.
Avoid lumps for an even texture; small whisk strokes work well. - In a saucepan, warm 3 cups of water over low heat.
Stir in 1 tablespoon of white vinegar and 1 teaspoon of glycerin until well combined.
Keep the heat gentle so the liquid warms evenly without steaming hard. - Slowly pour the cornstarch slurry into the warm liquid while stirring gently in circles.
Keep the heat low to warm the mixture gradually.
A steady hand and calm stirring help prevent lumps and burning. - Stir patiently as the mixture thickens; it will progress from watery to glossy, then to a thick paste.
Continue stirring and don’t increase the heat.
Notice the change: glossy means you are on the right track; keep moving the spoon. - Once the mixture clumps and pulls away from the sides of the pan, remove it from heat.
The mass should feel tacky but hold together.
A quick sniff confirms nothing smells off; it should smell faintly of cooked starch. - Scoop the warm mixture onto parchment or a silicone mat.
Use a spatula and work carefully; it will be warm but not scalding.
If it sticks to tools, dip a spatula briefly in the bowl of cool water to ease release. - Press and smooth the mass into a thin sheet using damp tools or a spatula.
Aim for an even thickness so pieces dry uniformly.
A damp cloth or wet spatula keeps the surface smooth without tearing. - Let the sheet cool for at least 30 minutes until a skin forms.
For fully dried pieces, leave them longer, turning them gently for even drying.
Cool time lets the surface set so cutters make clean shapes. - When almost cool, cut or press textures into the sheet with cookie cutters or stamps.
Press firmly but gently so designs transfer without cracking the edges.
If pieces resist, wait a little longer; partial cooling gives better edges. - To cure, let the bioplastic sit at room temperature for 24-72 hours, ensuring it doesn’t dry too quickly.
Place on a flat, draft-free surface and check it every 12 hours.
If the house is very dry or warm, cover loosely with a towel to slow drying. - Use the finished bioplastic for crafts or as temporary labels; handle with care as they are not as durable as commercial plastics.
These pieces work great for short-term projects, gift tags, or craft shapes.
Store finished pieces flat until you decide how to use them.
The Learning Behind This DIY

This activity teaches simple cause and effect: heat and water change cornstarch into a flexible, moldable mass. Kids feel the texture change and learn to trust sensory cues like glossiness and tackiness.
Fine motor skills grow when children stir, smooth, and press cutters. They practice controlled pressure and steady motions. Older kids can time the cook step and describe the texture shifts in their own words.
You also build planning skills. Drying takes time, so a child learns patience and checks progress over hours. The process encourages tidy habits, like wiping tools promptly and protecting the drying sheet from drafts.
Troubleshooting Common Issues
If the mixture stays lumpy after you combine the slurry and warm water, it usually means the cornstarch slurry had dry clumps or you added it too quickly. Tip: whisk the slurry thoroughly before adding and pour slowly while stirring.
If the mass burns or sticks to the pan, the heat ran too high. Gently scrape and transfer what you can to the mat, and keep the stove on low next time. A scorched smell means start over with a clean pan to avoid unwanted taste or color.
If the sheet cracks as it dries, it dried too fast or the sheet is too thin at some spots. Re-hydrate gently by laying a damp cloth over the piece for a few minutes and smoothing, or avoid thin edges on future sheets.
If pieces stay tacky after 72 hours, the room may be humid. Move the tray to a drier spot, or let them sit another day. You can also increase ventilation slightly but avoid direct sunlight that can warp the shapes.
Easy Variations to Try
Add color by rubbing a small amount of food coloring into the finished surface after the sheet cools slightly.
This keeps color bright and avoids changing the cooking step.
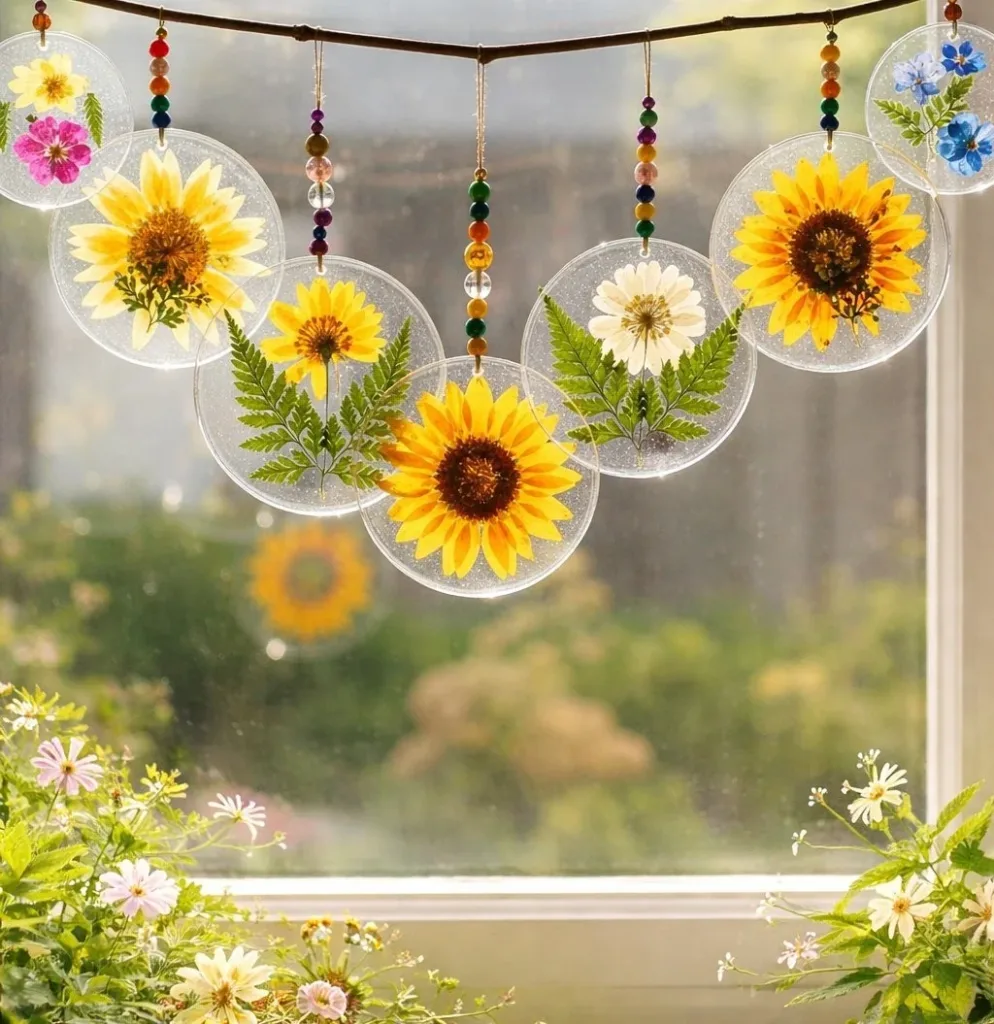
Press lace, leaves, or textured fabric into the sheet before it fully cures.
Natural textures make pretty, subtle patterns for tags and ornaments.
Make thicker sheets for small bowls or shallow dishes by using the same mass but pressing to a greater thickness.
Expect longer drying times and turn pieces gently for even cure.
Try skipping the glycerin if you want a more rigid finish.
The optional glycerin makes the material more flexible; leaving it out creates firmer pieces.
Storing or Reusing This Project
Keep leftover uncured mass covered in a bowl of cool water and a damp cloth for short waits.
If you plan to wait several hours before reshaping, place it in the fridge wrapped to slow drying.
Store finished pieces flat between sheets of parchment in a shallow box.
Keep them in a cool, dry place for a few weeks; they do not last like commercial plastic but hold up for small craft uses.
Clean tools soon after use. Warm, soapy water washes the pot and spatula easily before the starch hardens.
If bioplastic dries on a tool, soak it for a few minutes and peel it off with a spatula.
FAQs About Simple Cornstarch Bioplastic
Will this make a real plastic that lasts forever?
No. This bioplastic makes a sturdy craft material for short-term use, not a replacement for commercial plastic. It handles gentle use and looks great for tags or decorations, but expect wear with heavy handling. I say this because I want you to enjoy realistic results without disappointment.
Is it safe for kids to help with the cooking step?
Yes, with adult supervision. The pot stays on low heat and the mixture warms slowly. Let kids do measuring, whisking the slurry, and smoothing the cooled sheet. I usually have children stand to the side during the hot-cook step and return for hands-on tasks once the mass comes off the stove.
Can I use a different vinegary liquid or skip the vinegar?
White vinegar works well because it stabilizes the mixture and keeps the smell neutral. I have tried apple cider vinegar and it works but can tint the color slightly. Skipping vinegar usually makes the material more brittle, so I recommend keeping the tablespoon unless you test small batches first.
What if I want stronger pieces for tags or magnets?
This recipe gives thin sheets that dry fairly firm. For stronger items, press the sheet thicker and allow more drying time, turning carefully. Remember, even thicker pieces will not match store-bought plastic but will work nicely for light-duty labels and crafts.
A Final Helpful Note
Take your time and enjoy the small wins. The most satisfying part is the moment the glossy mixture becomes a single, stretchable mass and you scoop it onto the mat. If something feels off, don’t worry texture, color, and drying vary by kitchen. Adjust gently and remember that imperfect edges often lead to the most charming handmade pieces.
Conclusion
If you want a deeper look at how simple bioplastics break down outdoors, this study on the influence of natural factors on biodegradation offers useful background without overwhelming detail. For another hands-on kitchen-to-craft guide, see this clear walk-through on how to make a bioplastic in your kitchen, which pairs well with the simple recipe here.
PrintSimple Cornstarch Bioplastic

A quick, low-mess DIY project for making moldable and decorative cornstarch bioplastic sheets perfect for crafts.
- Prep Time: 10 minutes
- Cook Time: 20 minutes
- Total Time: 60 minutes
- Yield: 4 sheets 1x
- Category: Craft
- Method: Stovetop Cooking
- Cuisine: Crafting
- Diet: Non-Dietary
Ingredients
- 1 cup cornstarch
- 4 cups water (divided)
- 1 tablespoon white vinegar
- 1 teaspoon glycerin (optional)
- Baking sheet or flat tray
- Parchment paper or silicone mat
- Measuring cups and spoons
- Cookie cutter or rolling pin (optional)
- Clean damp cloth
- Bowl of cool water
Instructions
- Mix the dry and wet ingredients slowly.
- Stir together 1 cup of cornstarch and 1 cup of water to make a smooth slurry.
- Warm 3 cups of water over low heat in a saucepan.
- Add 1 tablespoon of white vinegar and 1 teaspoon of glycerin until well combined.
- Pour the cornstarch slurry into the warm liquid while stirring gently.
- Stir as the mixture thickens to a glossy, then thick paste.
- Remove from heat once it clumps and pulls away from the sides of the pan.
- Scoop the mixture onto parchment or silicone mat.
- Press and smooth the mass into a thin sheet.
- Cool for at least 30 minutes until a skin forms.
- Cut or press textures into the sheet with cookie cutters or stamps.
- Let the bioplastic sit at room temperature for 24-72 hours to cure.
- Use the finished bioplastic for crafts or labels; handle with care.
Notes
Kids can participate in mixing and shaping once the mass cools. Ensure adult supervision during the cooking step.
Nutrition
- Serving Size: 1 sheet
- Calories: 50
- Sugar: 0g
- Sodium: 25mg
- Fat: 0g
- Saturated Fat: 0g
- Unsaturated Fat: 0g
- Trans Fat: 0g
- Carbohydrates: 12g
- Fiber: 0g
- Protein: 1g
- Cholesterol: 0mg