

A busy afternoon can turn into a small, joyful workshop in minutes. Maybe the kids are home from school and want something creative, or you need a calm, quick activity that uses things already in your kitchen. Cornstarch Flower Preservation fits that moment perfectly.
It asks for a little attention, simple stirring and rolling, and it gives you delicate, long-lasting keepsakes made from petals collected from the yard or bouquet. I often set this up while making a snack, and by the time the plates are cleared we are ready to press petals and make tiny floral disks to dry into charming decorations. If you like projects that feel satisfying and do not take over the whole house, this one will sit well in your week.
Why This Cornstarch Flower Preservation Works So Well

This project stays low-prep because the ingredients live in most kitchens and the steps move quickly. Cornstarch and warm water mix into a silky dough that holds petals gently without heat or complex tools. The optional glue gives slightly more strength without changing the easy feel of the process.
It fits real-life timing. You make the dough and cut shapes in about 15 to 20 minutes, and then the slow drying phase happens on its own while you do other things. The results are reliable for small, thin petals and tiny blossoms, which means fewer ruined pieces and more quick wins for busy families.
The method is approachable because it uses familiar motions: mixing, rolling, pressing, and waiting. Those motions give steady tactile cues so helpers of any age can participate. It also gives you real results you can display, gift, or use for simple crafts. If you enjoy small projects that do not require a big setup, this one delivers.
A Quick Look Before You Begin
Set aside about 30 minutes of active time and a flat, warm spot for drying. The project splits into a short hands-on portion and a longer hands-off drying period that ranges from 24 to 72 hours. That makes it great for afternoons. You will want a nonstick surface like parchment paper and a small cookie cutter or round cutter for neat shapes.
Expect some light mess from the cornstarch dust while you roll. Keep a soft brush or cotton swab and a thin paper towel handy for quick cleanups. Young children do well with help for mixing and for placing delicate petals. Older kids can do almost everything themselves with a little guidance on handling petals and pressing lightly.
If you want a smooth finish, plan an extra 10 minutes at the end for a quick sand and a light sealer coat once the pieces are dry. That is optional but gives a slightly more durable result for handling and display.
Materials You’ll Need
1 cup cornstarch
Common household pantry staple
3/4 cup warm water
Warm to the touch, not boiling
1 teaspoon white glue (optional)
Optional for extra strength
Fresh petals and small flowers (dry and clean)
Small, thin petals work best
Nonstick surface or parchment paper
Parchment makes cleanup and drying easy
Soft brush or cotton swab
For removing excess powder and cleaning edges
Thin paper towel or clean cloth
Useful for blotting and gentle handling
Clear matte or satin sealer (optional)
Optional for added protection after drying
STEP-BY-STEP DIRECTIONS

- Mix cornstarch and warm water to create a smooth dough, adding glue if desired. Knead until silky.
Work in a small bowl, stirring until no lumps remain. Knead briefly on parchment until the dough feels smooth and slightly elastic. - Roll the dough thinly onto parchment paper.
Aim for about 1/8 inch thickness so pieces dry reasonably quickly. If the dough sticks, sprinkle a tiny bit of cornstarch under the dough. - Use a cookie cutter to cut shapes from the dough.
Press straight down and lift cleanly. Save leftover dough to re-roll for more shapes. - Place petals onto the centers of each cut shape and press gently.
Lay petals in pleasing patterns and press them lightly into the dough so they stick without tearing. - Layer multiple disks with petals in between for fuller blooms.
Stack two or three thin disks for a petal-rich look. Press edges slightly to join layers. - Smooth edges and remove excess powder with a brush.
Use a soft brush or cotton swab to sweep away loose cornstarch and smooth any rough edges with a damp fingertip. - Allow to dry in a warm, low-humidity area for 24 to 72 hours.
Place the pieces flat on parchment in a spot with good air circulation and away from direct sunlight. - Once dry, gently test firmness.
Tap a corner to check dryness. If it still feels slightly soft, give it more time to harden. - Optionally, sand edges and seal for protection.
Lightly sand rough spots and brush on a thin coat of clear matte or satin sealer if you want more durability. - Arrange and display your preserved flowers.
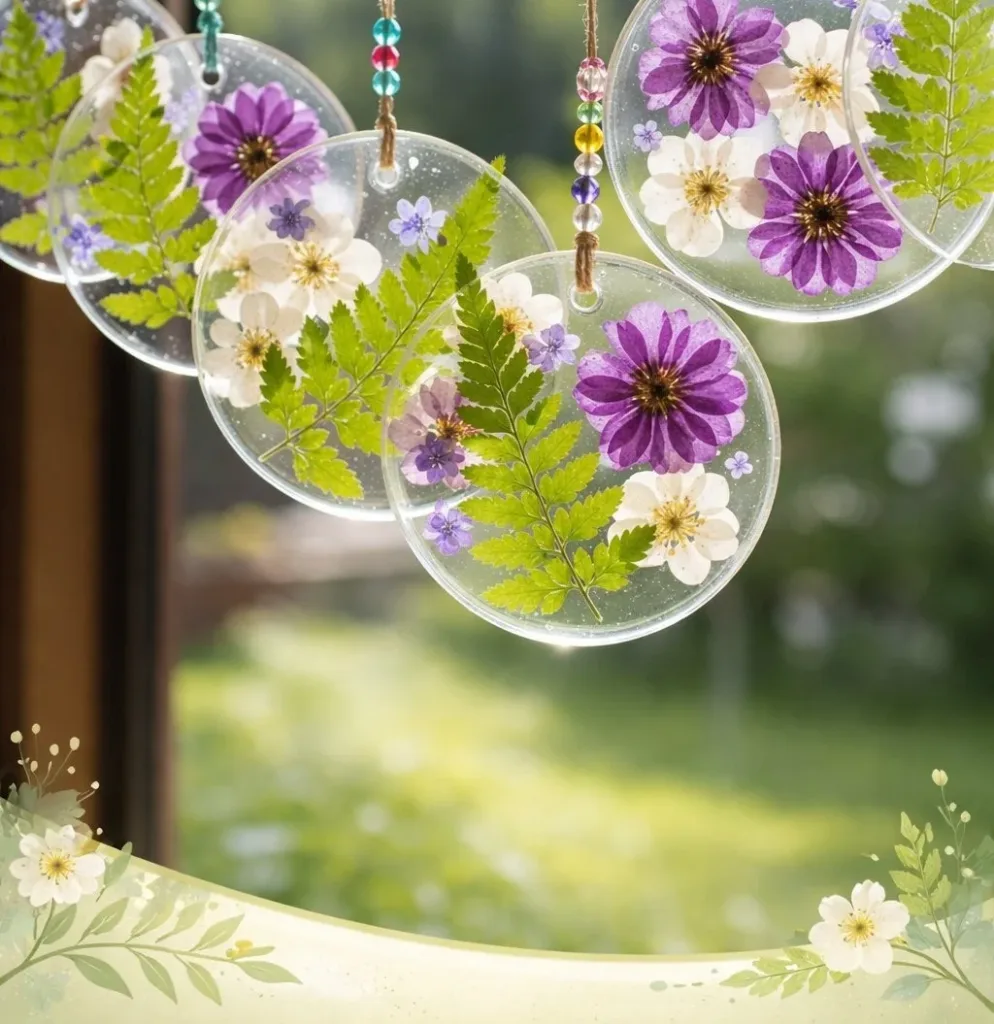
Use them as gift toppers, framed art, magnets, or little ornaments. Arrange thoughtfully and enjoy the keepsakes.
The Simple Science or Skills at Work

This project quietly teaches a few useful ideas without being heavy. Cornstarch absorbs water and, when mixed into a dough, forms a matrix that traps moisture and petals. As it dries, water leaves the dough and the starch hardens, which keeps the petals in place.
For kids, this activity builds fine motor skills. Picking up thin petals and placing them neatly takes a gentle touch. Rolling dough and using cookie cutters practice hand-eye coordination and measured pressure. When you layer disks or press edges, kids learn cause and effect: press too hard and petals tear, press too softly and layers separate.
The waiting period also reinforces patience. You can talk about why drying takes time and test small pieces to see the difference between slightly soft and fully firm. These simple observations feel like small experiments and encourage curiosity.
Troubleshooting Common Issues
If petals look soggy or color bleeds, they were probably not dry enough before pressing. Always use dry, clean petals and blot any dampness with a thin paper towel.
If the dough cracks while drying, it was rolled too thin or dried in a draft. Try a slightly thicker roll next time and move pieces away from direct drafts or air vents.
If shapes stick when you try to lift them, the surface might be too warm or the dough too soft. Let them set for a few minutes on the paper before lifting, or use a thin spatula to help ease them free.
If petals lift away from the dough after drying, the pieces may not have bonded well during pressing. Lightly press again during the first hour after setting, while the dough still has slight give. Adding the optional teaspoon of white glue to the dough can help with stubborn petals.
If drying takes longer than 72 hours, humidity is likely high. Move pieces to a drier room or place them near a fan on low speed for better air circulation.
Easy Variations to Try
Use tiny layered florals: stack three disks with different petals between each layer for a fuller, textured bloom. No extra tools required.
Make magnets or gift tags: press a small disk onto a thin piece of cardboard and glue a magnet or string to the back after sealing.
Try color accents: very lightly dust the edge of a dry piece with powdered paint or eyeshadow for a soft rim color. Test a small piece first to make sure the pigment behaves.
Create a spring banner: make several disks and string them on thin twine or ribbon, spacing them evenly for a simple hanging display.
Seasonal themes: use evergreen sprigs, tiny berries, or dried baby’s breath for winter or holiday looks. Keep pieces small so they dry fully.
Storing or Reusing This Project
Store finished pieces in a dry, cool box with layers of tissue between them to avoid rubbing. A shallow craft box or small shoebox works well.
If a piece breaks, re-press a fresh disk and glue the broken piece back in place with a tiny dab of white glue. For heavier damage, crumble and re-roll leftover dried dough into new pieces.
Leftover dough keeps for a short time wrapped in plastic in the fridge. If you plan to save it, check for any change in smell or texture before using. Discard if it looks or smells off.
Cleanup is simple. Wipe counters with a damp cloth to remove cornstarch dust. Wash tools with warm soapy water. Parchment makes drying and cleanup easier and reduces sticking.
FAQs About Cornstarch Flower Preservation
Can I do this activity with little kids who might touch everything?
Yes, but supervise closely. Little hands do best with the mixing and rolling stage on a low table, and have them use a soft brush for dusting. Keep glue optional and off the work surface unless you are comfortable with supervised use. I usually let toddlers press a single petal or two while an older child handles the cutters.
Will the petals keep their original color?
They will often keep a soft version of their color, but expect some fading or darkening depending on the flower. Thin, brightly colored petals tend to preserve more faithfully. I test one petal first when I care about color, because humidity and petal thickness cause different results.
How messy will this be and how do I make cleanup easy?
Cornstarch dust can move around, but using parchment paper contains it. Keep a small dustpan and a damp cloth nearby. I tell helpers to roll the dough on the paper and keep all cutting and pressing on that surface. A quick sweep and a wipe usually finishes cleanup.
Is this safe if a child puts a piece in their mouth?
The main ingredients are cornstarch and water, which are food safe, but these pieces are not for eating. If young children are prone to mouthing, keep finished pieces out of reach and supervise all steps. Also avoid very small pieces if choking is a concern.
Can I swap the ingredients or use different glue?
I stick to the list of cornstarch, warm water, and an optional teaspoon of white glue because they work predictably. Other glue types can change drying time and flexibility, so I do not recommend substitutions without trying a small test piece first.
A Final Helpful Note
If you only get a few neat disks on the first try, that is a real success. Treat the first run as learning about your local drying conditions and the petals from your yard. Small adjustments to thickness, pressure, and drying location make big differences.
Make this project social. Invite a friend or neighbor, or set up a small station for each child. Keep things relaxed and celebrate the pieces that come out well. This is about making keepsakes and practicing gentle hands, not perfect copies of a store-bought item. You are creating memories and beautiful homemade items, and that counts.
Conclusion
For a deeper look at different drying methods and how petals behave, I recommend this helpful guide on the art of drying flowers: The Art of Drying Flowers: Methods and Preservation Tips, which explains simple drying approaches that pair well with this cornstarch technique. If you want research-backed drying tips and care for a wide range of flowers, this extension resource will be useful: Drying Flowers – HGIC@clemson.edu.
If you enjoyed this project and want a different cornstarch craft, try our fun bubble dough activity at cornstarch bubble dough, or explore delicate preserved blooms in another style with our tutorial on crystal flowers. For more ideas and troubleshooting tips, revisit the step-by-step notes and try a small test batch practice brings consistent, confident results.
PrintCornstarch Flower Preservation

Create delicate, long-lasting keepsakes from petals using simple cornstarch dough. Perfect for kids and easy to do at home.
- Prep Time: 15 minutes
- Cook Time: 0 minutes
- Total Time: 30 minutes (plus drying time)
- Yield: Varies
- Category: Craft
- Method: Crafting
- Cuisine: N/A
- Diet: N/A
Ingredients
- 1 cup cornstarch
- 3/4 cup warm water
- 1 teaspoon white glue (optional)
- Fresh petals and small flowers (dry and clean)
- Nonstick surface or parchment paper
- Soft brush or cotton swab
- Thin paper towel or clean cloth
- Clear matte or satin sealer (optional)
Instructions
- Mix cornstarch and warm water to create a smooth dough, adding glue if desired. Knead until silky.
- Roll the dough thinly onto parchment paper.
- Use a cookie cutter to cut shapes from the dough.
- Place petals onto the centers of each cut shape and press gently.
- Layer multiple disks with petals in between for fuller blooms.
- Smooth edges and remove excess powder with a brush.
- Allow to dry in a warm, low-humidity area for 24 to 72 hours.
- Once dry, gently test firmness.
- Optionally, sand edges and seal for protection.
- Arrange and display your preserved flowers.
Notes
This project is great for families and encourages creativity while building fine motor skills in children.
Nutrition
- Serving Size: N/A
- Calories: 0
- Sugar: 0g
- Sodium: 0mg
- Fat: 0g
- Saturated Fat: 0g
- Unsaturated Fat: 0g
- Trans Fat: 0g
- Carbohydrates: 0g
- Fiber: 0g
- Protein: 0g
- Cholesterol: 0mg