

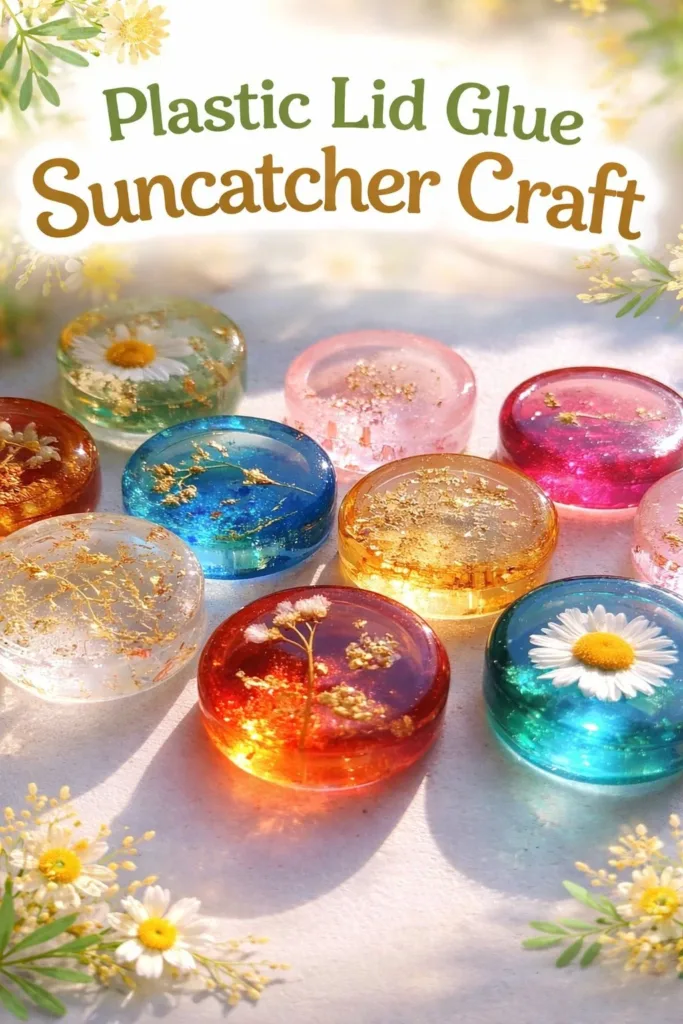
A busy afternoon, a basket of lids on the counter, and a kid asking, “Can we make something colorful now?” That exact moment inspired this Plastic Lid Glue Suncatcher Craft for us. It uses clear plastic lids you already have, plain school glue, and a little food coloring to make sun-catching art that brightens a window. The set up takes minutes, the steps stay simple, and the payoff is a whole string of small, proud faces when the light hits the colors. If you want more easy craft ideas for quick afternoons, check our roundup of fun projects for kids to keep handy.
Why You’ll Love Making Plastic Lid Glue Suncatcher Craft

This project works because it keeps things low-prep and predictable. You drop glue into lids, add a color or two, swirl, and wait. No mixing powders, no special tools, and no long list of ingredients to hunt down.
It feels approachable for kids and adults. Little hands can drop color and twirl with a toothpick. An older child can handle the pour and swirl with just a little help. That balance makes it easy to match your day. If you have only ten minutes before bed, you can set it up and let it dry overnight.
It also fits real life schedules. You can start this in the afternoon, leave the pieces to cure while you cook, then hang them the next morning. That slow-dry step gives better clarity in the finished piece and fewer bubbles.
The materials stay familiar and safe. Clear school glue is non-toxic and easy to clean. Food coloring gives bright color without fuss. If you choose glitter, a little goes a long way and you can control how much lands in the glue.
A Quick Look Before You Begin
Plan for a low-to-moderate mess. A silicone mat or wax paper protects the table and most glue stays inside the lids. You will need time to let the glue dry slowly. Count on several hours or overnight for the clean, flat finish.
Setup takes five to ten minutes. Organize lids open side up on your work surface. Keep a small cup of water nearby to rinse the toothpick between colors. If a child will work, have the hair dryer and hanging supplies out of reach, but visible so an adult can finish the job.
Adult involvement depends on age. Preschoolers need help with the pour and with controlling the swirls. Elementary kids can work more independently but will still enjoy a steady hand nearby. Teen helpers may enjoy experimenting with color layers and tiny holes for fishing line.
If you want a slightly more science-focused version, try pairing this with a short talk about how light passes through color. We show a simple rainbow light idea in another project that pairs well with this activity: a rainbow light show craft.
Materials You’ll Need
What You’ll Use for This DIY
Clear plastic lids in various sizes
common household item and great for mixing shapes
Clear school glue or craft glue (non-toxic)
easy to find and cleans up with water
Food coloring, liquid watercolor, or craft dyes
liquid color works best for this glue method
Fine glitter or mica powder (optional)
sparkle adds shimmer but is optional
A toothpick, skewer, or thin wooden stick
for swirling and making small holes
Wax paper or silicone mat
protects your table and lets pieces release easily
Small funnel or plastic squeeze bottle (optional)
helps control glue pour if you want neater edges
Thin string, embroidery floss, or fishing line
for hanging finished suncatchers
Scissors and a needle (if needed for hanging)
to thread string through small holes
A heat source like a hair dryer on low (optional)
helps speed up drying carefully
A small cup of water for cleaning tools
keeps colors from mixing and makes cleanup easy
STEP-BY-STEP DIRECTIONS

- Prepare your surface and lids by placing wax paper or a silicone mat on a flat table and organizing lids open side up.
Set lids in rows so you can work quickly and avoid spills. Keep the water cup and toothpicks handy. - Pour a thin, even layer of clear glue into each lid, leaving space at the edge.
Aim for a level surface. Too much glue makes long dry times and weak edges; too little makes a thin suncatcher. - Add small drops of food coloring or liquid watercolor to the glue and use a toothpick to swirl the color.
Start with one or two drops. Swirl gently to create waves and marbling without stirring in air. - If desired, lightly dust fine glitter or mica powder on top for shimmer.
Less is more with glitter. Tap lightly so it sits on the glue surface and does not sink. - Use the toothpick to create patterns or poke holes if hanging.
Drag the toothpick lightly for thin lines. Poke once where you want a hole, keeping it small and centered. - Let the pieces dry slowly and undisturbed for several hours or overnight.
Cover loosely with a clean box if you worry about dust. Slow drying reduces bubbles and keeps colors clear. - Once dry, flex the lid gently to release the suncatcher and create a small hole if needed for hanging.
Work slowly at the rim so the piece pops out intact. If the hole needs enlarging, use the needle carefully. - Hang in a window to enjoy the sunlight illuminating the colors.
Tie string or fishing line through the hole and test the balance. Rotate to see how the light changes the look.
The Learning Behind This DIY

This craft blends simple science and everyday fine motor practice. The glue acts like a clear sheet once it dries. It captures the color drops and holds the swirl pattern as the water in the glue evaporates.
Kids watch cause and effect. A drop of color spreads and then stays put. Swirling changes the pattern. Leaving it alone while it dries makes it clearer. These are small, repeatable lessons in how materials behave.
Fine motor skills grow through the small actions. Picking up a toothpick and swirling needs control. Poking a hole and threading string help hand-eye coordination. These are skills children use in writing, tying shoes, and other crafts.
You also practice patience. This craft rewards slow drying. Rushing with heat or moving pieces too soon can cause cracks. That slow wait teaches that some projects work best when you let them take their time.
Troubleshooting Common Issues
If the glue forms bubbles, they usually come from stirring too hard or adding color too quickly. Try tapping the lid gently on the table before leaving it to dry. That helps small bubbles rise to the top.
If the color looks muddy, you likely mixed too many colors into the same blob. Use fewer drops next time and swirl lightly. Drop colors a little apart in the glue and then pull them together if you want softer blends.
If the glue never dries clear and stays tacky, the layer may be too thick or the room too humid. Move finished lids to a warmer, drier spot and leave them longer. A hair dryer on low can help at a safe distance, but keep it moving to avoid warping.
If the suncatcher cracks when you flex the lid, it may be brittle from too-fast drying or an uneven pour. Use a thinner glue layer next time. Let the plastic rest at room temperature before flexing.
If the hole tears when you hang it, make the hole slightly closer to the center and smaller, or thread the string through twice to distribute weight. For heavier pieces, use embroidery floss rather than thin fishing line.
Easy Variations to Try
Try single-color minimalist pieces.
Use one color per lid and swirl very little for soft, stained-glass effects. This works well for younger kids who like simpler tasks.
Make layered color rings.
Drop a color in the center, let it settle for a few minutes, then add another color around it. That gives a subtle ringed look when done slowly.
Add nature bits carefully.
Press a tiny dried flower petal or seed into the glue surface before it fully sets. Keep pieces flat and light so they do not sink or create bubbles.
Create holiday shapes with lid sizes.
Group small lids to make a garland or use larger lids for ornaments. Match colors to seasons for easy redecorating.
Use metallic mica powder for a pearly finish.
Dust very lightly so the sheen stays on the top. It gives an adult, jewelry-like look to simple kids projects.
Storing or Reusing This Project
Store finished suncatchers flat until you hang them.
Stack them between sheets of wax paper to avoid sticking. Keep them in a flat box if you move them.
Reuse the lids for another craft only if you did not pour glue too deep.
If you want to reuse the plastic itself, test one lid first because the glue may bond it. Otherwise, keep lids as molds for future glue projects.
Clean tools right away.
Toothpicks and funnels clog quickly. Rinse them in the small cup of water while the glue is still wet. Dried glue takes a bit more work to remove, but soaking helps.
Reduce waste by saving a few leftover lid shapes.
If a suncatcher breaks or you change your mind, trim the edges and turn the fragments into a mosaic on a card or small frame.
FAQs About Plastic Lid Glue Suncatcher Craft
Will this project be too messy for my kitchen table?
It will make a little glue and maybe a drop or two of color, but the mess stays small. Lay wax paper or a silicone mat on the table and work with lids set open side up. Keep a wet cloth and a small cup of water nearby for quick cleanups. Most glue wipes off easily when it is still wet, and the mat protects the surface.
Is this safe for preschoolers?
Yes, with supervision. Use non-toxic clear school glue and keep food coloring doses small. Preschoolers can drop color and swirl gently while an adult handles the pouring and any use of a hair dryer. Expect sticky fingers and smiles; that is normal and part of the fun.
Can I substitute materials if I do not have liquid watercolor?
Food coloring works well as an alternative. Liquid watercolor gives brighter, fuller color with less clouding. If you must use food coloring, use it sparingly and keep the water content low. Avoid adding extra water to the glue because that increases drying time.
What if the colors look dull after drying?
Colors can look slightly softer when the glue dries. Brighter outcomes come from using concentrated liquid dyes and limiting how much the colors mix. If you want stronger saturation next time, add one more small drop of color and swirl gently without blending new colors into the same spot.
How do I store leftover glue or decorated lids?
Keep extra glue in its original bottle tightly closed and store at room temperature. For decorated lids, stack finished pieces with wax paper between them and keep them flat. If a piece breaks, save fragments for future mosaics or glue them onto cardboard as a different project.
A Final Helpful Note
Take the pressure off perfect outcomes. These suncatchers look best when each one feels a little different. Expect some air bubbles, slight color mixing, and varied thickness. Those make your finished string feel handcrafted.
If a child gets impatient while waiting, start another lid so they can repeat the process. That keeps momentum and builds confidence. Celebrate small wins like the first clear piece that lets light through.
Remember the simple rule: thin layer, slow dry. That makes a clearer, stronger suncatcher most of the time. And keep cleanup easy by rinsing tools while the glue is still wet.
Conclusion
If you would like another step-by-step guide with slightly different tips and photos, the Colorful DIY Glue Suncatcher Craft – Mombrite tutorial offers a helpful second look. For more ideas on recycled glue suncatchers and color mixing, see this take on Colorful Glue Suncatcher – Recycled Crafts for Kids which complements the approach here.
PrintPlastic Lid Glue Suncatcher Craft

Create colorful sun catchers with clear plastic lids, school glue, and food coloring for a fun and easy craft project perfect for kids.
- Prep Time: 10 minutes
- Cook Time: 0 minutes
- Total Time: 60 minutes
- Yield: Several suncatchers
- Category: Craft
- Method: DIY Crafting
- Cuisine: N/A
- Diet: N/A
Ingredients
- Clear plastic lids in various sizes
- Clear school glue (non-toxic)
- Food coloring, liquid watercolor, or craft dyes
- Fine glitter or mica powder (optional)
- A toothpick, skewer, or thin wooden stick
- Wax paper or silicone mat
- Small funnel or plastic squeeze bottle (optional)
- Thin string, embroidery floss, or fishing line
- Scissors and a needle (if needed for hanging)
- A heat source like a hair dryer on low (optional)
- A small cup of water for cleaning tools
Instructions
- Prepare your surface and lids by placing wax paper or a silicone mat on a flat table and organizing lids open side up.
- Pour a thin, even layer of clear glue into each lid, leaving space at the edge.
- Add small drops of food coloring or liquid watercolor to the glue and use a toothpick to swirl the color.
- If desired, lightly dust fine glitter or mica powder on top for shimmer.
- Use the toothpick to create patterns or poke holes if hanging.
- Let the pieces dry slowly and undisturbed for several hours or overnight.
- Once dry, flex the lid gently to release the suncatcher and create a small hole if needed for hanging.
- Hang in a window to enjoy the sunlight illuminating the colors.
Notes
This craft is safe for preschoolers with adult supervision and encourages fine motor skills and patience. Allow for slow drying for best results.
Nutrition
- Serving Size: 1 suncatcher
- Calories: N/A
- Sugar: N/A
- Sodium: N/A
- Fat: N/A
- Saturated Fat: N/A
- Unsaturated Fat: N/A
- Trans Fat: N/A
- Carbohydrates: N/A
- Fiber: N/A
- Protein: N/A
- Cholesterol: N/A