

A busy afternoon, a last-minute craft request, or kids asking for something to make right now can feel stressful. I kept a small tray of glass dishes and a jar of sugar handy after a rainy weekend, and one quick setup turned into a calm, satisfying hour of making for the whole family. Crystal Flowers fit perfectly into those moments: low-prep, funny little hands-on work, and a clear result you can hold and arrange. If you like this sort of gentle kitchen craft, you might also enjoy our short guide to making pink eggshell crystal geodes, which uses similar ideas in a slightly different way.
Why You’ll Love Making Crystal Flowers

Crystal Flowers use things you probably already have or can buy easily at a grocery store. You do not need special tools or fancy chemicals to get pretty, delicate shapes. The process takes just a few minutes of active work and then a calm waiting time, which makes this project great for a busy afternoon or an after-dinner activity.
This craft feels small and tidy. You work in a single shallow dish and use a pipette to place droplets. That keeps the mess contained and the cleanup simple. The steps repeat easily, so you can do a few test petals and then make a whole set.
It also gives reliable results on the first try when you follow a couple of simple cues about solution clarity and drying conditions. For a quick, meaningful project that leaves everyone proud, this one checks the boxes.
A Quick Look Before You Begin
Plan about 10 to 20 minutes for setup and the hands-on part. After that, the crystals need several hours or overnight to form and harden. The total calendar time depends on how many pieces you want and how dry your room is.
You can do this with kids, but expect to help with the warm water and the delicate lifting. The mess level stays low if you work on a towel and use small dishes. Cleanup is mostly rinsing dishes and wiping a small surface.
You do not need to watch the plates constantly while crystals grow. The quiet waiting is part of the fun. Check only when you need to move pieces to dry or when crystals look ready to lift.
Materials You’ll Need
Clear glass or small shallow dishes
Common household item. Use small plates or shallow glass bowls so droplets spread and dry evenly.
White granulated sugar or sodium-based crystal mix
White sugar works well and is easy to find. A sodium-based crystal mix will grow differently but is optional if you already have it.
Warm water
Warm tap water helps dissolve sugar cleanly. Not boiling, just comfortably warm to touch.
Food coloring or mica powder (optional)
Optional. A drop of food coloring or a pinch of mica adds color without changing the method.
Small pipette or dropper
A pipette gives control for petal placement. You can use a clean medicine dropper if you have one.
Toothpicks or thin wooden skewers
Use these to nudge or refine droplet shapes gently before they set.
Fine mesh sieve or coffee filter (optional)
Optional. Use to remove dust or stray bits from your sugar before dissolving if you want extra clarity.
Parchment paper or silicone mat
A clean surface for drying finished crystal pieces. Parchment works well for easy release.
Tweezers
Small tweezers help lift fragile crystals when they harden.
Small spray bottle of distilled water (optional)
Optional. A light mist can rehydrate edges carefully or help sealers settle later.
Step-by-Step Directions

- Prepare a calm workspace with good light and a small towel. Gather materials and minimize distractions.
Lay out dishes, pipette, toothpicks, and tweezers. A towel under your work keeps the table safe and collects drips. - Make a clear, warm sugar solution by stirring sugar into warm water until fully dissolved.
Use about two parts sugar to one part warm water and stir until the liquid looks clear with no grains. If you see tiny undissolved bits, warm a little more and stir. - Pour a shallow layer of the solution into your dish.
Aim for a thin, even layer that will let droplets spread but not be too deep. The layer should sit level and not wobble when you move the dish. - Use a pipette to place droplets where you want petals and watch the solution flatten.
Squeeze small, careful drops in a petal pattern. Watch as each dot spreads into a disc. Smaller drops make more delicate petals, larger drops make chunkier petals. - Coax shapes with a toothpick if desired.
If a droplet spreads oddly, touch the edge with a toothpick to guide it. Move slowly and gently so you do not pull the whole drop apart. - Let the plate rest undisturbed in a cool, dry spot for several hours or overnight.
Place the dish somewhere out of drafts and away from direct sunlight. Avoid moving the plate while crystals are forming. - Lift the formed crystal pieces carefully with tweezers and place them on parchment paper or a silicone mat to dry.
When the crystals look opaque and firm, lift them slowly. If they bend, give them more time and return them to the dish. - Optionally, spray a light sealant on the hardened crystals if you plan to handle them.
Use a clear spray or a very light mist of distilled water first to see how they respond. A light seal will make them less fragile for display. - Arrange and enjoy your Crystal Flowers mindfully.
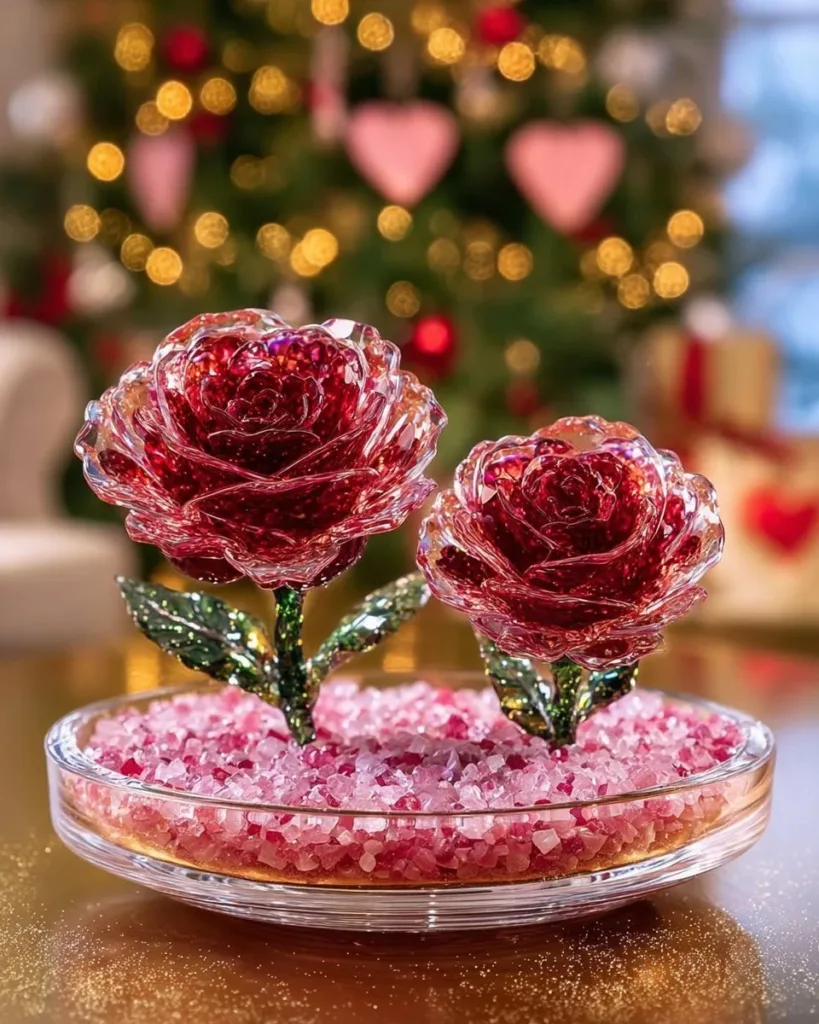
Place finished flowers on a tray, in a shadow box, or gently glue them to a card for a keepsake. Take a moment to notice how they catch the light.
The Simple Science or Skills at Work

This project mixes craft and a bit of simple kitchen science. When sugar dissolves in warm water, the solution can hold more sugar than cool water. As the water evaporates, the sugar comes out of solution and forms solid crystals.
You see cause and effect: small warm drops spread, thin films dry faster, and fewer disturbances help clear crystal shapes. You also practice fine motor skills. Using a pipette and a toothpick strengthens hand-eye coordination and patience.
Kids learn to predict outcomes. They try a small variation, watch what happens, and adjust the next time. That gentle trial and error builds confidence and attention.
Troubleshooting Common Issues
If droplets spread too much and make a single blob, the solution might be too thin or the dish too warm.
Fix this by letting the solution cool slightly or using slightly larger drops. Work faster between placing drops so surfaces set before they join.
If the solution looks cloudy or has particles, it will make rough crystals.
Strain sugar before dissolving or warm and stir a bit more. A fine mesh sieve or coffee filter removes stray bits and keeps pieces clear.
If petals collapse when you lift them, they need more drying time.
Return them to the dish and wait a few more hours. Lift gently from the center edge with tweezers when they look firm and opaque.
If colors bleed or smudge, you used too much coloring.
Use a very small drop of food coloring or a tiny pinch of mica powder dispersed in the solution. Test one petal first.
If the crystals crumble when handled, they are naturally delicate.
Consider a light sealant spray or use them as display pieces rather than handling toys. For keepsakes, glue them onto cards or frames to protect them.
Easy Variations to Try
Try color accents. Add a single tiny drop of food coloring before placing petals to make soft pastel flowers. A little goes a long way.
Make layered flowers. Let one layer set, then add a second ring of droplets for a fuller look. Work gently so the base does not break.
Combine with paper craft. Glue finished Crystal Flowers onto folded cards or a simple paper wreath for a pretty, non-edible decoration.
For a different texture, try a sodium-based crystal mix if you already have one. It will grow and feel slightly different from sugar crystals. Read its instructions and treat it the same way.
For ideas that use similar steps and different materials, see our guide to the rainbow crystal heart for more inspiration.
Storing or Reusing This Project
Store finished flowers in a cool, dry box away from moisture and humidity. A small shallow box lined with parchment keeps them from rubbing together.
If you plan to keep them long term, avoid humid rooms like a bathroom. Humidity dissolves sugar crystals slowly and makes them sticky.
Rinse and reuse glass dishes after the project. Warm water dissolves any leftover sugar quickly. A fine scrub cleans the dish completely for the next craft or for kitchen use.
If you want to make more flowers later, you can reuse the same solution by warming and stirring it to redissolve crystals, but the clarity may weaken after repeated cycles. For best clarity, mix a fresh batch.
FAQs About Crystal Flowers
Will this make a big mess on my table?
I worry about sticky stuff everywhere. Sticky spots happen if you spill, but the project stays tidy if you work on a towel and use small dishes. Wipe up drips right away with warm water. Most sugar residue dissolves easily and cleans up with a quick rinse.
Is this safe for little kids to do?
This activity works with close adult supervision. Let adults handle warm water and lifting delicate pieces. Children can place droplets and coax shapes with a toothpick under supervision. Be honest about fragility so kids do not try to eat the crystals.
Can I use other sweeteners or baking supplies instead of sugar?
White granulated sugar gives predictable, clear results. You can try a sodium-based crystal mix only if you already have it and know its handling. Substituting other sweeteners may change how crystals form, so expect different textures.
What if my crystals do not look like the photos?
Real results vary. Lighting, humidity, and drop size change how crystals look. That is normal. If pieces look rough, try straining the sugar and letting the dish cool a bit before making drops. Small adjustments usually improve the next batch.
How long will these last on display?
If you keep them dry and out of humid air, they can last for months as decorative pieces. They remain delicate, so handle them sparingly. A light sealant helps if you plan to touch them often, but expect some natural wear over time.
A Final Helpful Note
You do not need to make perfect flowers to enjoy this project. Small experiments help you find what works on your table and in your room. Notice how room temperature and drop size change the look. Let kids try one petal each and celebrate their best efforts.
Take your time, keep cleanup simple, and treat the waiting as part of the experience. The results often surprise people in a good way, and the process gives a quiet, creative pause in a busy day.
Conclusion
If you want to see professionally crafted pieces for decorating or gifting, the Waterford crystal flowers collection offers polished, store-bought versions that showcase crystal in a different way. For a fragrance-inspired take on the name and artful presentation, consider browsing the Montale Parfums Crystal Flowers offering for an elegant pairing of scent and style.
PrintCrystal Flowers

Create stunning, delicate crystal flowers using simple ingredients found at home. Perfect for a hands-on family activity.
- Prep Time: 20 minutes
- Cook Time: 0 minutes
- Total Time: 240 minutes
- Yield: Multiple flowers
- Category: Craft
- Method: Crafting
- Cuisine: N/A
- Diet: N/A
Ingredients
- Clear glass or small shallow dishes
- White granulated sugar
- Warm water
- Food coloring or mica powder (optional)
- Small pipette or dropper
- Toothpicks or thin wooden skewers
- Fine mesh sieve or coffee filter (optional)
- Parchment paper or silicone mat
- Tweezers
- Small spray bottle of distilled water (optional)
Instructions
- Prepare a calm workspace with good light and a small towel. Gather materials and minimize distractions.
- Make a clear, warm sugar solution by stirring sugar into warm water until fully dissolved.
- Pour a shallow layer of the solution into your dish.
- Use a pipette to place droplets where you want petals and watch the solution flatten.
- Coax shapes with a toothpick if desired.
- Let the plate rest undisturbed in a cool, dry spot for several hours or overnight.
- Lift the formed crystal pieces carefully with tweezers and place them on parchment paper or a silicone mat to dry.
- Optionally, spray a light sealant on the hardened crystals if you plan to handle them.
- Place finished flowers on a tray or glue them to a card for a keepsake.
Notes
This project is suitable for kids with adult supervision. Use a towel to minimize mess and clean up spills immediately with warm water.
Nutrition
- Serving Size: 1 flower
- Calories: 0
- Sugar: 0g
- Sodium: 0mg
- Fat: 0g
- Saturated Fat: 0g
- Unsaturated Fat: 0g
- Trans Fat: 0g
- Carbohydrates: 0g
- Fiber: 0g
- Protein: 0g
- Cholesterol: 0mg