

Baking Soda Volcanoes are a classic hands-on project that brings excitement to any afternoon. Imagine a busy day at home, where the kids are eager to make something fun and engaging right now. They might be bouncing off the walls, looking for an activity that doesn’t require a trip to the store or complicated preparation. That’s where the Baking Soda Volcano comes to the rescue. This simple project not only sparks creativity but also teaches a bit of science in the most delightful way through an eruption of fizzing “lava.”
Why This Baking Soda Volcano Works So Well

The beauty of the Baking Soda Volcano lies in its simplicity. You don’t need fancy ingredients or elaborate setups. It’s approachable for both kids and adults, making it a fantastic way to spend an afternoon together. The main materials you need are commonly found in any home, which means you can jump right into the fun without a lot of prep.
When you create the volcano, you get to witness the exciting reaction between baking soda and vinegar. This reliable combo delivers bubbling eruptions that thrill everyone watching. The excitement builds as the reaction unfolds, and the smiles are contagious. It’s an excellent way to fit a bit of science into a busy schedule without a lot of hassle.
A Quick Look Before You Begin
Making a Baking Soda Volcano is straightforward and can fit neatly into a busy day. The entire process usually takes about 30 minutes from setup to eruption, with just a few minutes for clean up, making it manageable even on a packed afternoon.
You set up your materials within arm’s reach, and depending on the age of your kids, you might want to dive in alongside them or let them take the lead. It can get a little messy, but using a tray helps catch any spills. A quick cleanup is easy with just some soapy water for the surfaces. The best part? The joy that comes from watching the volcano erupt makes it all worthwhile.
Materials You’ll Need
- 1/4 cup Baking soda (Main base ingredient)
- 1/2 cup Vinegar (Main acid ingredient, creates the fizz)
- 1 squirt Dish soap (Optional, for added foam)
- To taste Food coloring (For visual effect, red or brown suggested for lava)
- 1 Plastic bottle or small container (Main chamber for the volcano)
- As needed Modeling clay or play-dough (To mold the volcano shape)
- 1 Tray or large dish (To catch the overflow from the eruption)
- 1 Funnel (Optional, for easier pouring of vinegar)
Gathering these supplies is easy. Most families have vinegar and baking soda in their kitchens, while a plastic bottle or container can often be found in recycling bins. If you don’t have modeling clay, play-dough works perfectly as well. This project is not only budget-friendly but also allows for creative expression without stretching your resources.
Step-by-Step Directions

- Start by Preparing Your Volcano Structure: Use modeling clay or play-dough to shape a volcano around your plastic bottle or container. It doesn’t have to be perfect; just build it high enough so it resembles a volcano. You can even add some detailing for fun.
- Place the Volcano on the Tray: Set your clay or play-dough volcano on the tray or large dish. This is crucial, as it will catch any overflow from the eruption—trust me, it will erupt!
- Add Baking Soda to the Bottle: Pour 1/4 cup of baking soda into the bottle or container located at the top of your volcano structure. This will serve as the main base for your eruption.
- Mix in Dish Soap and Food Coloring: If you like, add a squirt of dish soap; this will help create extra bubbles. Then, add a few drops of food coloring for that vibrant lava effect. Red or brown looks most like real lava.
- Prepare for the Eruption: Slowly pour in 1/2 cup of vinegar into the bottle using a funnel if you have one.
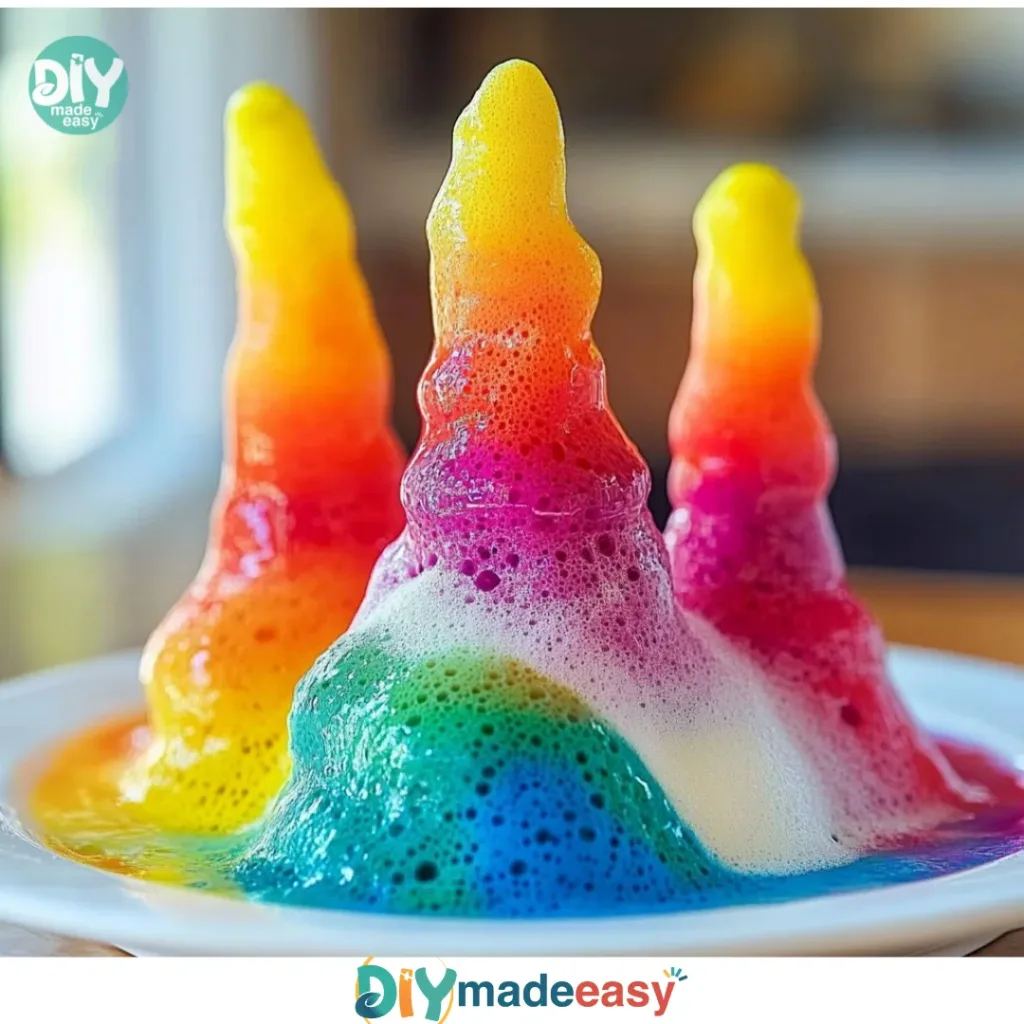
- Watch the Eruption: Stand back and watch as the magic happens! The baking soda and vinegar will react, producing fizzing and bubbling that resembles lava flowing down the sides of your volcano. Enjoy the excitement while it lasts!
The Learning Behind This DIY

This project is a wonderful introduction to basic chemistry for kids. When baking soda (a base) meets vinegar (an acid), they undergo a chemical reaction that produces carbon dioxide gas, bubbles, and fizz. This teaches kids about cause and effect in a fun and engaging manner.
In addition to scientific concepts, the Baking Soda Volcano helps develop fine motor skills and coordination when shaping the volcano and pouring the liquids. Kids learn patience as they wait for the eruption to occur, and they get to see their efforts rewarded when the fizzing starts. Overall, this project combines learning with creativity, ensuring children get interactive experience while having lots of fun.
Troubleshooting Common Issues
If your volcano doesn’t erupt as expected, don’t worry—this can happen. Sometimes the main reason for a lack of reaction is not enough baking soda or vinegar. Ensure you stick to the measurements to get the best results.
If the fizzing is not very dramatic, try adding more vinegar slowly. The eruptions can also vary based on how well the materials are mixed. Just remember, these variations are part of the scientific discovery process—experimentation is encouraged!
Turn Your Kitchen into a Lab
Make learning exciting at home. Try our Kitchen Science Experiments and discover fun, hands-on activities using everyday kitchen ingredients.
Easy Variations to Try
Try these variations to keep the excitement going:
- Different Colors: Experiment with different food colorings to create unique lava flows—green for alien volcanoes, or blue for underwater adventures.
- Experiment with Ratios: Adjust the amount of baking soda and vinegar to see how the reactions differ.
- Add Glitter: Introduce some craft glitter into the mix for a sparkling volcanic eruption.
- Create Mini Volcanos: Use smaller containers for miniature versions of the volcano if there are lots of little helpers wanting to join in.
- Make a Themed Display: Create a scene around the volcano with toys or figures to make it feel like an authentic eruption!
Storing or Reusing This Project
After your volcano activity, there’s no need to toss everything out. Clean up is straightforward since the materials are easy to wash away with soap and water.
If you’ve used modeling clay, save any leftover clay in an airtight container for future projects. If you want to reuse the bottle, simply clean it out and store it for the next eruption. This approach not only minimizes waste but also helps you get prepared for another fun afternoon project.
FAQs About Baking Soda Volcano
Is it messy?
It can be a little messy, but using a tray to catch any overflow helps a lot. You can minimize spills by pouring carefully using a funnel if you have one.
What age is this activity suitable for?
Most kids aged 4 and up can enjoy this project with some adult supervision for pouring. It’s a great blend of fun and learning for various ages!
Can I substitute the vinegar or baking soda with something else?
Vinegar and baking soda are key for this reaction, so it’s best to stick to them. However, if you need to avoid allergies, you might use lemon juice, but the results may vary.
How realistic are the results?
While it’s a fun project, results can vary. Sometimes the “lava” fizzes more than at other times, but it’s all part of the excitement of experimentation.
What can I do with leftover materials?
Clean up is quick! You can save any remaining clay for another project or repurpose containers. Just make sure everything is thoroughly cleaned.
Free Daily DIY Inspiration
Looking for simple, cozy DIY projects and kids activities? Get fresh ideas every day and easy crafts using everyday supplies. Follow DIY Made Easy on Pinterest
A Final Helpful Note
Before you embark on your Baking Soda Volcano adventure, know that flexibility is key. Take your time, adapt the steps as needed, and allow for some fun exploration. No two eruptions need to be the same—each one is a new opportunity for learning and excitement. Enjoy the process and take pride in your creation; it’s all about having fun together. Happy erupting!
PrintBaking Soda Volcano

A classic hands-on project that creates exciting eruptions using baking soda and vinegar, perfect for a fun afternoon with kids.
- Prep Time: 10 minutes
- Cook Time: 0 minutes
- Total Time: 30 minutes
- Yield: 1 volcano 1x
- Category: Science Project
- Method: Experimentation
- Cuisine: N/A
- Diet: N/A
Ingredients
- 1/4 cup Baking soda
- 1/2 cup Vinegar
- 1 squirt Dish soap (optional)
- To taste Food coloring (red or brown suggested)
- 1 Plastic bottle or small container
- As needed Modeling clay or play-dough
- 1 Tray or large dish
- 1 Funnel (optional)
Instructions
- Prepare your volcano structure by shaping modeling clay or play-dough around the plastic bottle or container.
- Place the volcano on the tray to catch any overflow.
- Add 1/4 cup of baking soda to the bottle.
- Mix in dish soap and a few drops of food coloring.
- Slowly pour in 1/2 cup of vinegar.
- Stand back and enjoy the eruption!
Notes
Use a tray to catch any spills and clean up easily with soapy water. You can save leftover modeling clay for future projects.
Nutrition
- Serving Size: 1 eruption
- Calories: 0
- Sugar: 0g
- Sodium: 0mg
- Fat: 0g
- Saturated Fat: 0g
- Unsaturated Fat: 0g
- Trans Fat: 0g
- Carbohydrates: 0g
- Fiber: 0g
- Protein: 0g
- Cholesterol: 0mg