

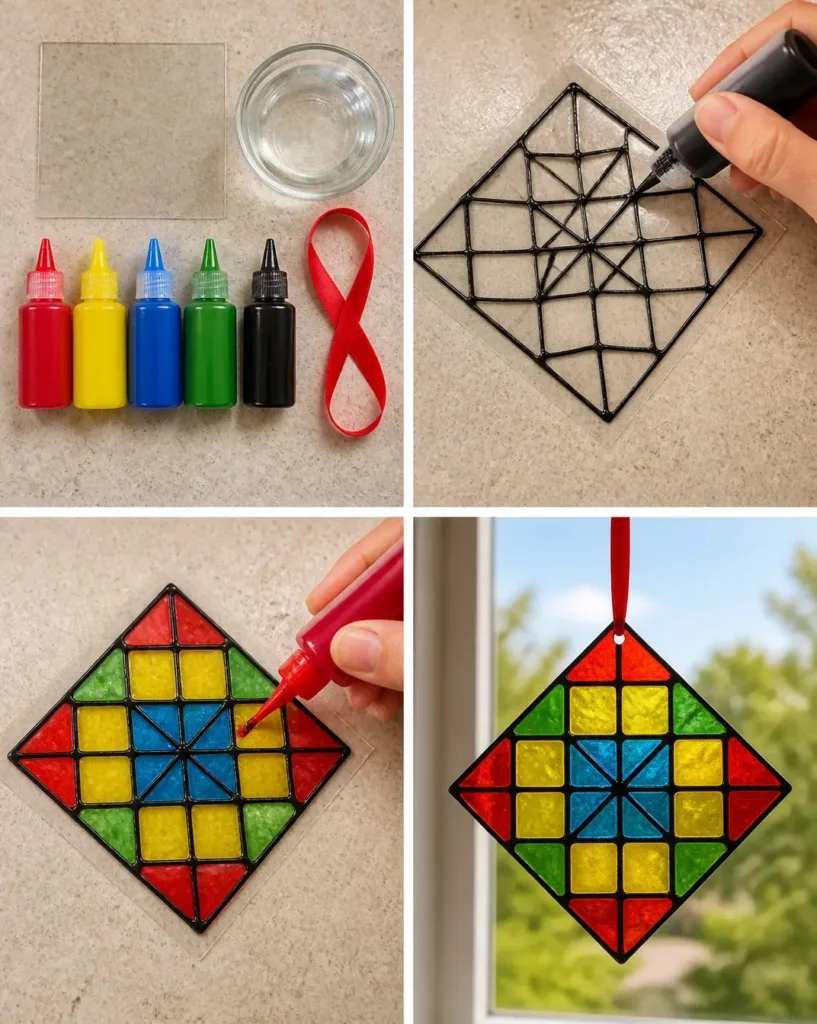
It was a busy afternoon when my kids decided they wanted something creative to do right then and there. With an hour to spare before dinner, I knew a hands-on activity would be the perfect solution. So, I gathered my supplies for how to make a colorful glue quilt suncatcher (DIY tutorial). Not only is this project straightforward, but it also captivates your little ones with bright colors and the fun of creating something beautiful to hang in the window. You may also find How To Make Swirled Glue Suncatchers useful.
Why This How to Make a Colorful Glue Quilt Suncatcher (DIY Tutorial) Works So Well
You may also find How To Make A Suncatcher With Glass Beads useful.
This colorful glue quilt suncatcher project is ideal for busy families. It requires minimal prep and promises a rewarding outcome. The beauty of it is that your kids will love the tactile experience and the opportunity to explore colors. The materials are easy to find around the home, making it approachable even for those with tight schedules. The project also delivers reliable results, so you can rest assured that your little artists will see the fruits of their labor. You may also find Colorful Pencil Suncatcher Back To School Crafts useful.
A Quick Look Before You Begin
Before diving in, it’s beneficial to understand how this DIY comes together. The total time commitment is about 24 hours, mainly due to the drying time. However, the active crafting time is only a short while, making it suitable for young children and even adults wanting to lend a hand. The mess level is manageable; just be prepared for some glue spills! It’s wise to cover your workspace with newspapers or an old tablecloth to keep things easy to clean up. Adult supervision is recommended, especially with younger kids, to guide them through the process and enjoy some quality time together. You may also find How To Create Colorful Melted Crayon Art useful.
Materials You’ll Need
To make this colorful glue quilt suncatcher, you’ll need the following materials:
- 1 clear plastic sheet
- 1/2 cup clear school glue
- Red food coloring
- Yellow food coloring
- Blue food coloring
- Green food coloring
- Black dimensional paint
- Ribbon
These materials are either common household items or quite easy to source, ensuring you can start crafting without fuss.
Step-By-Step Directions

Now, let’s delve into the steps to create your colorful glue quilt suncatcher. Follow along for a fun, artistic adventure that will brighten up your spaces.
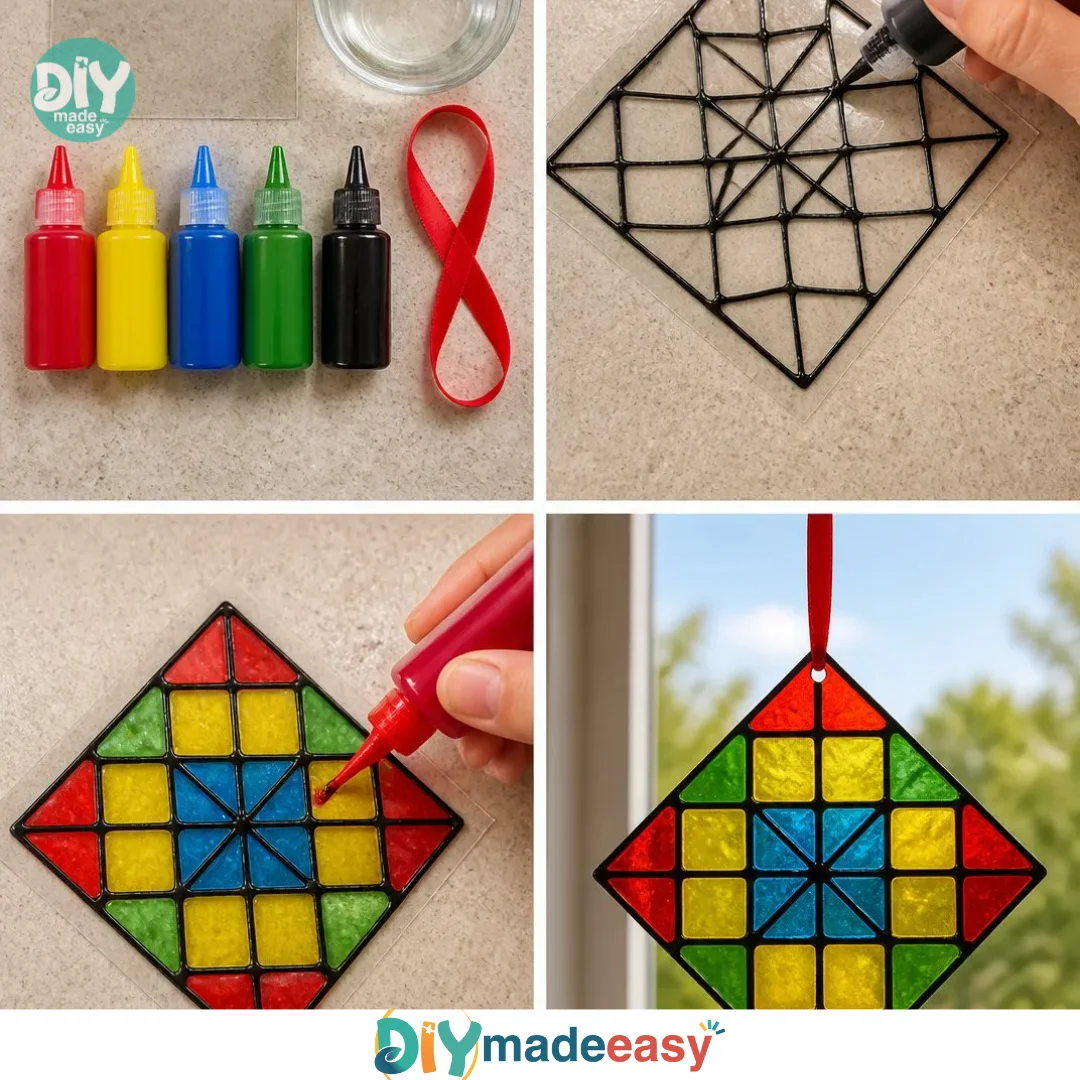
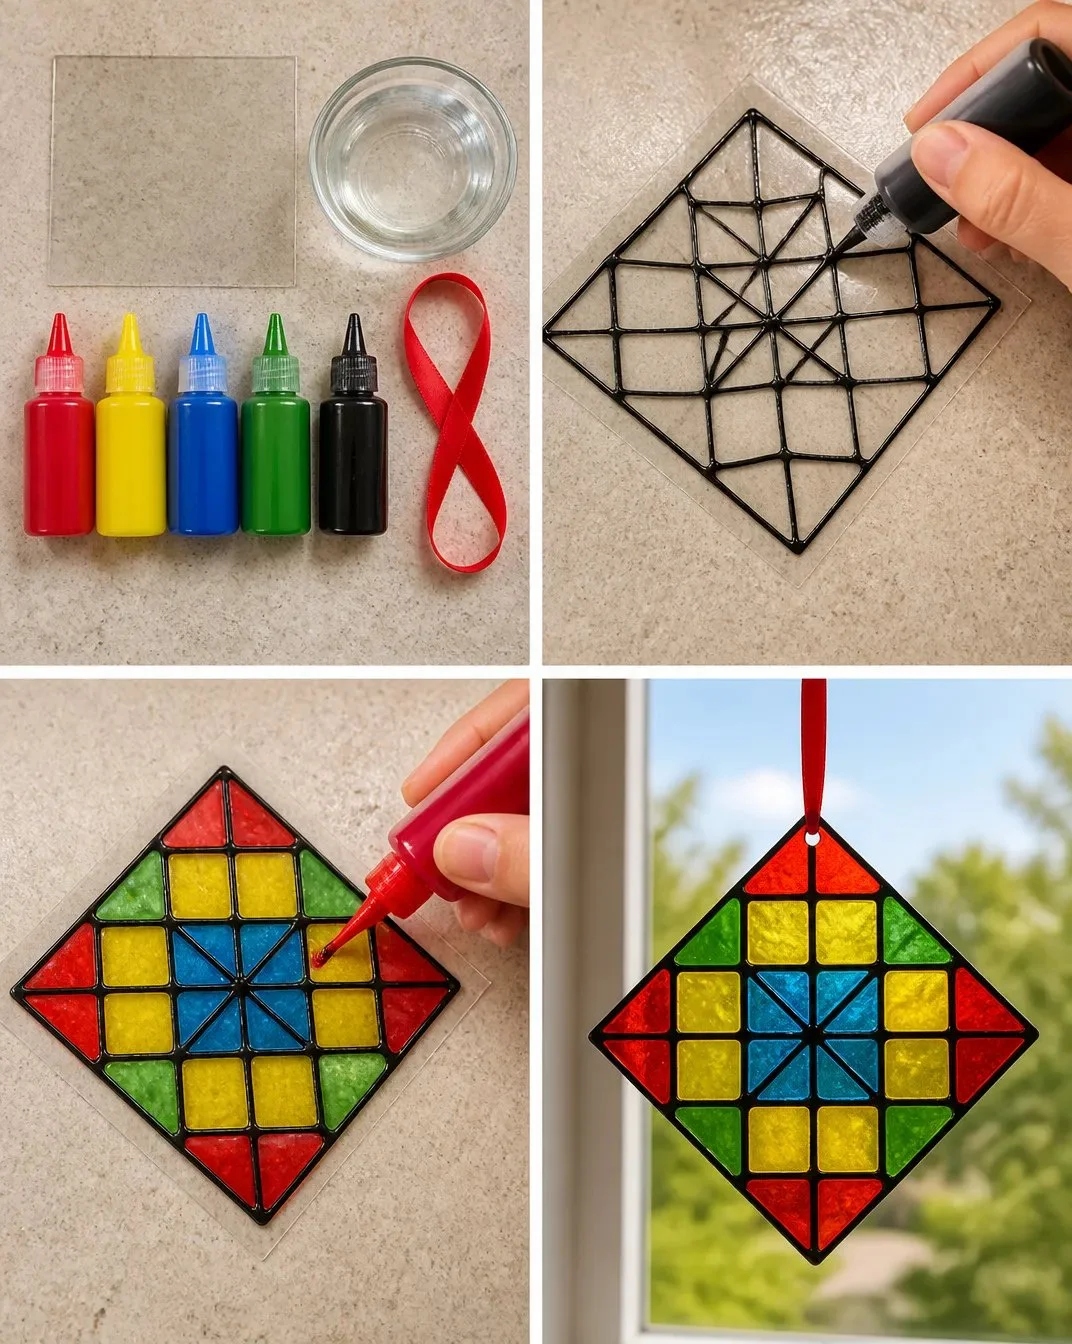
Draw quilt-style sections with dimensional paint. Begin by using the black dimensional paint to outline the sections on your clear plastic sheet. Think of how a quilt has patches this creates a fun design where the colors will go later. Allow this to dry completely before moving to the next step.
Tint small glue portions, fill each section, and let dry for 24 hours. In separate containers, mix small amounts of clear school glue with each color of food coloring. You want enough glue to fill each outlined section, so test your colors if needed. Carefully fill in each section with the appropriately colored glue mixture. Once all sections are filled, leave the suncatcher to dry. It will take about 24 hours, so be patient!
Peel or trim, punch a hole, and hang in a sunny window. Once the glue has dried completely, you can gently peel it off the plastic sheet. If necessary, trim the edges to create a neat finish. Punch a small hole at the top and thread a piece of ribbon through. Now, hang your beautiful suncatcher in a sunny window to enjoy the vibrant colors!
The Learning Behind This DIY
Making this colorful glue quilt suncatcher isn’t just about creating a pretty decoration; it also fosters various developmental skills. Kids practice fine motor skills as they carefully apply glue and color. They explore cause and effect through the mixing of colors and the transformation of glue as it dries into a solid form. Plus, there’s a nice science component in observing how colors blend and change when mixed.
Troubleshooting Common Issues
While creating your suncatcher, a few common issues might arise. One usual culprits include the glue not drying properly, which can happen if the layers are too thick. To avoid this, ensure you’re applying thin layers of colored glue in each section. If the colors mix unexpectedly, don’t worry; that’s part of the fun! Embrace the surprises, and you might end up with beautiful new shades.
Easy Variations to Try
Take this project a step further by trying different versions for a fun twist. Consider these suggestions:
- Seasonal Themes: Tailor your suncatchers to season or holiday colors, like orange and black for Halloween or pastels for Easter.
- Different Shapes: Experiment with various shapes instead of quilt sections stars, hearts, or even animals.
- Mixed Materials: Incorporate elements like glitter for added sparkle or natural materials like dried flowers for a unique texture.
Storing or Reusing This Project
After your suncatcher has hung in the sun for a while, you might wonder what to do next. These suncatchers are relatively sturdy and can be stored flat for later use. Clean up excess glue spills by wetting a cloth and gently wiping. You can even repurpose the plastic sheet for other crafts or activities, reducing waste while inspiring creativity in future projects.
FAQs About How to Make a Colorful Glue Quilt Suncatcher (DIY Tutorial)
How messy is this project?
While some glue spills may occur, the mess is fairly manageable. Just ensure to have a covering on your workspace and a few wipes handy for quick clean-ups.
Is this project safe for young children?
Absolutely! The materials are non-toxic; however, young kids should always be supervised when using materials like glue and dimensional paint.
Can I use glitter or other decorative items?
Yes! Adding glitter or other embellishments can make your suncatcher even more vibrant and unique. Just remember that they may change the drying time.
What if the colors don’t turn out as expected?
Sometimes, experimentation with colors can lead to unexpected but beautiful results. What matters is that your kids have fun and enjoy the creative process.
How do I hang the suncatcher?
Use a small hole punch to make a hole at the top of the suncatcher. Thread a ribbon through this hole for easy hanging in any sunny spot.
A Final Helpful Note
End your crafting day on a positive note by encouraging your kids to embrace creativity and flexibility. Whether the colors come out exactly as planned or not, the joy of making is what matters most. You’ll create meaningful memories alongside beautiful art that brightens your home.
Conclusion
As you and your kids embark on this artistic journey, remember how easy and enjoyable it can be to create something beautiful together. The colorful glue quilt suncatcher is not only a delightful project, but it also provides opportunities for learning and discovery. For more fun crafting ideas, consider exploring this pretty DIY flower suncatcher or check our guide on a colorful and bright paper plate suncatcher craft. Each will offer a unique twist on a creative afternoon that your family can enjoy together.
PrintColorful Glue Quilt Suncatcher
A fun and colorful DIY project that engages kids in crafting a beautiful suncatcher using glue and food coloring.
- Prep Time: 15 minutes
- Cook Time: 1440 minutes
- Total Time: 1455 minutes
- Yield: 1 suncatcher 1x
- Category: Craft
- Method: DIY Crafting
- Cuisine: N/A
- Diet: N/A
Ingredients
- 1 clear plastic sheet
- 1/2 cup clear school glue
- Red food coloring
- Yellow food coloring
- Blue food coloring
- Green food coloring
- Black dimensional paint
- Ribbon
Instructions
- Draw quilt-style sections with dimensional paint on the clear plastic sheet.
- Tint small amounts of glue with food coloring and fill each section, then let dry for 24 hours.
- Peel off the dried glue, trim edges if needed, punch a hole, and hang with ribbon.
Notes
Ensure to apply thin layers of colored glue for proper drying. Adult supervision is recommended, especially for young children.
Nutrition
- Serving Size: 1 suncatcher
- Calories: 0
- Sugar: 0g
- Sodium: 0mg
- Fat: 0g
- Saturated Fat: 0g
- Unsaturated Fat: 0g
- Trans Fat: 0g
- Carbohydrates: 0g
- Fiber: 0g
- Protein: 0g
- Cholesterol: 0mg